
2017 MHA Annual Meeting
Test
Heater by AFPMA
People
36"
Castable Refractory Oven Experiment
Kachel
Workshop
Large
Double Bell
Squirrel
Tail Oven
Pat Manley
Oven
Test
Heater by AFPMA
Firetube
Multifunctional Masonry Heater
Batch
Rocket Cookstove and Heater
HMED 22"
Contraflow
Small
Finnish Contraflow for Beginner Masons
Quick Grill
by Chris Prior
Tulikivi
TU-2200 Top Vent
Ecostove
Tiileri Brick Heater Kit
Archguard demo
Presentations
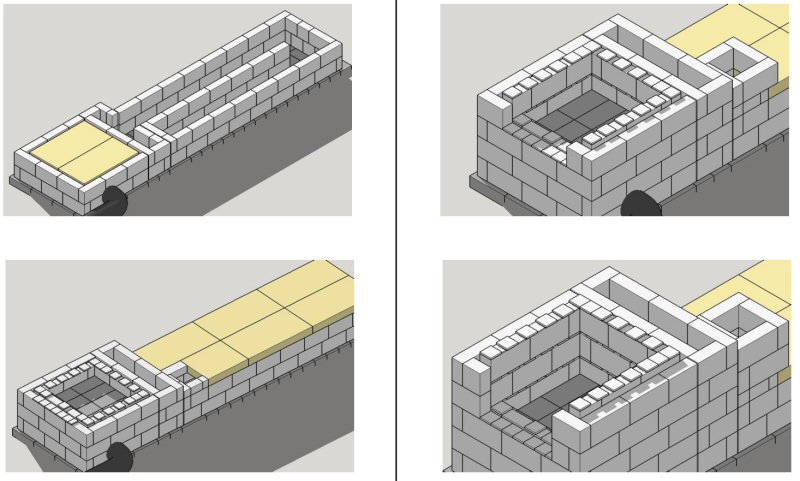
Download
assembly drawings
Download
Sketchup model
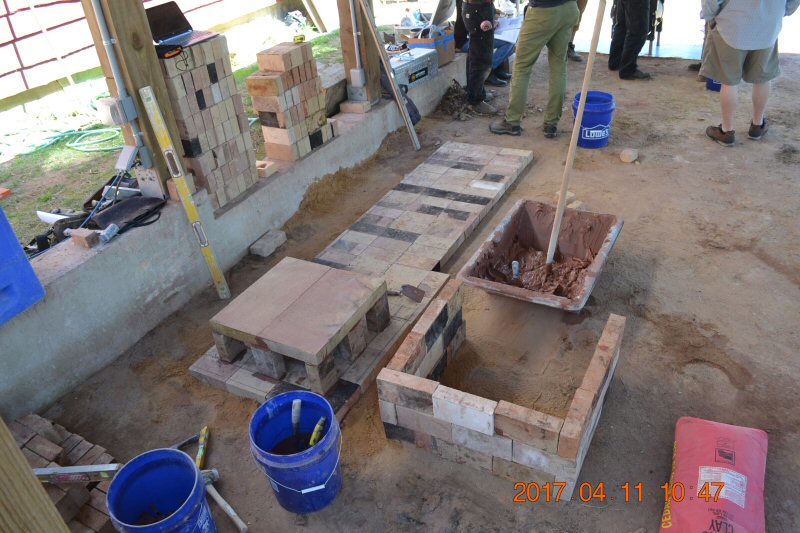
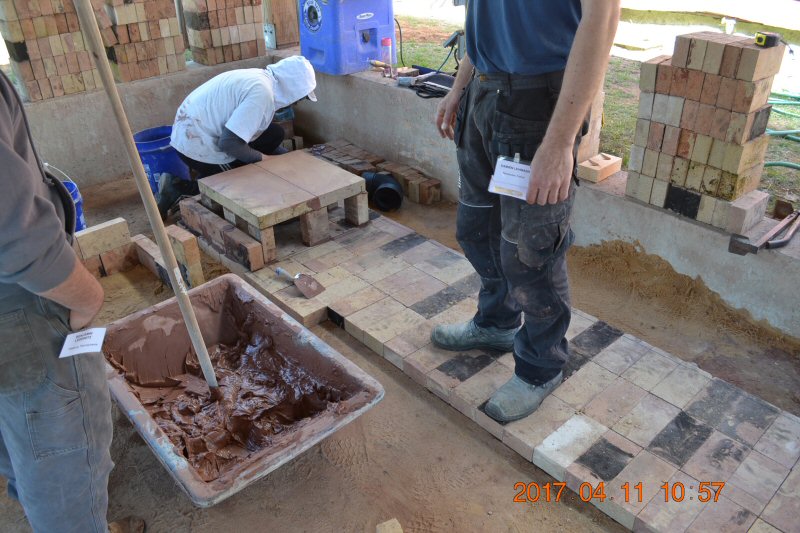
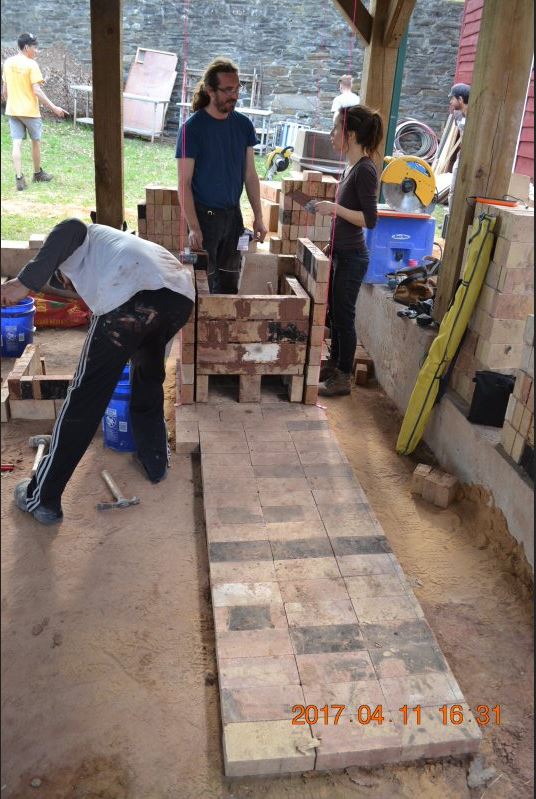
Base
and firebox floor.
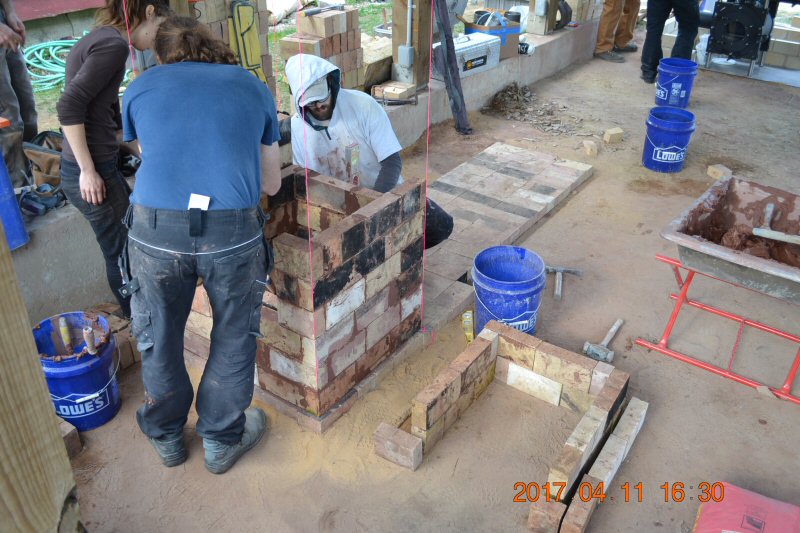
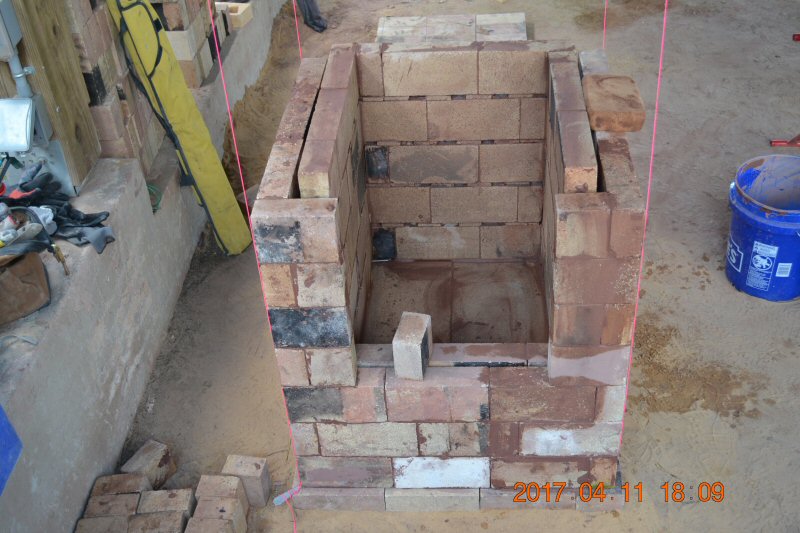
Firebox.
The
gap between the firebox and the outer skin is a passageway for
combustion air,
which
enters the firebox through horizontal slots at each course.
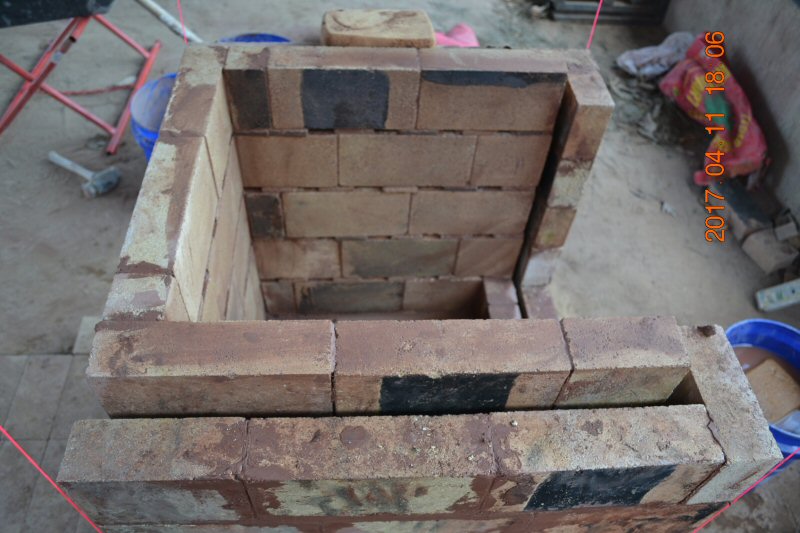
Horizontal
air slots are visible. The are created by sitting the firebricks on
spacer shims.
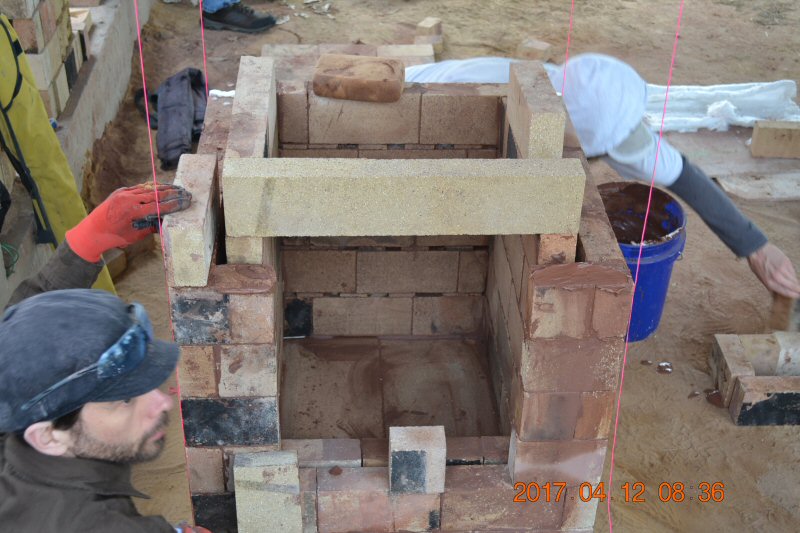
Firebox
lintel brick.
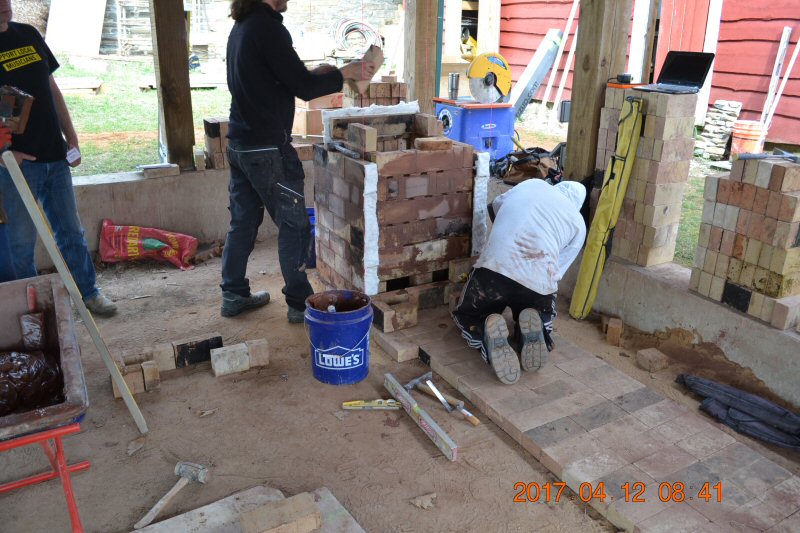
Strips
of white ceramic fiber create expansion joints between the firebox and
the heat exchanger.
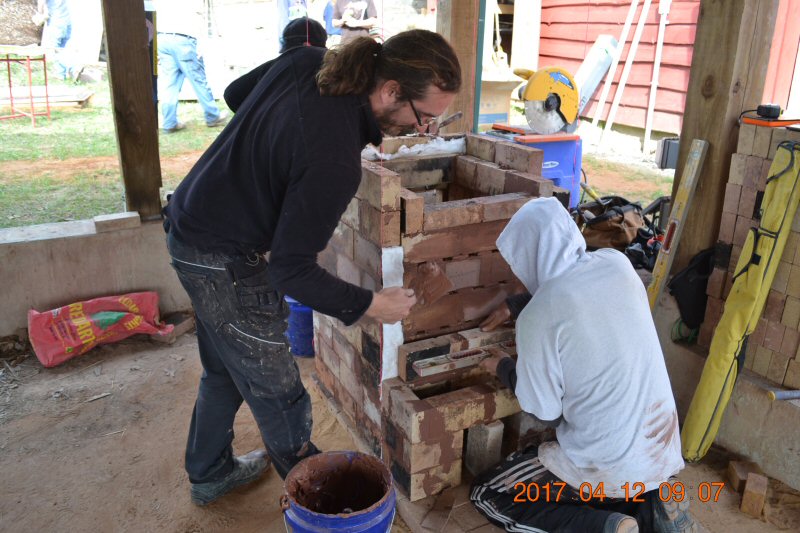
The
gases will exit the firebox at the top and then downdraft through the
first heat exchange channel.
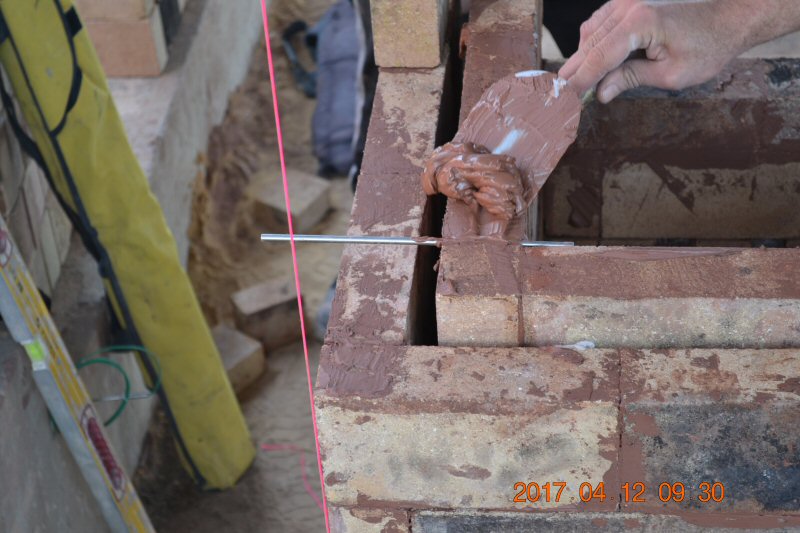
A
stainless tube is embedded that will act as a pressure measuring
location for the top of the firebox.
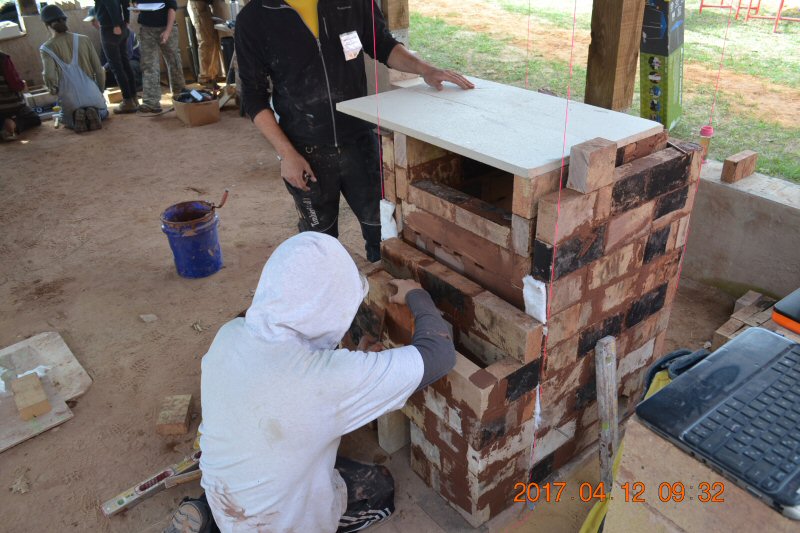
Firebox
ceiling is a piece of vermiculite board
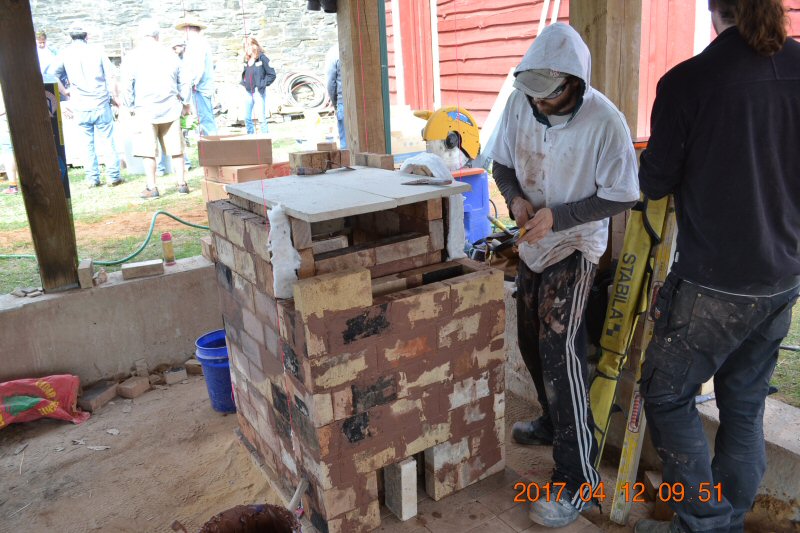
Exit
from the downdrafting heat exchange channel is visible at the bottom.
The vertical brick is a temporary support.
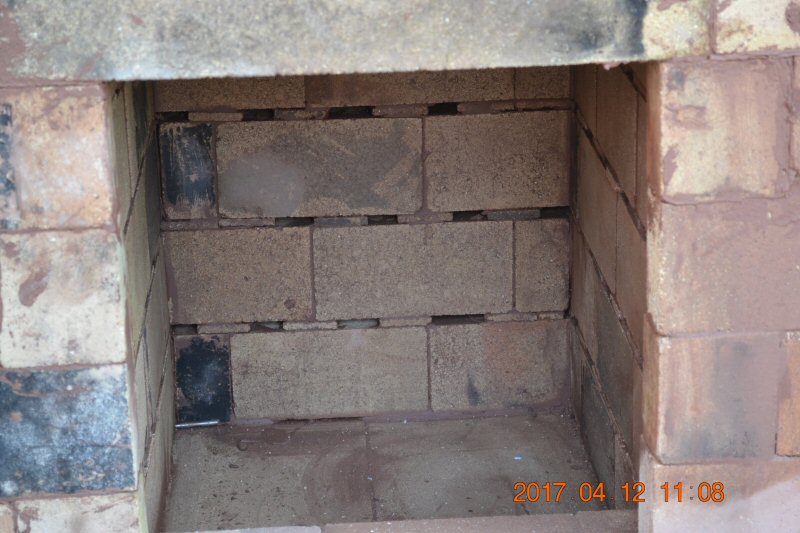
View
of the air slots.
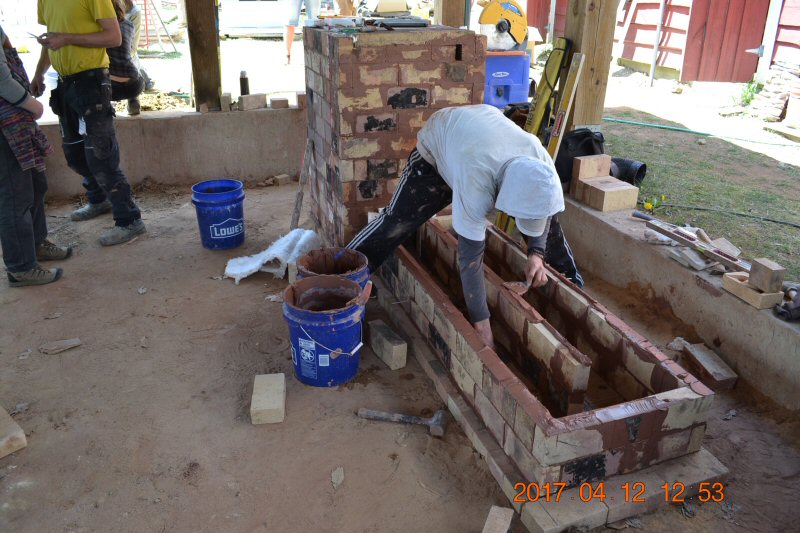
After
the gases leave the downdrafting heat exchange channel, they enter the
left side of the horizontal bench.
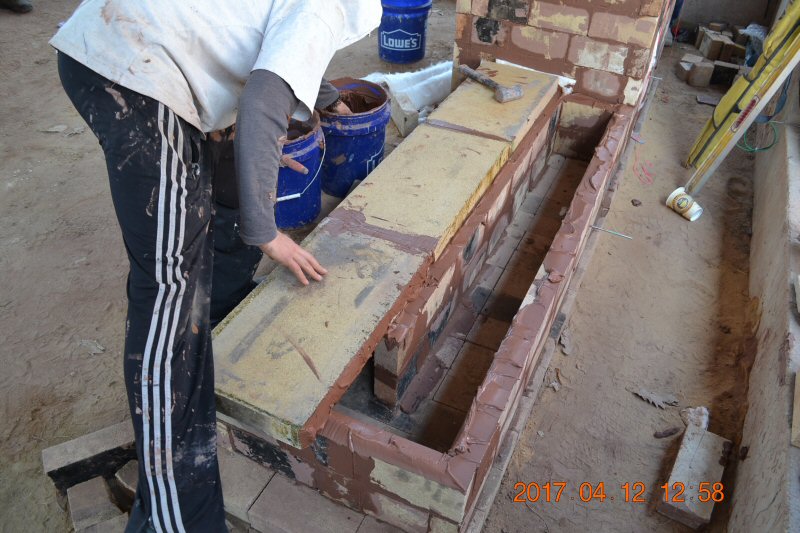
They
return at the end, and will exit the right side at the top of the bench.
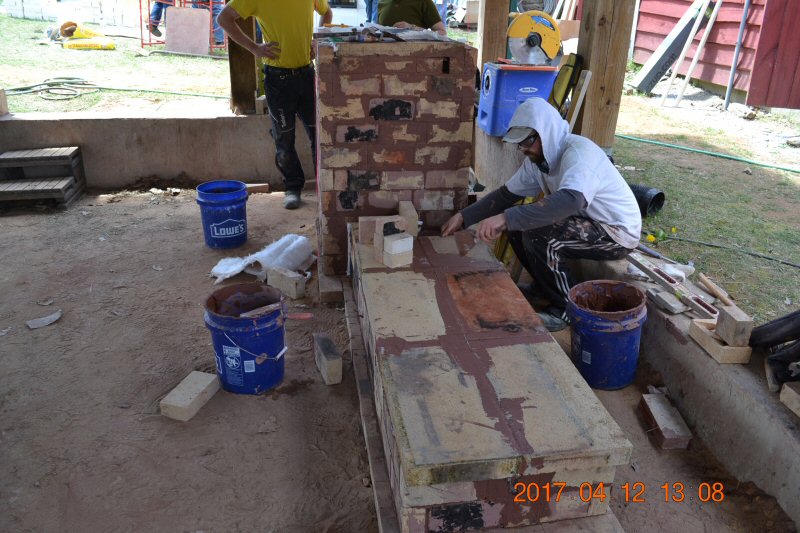
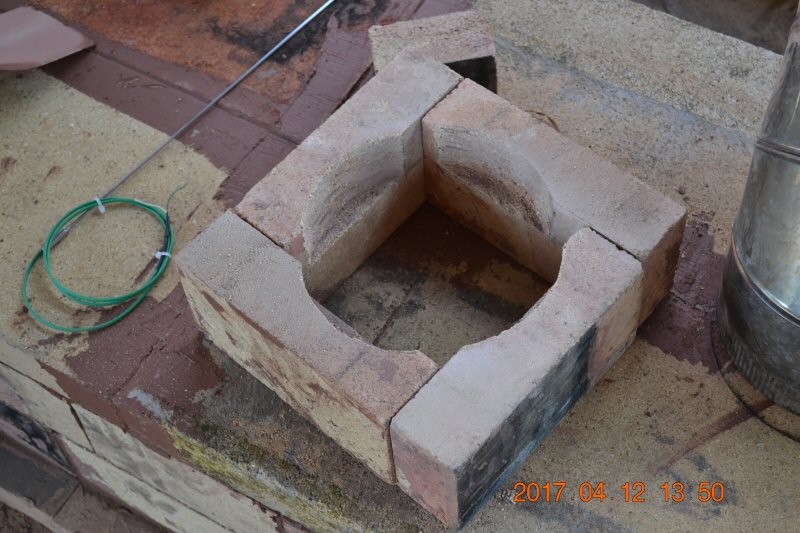
The
gases enter a vertical section of brick chimney. The transition
section, shown above, will support 8" stainless pipe.
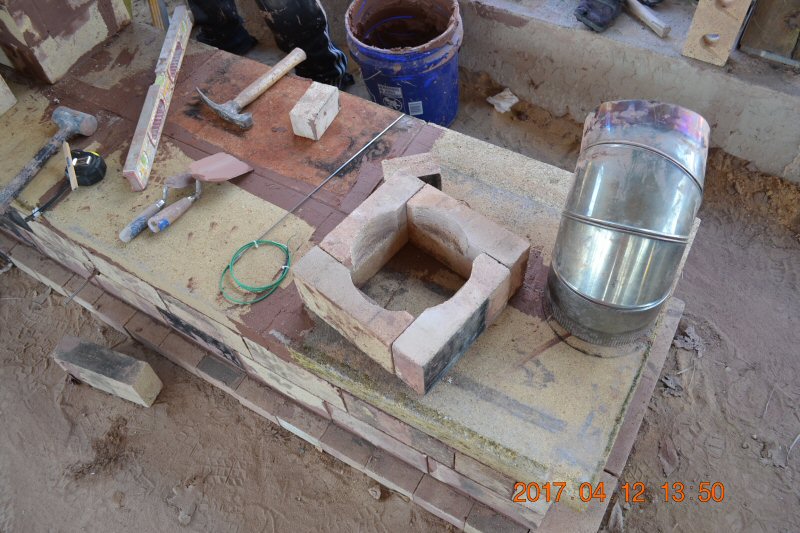
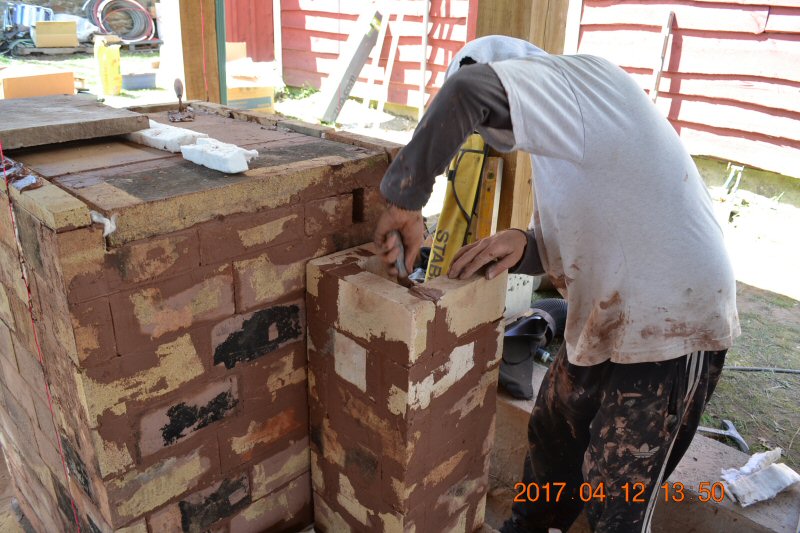
Firebrick
chimney section.
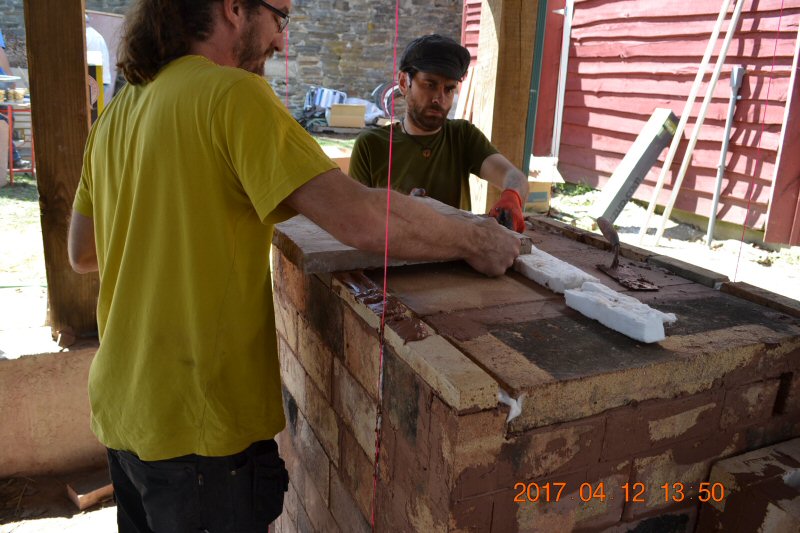
Capping
slabs over firebox.
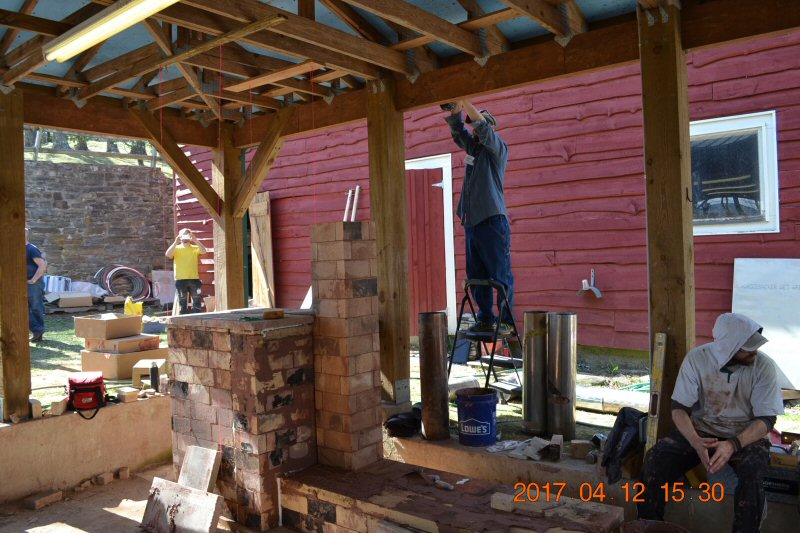
Ready
for stainless pipe.
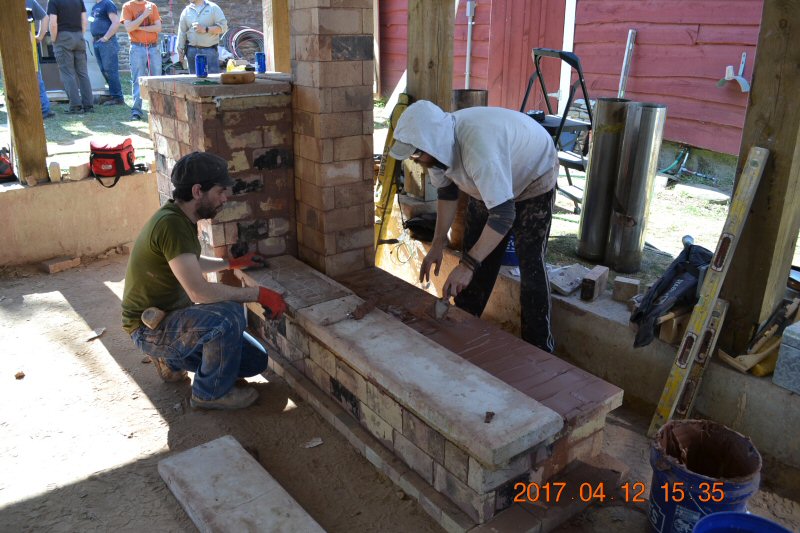
Capping
the bench with soapstone slabs.
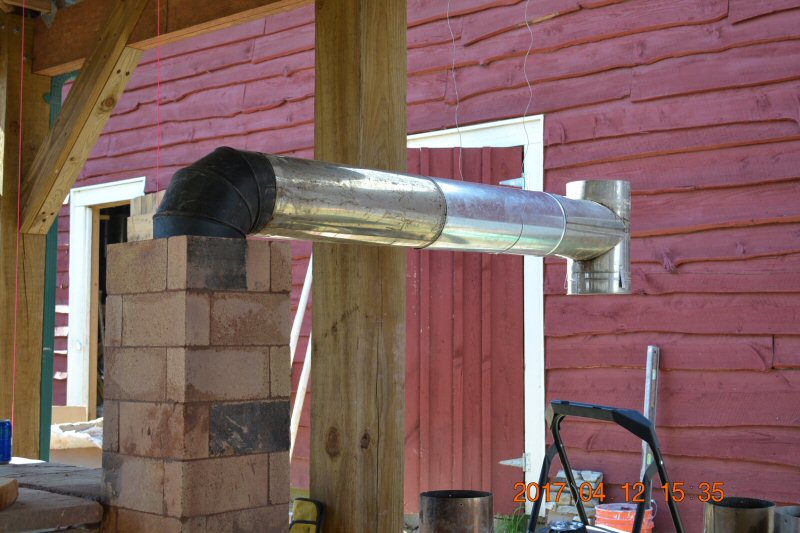
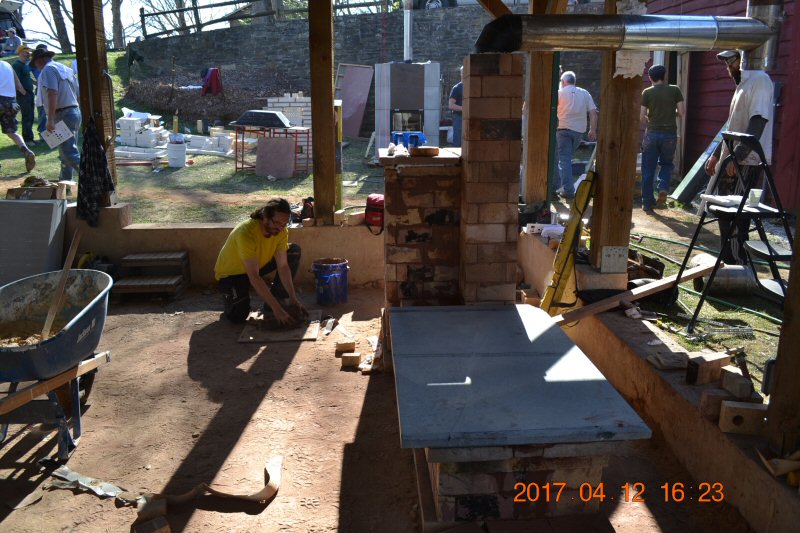
Soapstone
slabs are installed as bench tops.
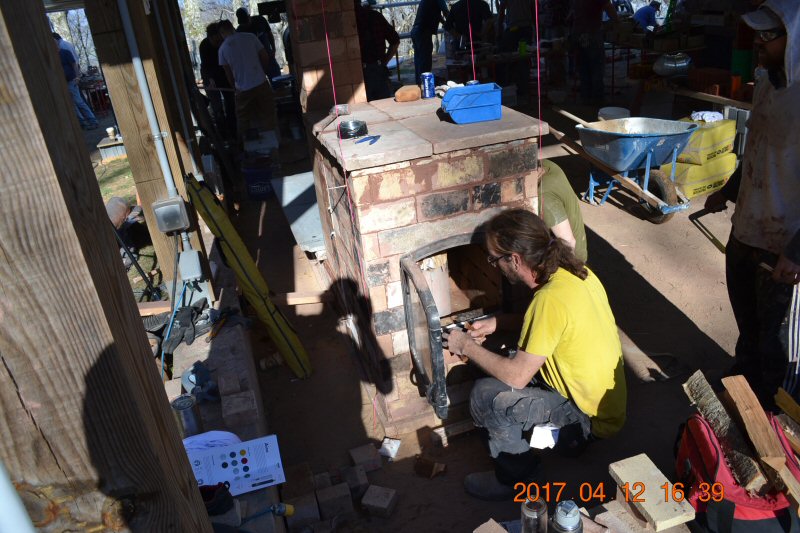
Installing
the firebox door.
Damien
Lehmann designed the heater. He is a founding member of AFPMA, the
Masonry Heater
Association
of France. He has developed an open source version of a handbuilt
heater calculation model, based on EN-13384.
AFPMA
is collaborating with MHA to build a testing lab in France and in Canada to do
verification testing to proof the calculator model.
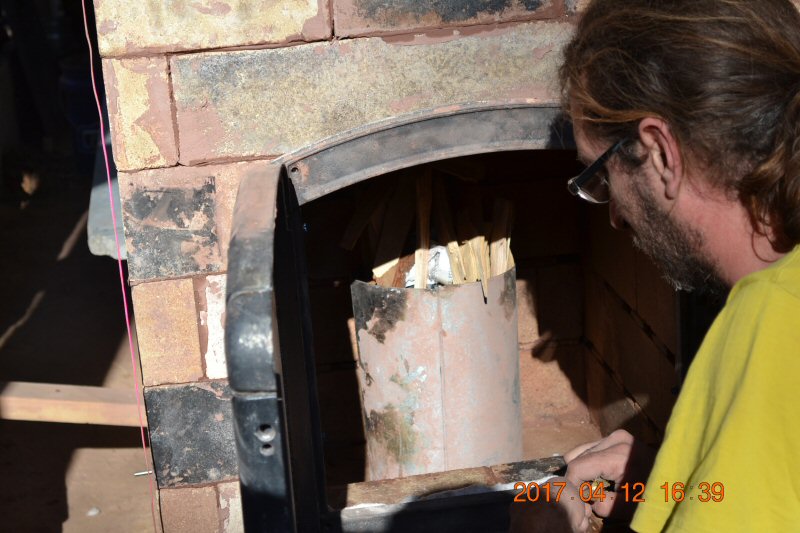
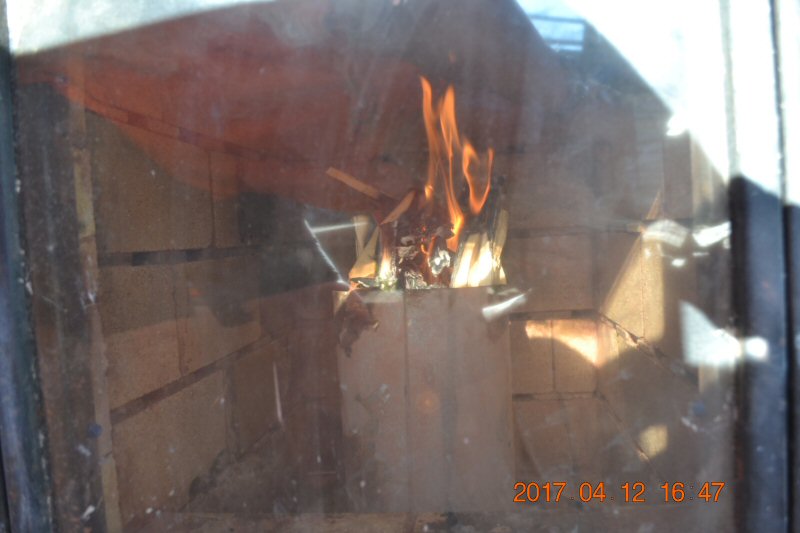
Curing
fire with small wood.
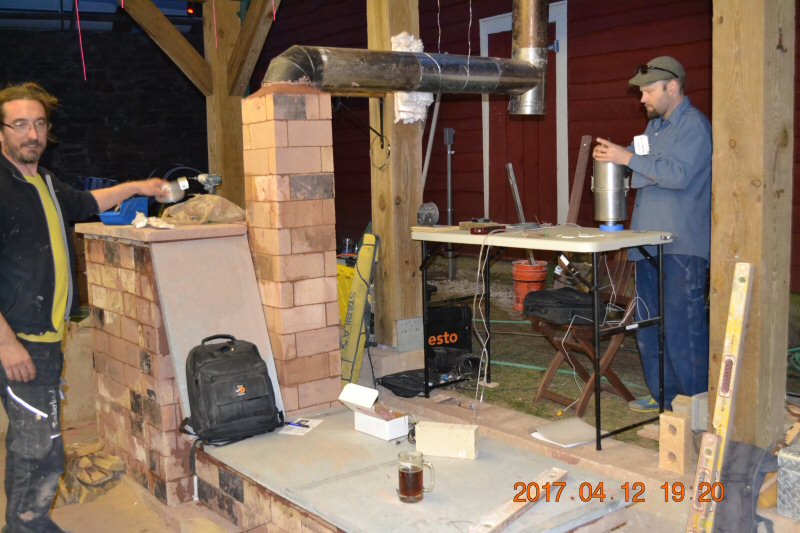
Carsten
Homsted sets up the
Condar portable dilution tunnel particulate sampler.
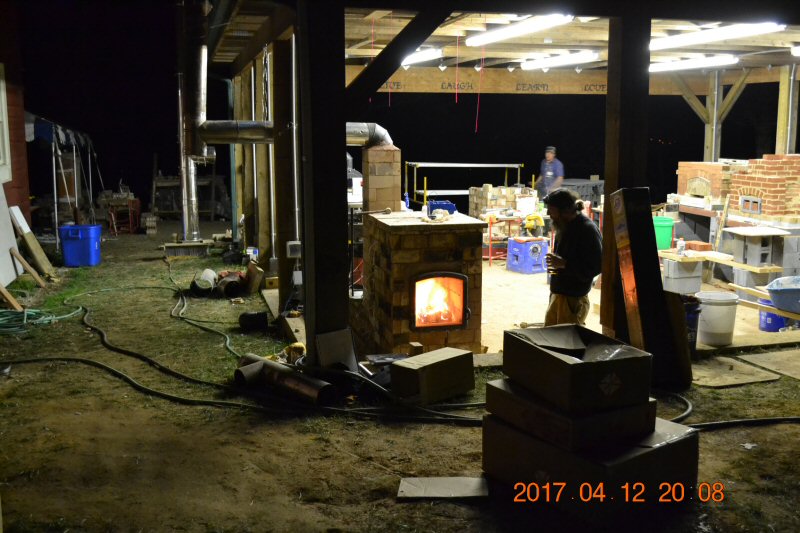
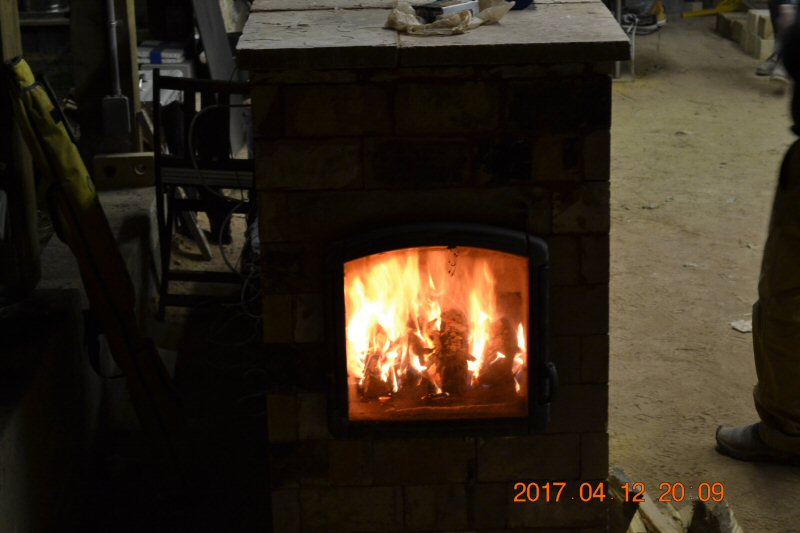
Curing
fire continues with a load of regular firewood. The goal is to have the
heater completely dried out for testing the next day.
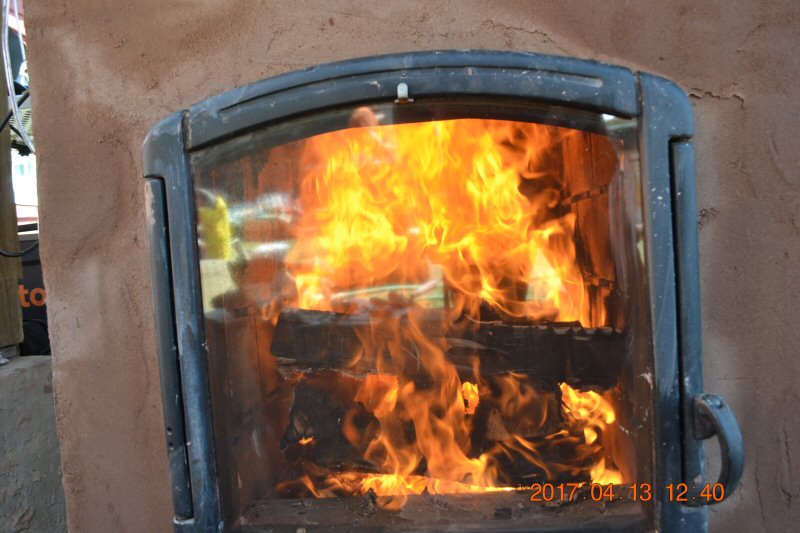
Next
day mid-day.
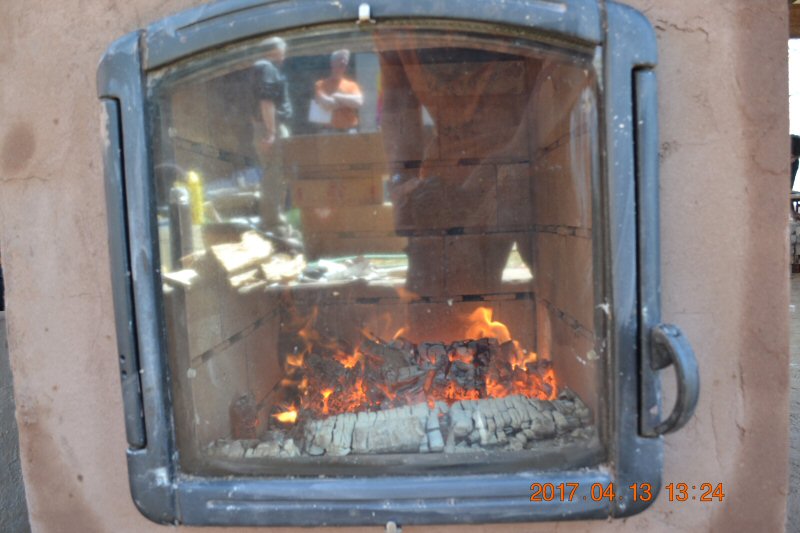
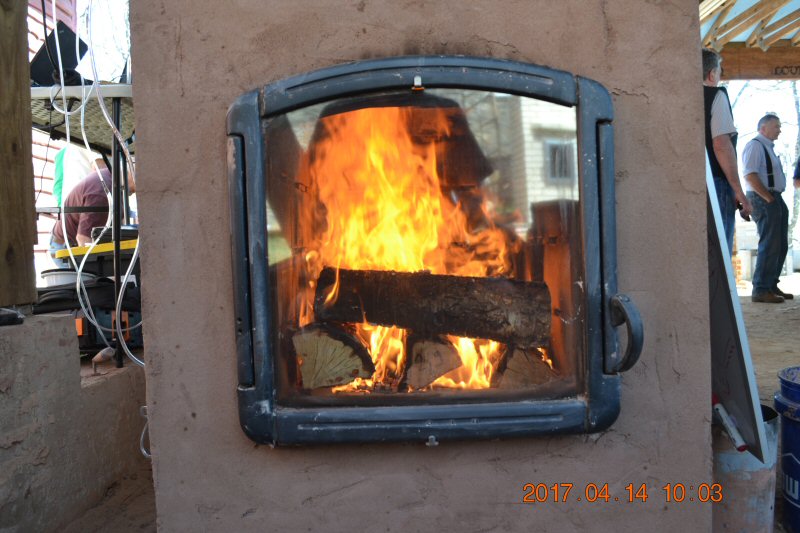
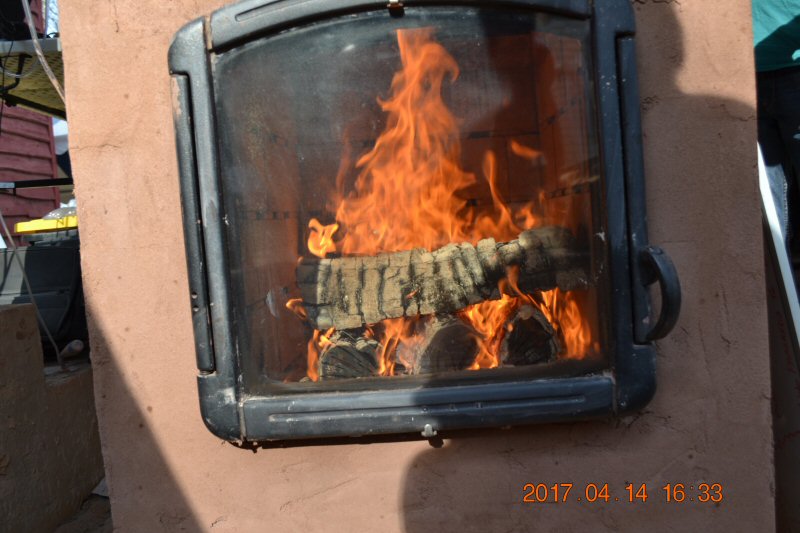
First
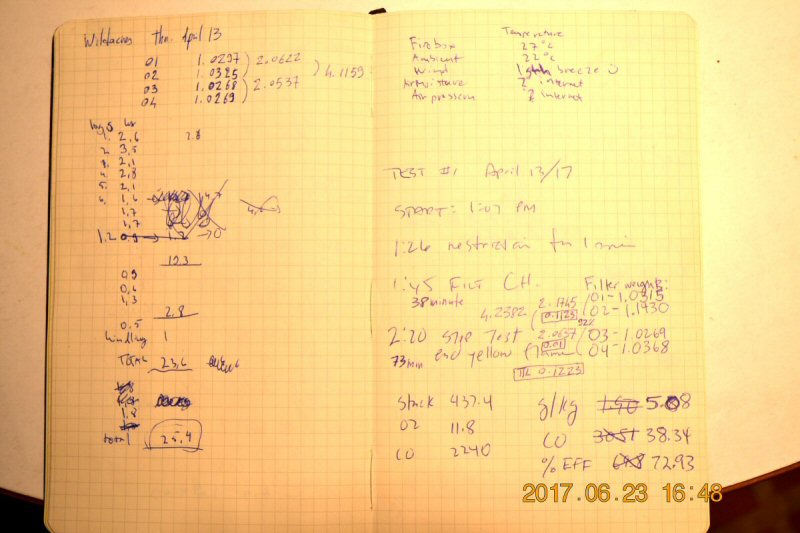
test load was lit at 1:07 PM. Note that the camera shows one
hour
earlier. This photo is at 1:40, ie 33 minutes into the test.
The heater has clay plaster, and you can see it starting to dry out
around the door.
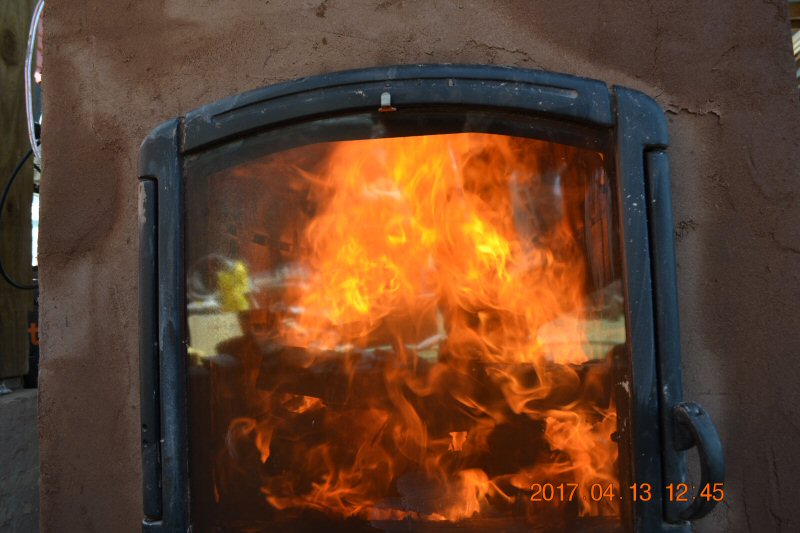
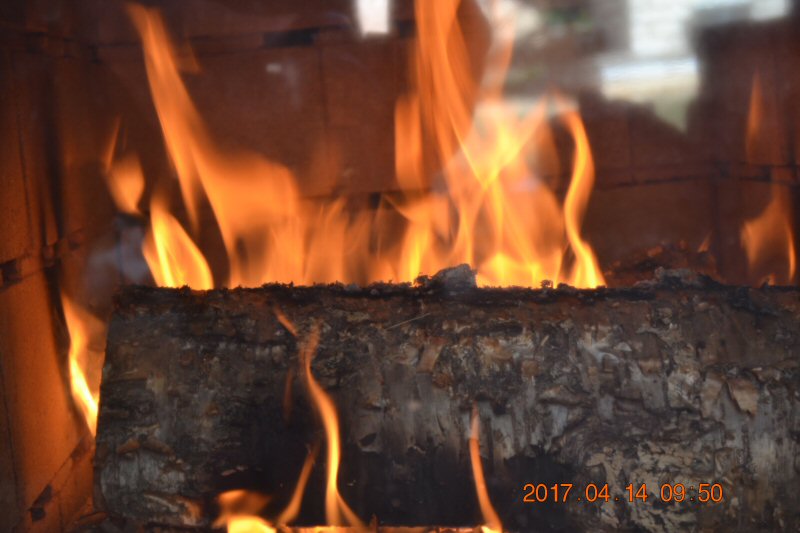
Very
intense fire with the Eco-labelled air
system.
Austrian
air specification.
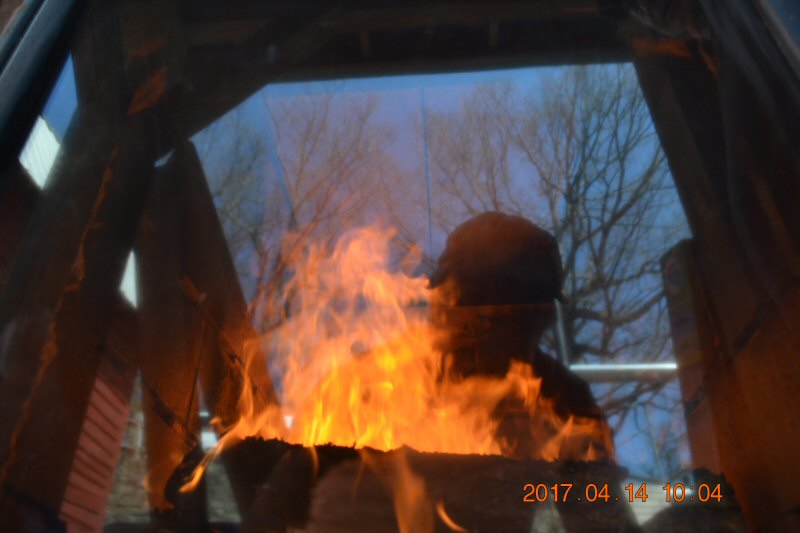
The heater was burning way too fast, and the Condar filter plugged up
at 38 minutes, highly unusual.
PM was 5.08 g/kg, or very high (for a masonry heater).
Spoiler alert: we increased the size of the wood slightly for the next
test, and the PM cam down to 0.7 g/kg.
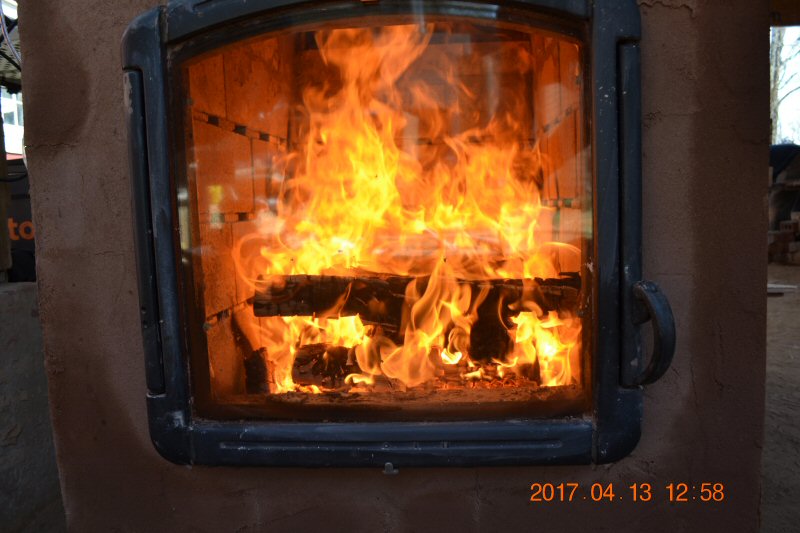
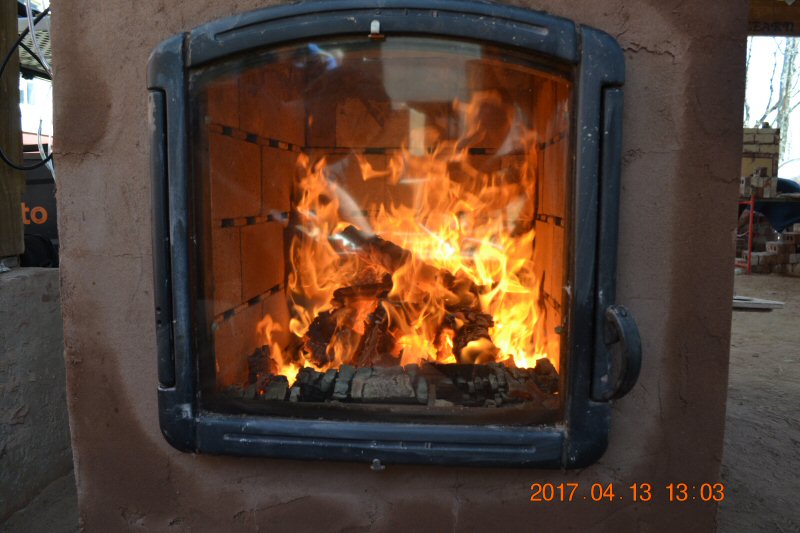
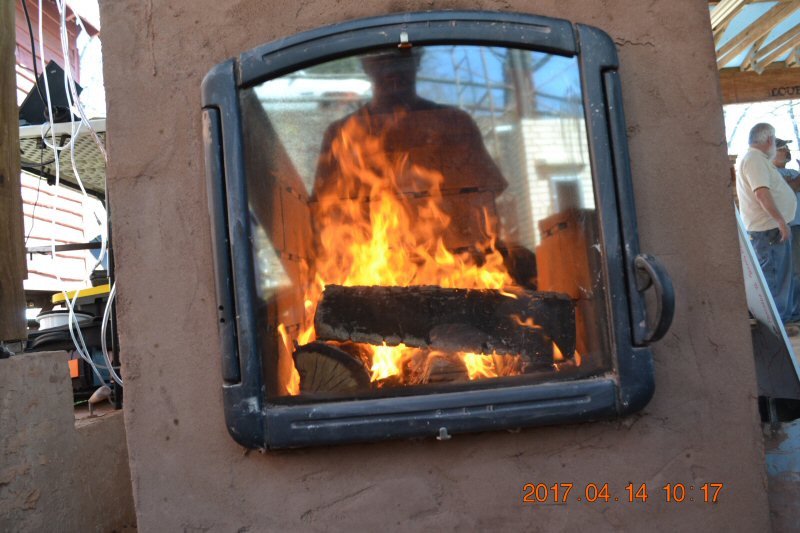
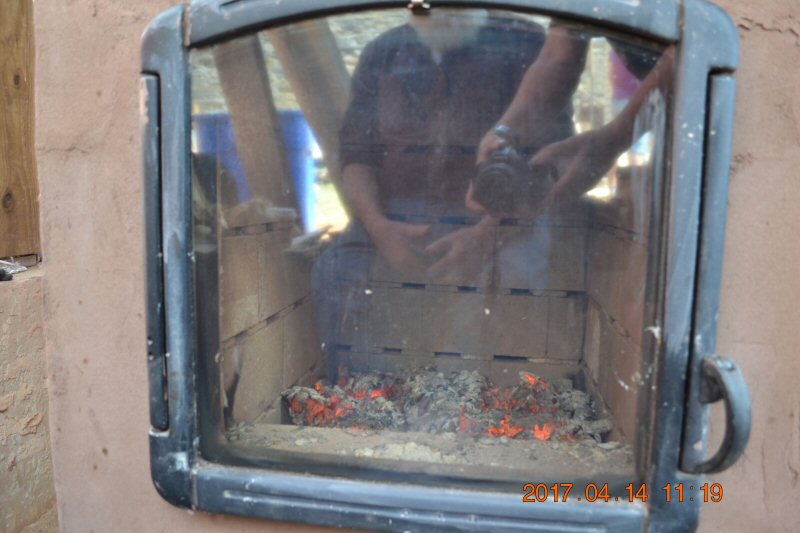
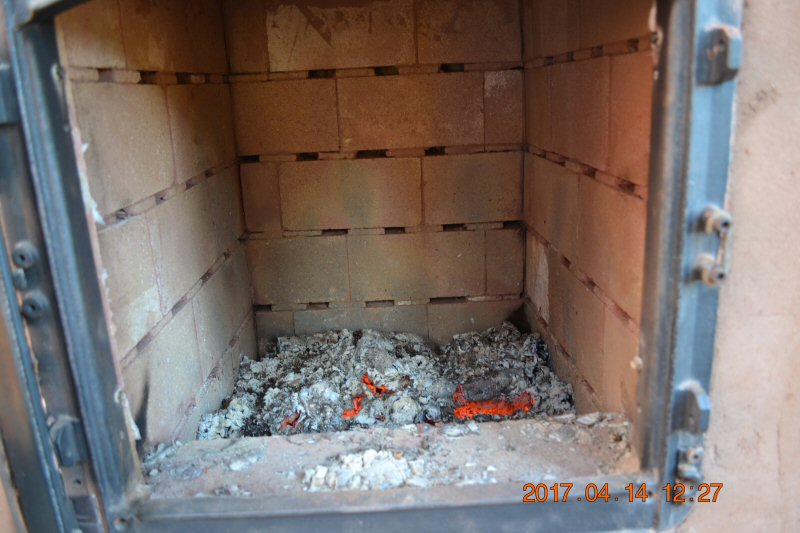
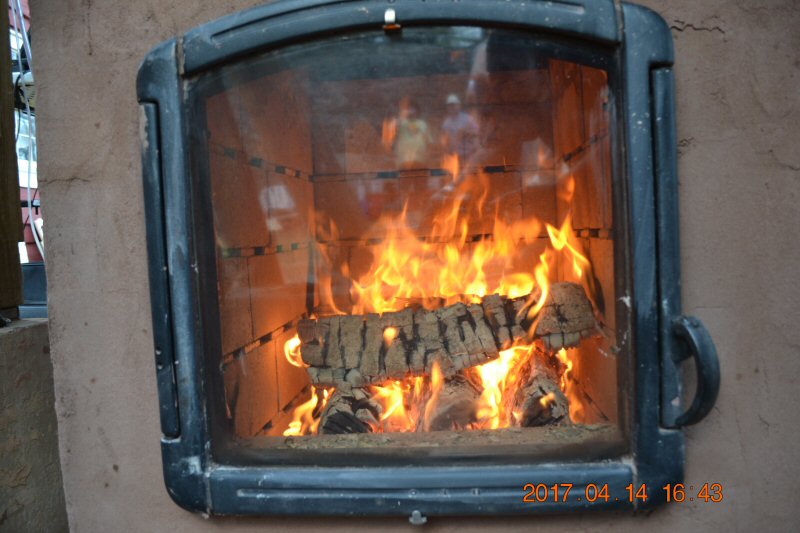
Burning
clean.
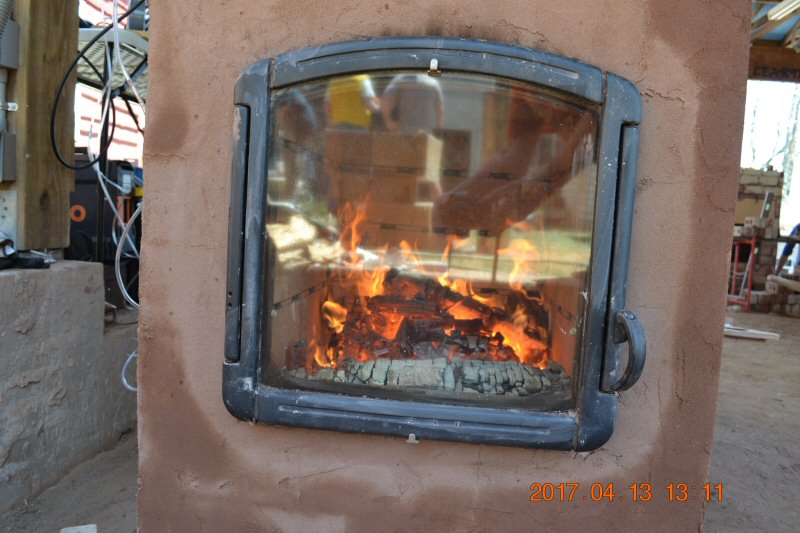
 Note the
progression in the drying of the plaster from 54 minutes earlier
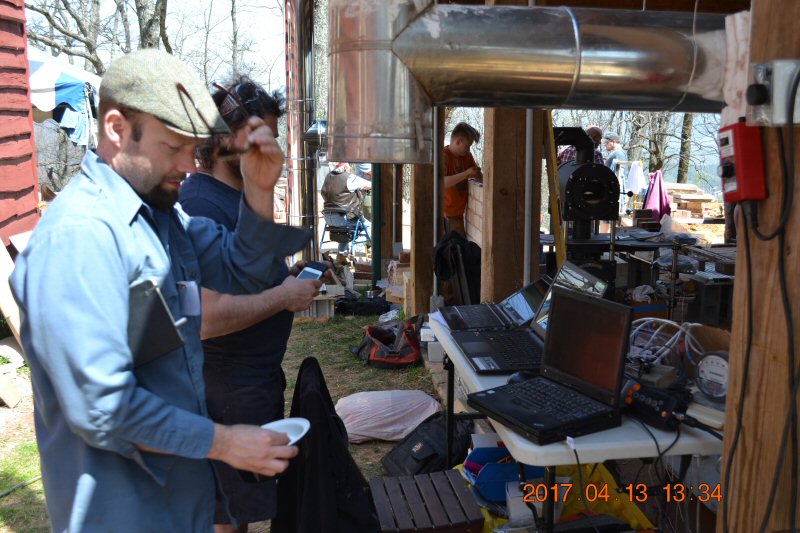
Carsten
Homsted pulls the final set of Condar filters for weighing.
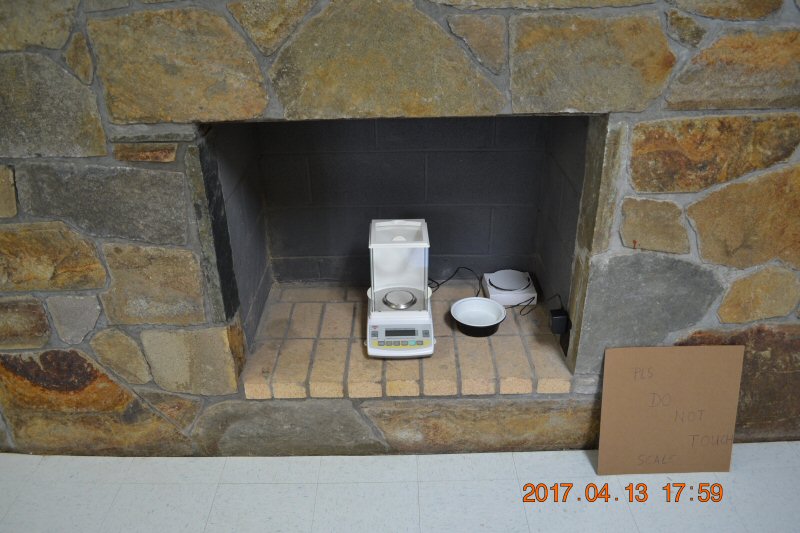
Laboratory
balance for weighing the 4" glass Condar filters. Set on a solid
non-vibrating surface.
Balance
resolves to 0.0001 gram
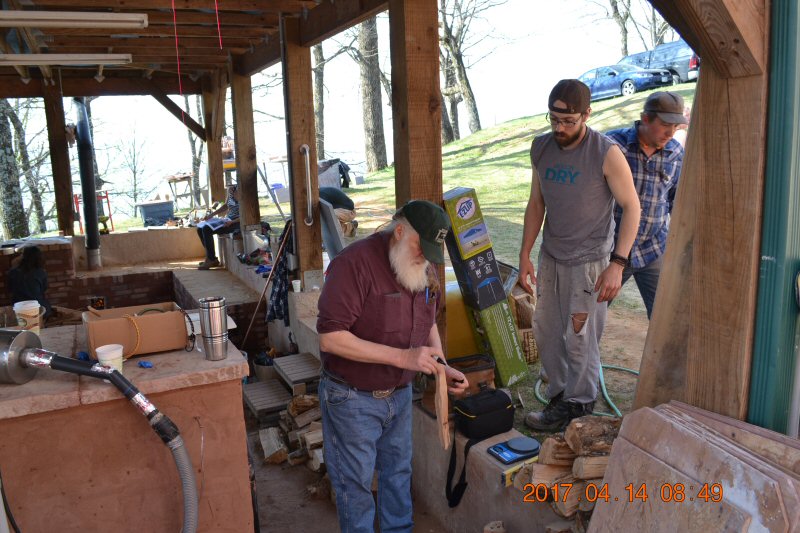
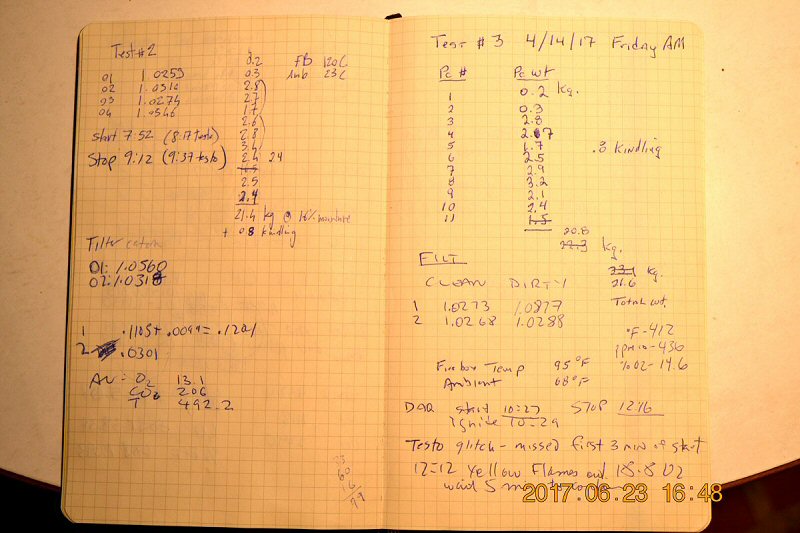
Test
#2, the following day.
Ben
Myren weighing kindling for fuel load.
Ben
runs an EPA accredited testing lab in Colville, WA and has more than 30
years experience in the field
For
the first test, the firebox was still fairly hot from curing late
the day before, which also contributed to the over-amping. It was a
valuable demo. Comparing predicted values from the calculator,
indicated that the heater needed more heat exchange. Ie.., stack
temperature was too high..
This resulted in the burn rate going high enough that there was not
sufficient air anymore, resulting in high emissions.
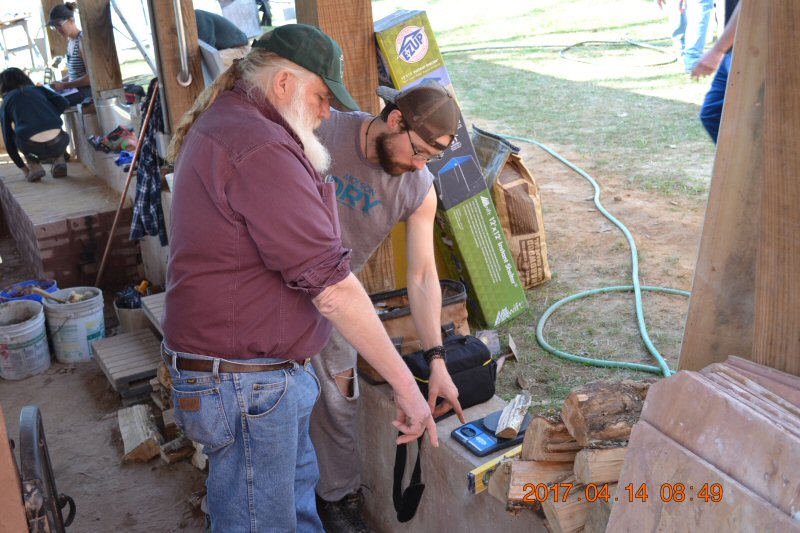
Alexandre
Paquin helps Ben Myren with the wood.
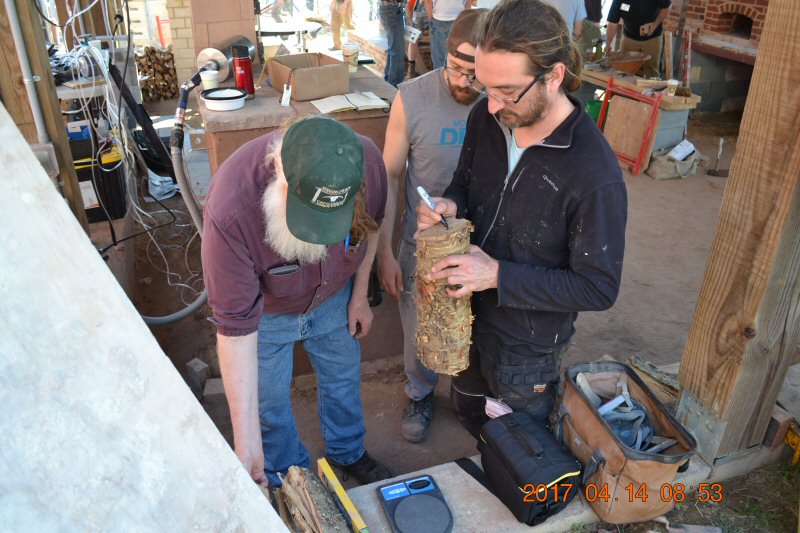
The
weight is written on each piece, and the geometry of the fuel pile is
documented.
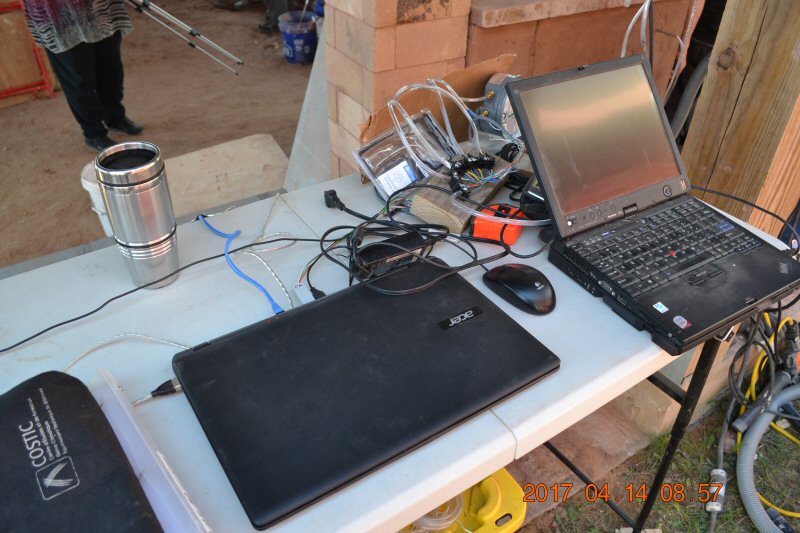
The
computer on the right runs the Testo 330-2 gas analyzer.
The
other computer is from the MHA
lab
in Shawville Quebec
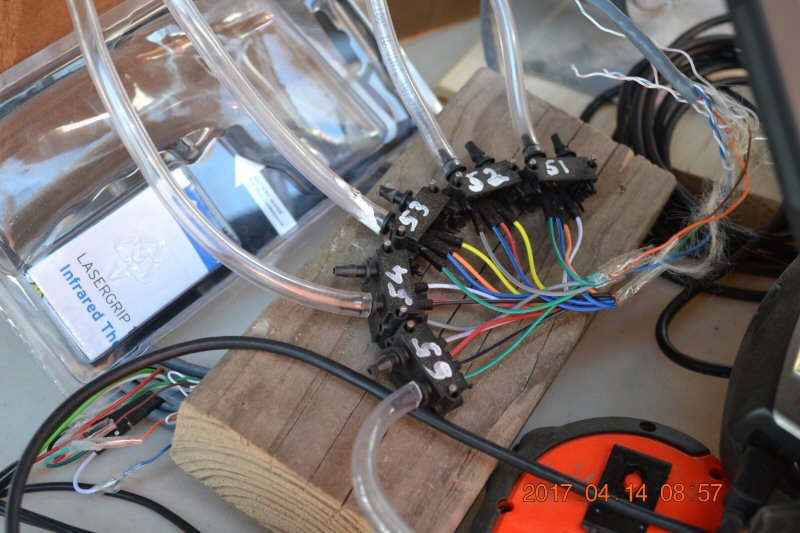
A scaled
down 5 channel version of the pressure sensing setups that we have at
the MHA
and AFPMA labs.
The
Sensirion
SDP-610 digital sensors are very accurate and repeatable with
a resolution of 0.1 pa.
They
are part of our collaborative project
to verify a software model for one-off handbuilt heaters.
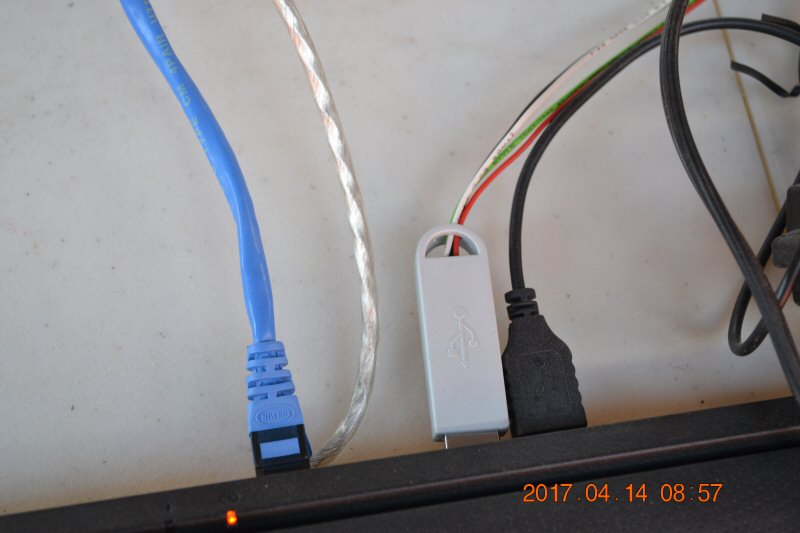
MHA
lab computer. The white dongle at the back is an IOWarrior
It provides the digital interface between the sensors and the
computer's USB port.
Note there are only 4 wires, yet up to 128 separate channels of
pressure readings can be connected via the
I2C digital communications protocol. The data logging is done via DAQFactory Pro.
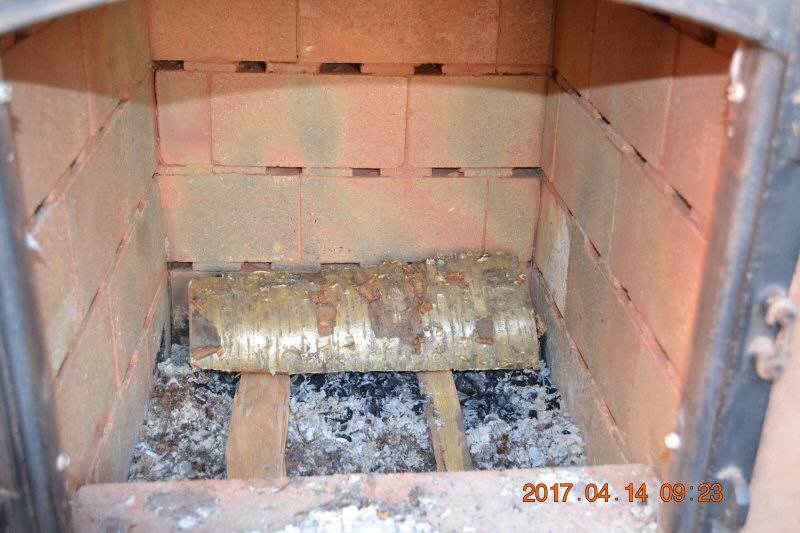
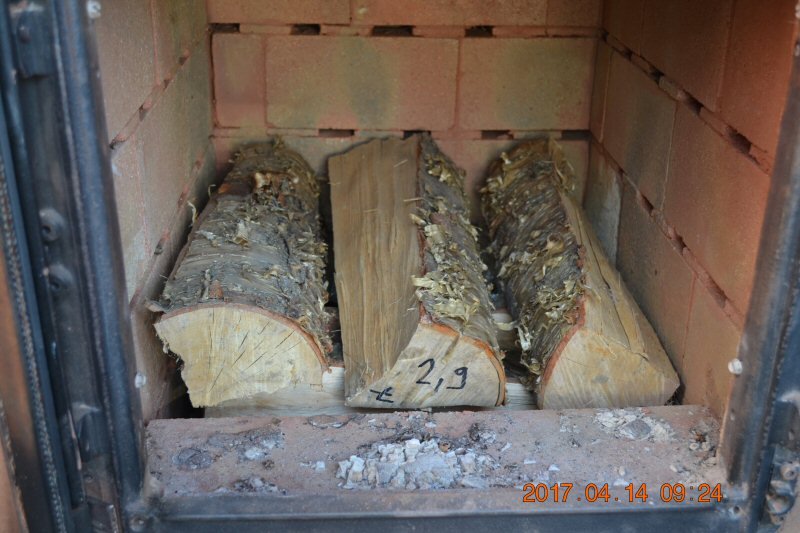
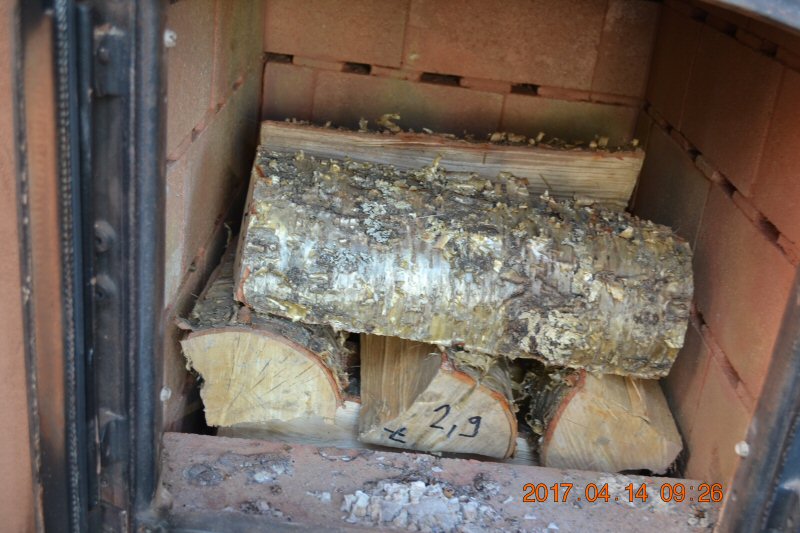
Stacking
the load for the second test run. Larger fuel pieces were used,
compared to run #1.
Fuel
load was 21.9 kg at 16% moisture.
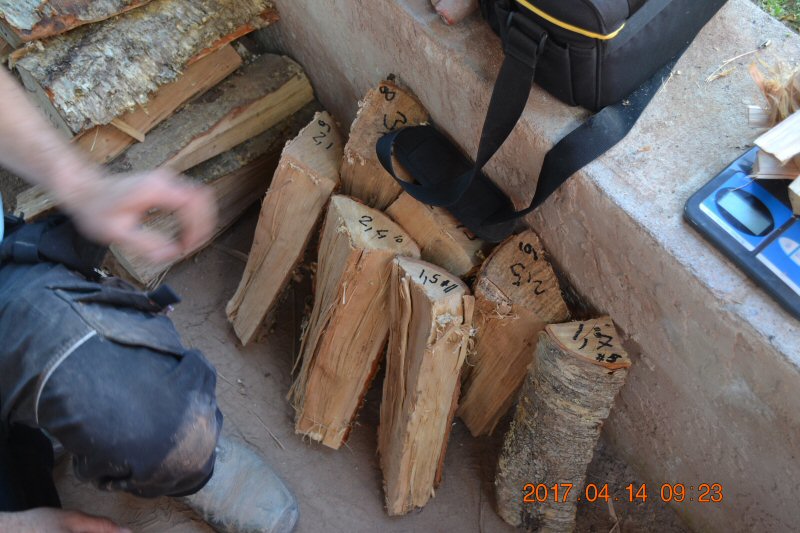
Weight
and piece number (position in the firebox stack) is marked on each
piece and recorded.
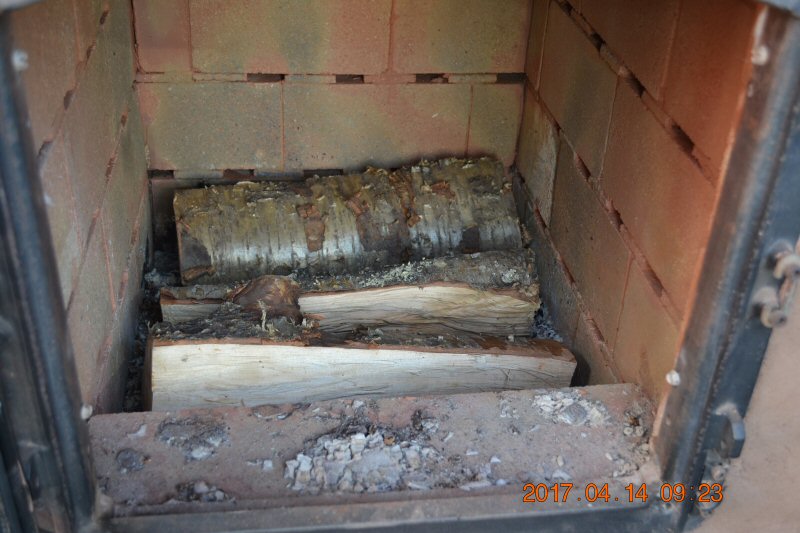
First
row.
Second
row.
Third
row.
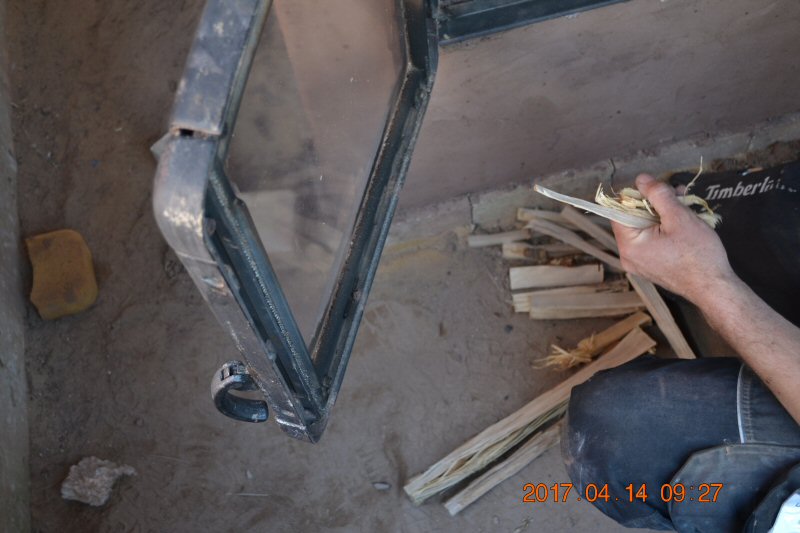
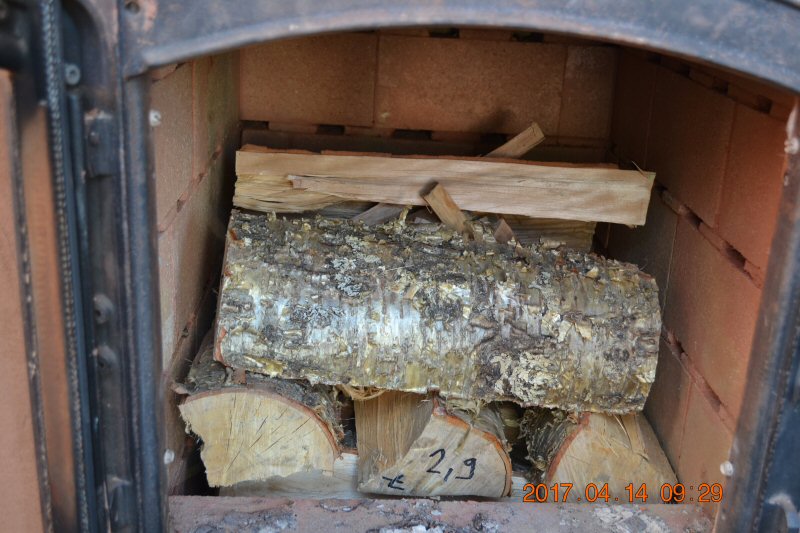
Kindling
sits in a gap between the two larger pieces.
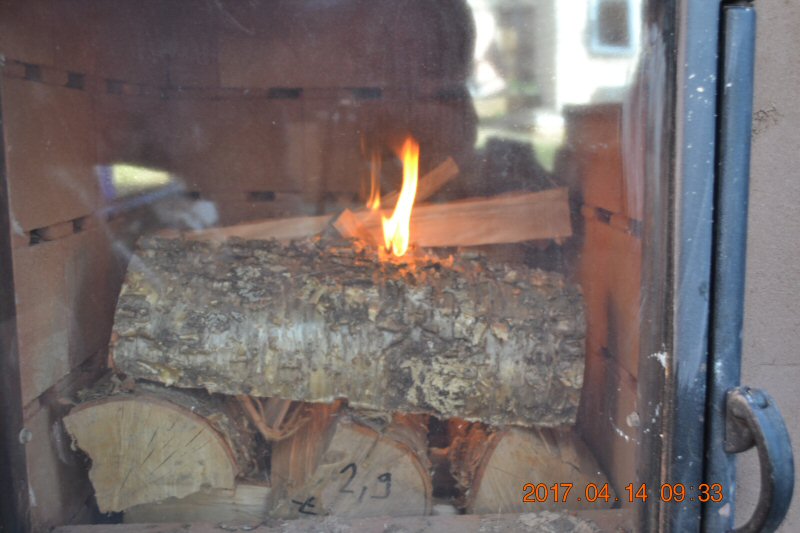
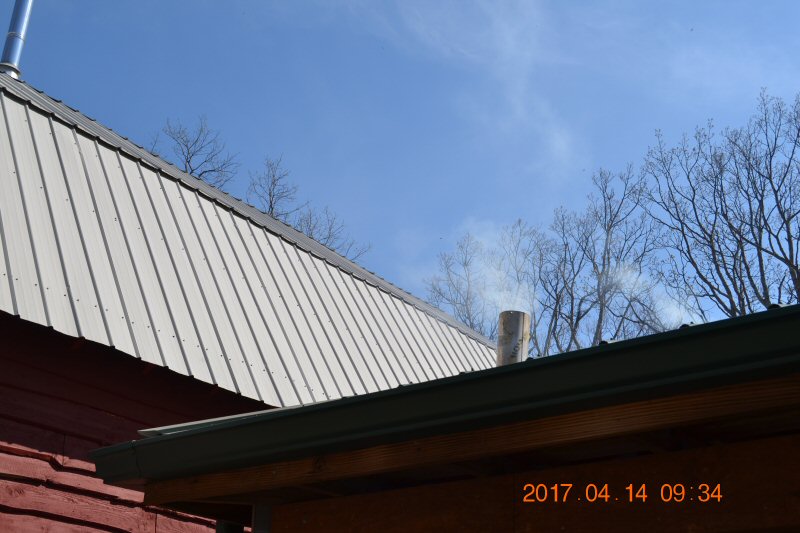
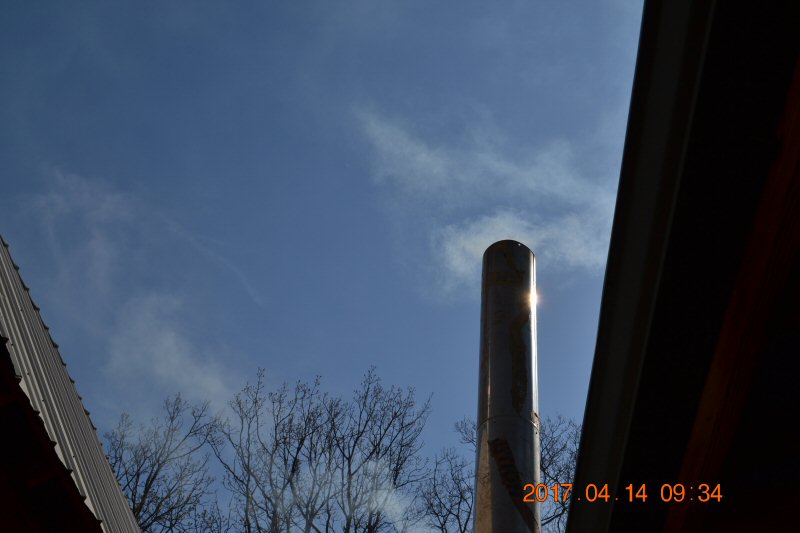
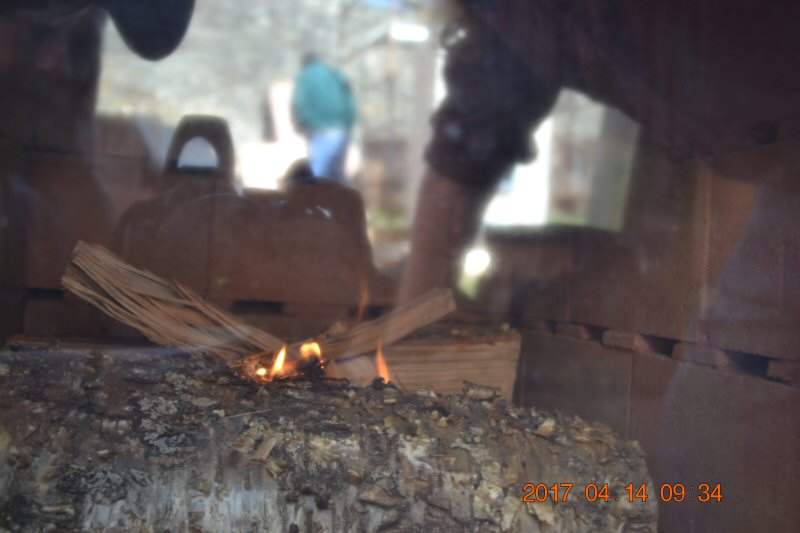
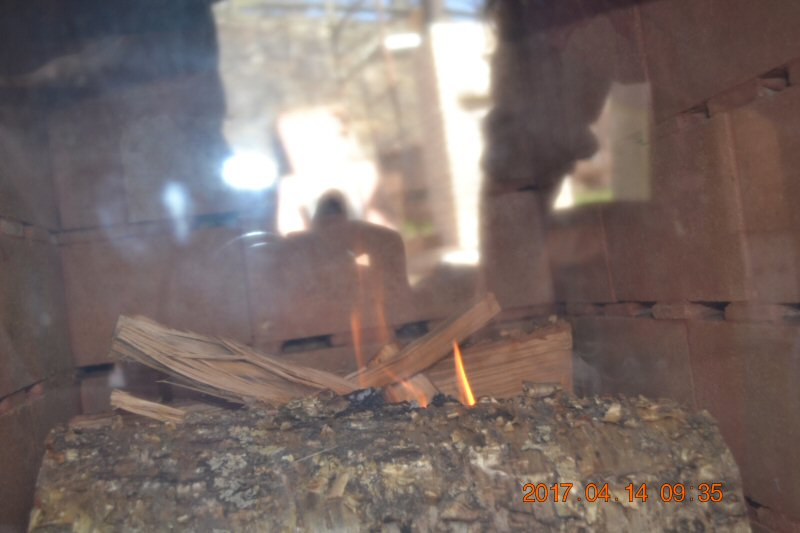
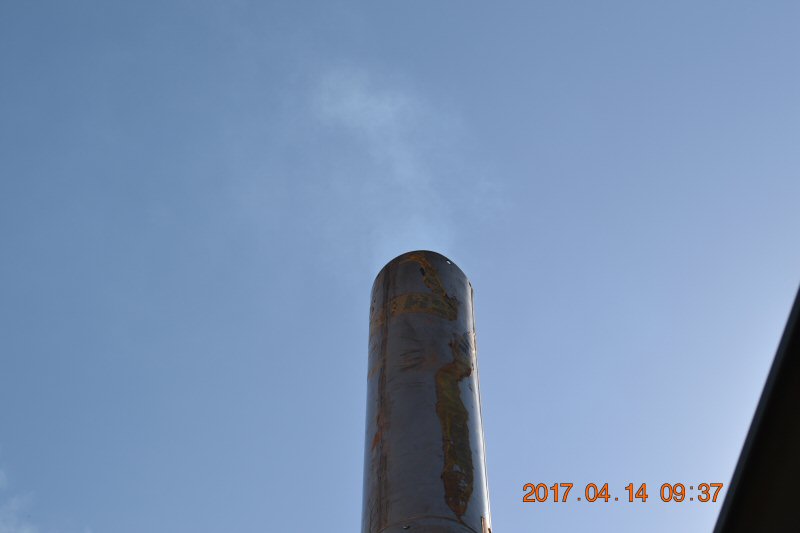
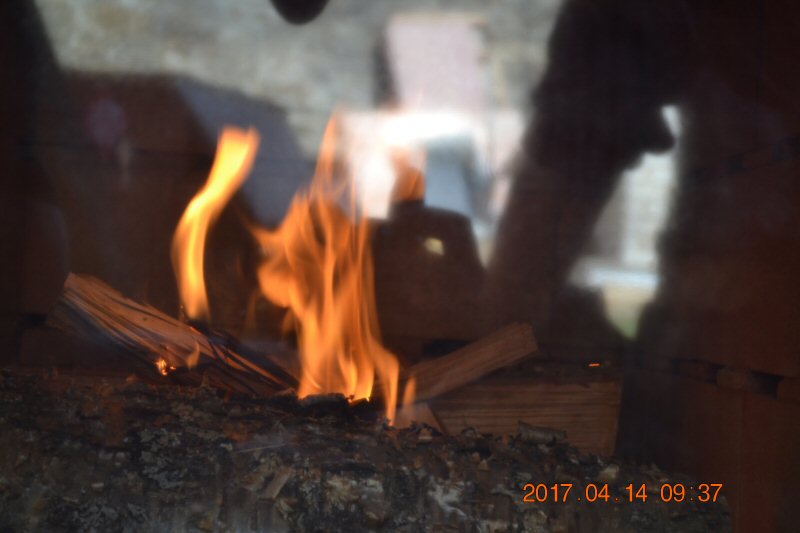
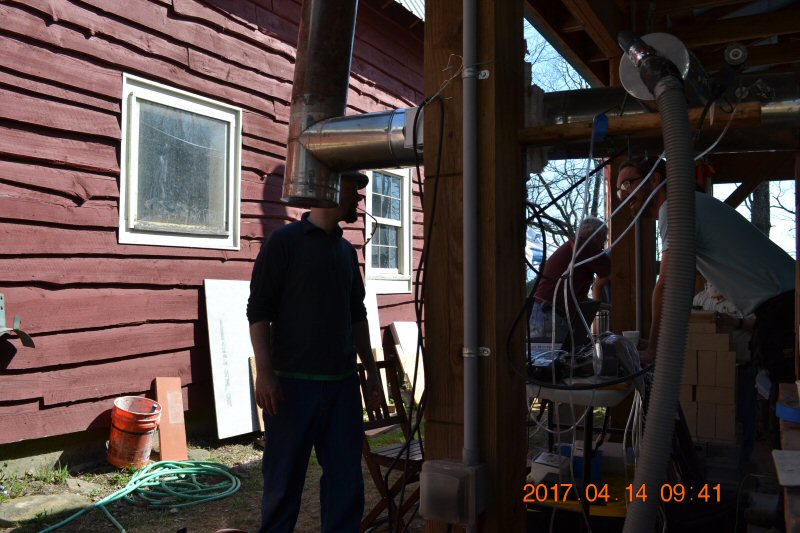
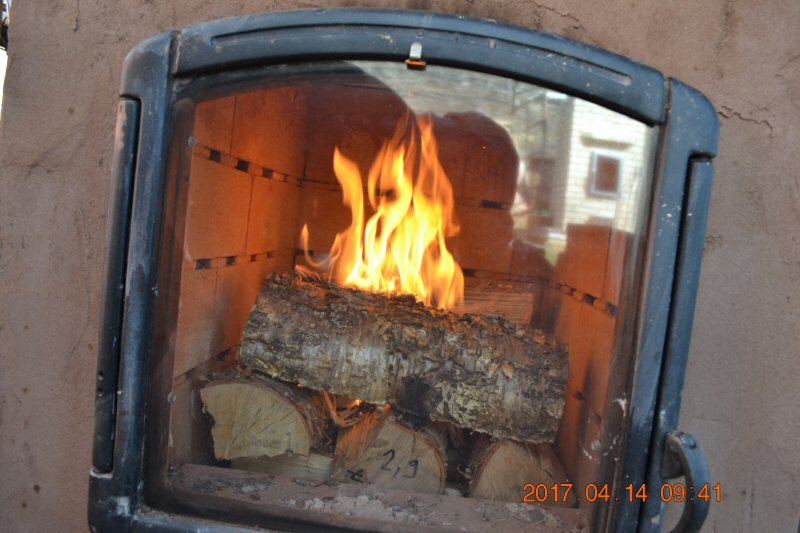
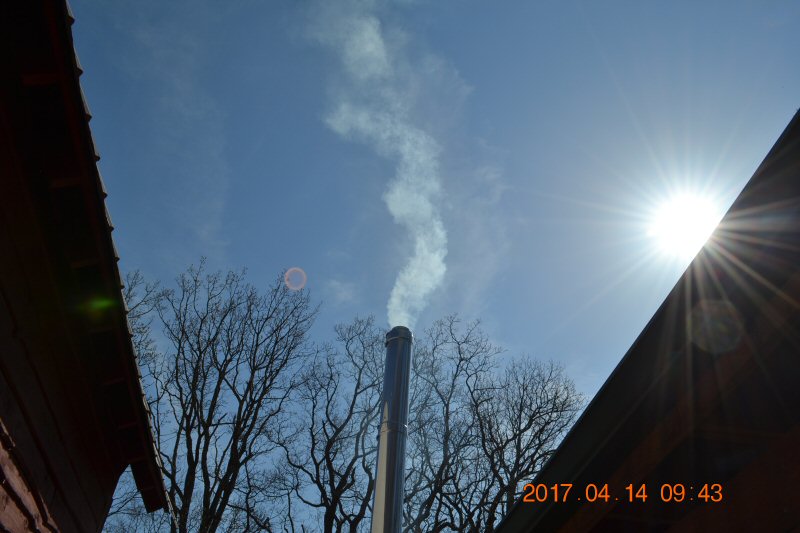
At
10 minutes, only white steam is visible from the stack.
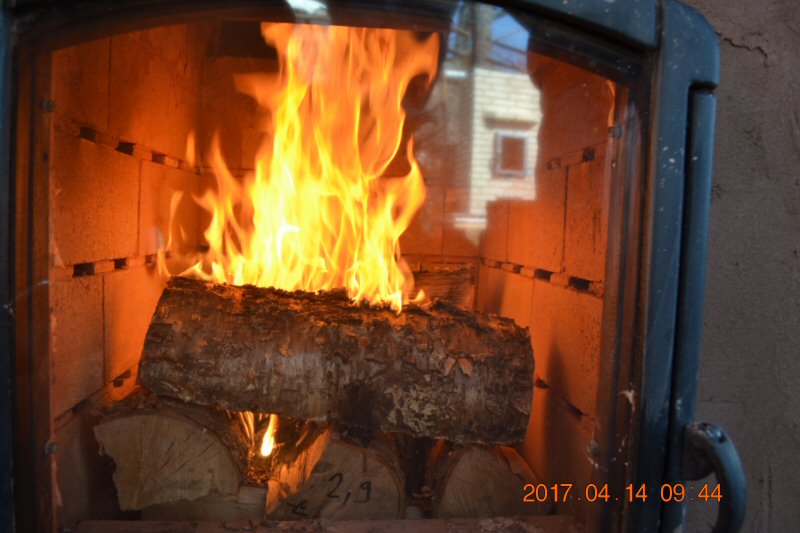
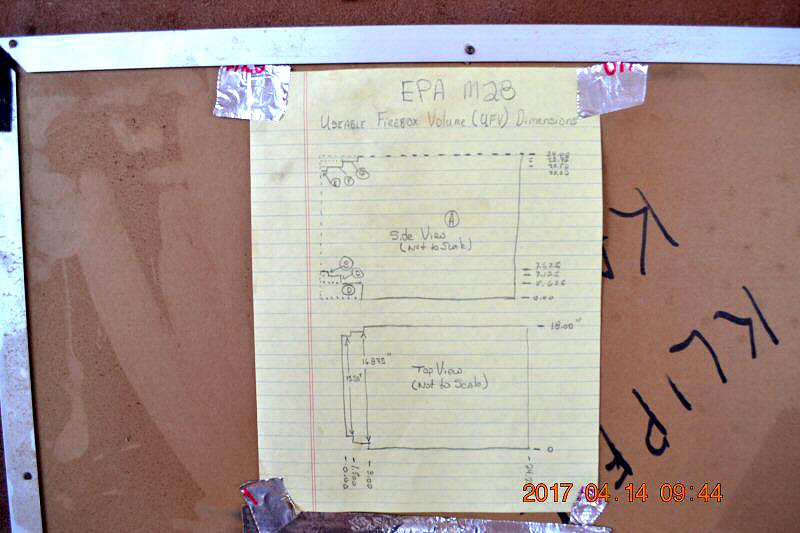
Ben
Myren made a drawing explaining how fire box volume is calculated for
EPA certification testing, to determine the fuel load.
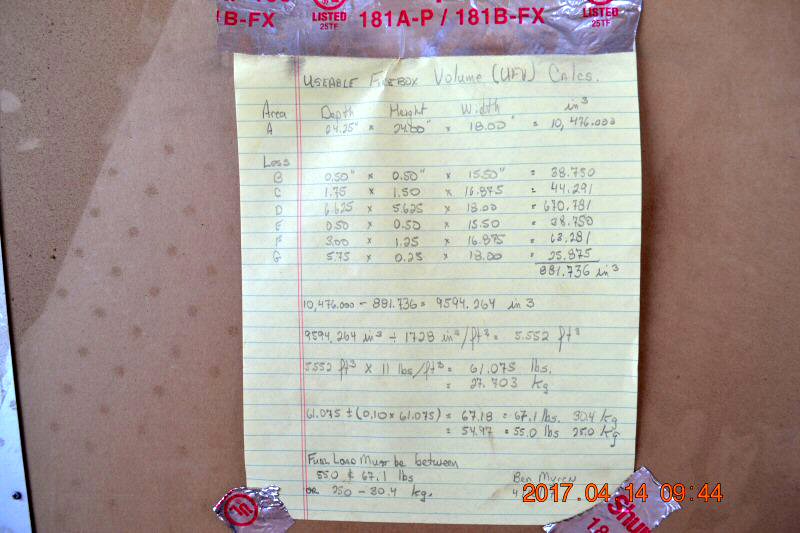
Fuel
load was 21.9 kg plus 0.8 kg kindling for a total of 22.7 kg.
According
the new ASTM cordwood method that will be used for EPA testing for
woodstoves, the load for a firebox this size should be 25.0 - 30.4 kg.
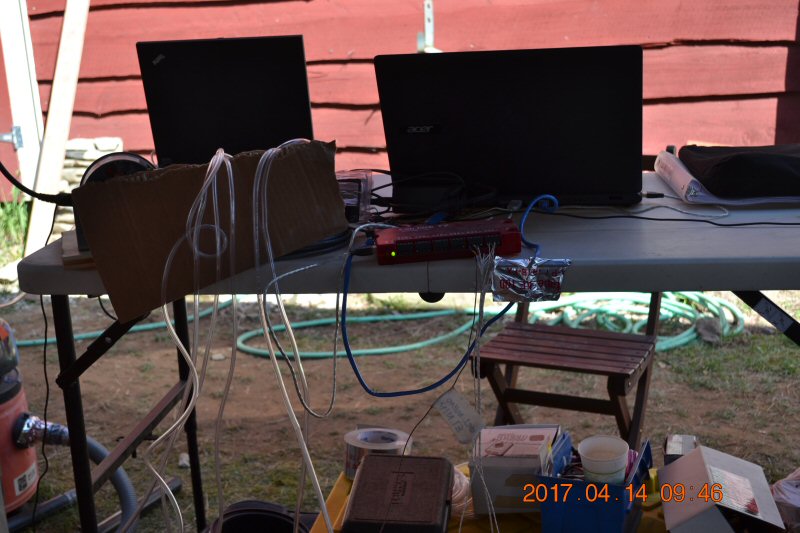
Labjack T7 Pro
It
can handle up to 40 channels of thermocouples or other sensors, and is
interfaced with DAQFactory Pro at the MHA and AFPMA labs.
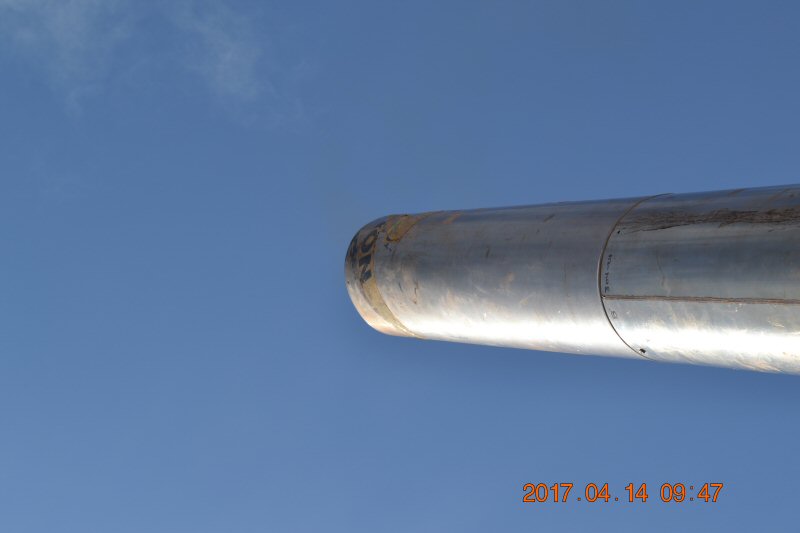
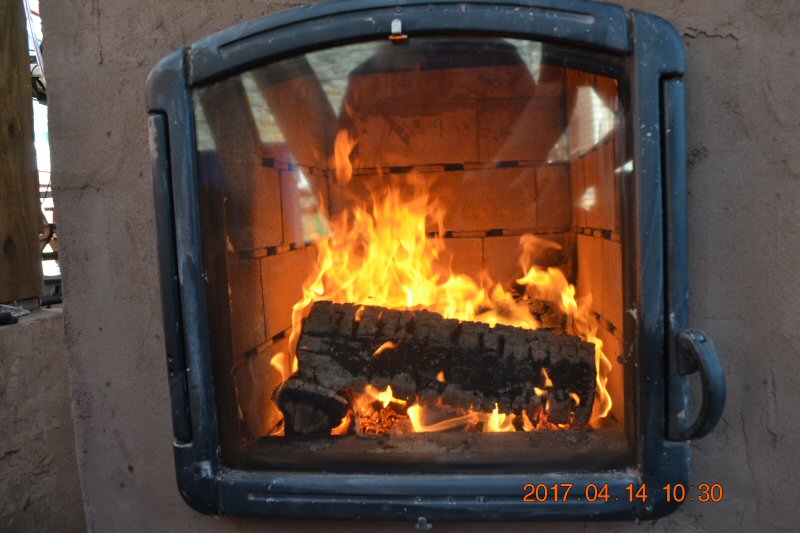
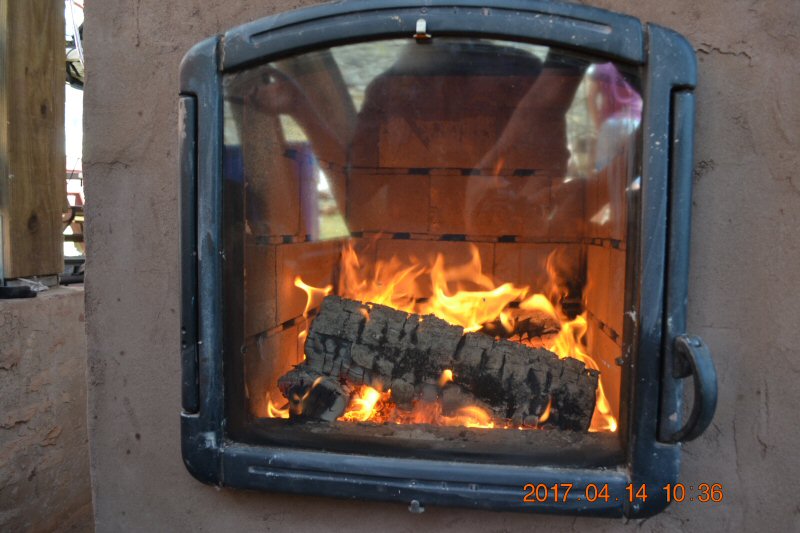
At
13 minutes, the stack temperature is high enough that there is no steam
condensing.
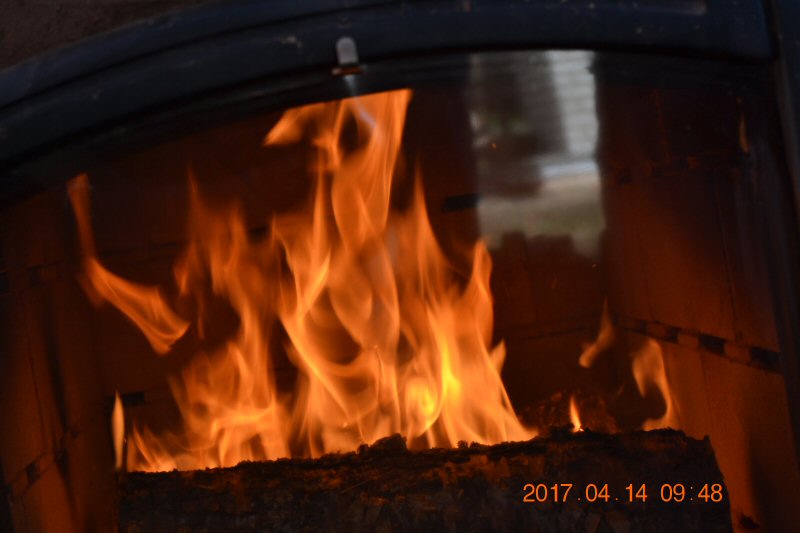
PM
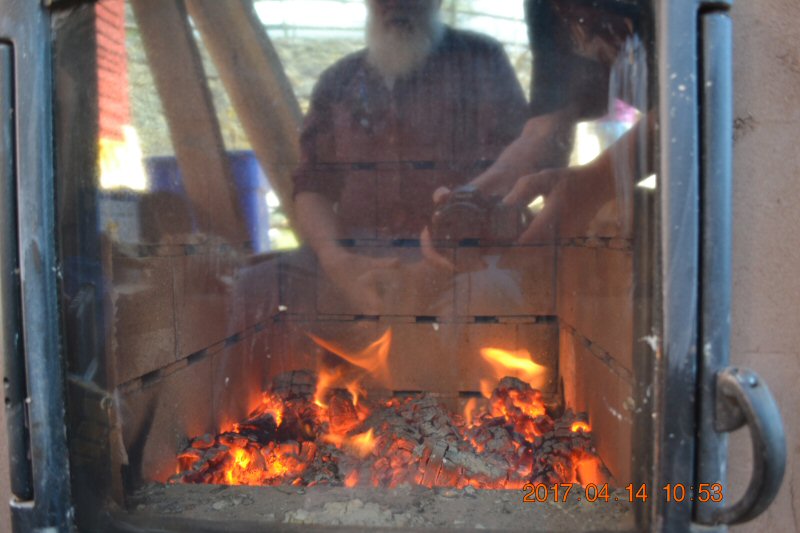
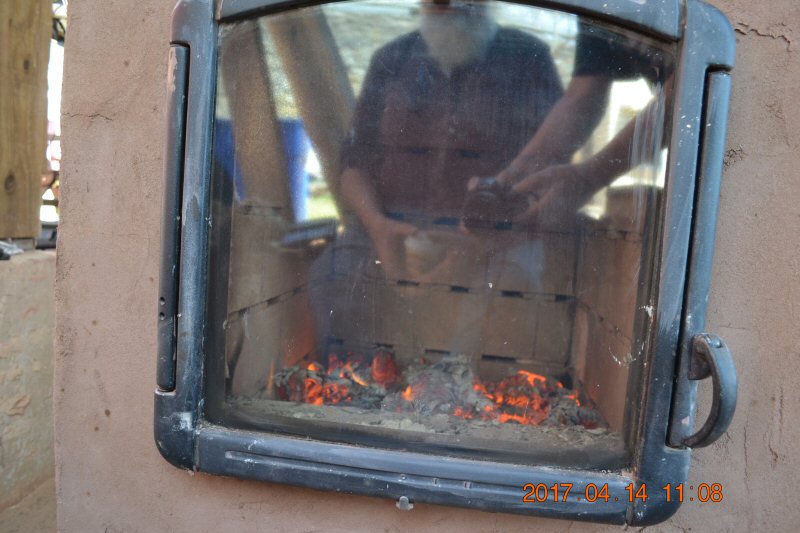
for this run was 0.7 g/kg, which is cleaner than the average of 6
common pellet stoves that we have measured with the Condar.
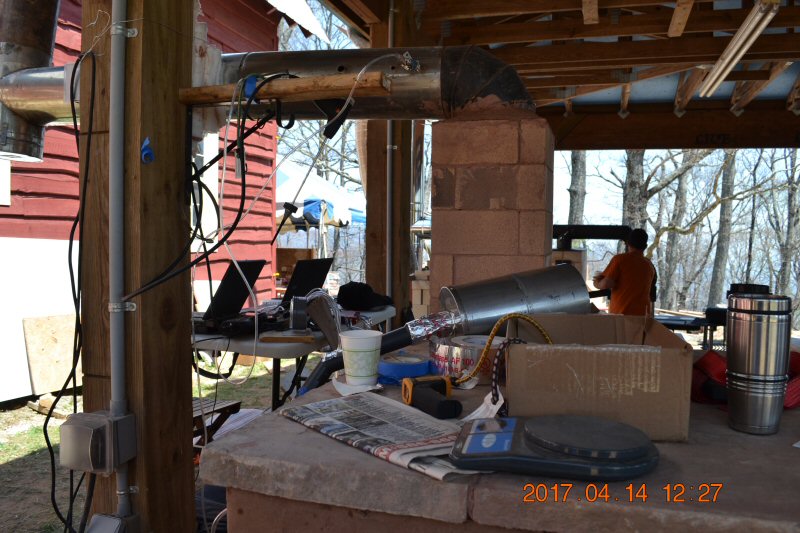
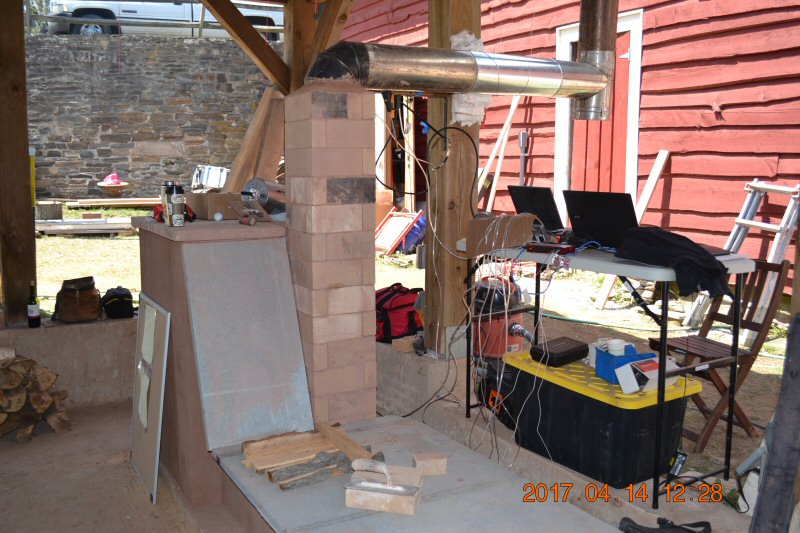
View
of portable testing setup showning pressure and temperature connections.
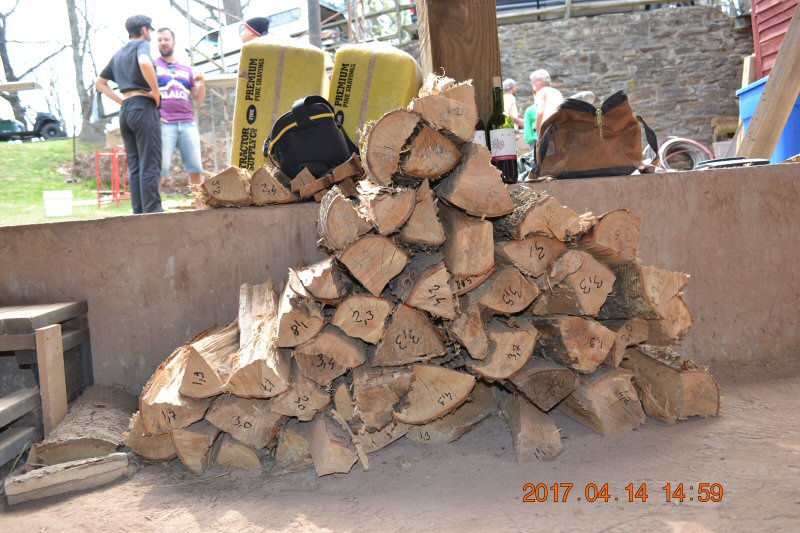
Firewood
pieces with individual weights marked (in lbs).
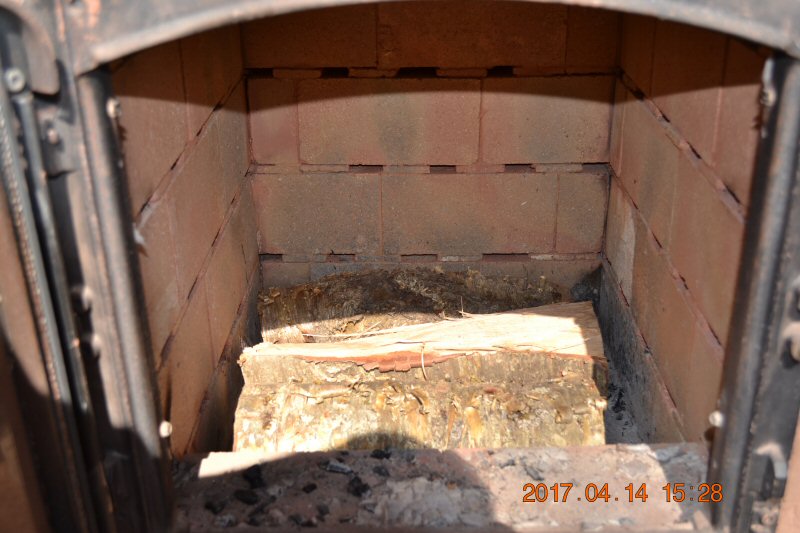
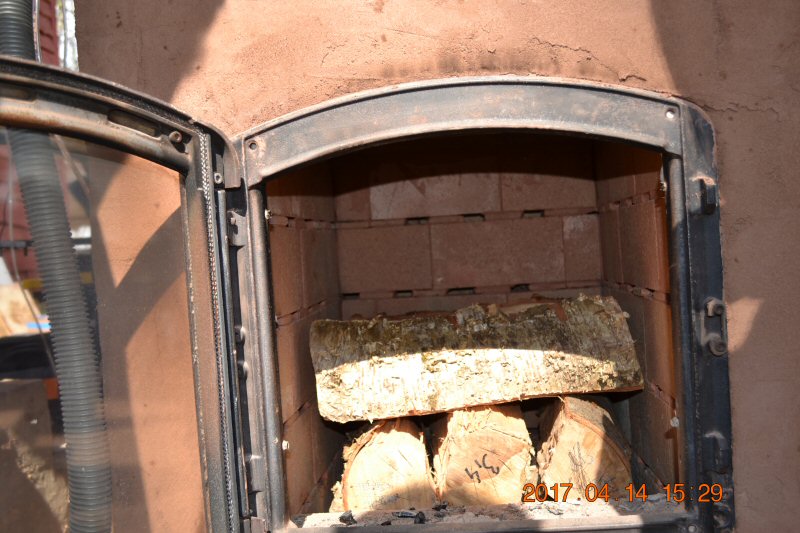
Stacking
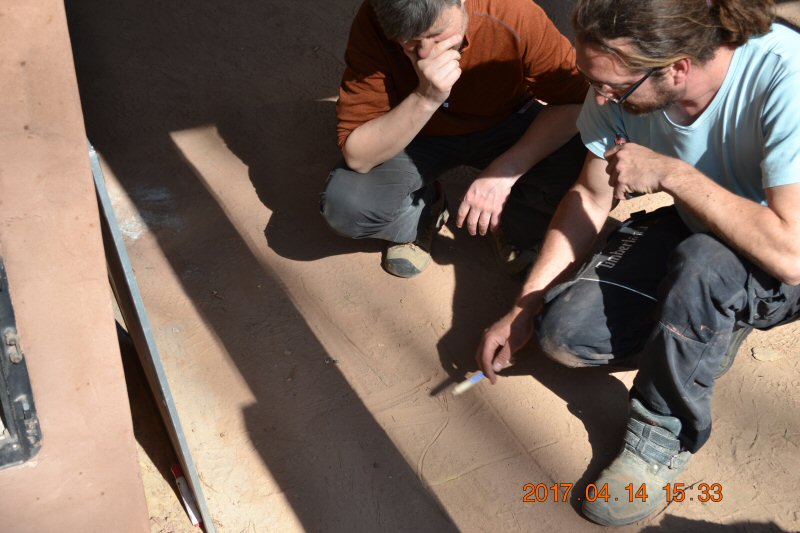
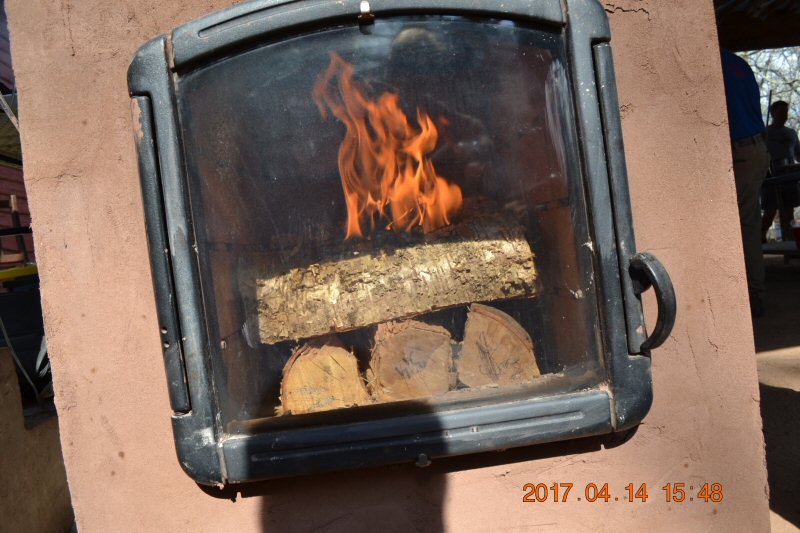
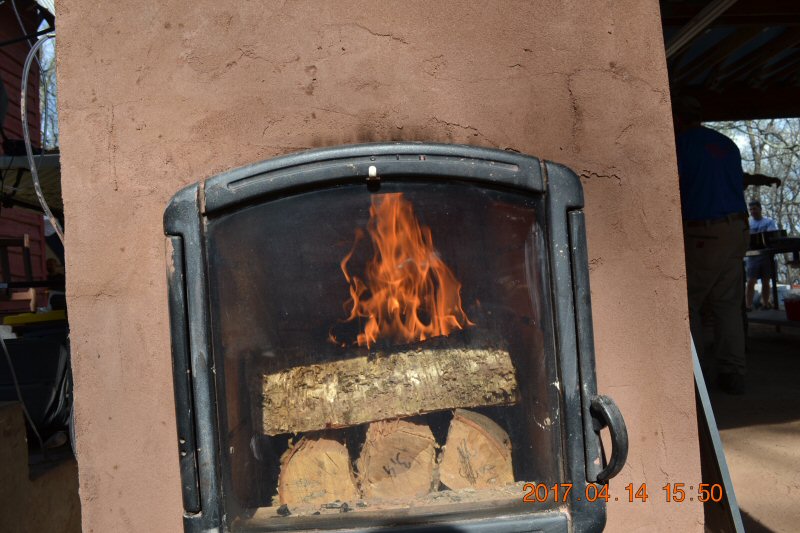
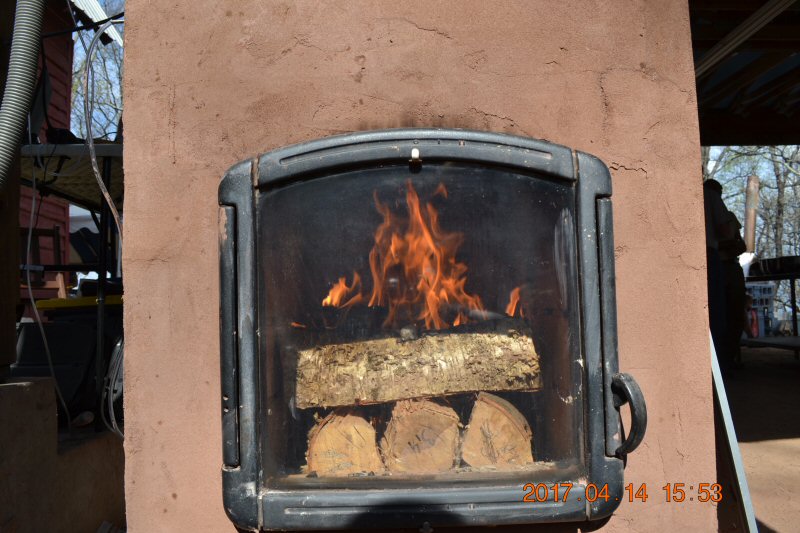
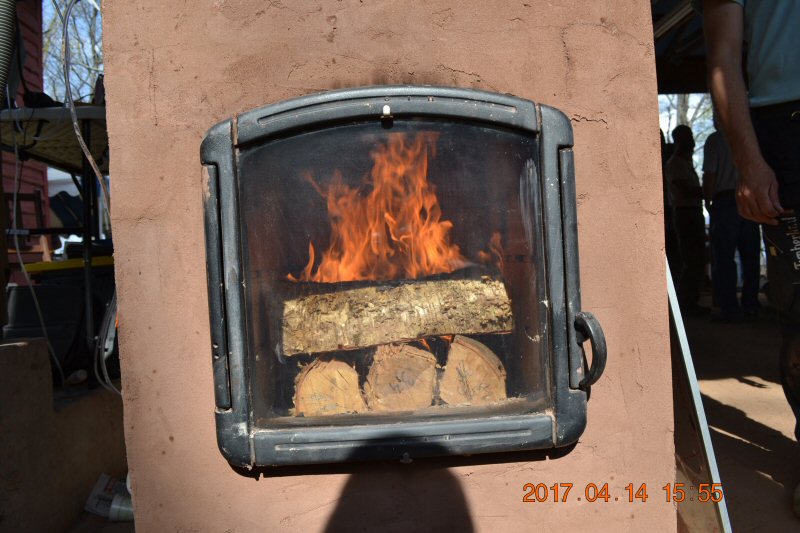
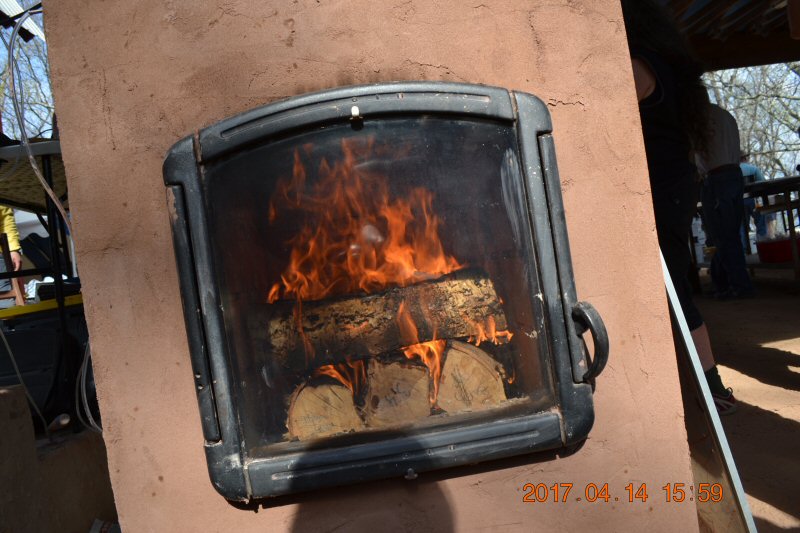
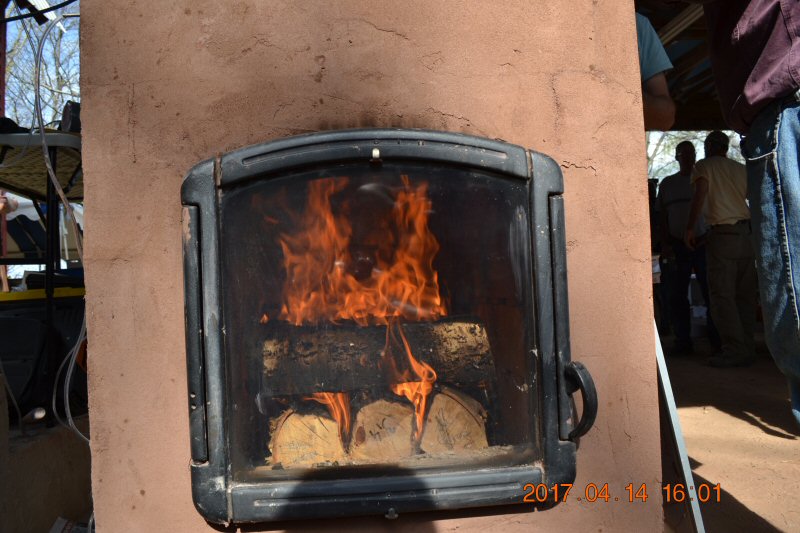
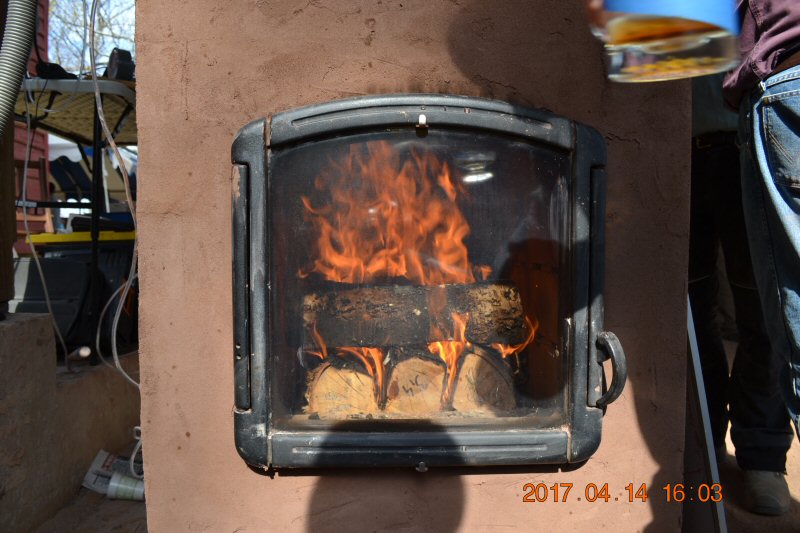
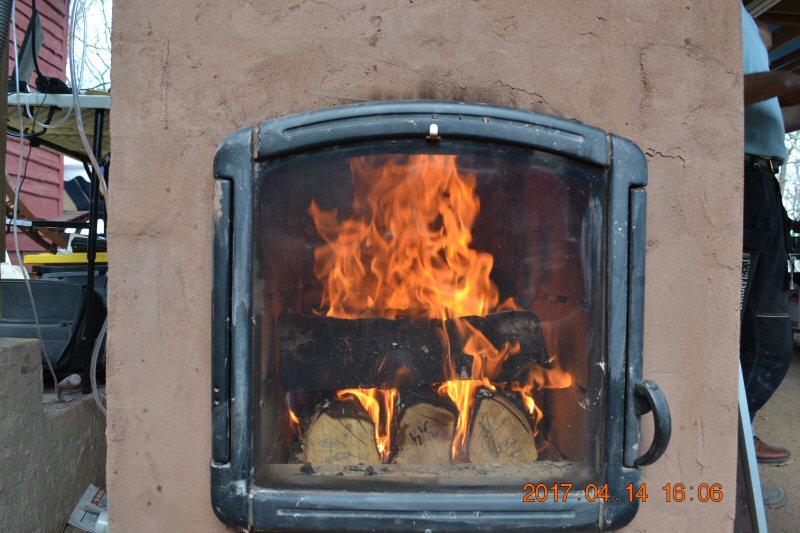
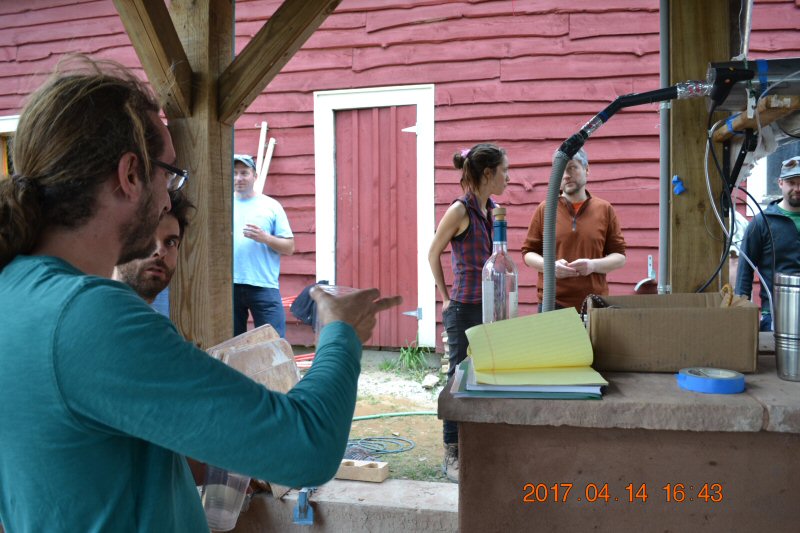
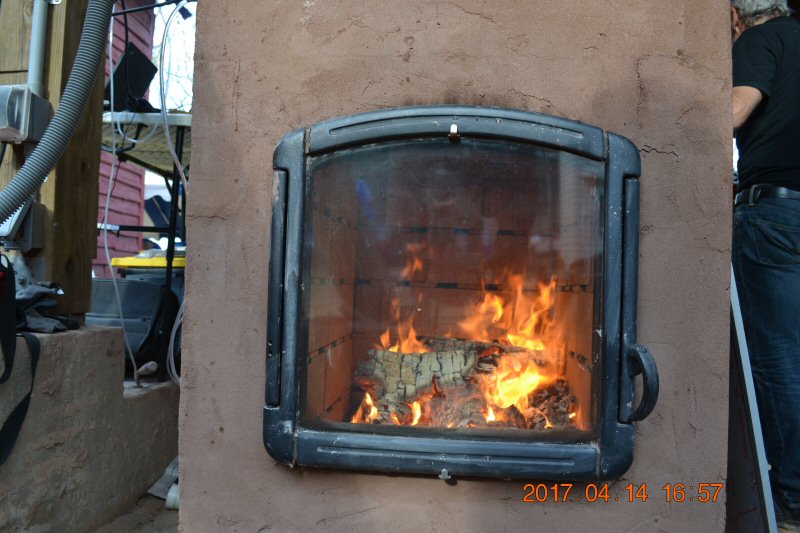
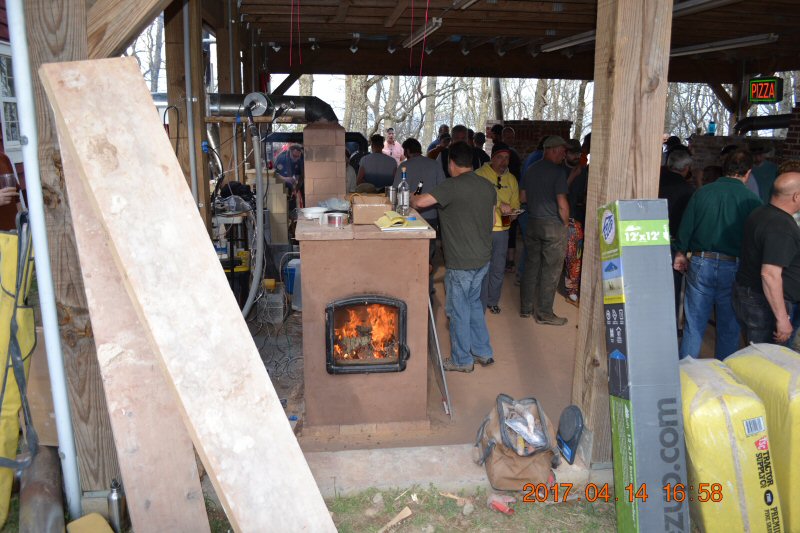
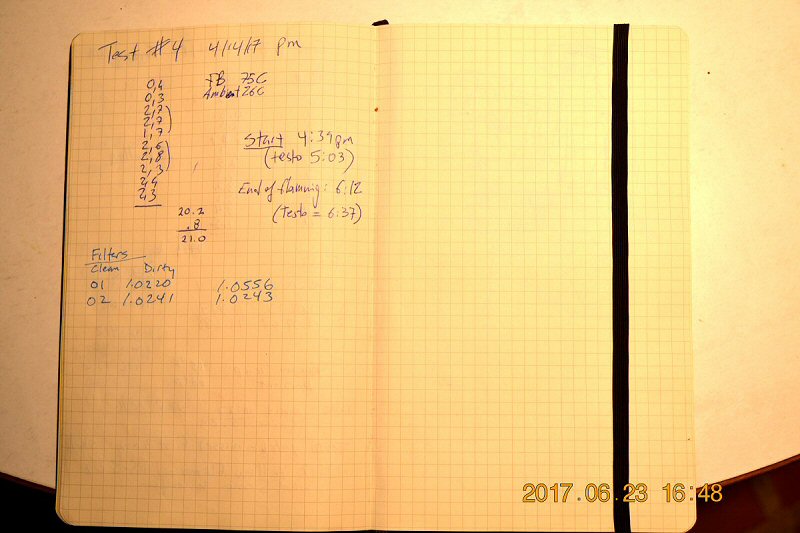
fuel load for third test run, Friday afternoon (pizza party day).
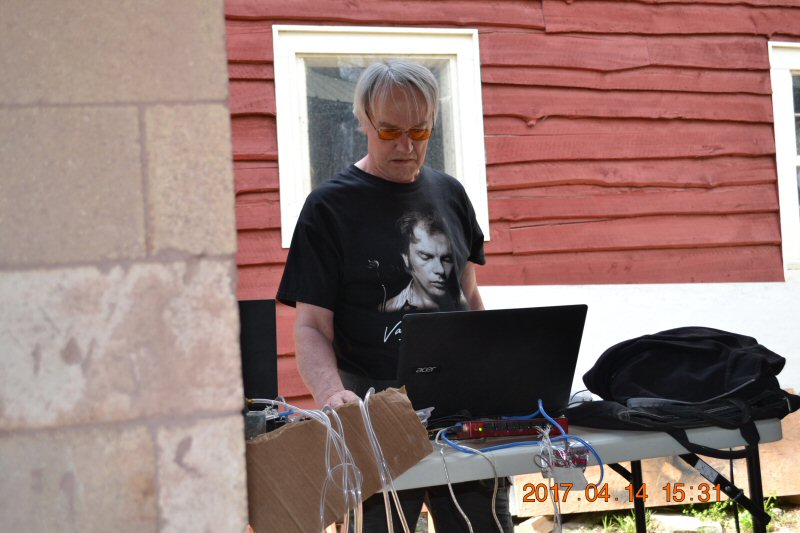
Test
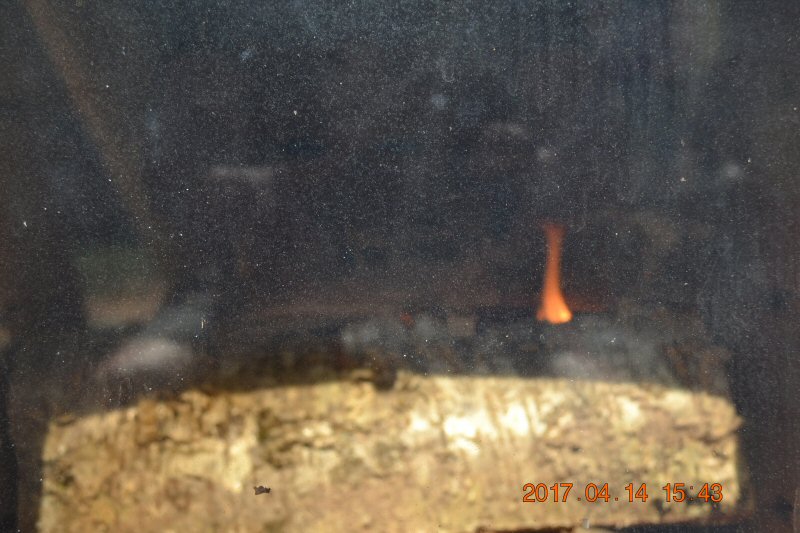
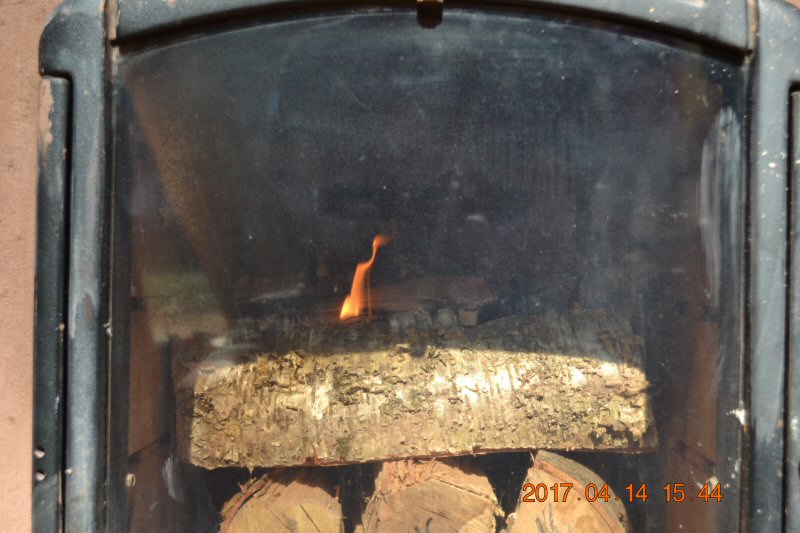
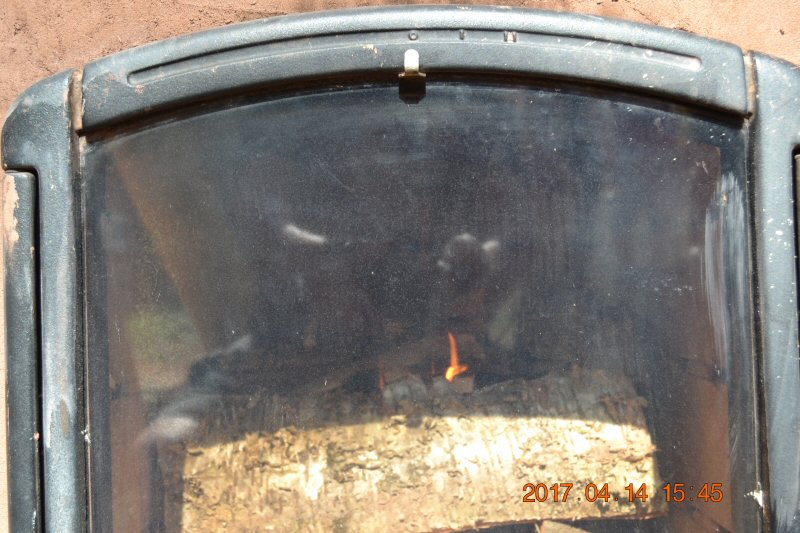
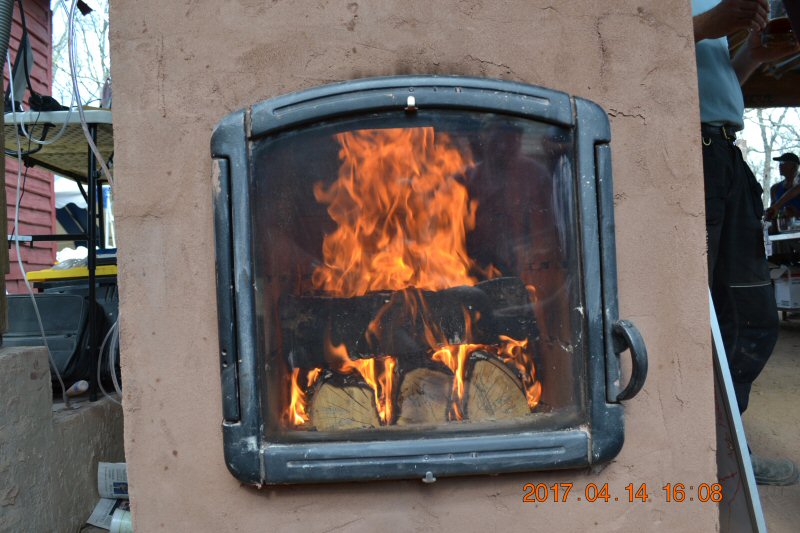
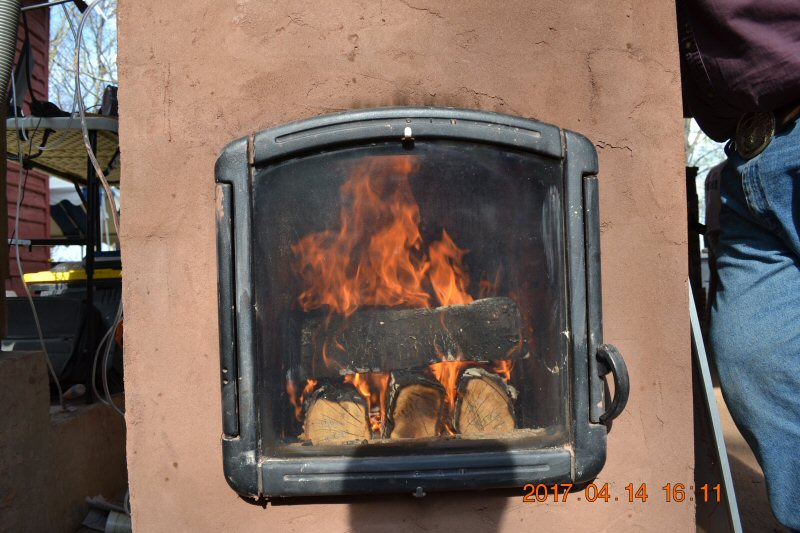
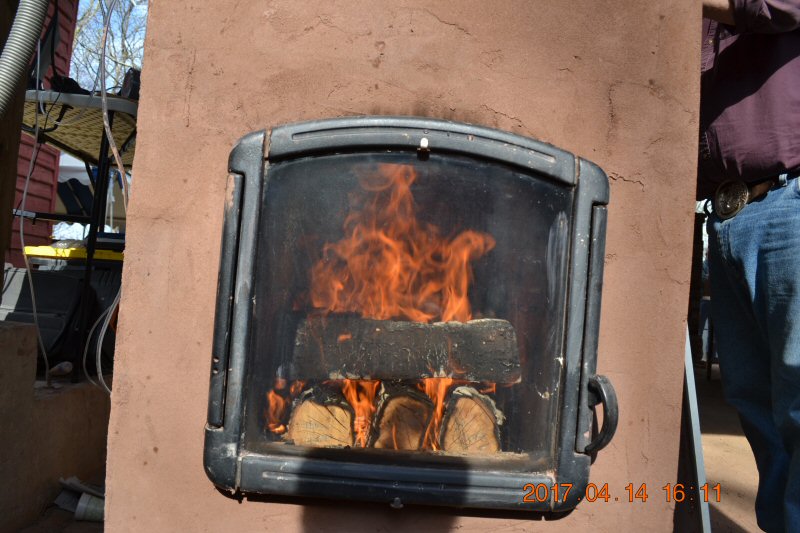
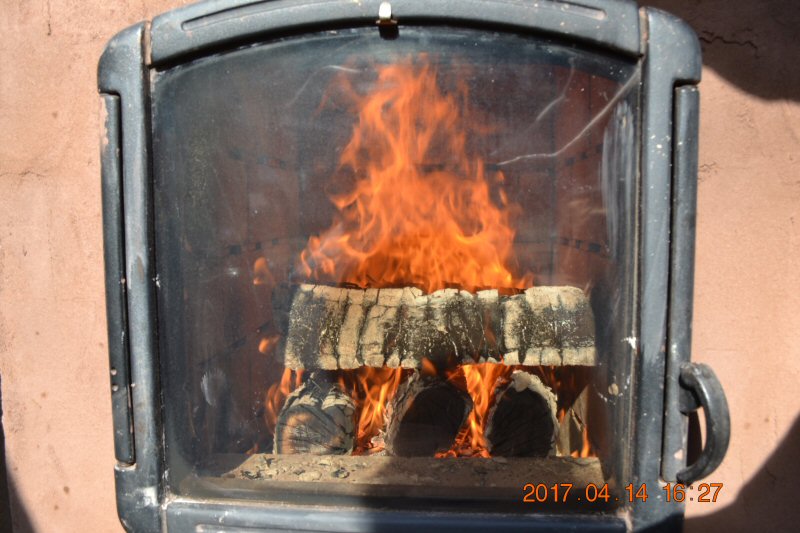
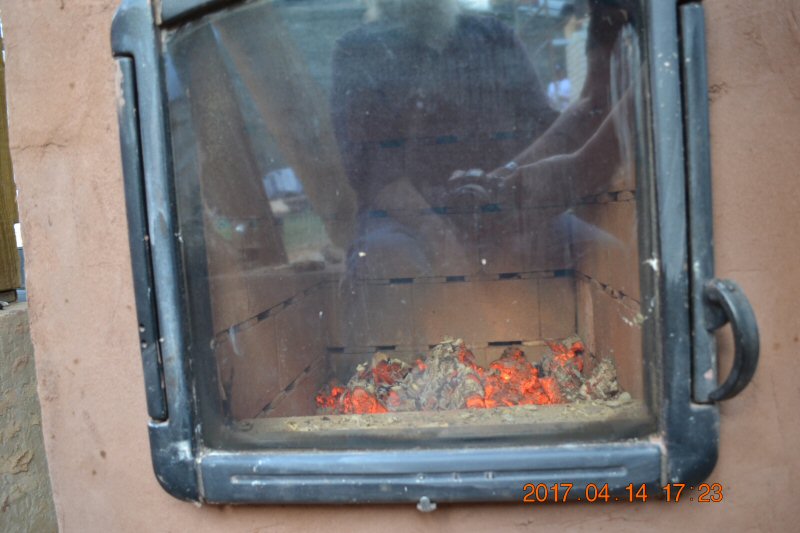
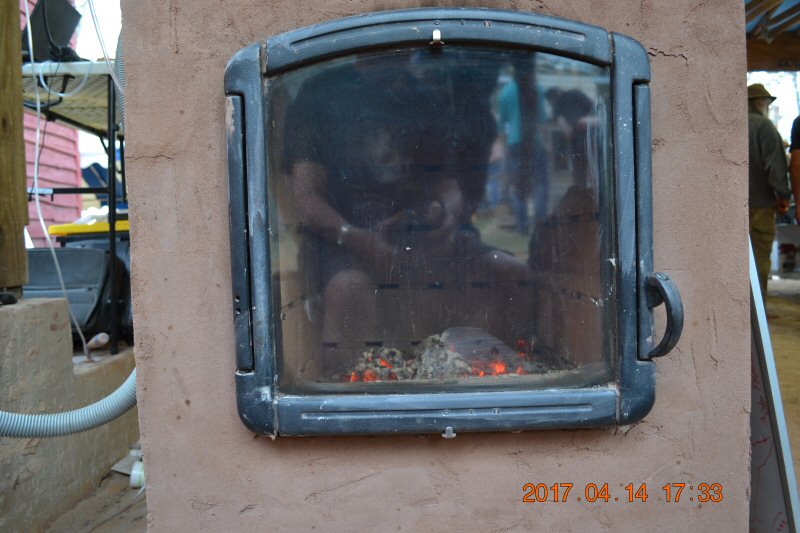
nearing the end, as the pizza party is gearing up in the background.
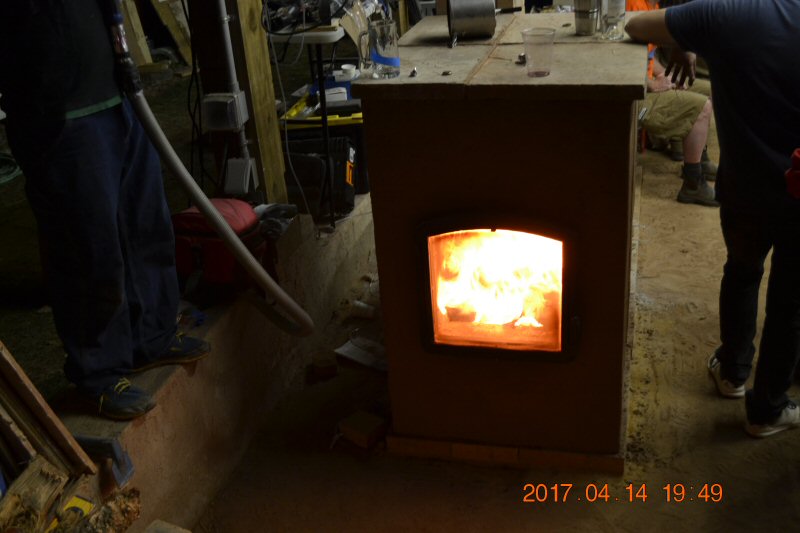
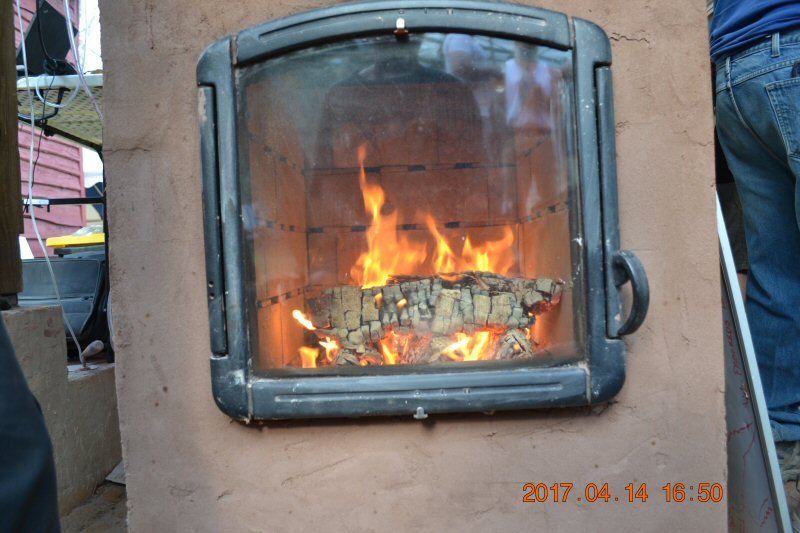
One
of many reloads.
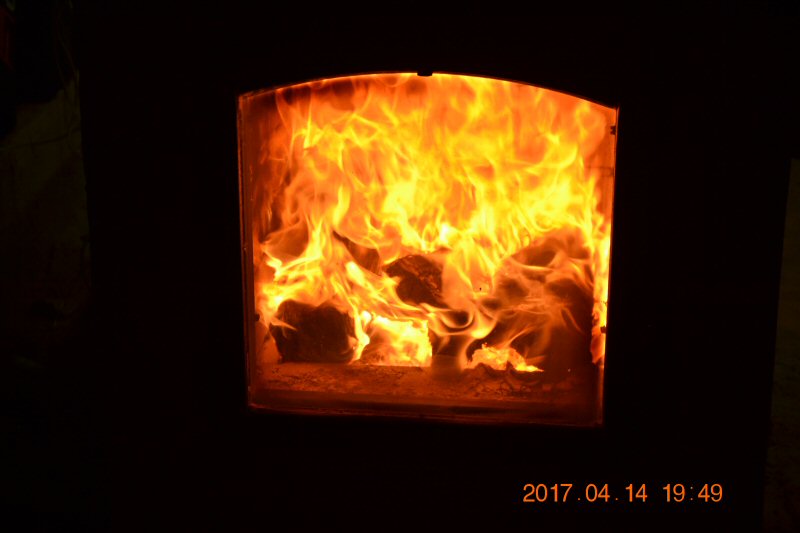
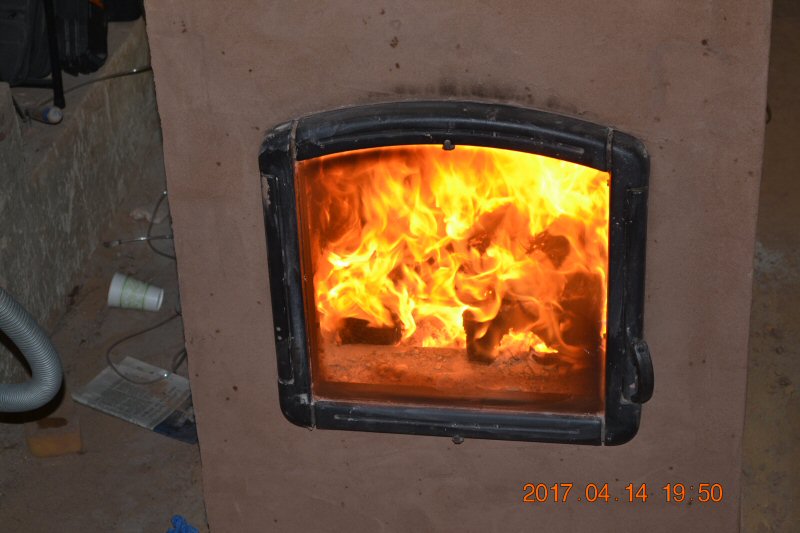
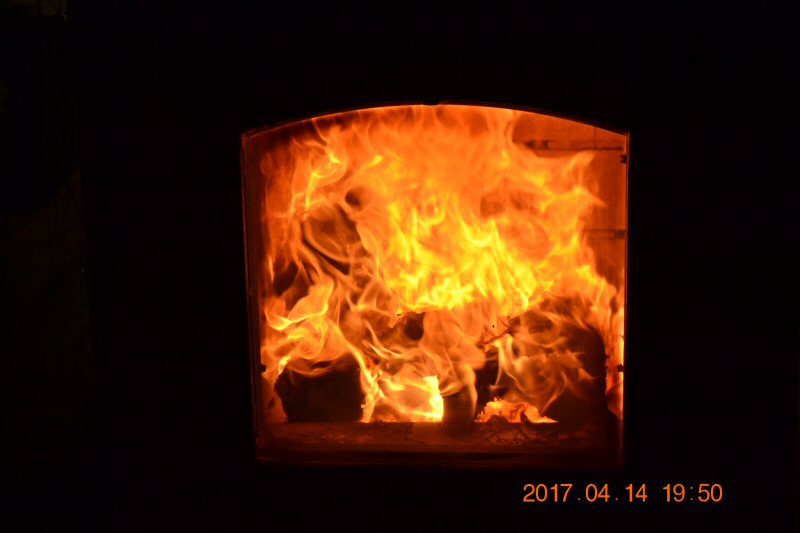
We
had the chance to do a bit of destructive testing ;-) to see how the
single thickness firebox would stand up.
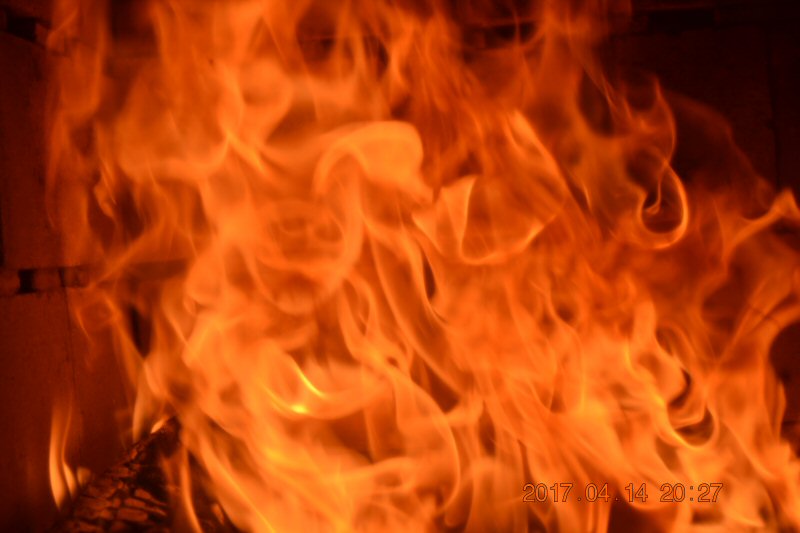
Lab
Notes:
See
also:
2016 Photo
Report
2015 Photo
Report
2014 Photo
Report
2013 Photo
Report
2012 Photo
Report
2011 Photo
Report
2010 Photo
Report
2009 Photo
Report
2008 Photo
Report
2007 Photo
Report
2006 Photo Report
2004 Photo Report
2003 Photo Report
2002 Photo Report
2001 Photo Report
2000 Photo Report
1999 Photo Report
1998 Photo Report
1997 Photo Report
This
page was last updated on February 2, 2018
This page was created on April 18, 2017
Back
to:


 Note the
progression in the drying of the plaster from 54 minutes earlier


