
| Gallery | The Mall | Member Directory | MHA News | Bookstore | Library | Links |
2006 Backyard Oven with Peter Moore
2007 Experimental Oven with Alex Chernov
2005 Small Commercial Pizza Oven with Pat Manley
2003 French Bake Oven with Norbert Senf

See also,
2004 Photo Report
Small Heater Workshop with Albie Barden
Soapstone Heater Workshop with Rod Zander
Hardware Fabrication Workshop with Willliam Davenport
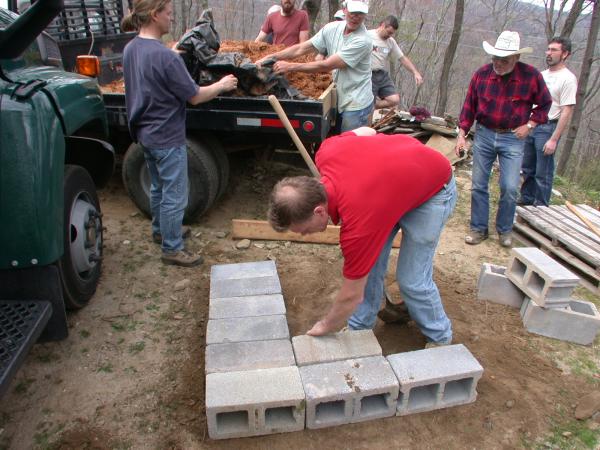
Dan Givens from Alaska prepares a base for the oven. The oven is temporary and
will be
dismantled after the workshop.
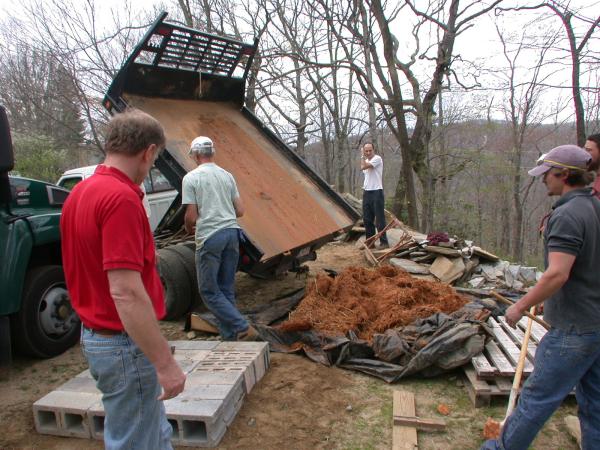
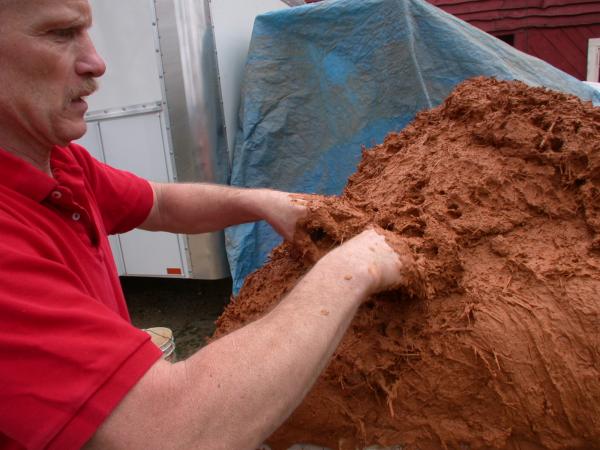
Tom Trout has brought a load of local clay from an excavation site mixed with
straw.
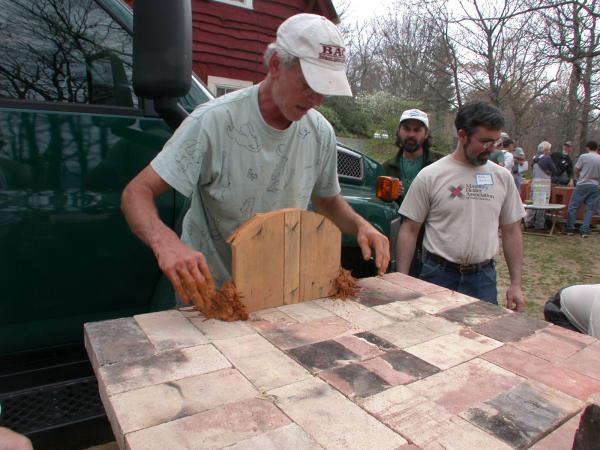
The hearth is recycled firebrick laid dry. Tom spots the door plug in place
with cob.
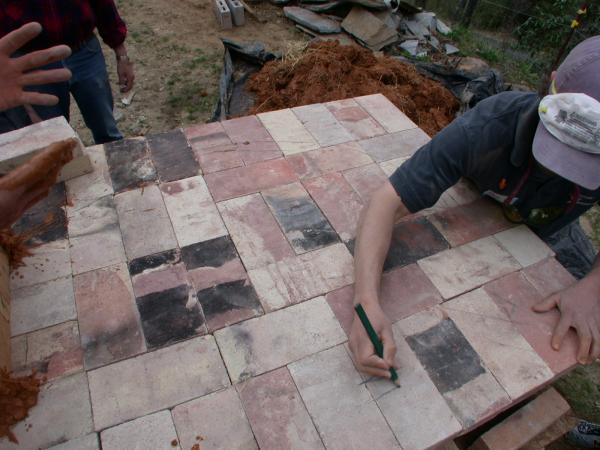
The oval shape of the oven is sketched out on the hearth. The oven shape is
based on the traditional
Quebec oven, and can be described as a "crouching groundhog". In Quebec
it is described as a
beaver.
Scaled drawings for a slightly larger shape can be found at the 2003 French Oven Workshop

Damp sand is used to form a mold for the clay oven shape.
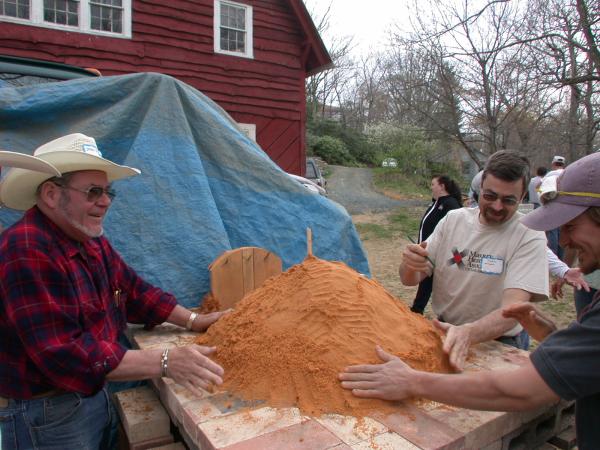
Sand is packed in place.
Firebricks are used to shape the edge of the sand. John Rousseau wets the sand.
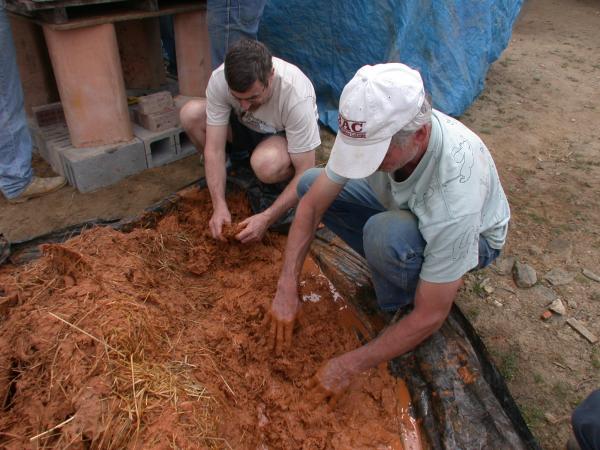
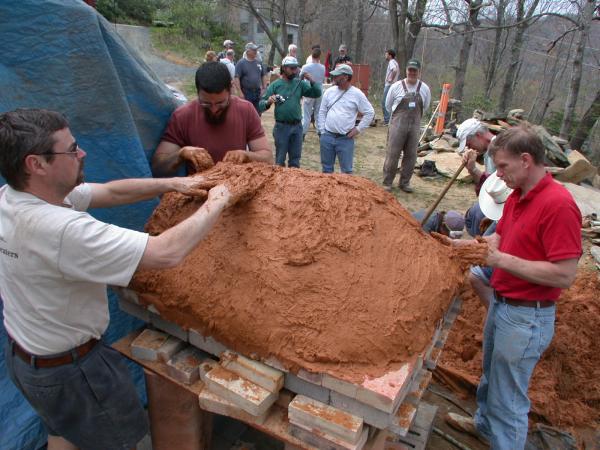
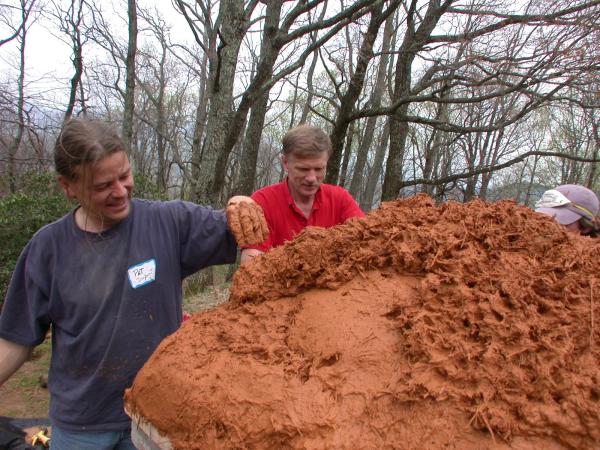
John and Tom prepare cob. Water is added and the mix is worked into
bread loaf shaped lumps that are laid on the form

Additional firebricks.

Preparing cob. Footpower is fun.
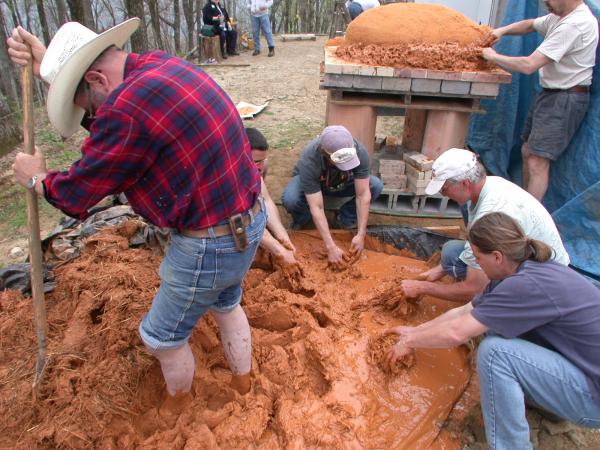
Preparing cob lumps ready for placing on the sand form.
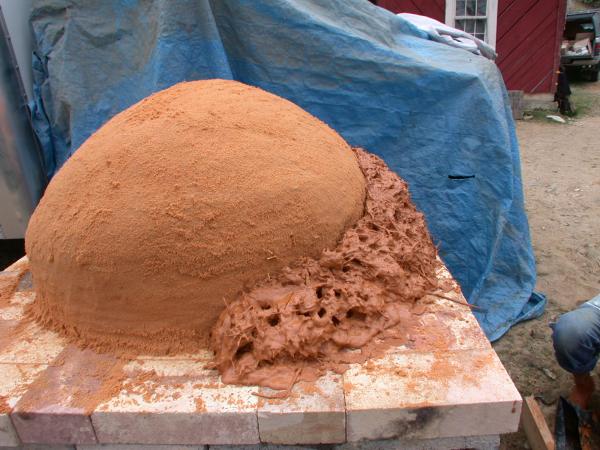
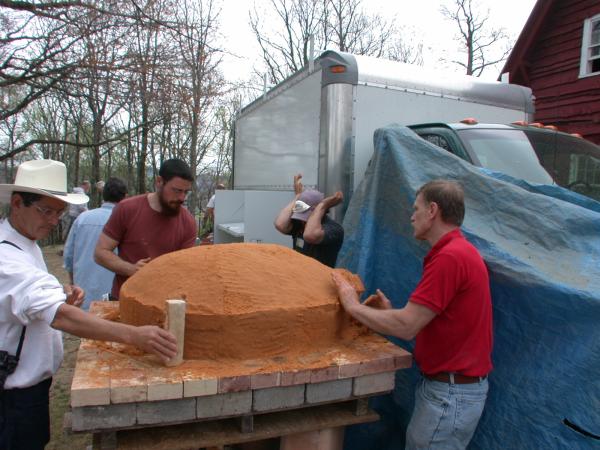
The goal is to get approximately a 4 - 9" thickness. In a more permanent
oven, the first layer would
be adobe (clay and sand) instead of cob (clay and straw). This is described
in thorough detail in
Kiko Denzer excellent book Build Your Own Earth Oven.
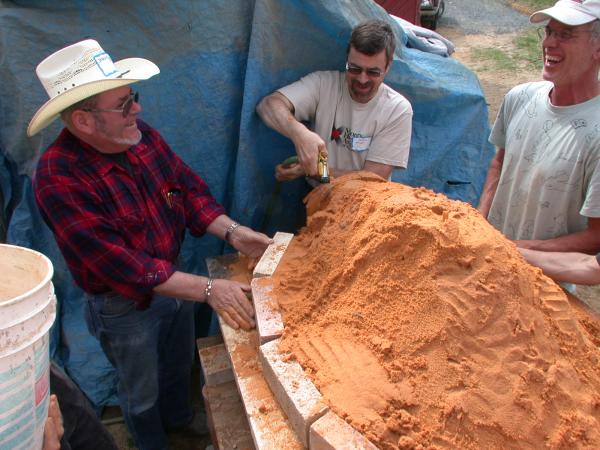
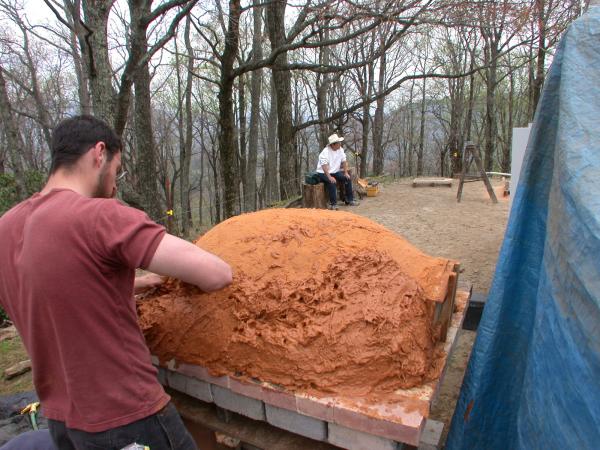
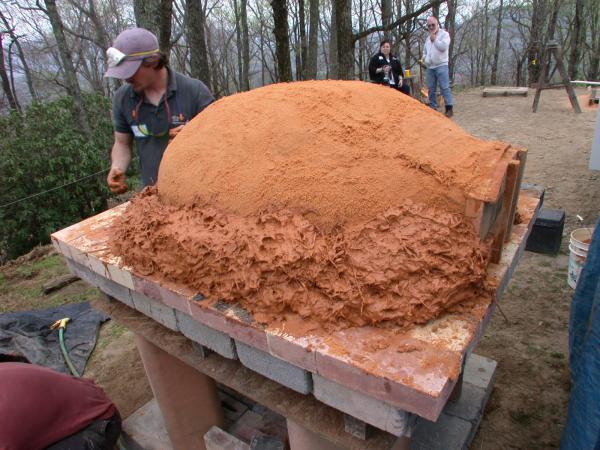
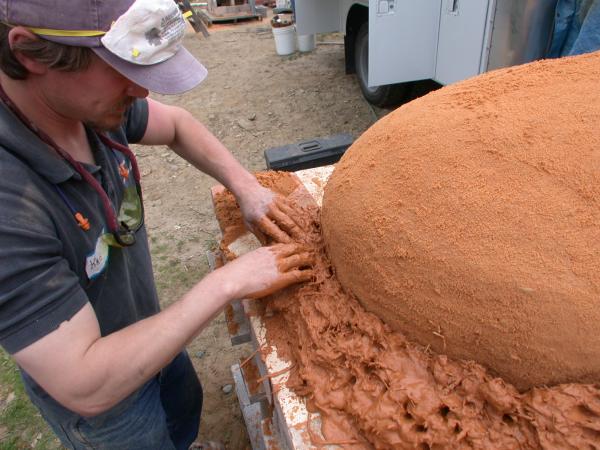
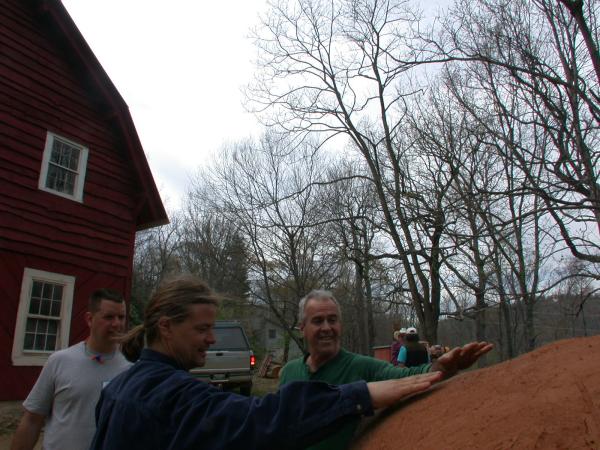
As the layers are placed, finger holes are added to provide a key for the next
layer.
The oven is built on Tuesday - total time, about 2 hours. There will be a pizza
party on Thursday,
so we need an accelerated drying schedule.
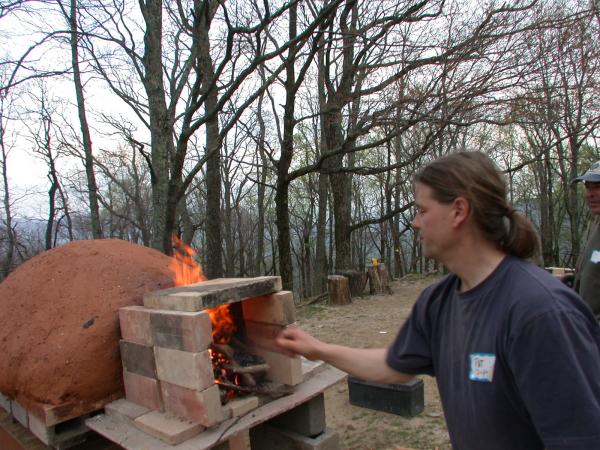
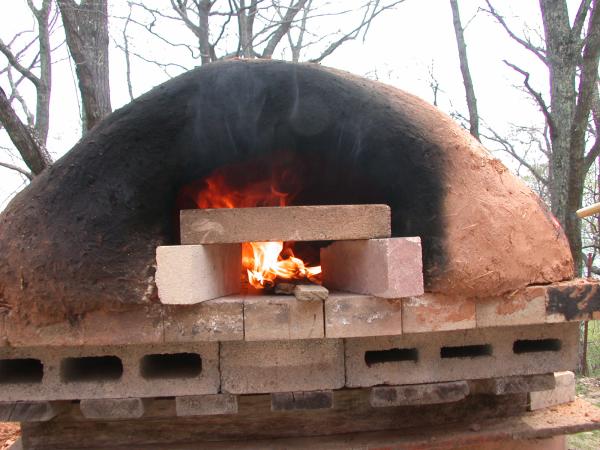
Patrice Dupont lights a fire immediately, in order to burn out the door plug
and start drying the clay.
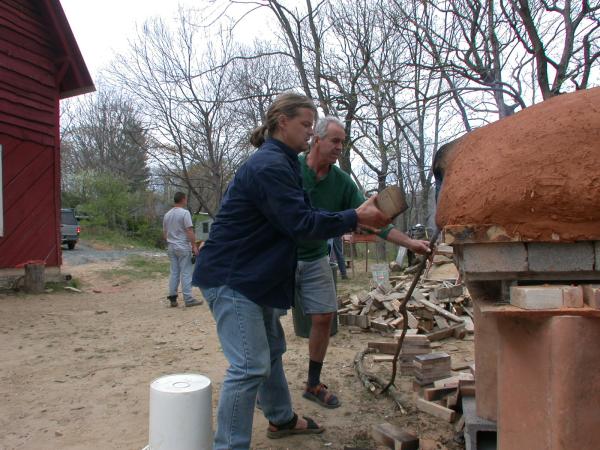
After the plug is gone, sand is gradually removed and the fire is pushed inside
the oven
Patrice Dupont and Pat Manley check for warmth as Scott Goodman looks on.
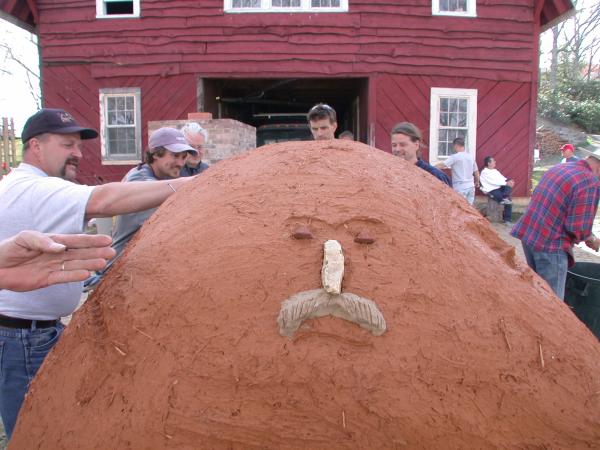
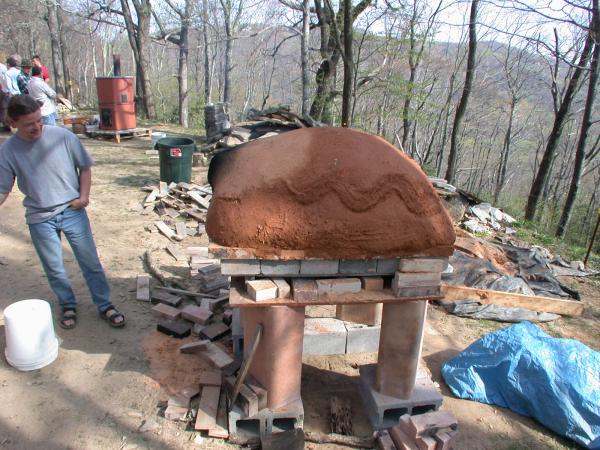
Decorative touches are added as the oven dries.

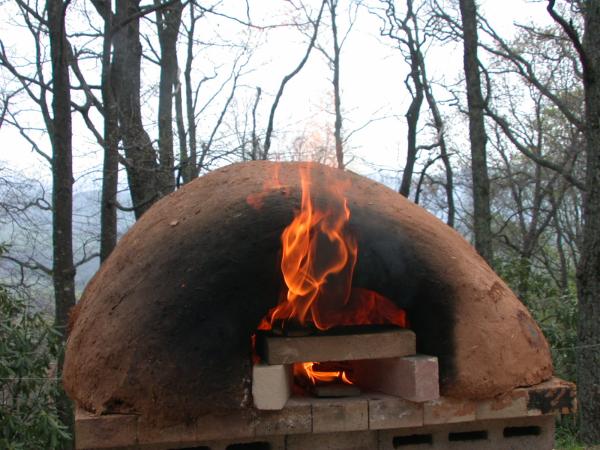
The fire progresses inside the oven.
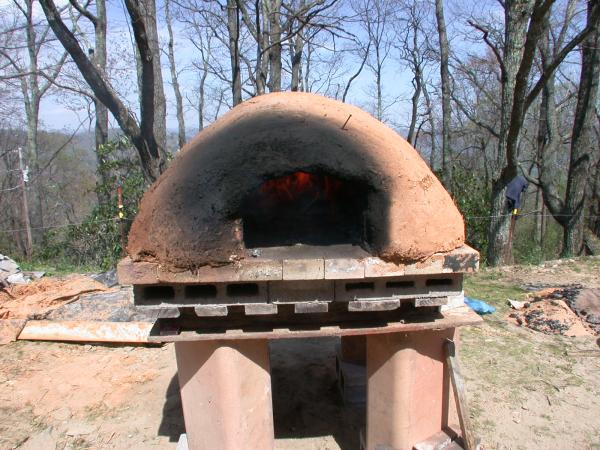
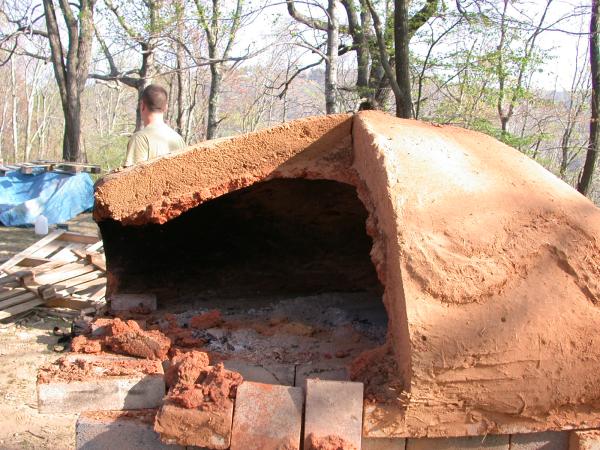
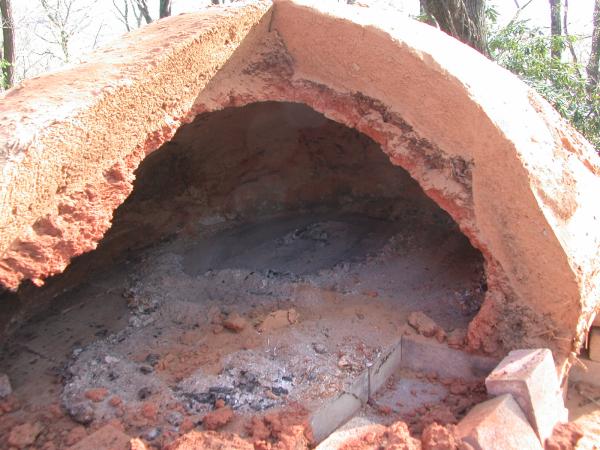
Sand is gone, and the front of the oven is dry.
Note the dry patch at the front (left) top.
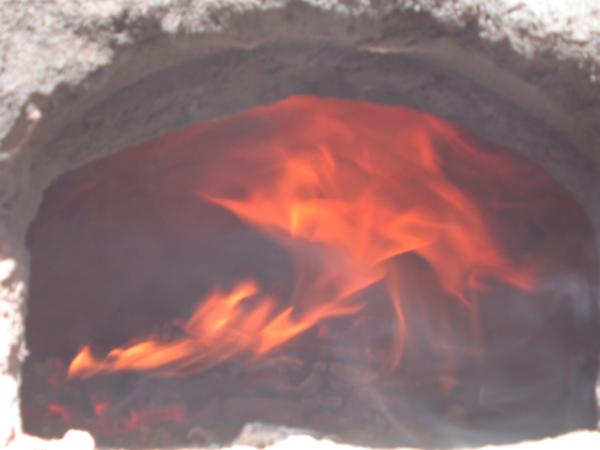
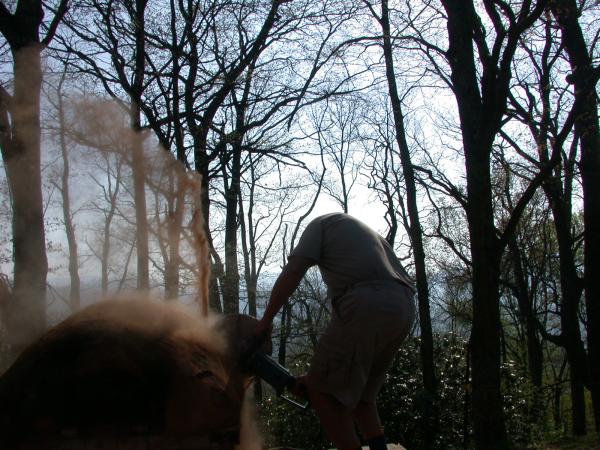
Various air systems were tried to speed up the burn. Air is entering at the
bottom, and smoke
is exiting at the top.
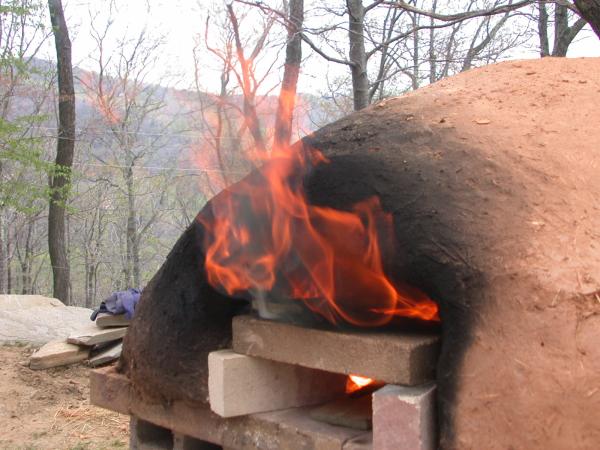
Fire is hot enough to ignite smoke that is leaving the oven.
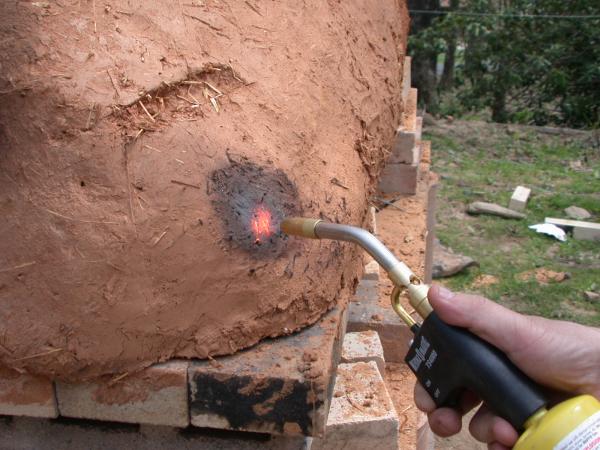
A torch test on the clay. This particular local clay does not fire very hard.
The surface is still quite
water absorbent, but abrades somewhat less.
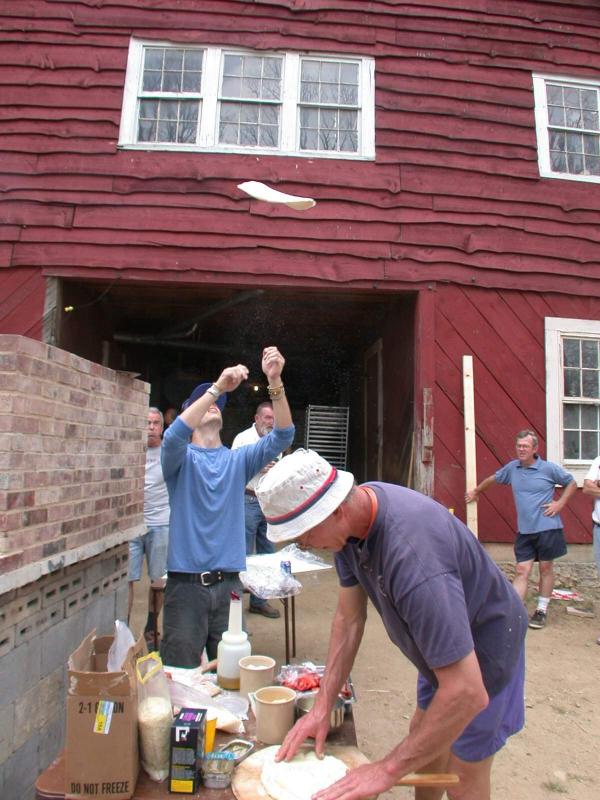
Pizza time. William Davenport and Tom Trout display their skills.
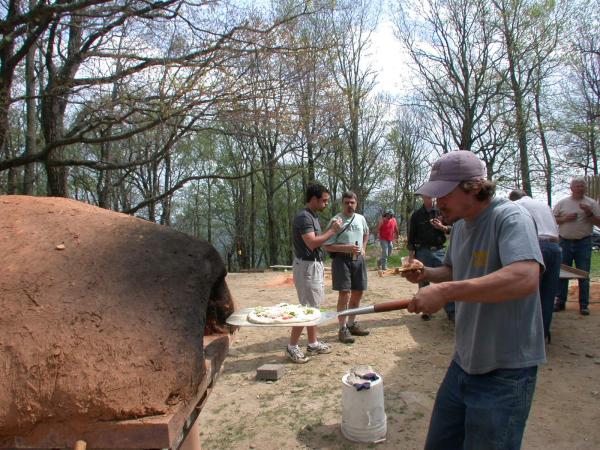
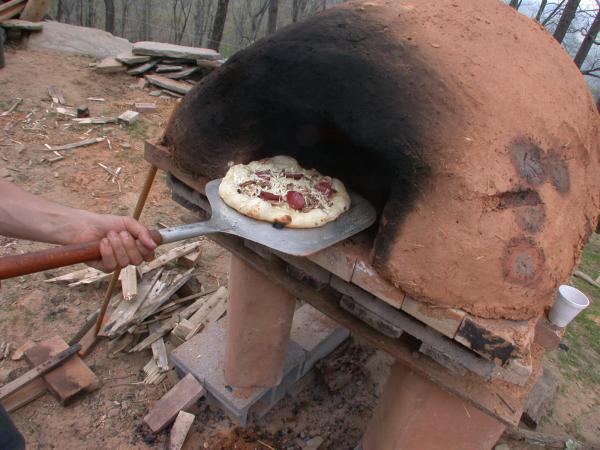
Loading pizza.
Note the different colour spots from the torch tests on the oven side.
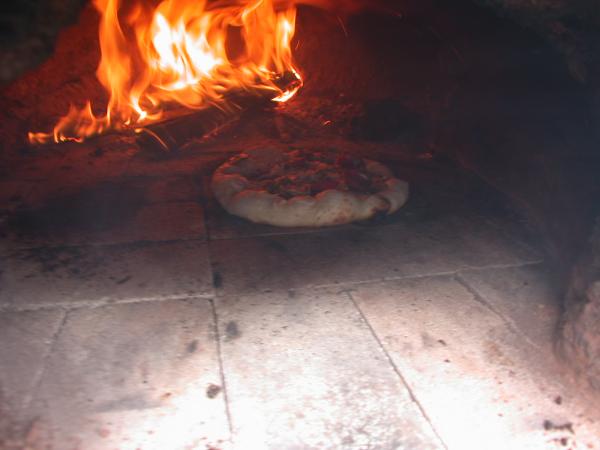
Baking pizza. Floor temperature is around 600F and dome temperature 700F. Hearth
is
cooler near the door, where cold air rushes in. Pizza in a wood oven is baked
by radiation from the
dome and conduction from the hearth. Cool air is streaming over the pizza itself.
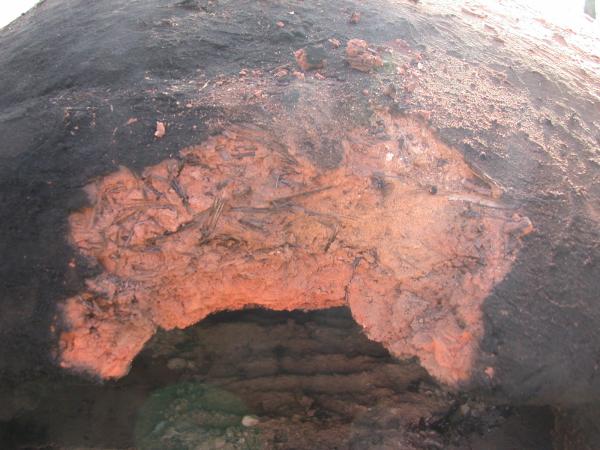
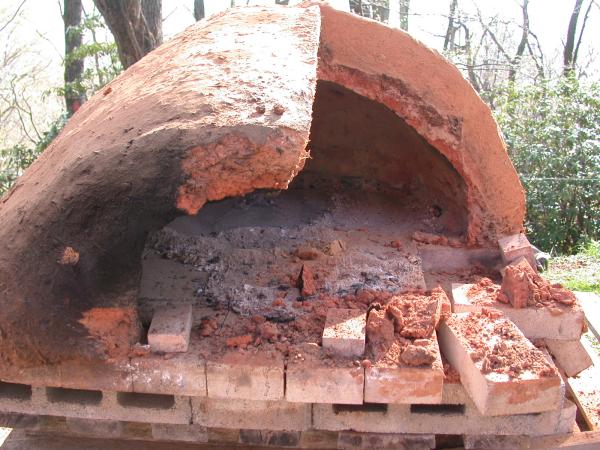
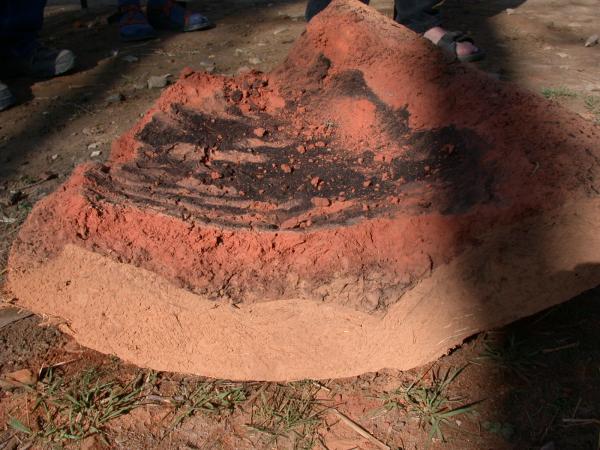
Post mortem.
The area around the door is quite soft, and abrades easily.
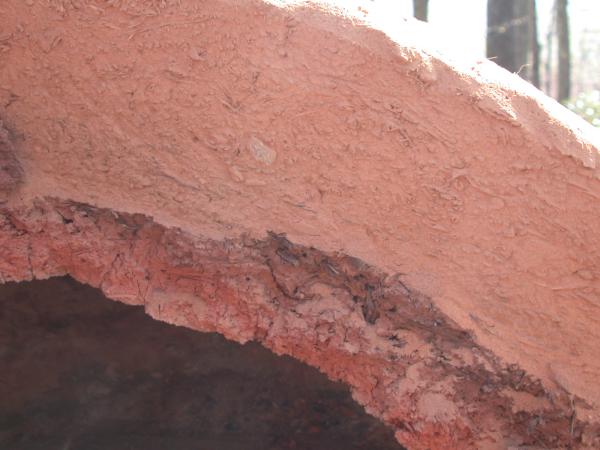
Norbert Senf slices the oven with a diamond blade.


Note the redder fired layer on the inside, and the darker intermediate layer
where there is charred
straw.
Overall thickness is around 3" - 4".
See also,
2003 Photo Report
2002 Photo Report
2001 Photo Report
2000 Photo Report
1999 Photo Report
1998 Photo Report
1997 Photo Report
This page was last updated on
August 25, 2009
This page was created on April 28, 2004
Back to: