
| Gallery | The Mall | Member Directory | MHA News | Bookstore | Library | Links |
See also:
2004 Cob Oven with Tom Trout
2007 Experimental Oven with Alex Chernov
2005 Small Commercial Pizza Oven with Pat Manley
2003 French Bake Oven with Norbert Senf

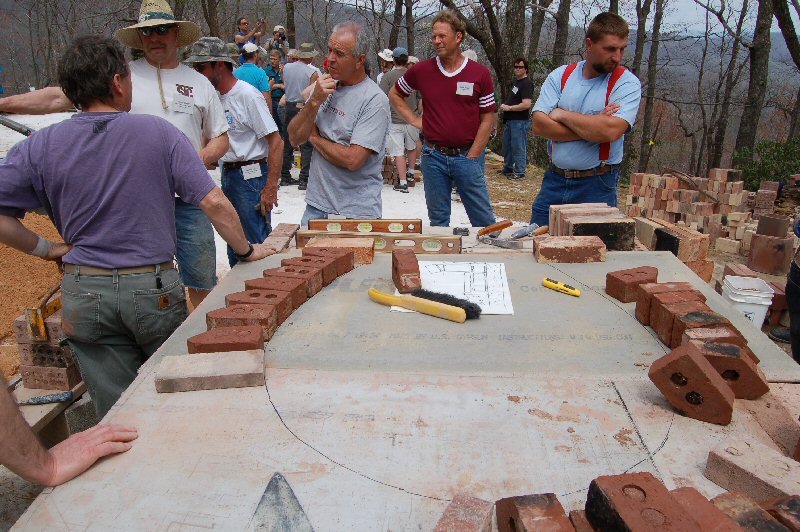
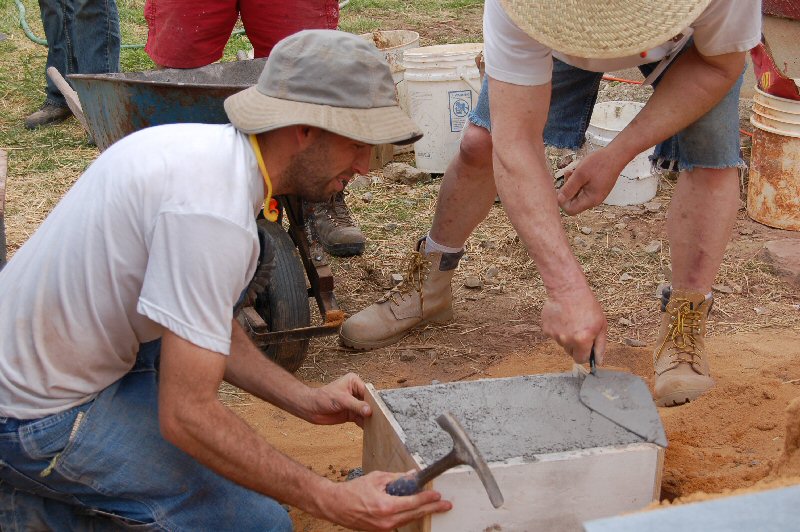
An oval is traced out on the cement board base.
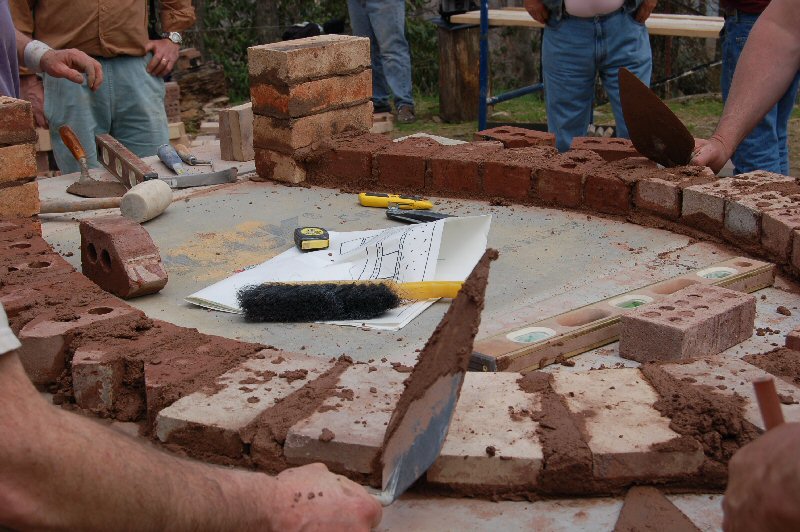
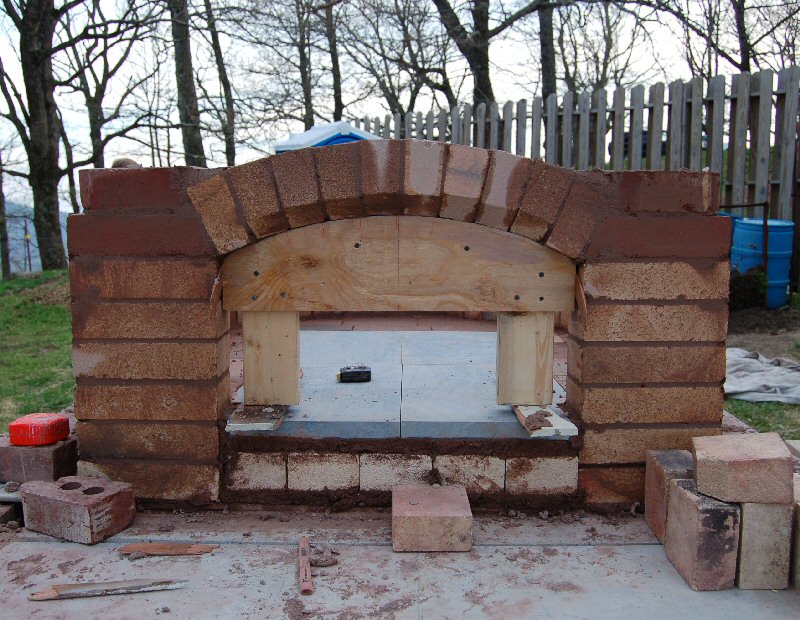
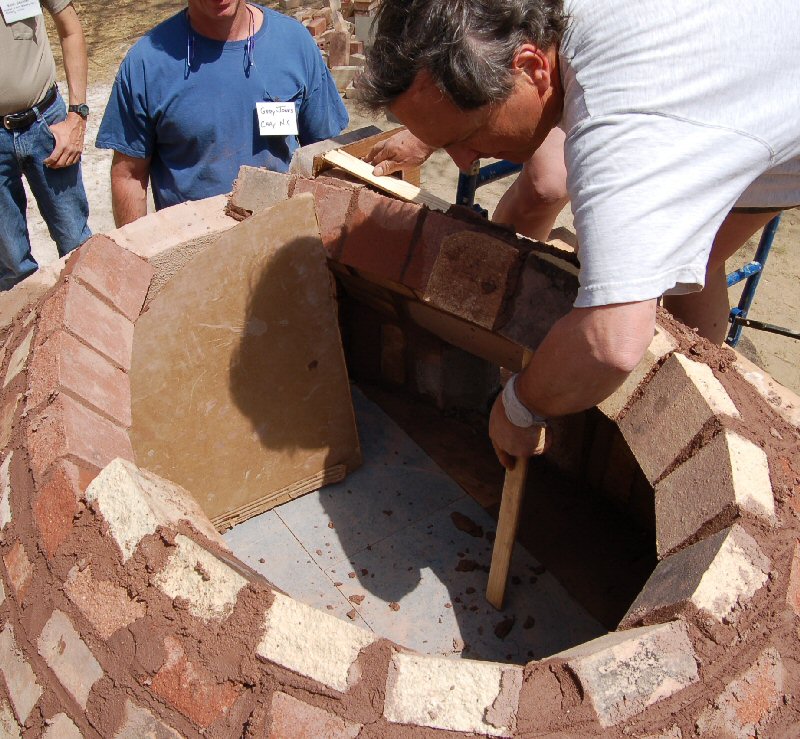
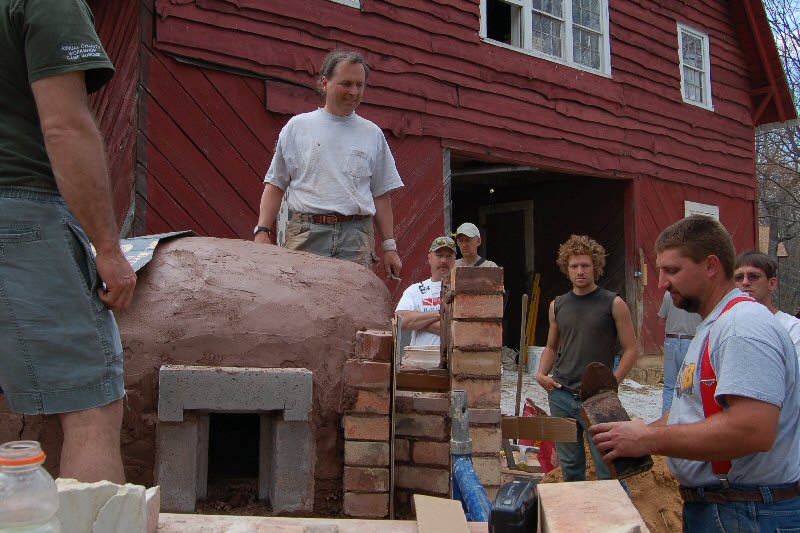
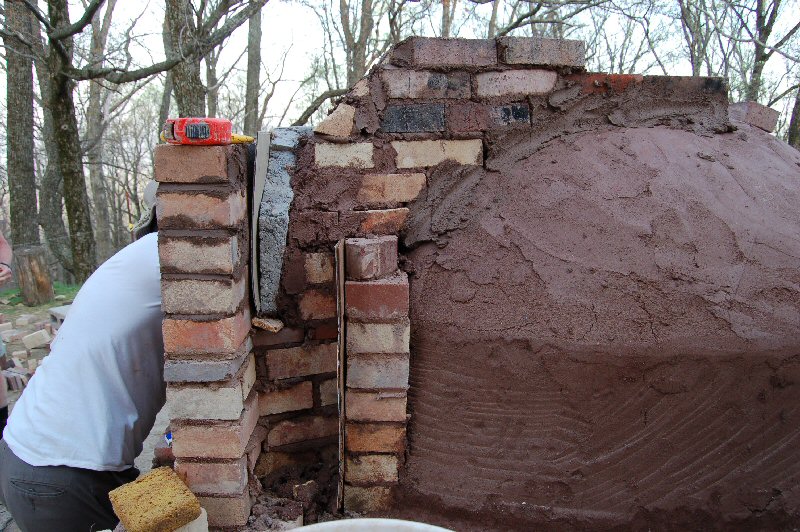
Door jambs in place. Mortar is Redard clay and sand, about 1:4
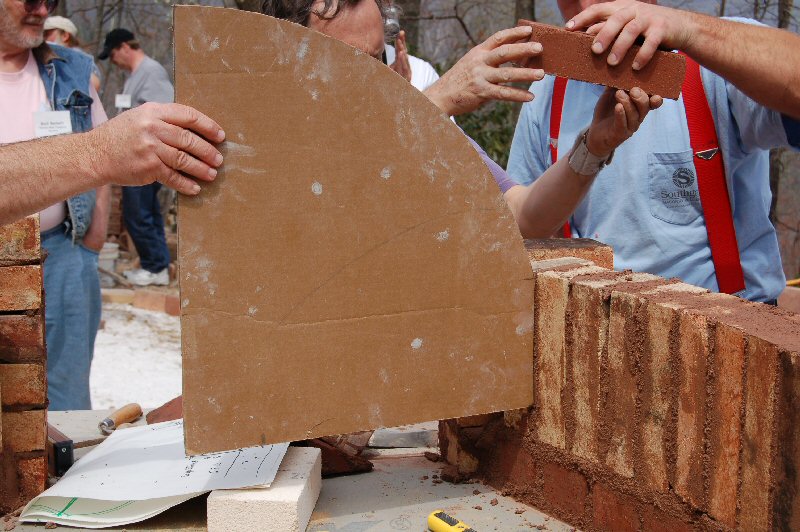
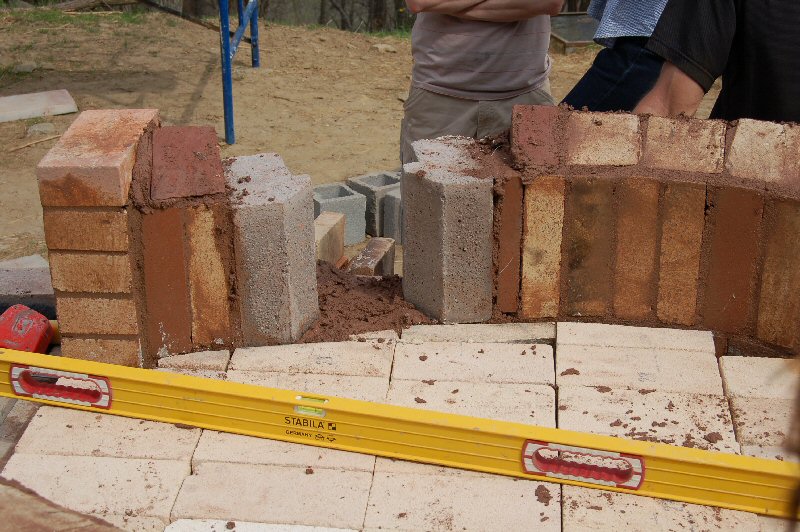
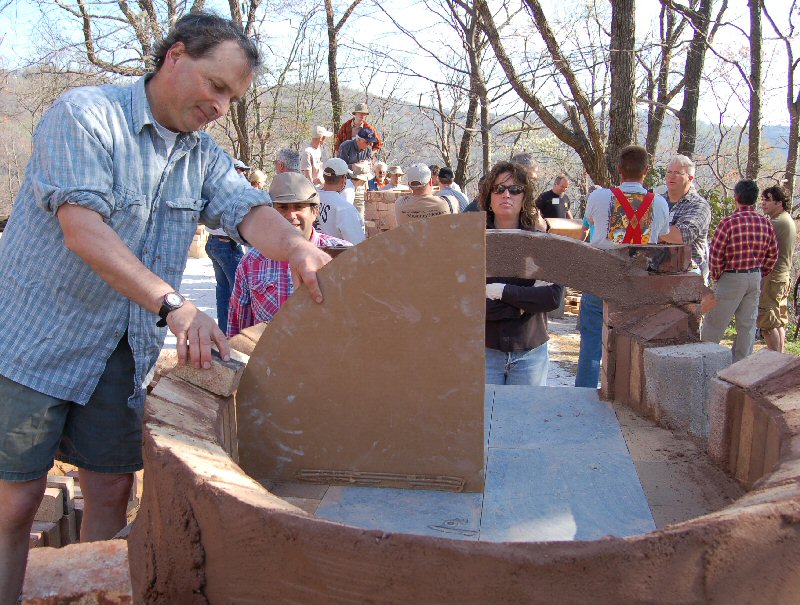
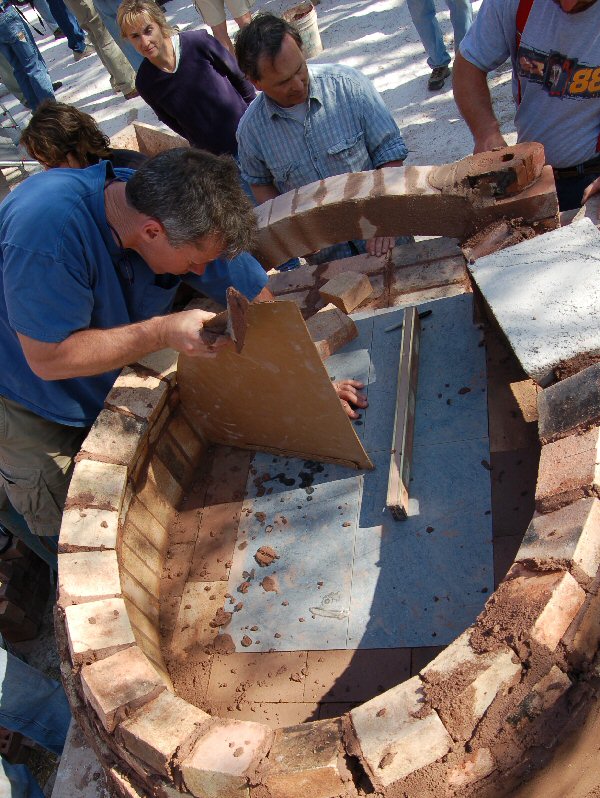
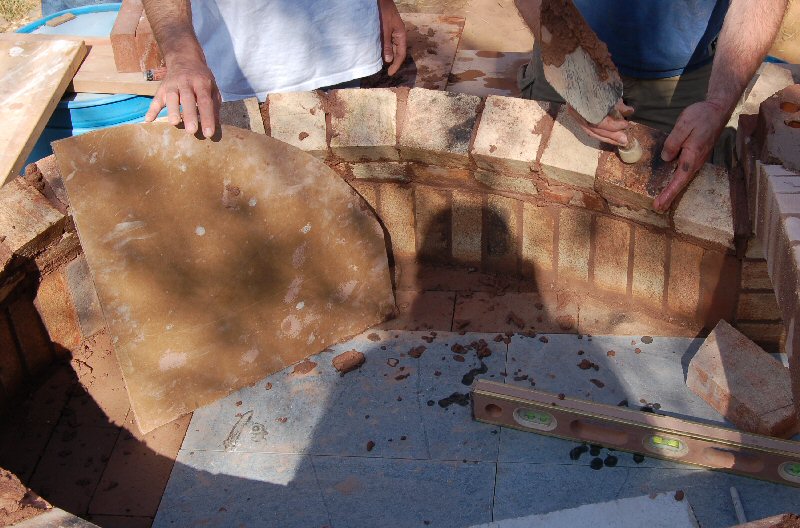
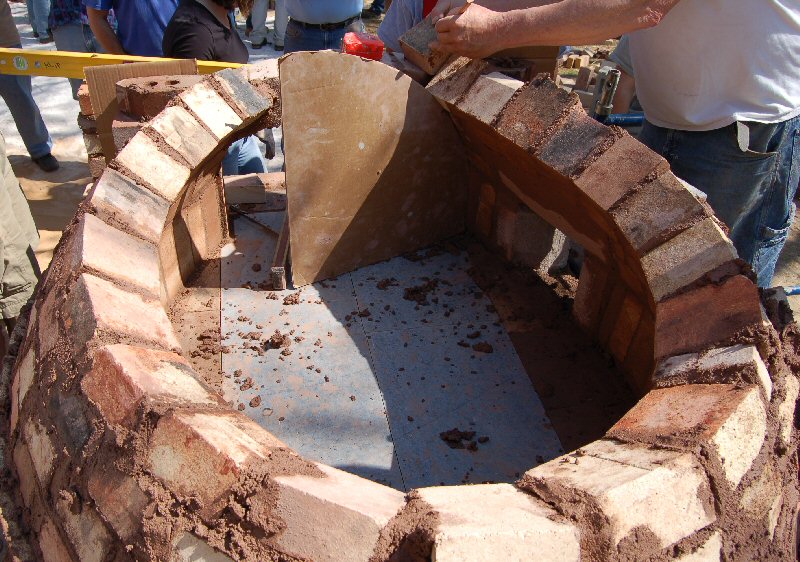
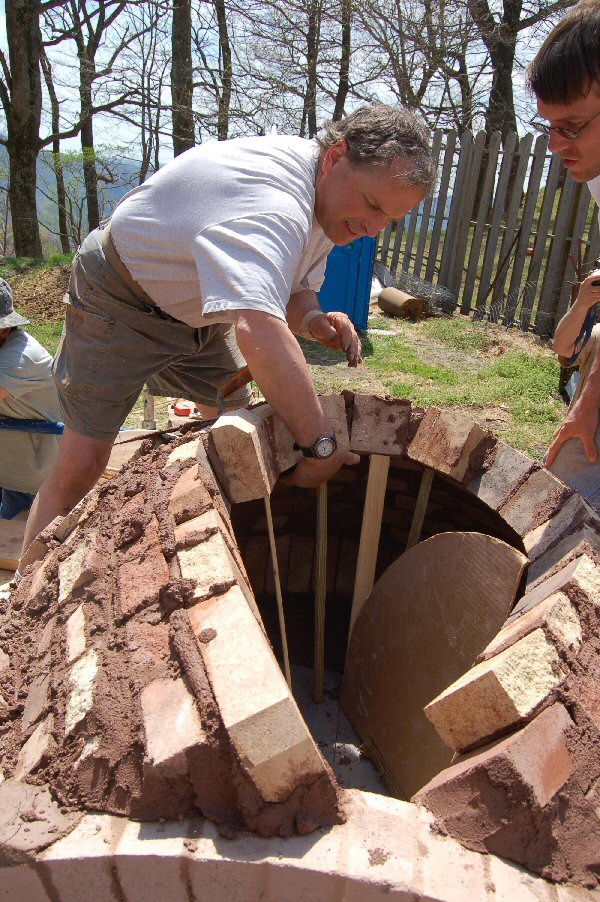
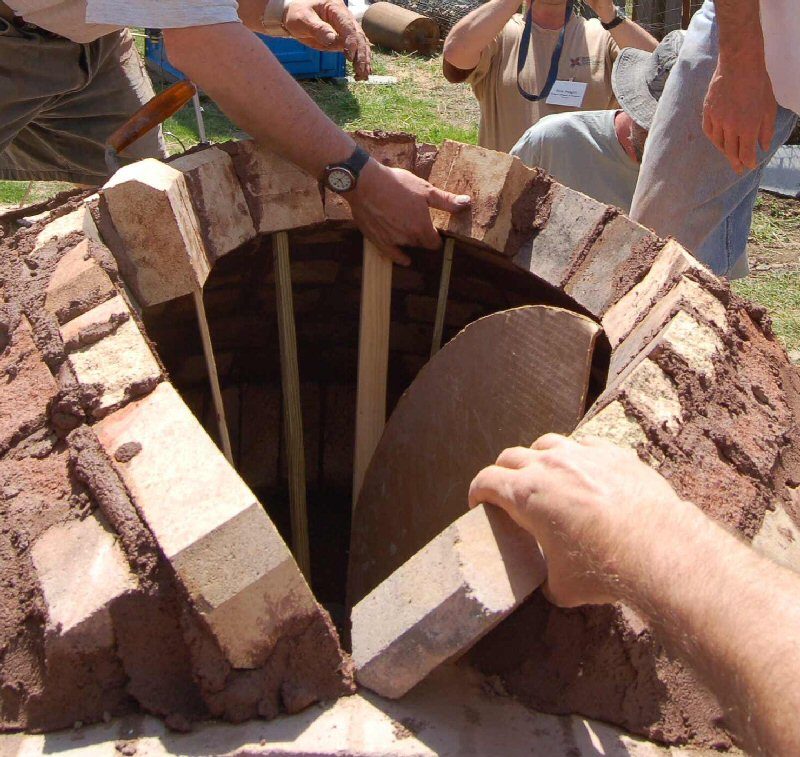
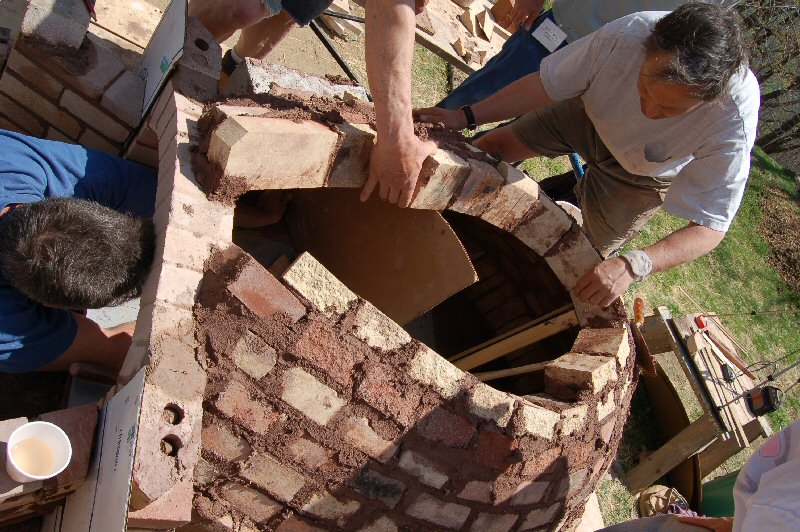
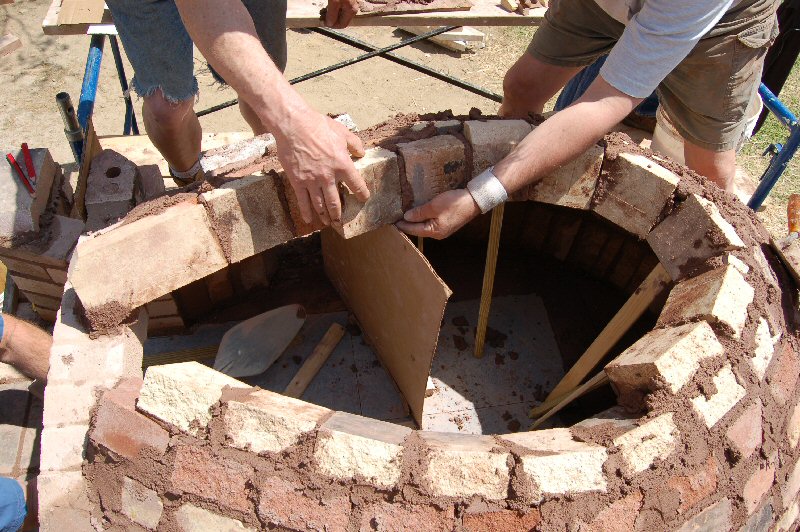
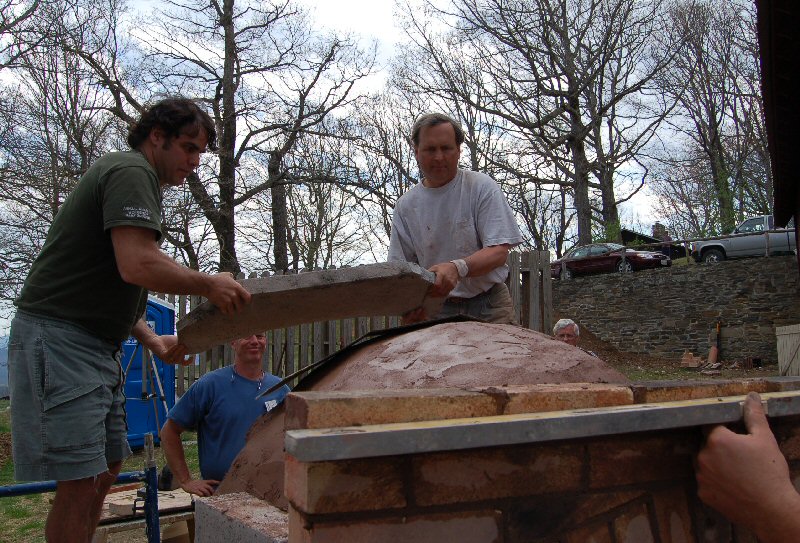
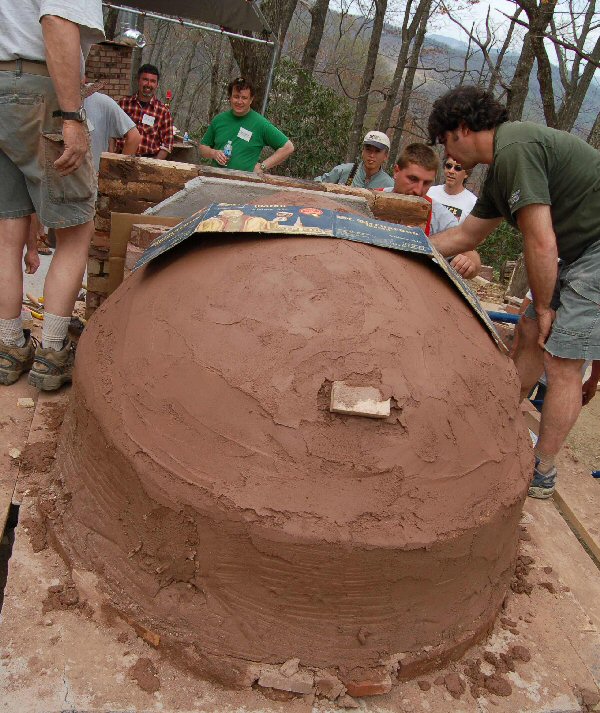
Note the base wall is plumb. Cardboard template for the dome portion.
It is being used to determine the wedge shape to spring the dome from.
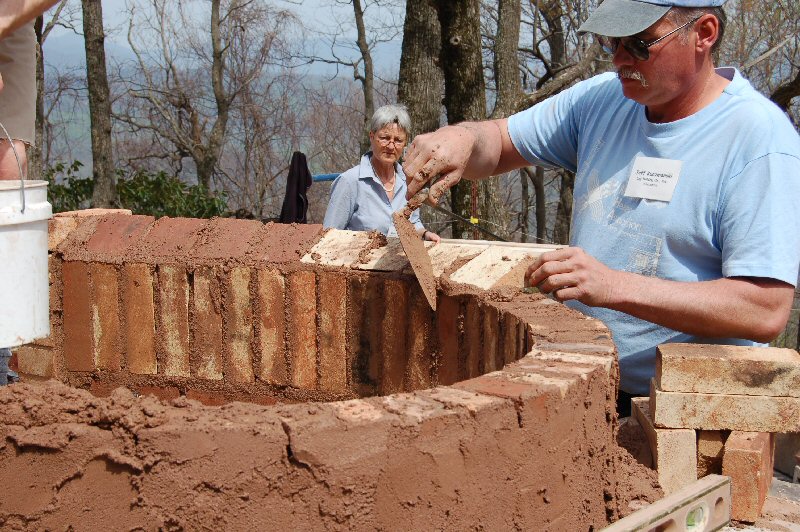
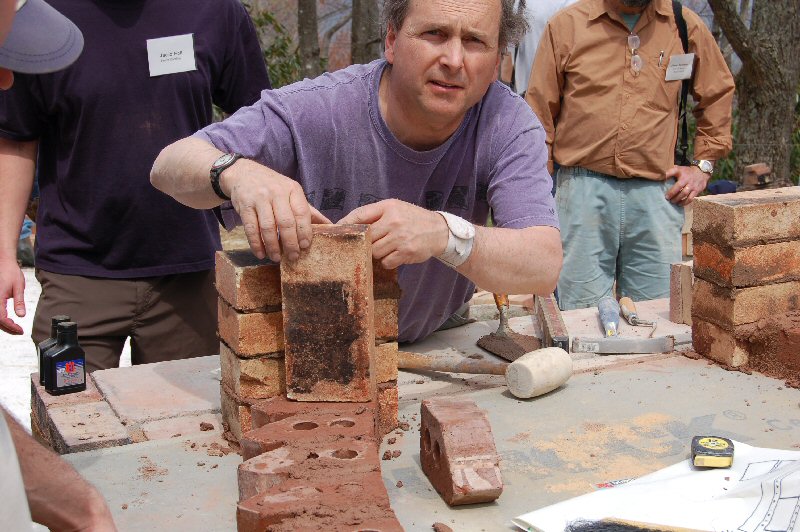
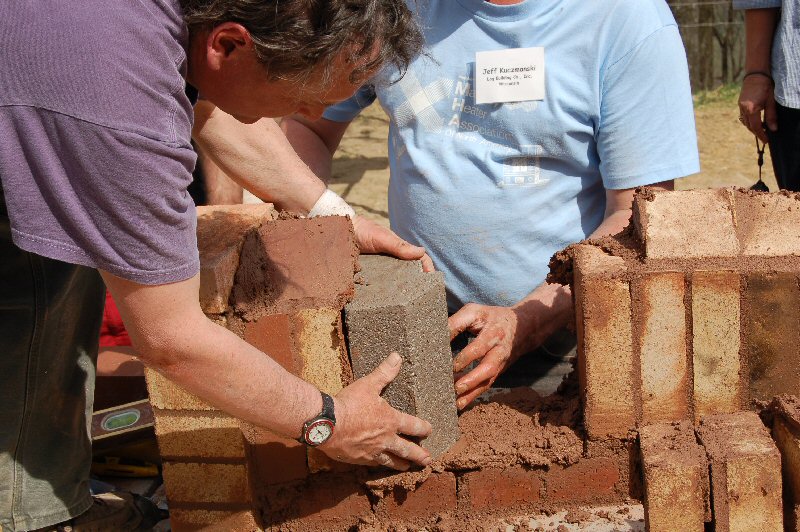
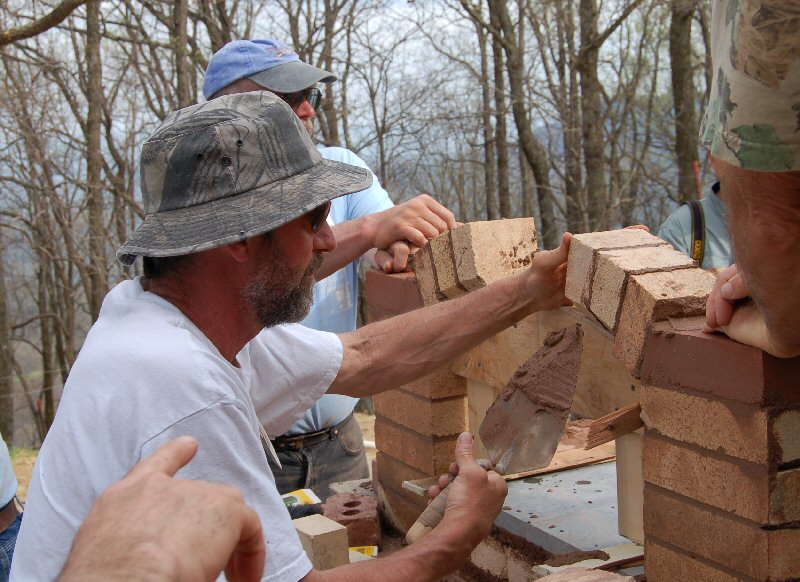
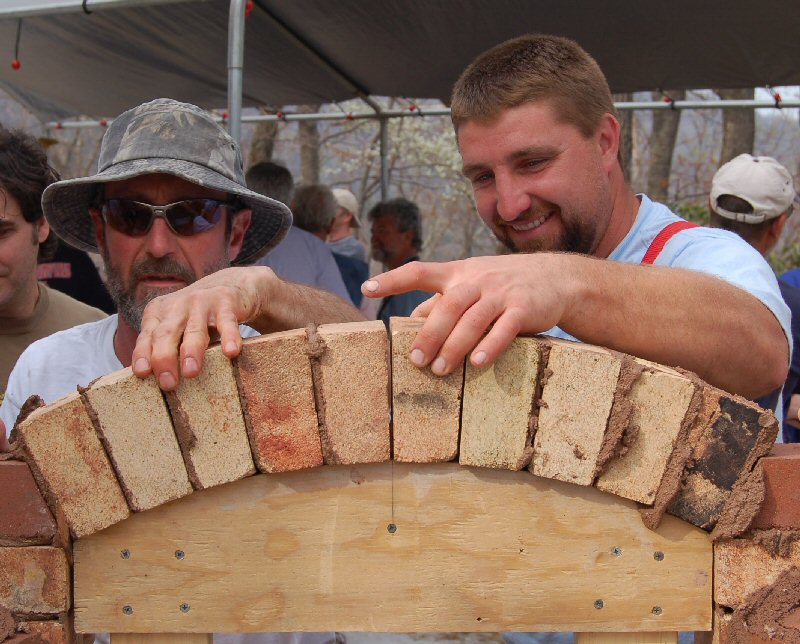
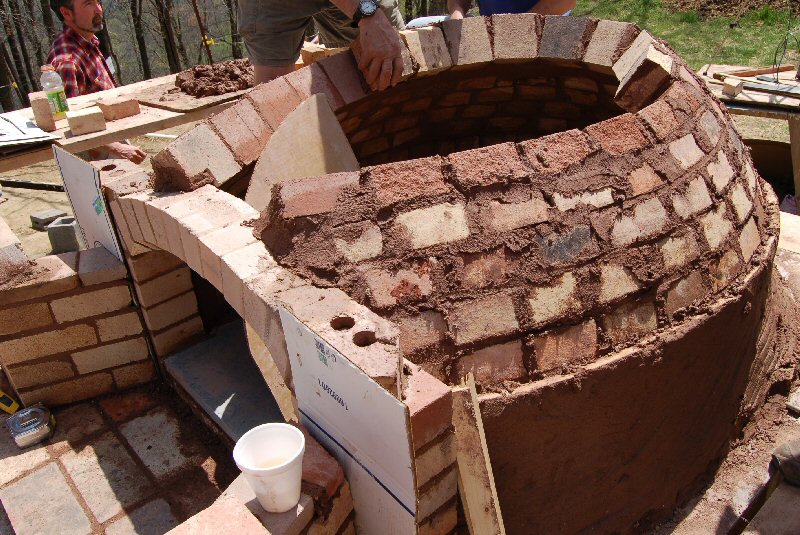
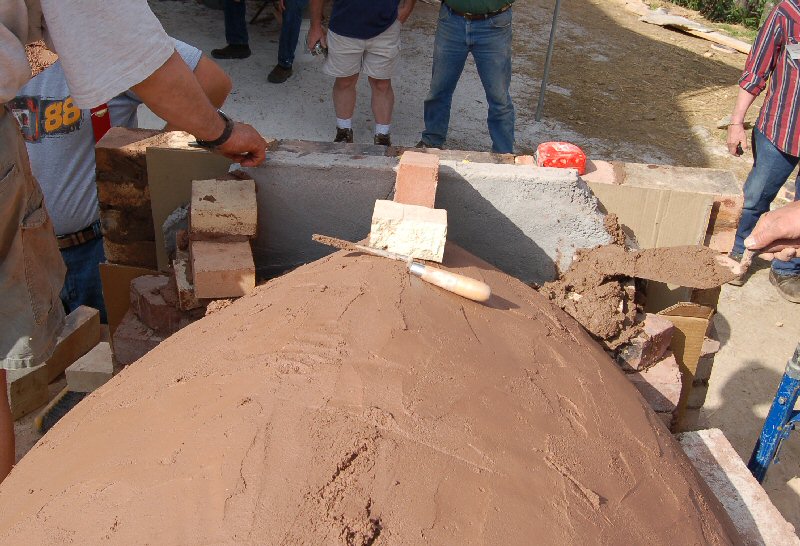
Jeff Kuczmarski lays up the skew course for the dome.
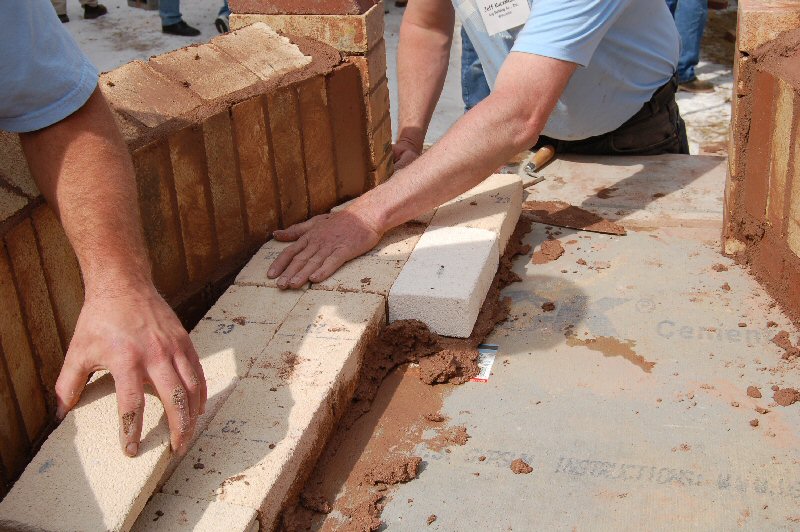
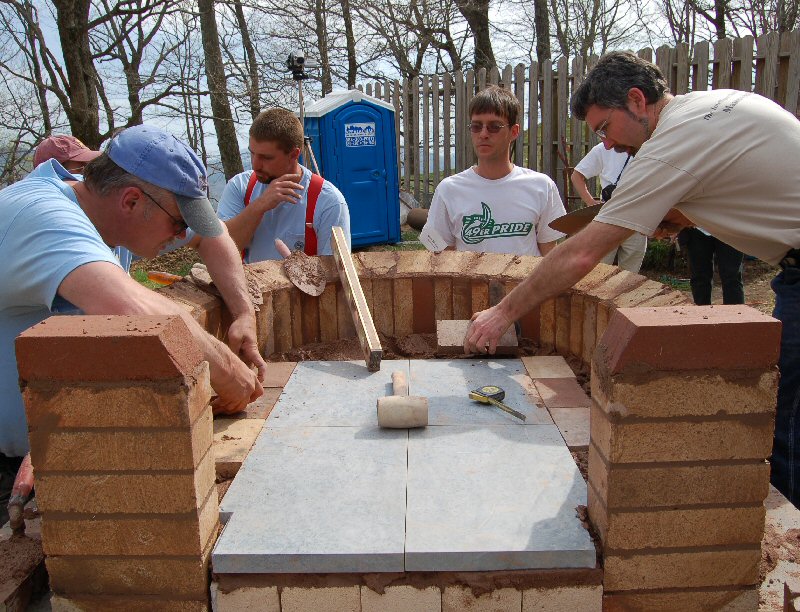
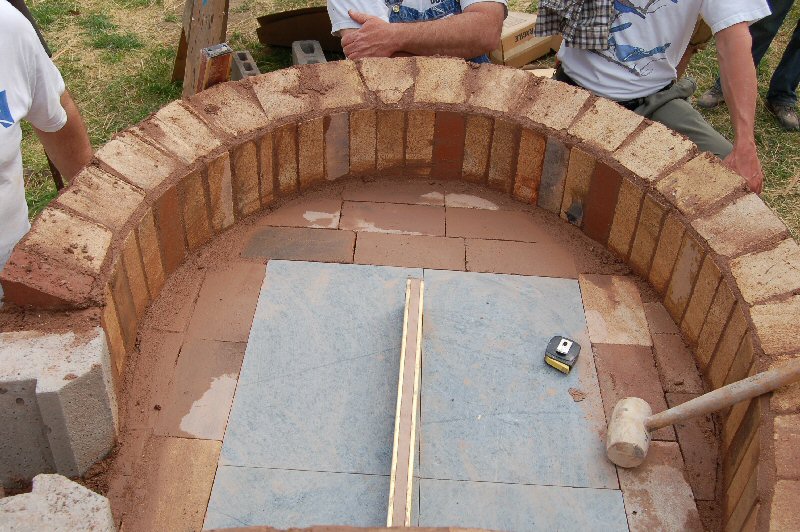
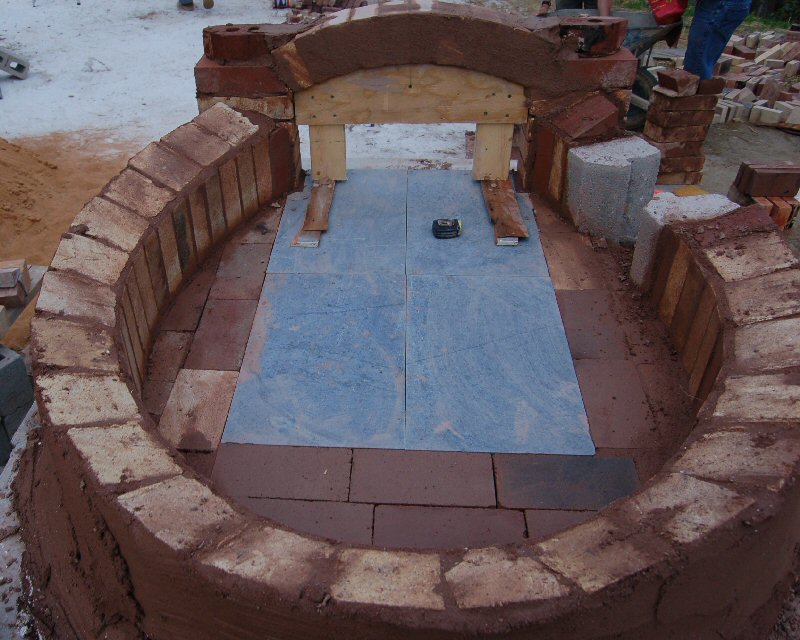
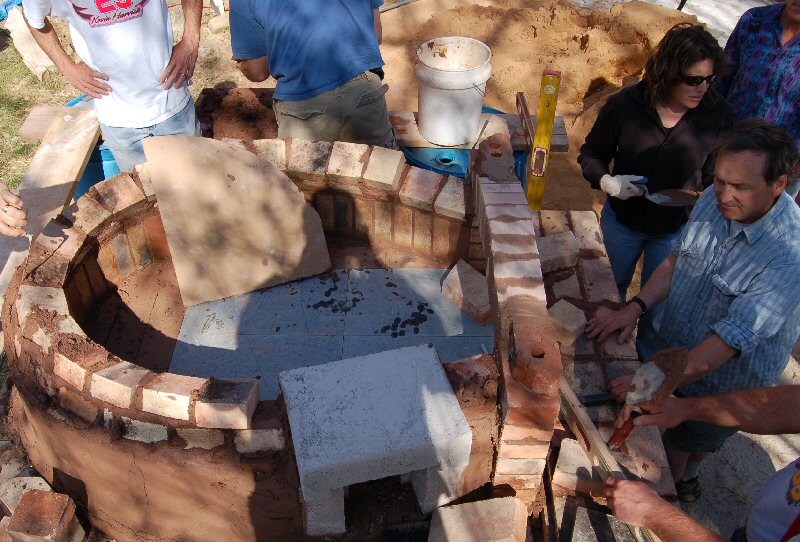
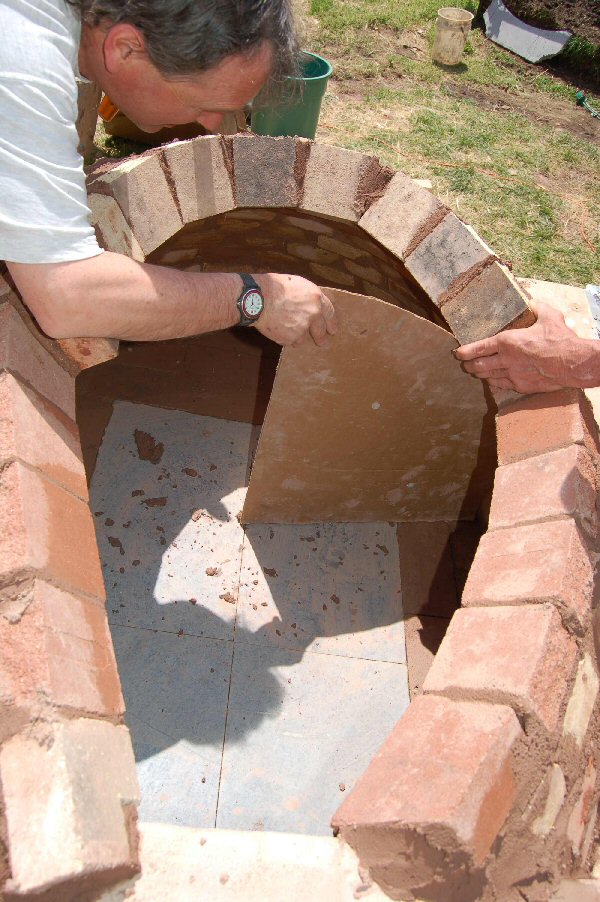
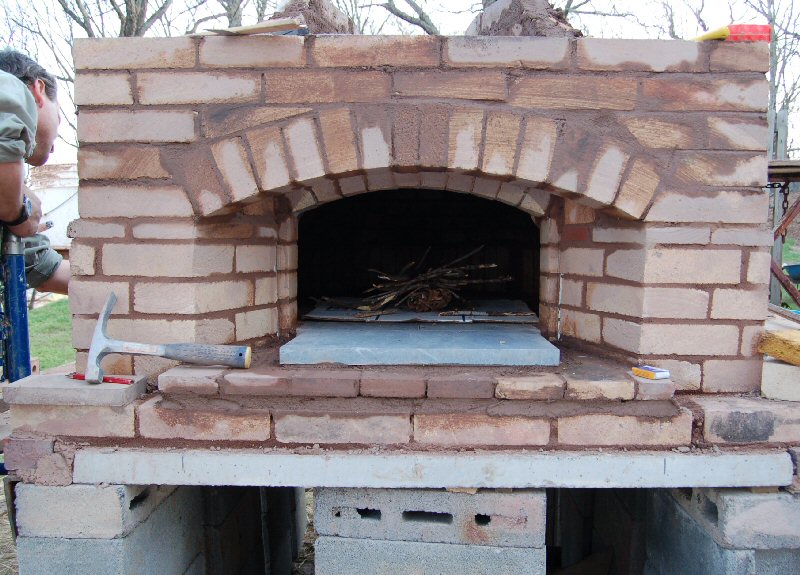
Laying in the floor. The centre of the floor will be 1.25" soapstone
slabs. These get hotter than firebricks, and have been proven to
work well in this design for pizzas.
Precast light box. This is used to provide interior light to the oven.
Detail of light box. Normally it would be finished with ceramic glass and an electric light behind.
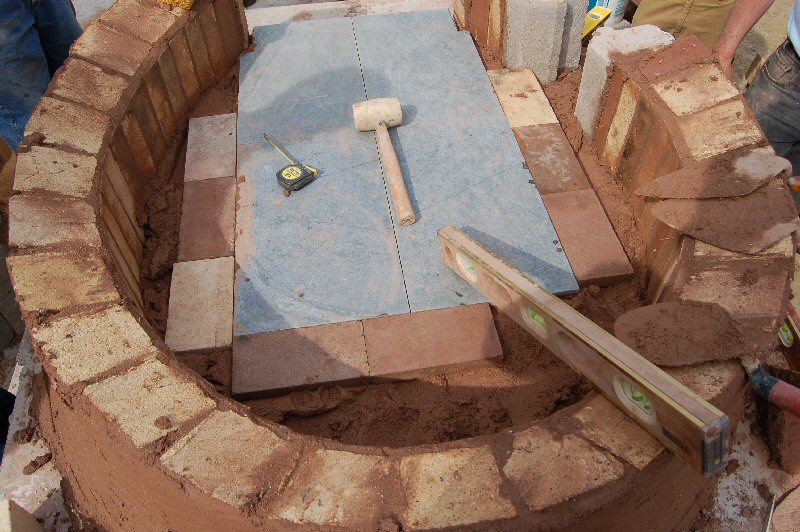
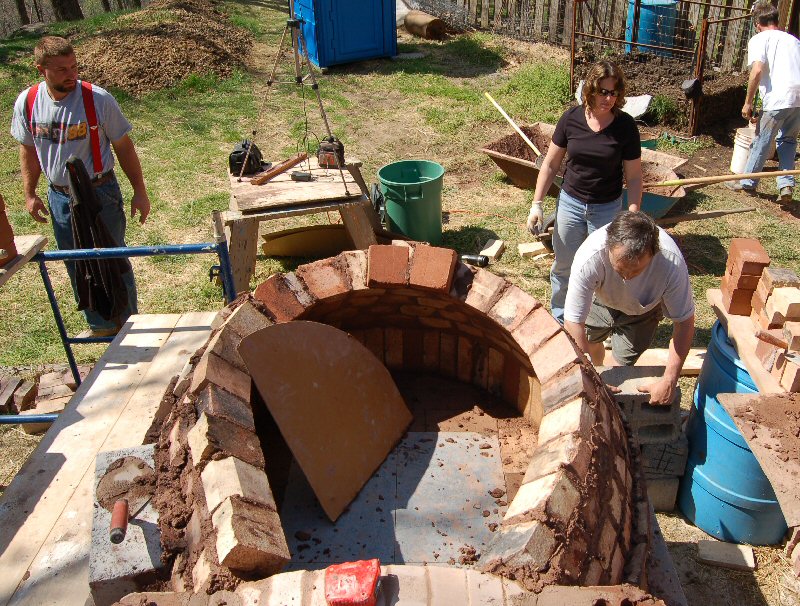
Soapstone floor slabs in place.
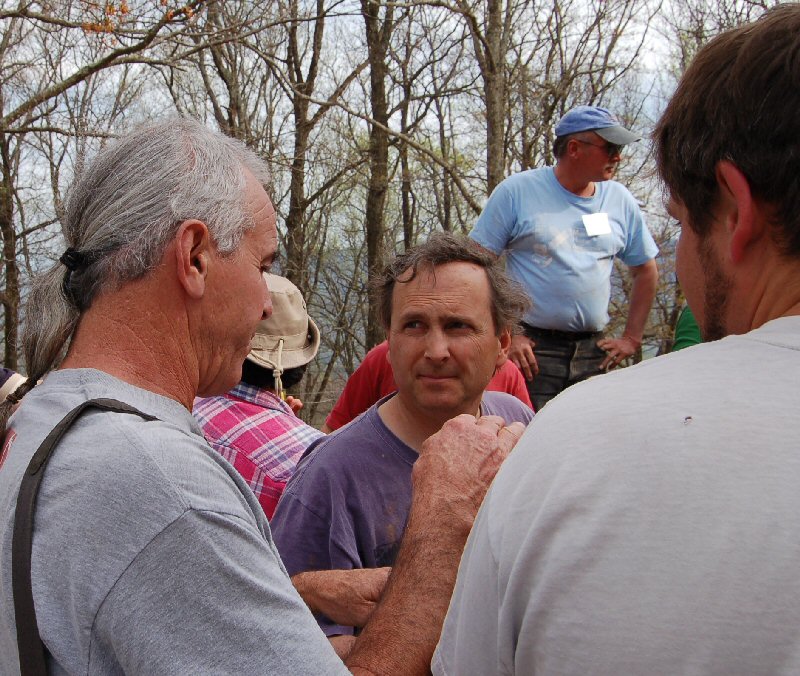
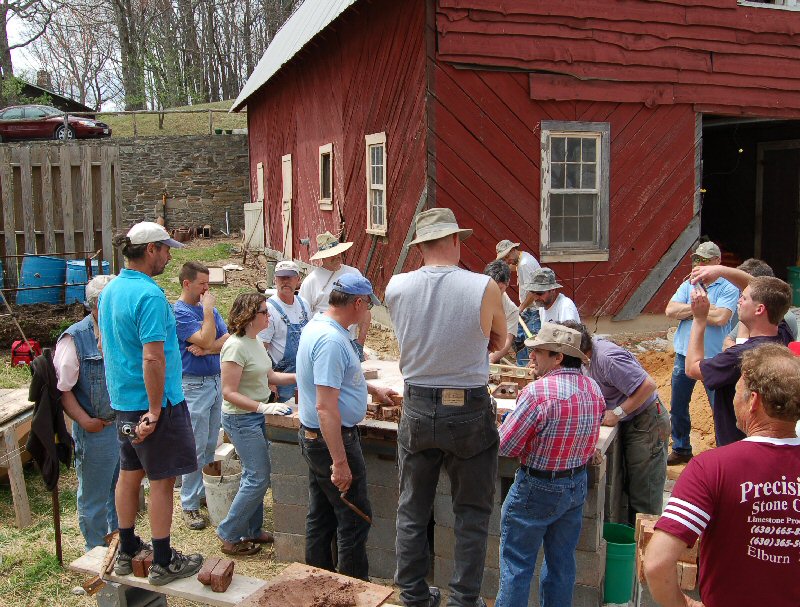
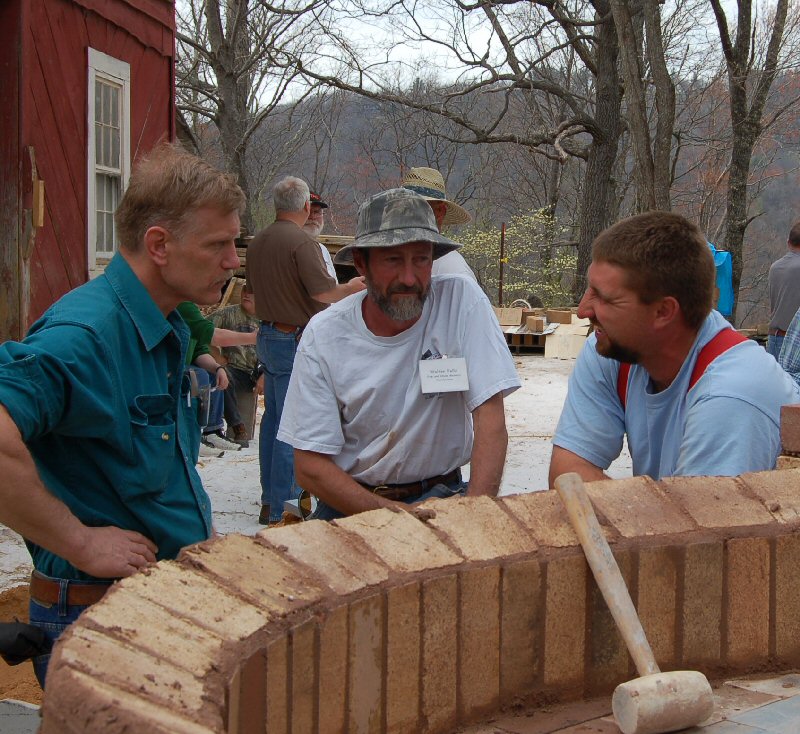
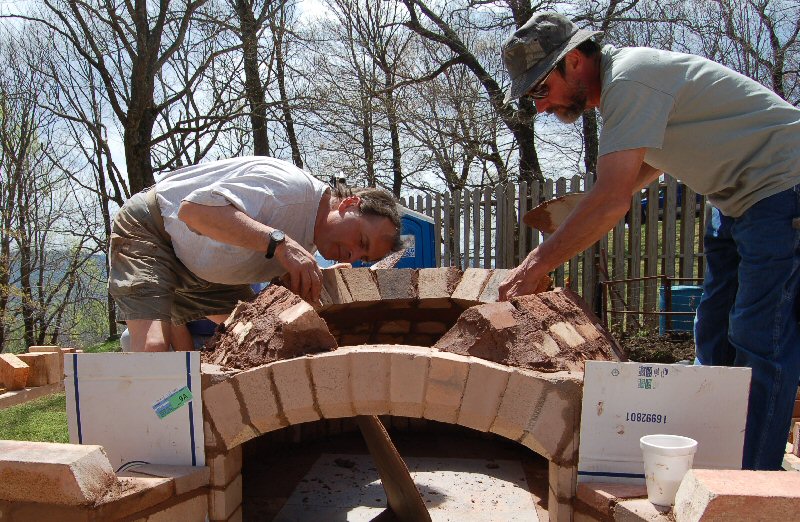
New England's two best known oven builders, Patrick Manley and Peter Moore, comparing notes.
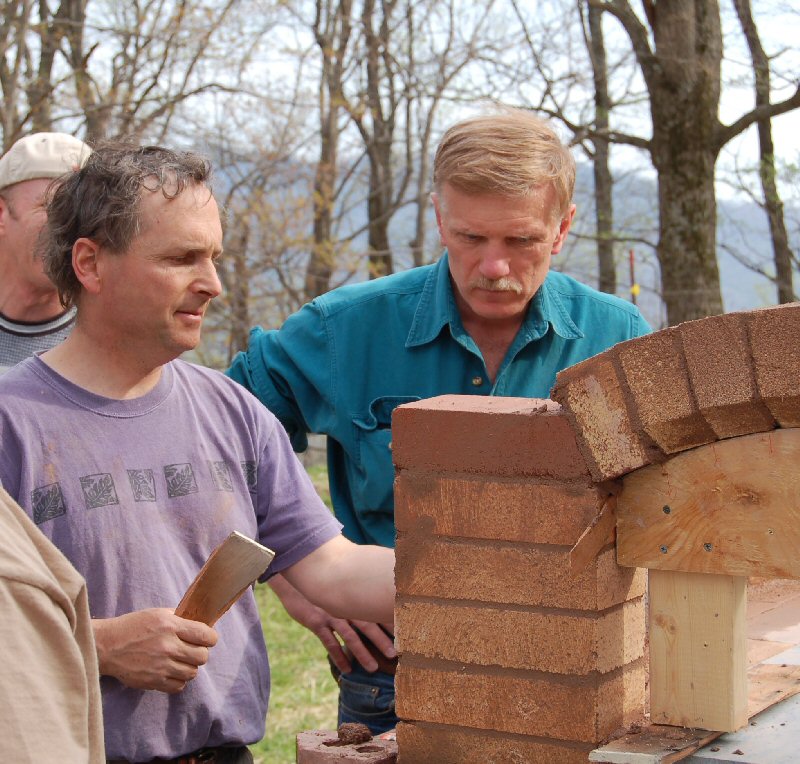
Master mason Walt Kelly shows his stuff.
Master mason Scott Helms won't let himself be outdone, either.
Perfect fit. Coincidence? I think not.
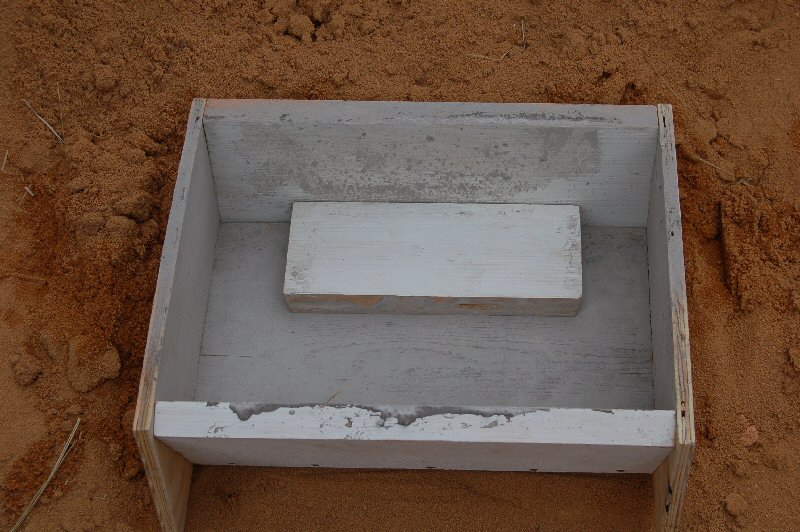
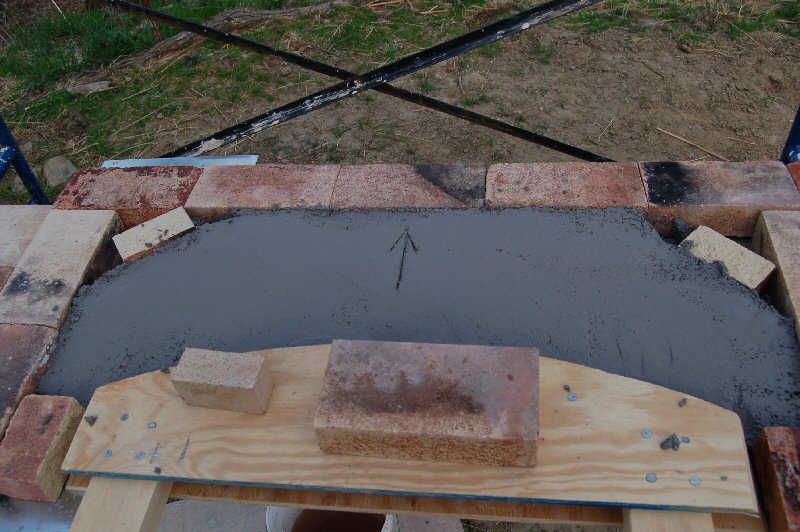
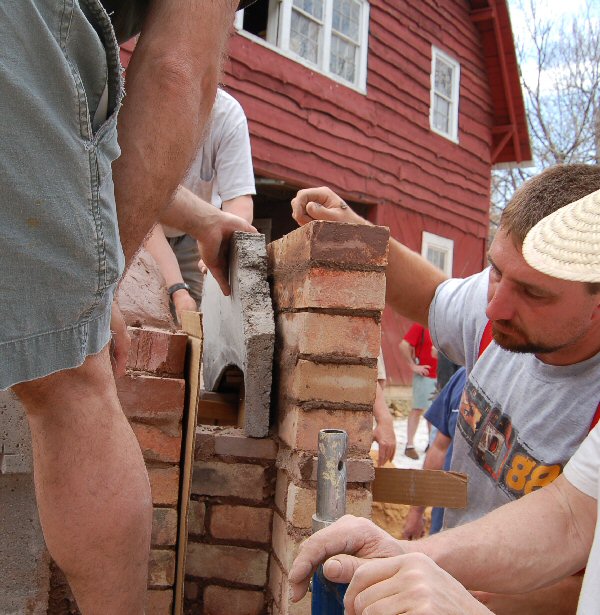
Form for casting light box lintel.
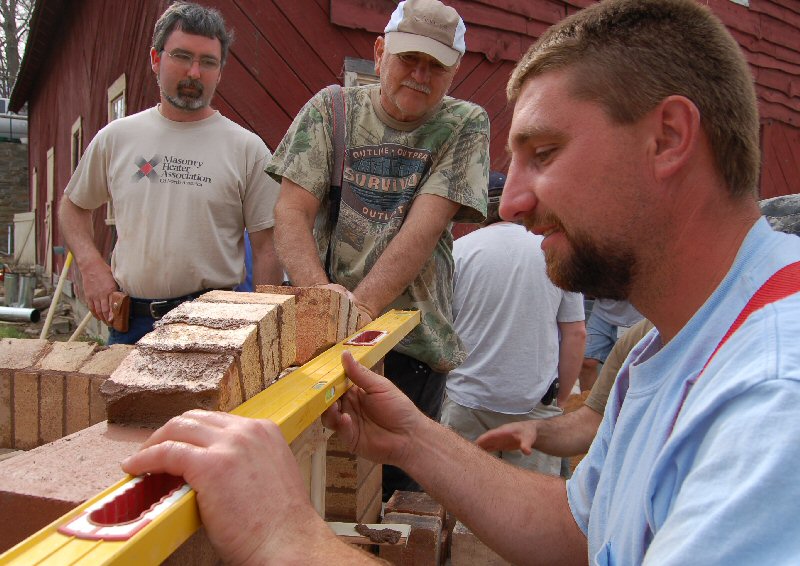
Pat Manley and Peter Moore.
Casting refractory.
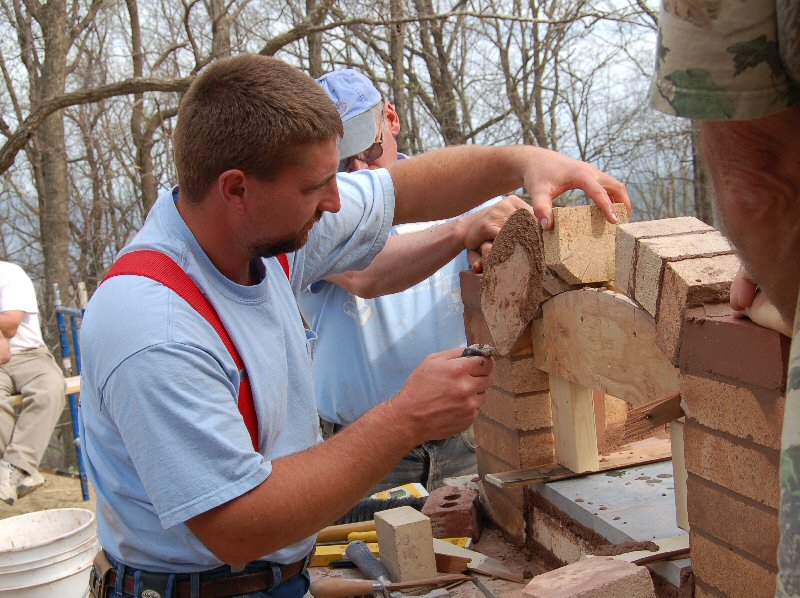
Detail of form for inner door arch. Bottom edge is rounded to allow for smooth flow of exhaust gases.
Precasting a throat transition.
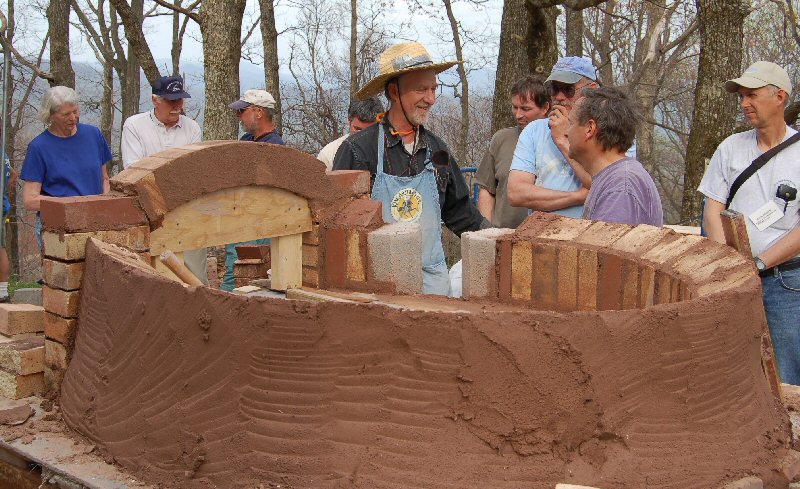
The dome will be laid up without formwork, and will rely
on the suction of the bricks. It is important for the bricks to be dry and slightly porous.

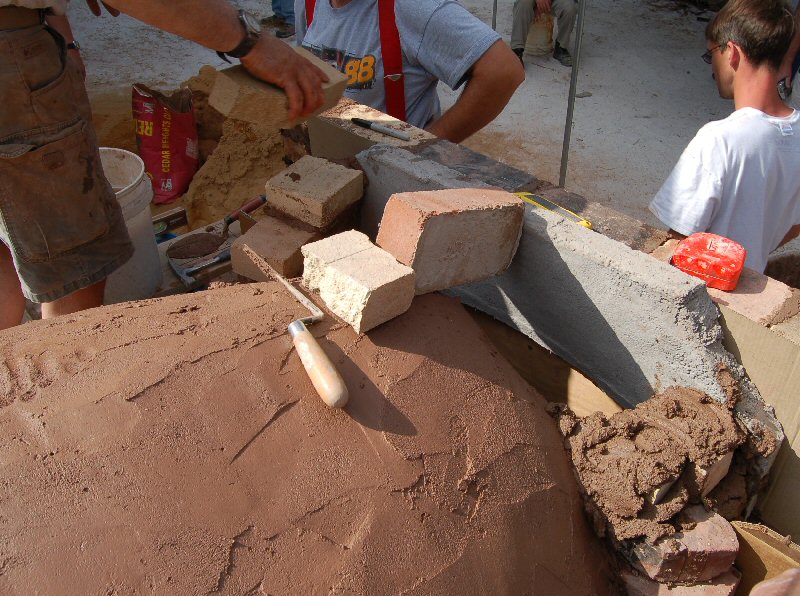
Laying up the dome.
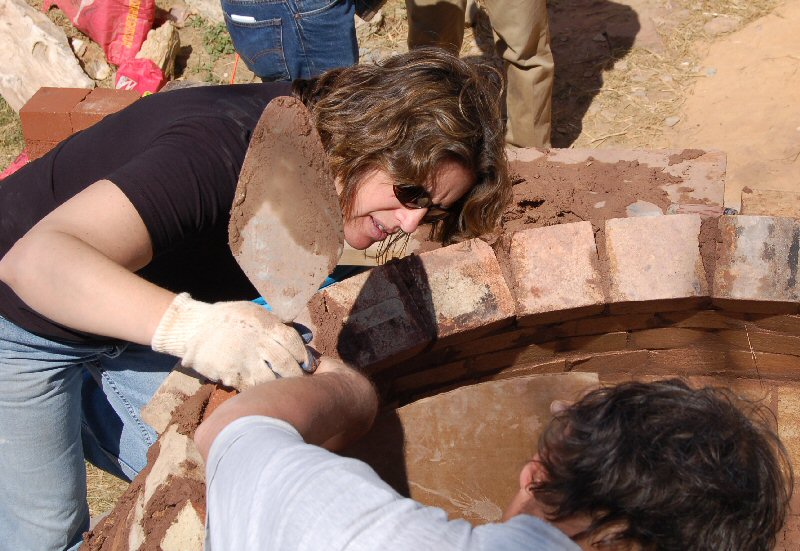
Mason Donna Parris concentrates on matching the dome to the template.
Building scaffold.
Also giving the dome a rest in order to let the bricks suck up some water from the mud.
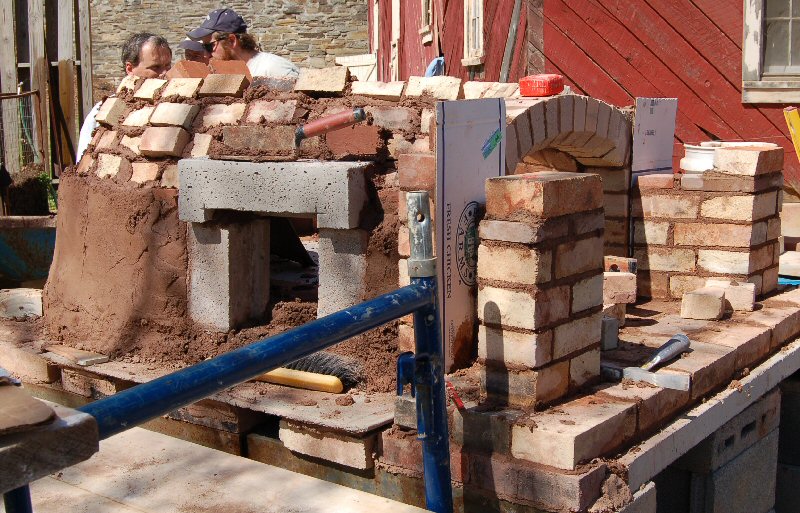
Light box lintel in place.

Providing some temporary bracing to keep everything in place while the mortar dries enough. Softer firebricks would help, here.
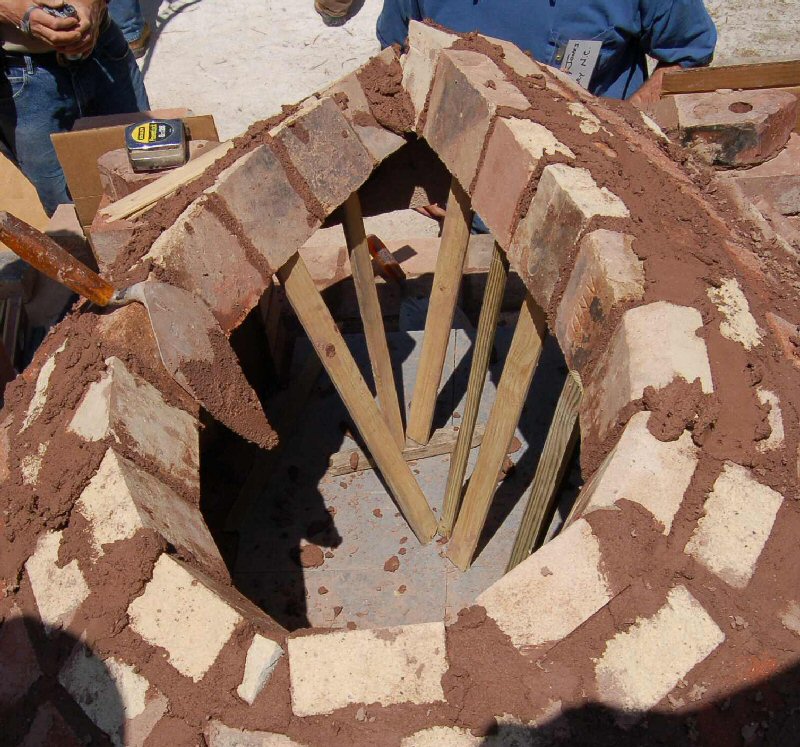
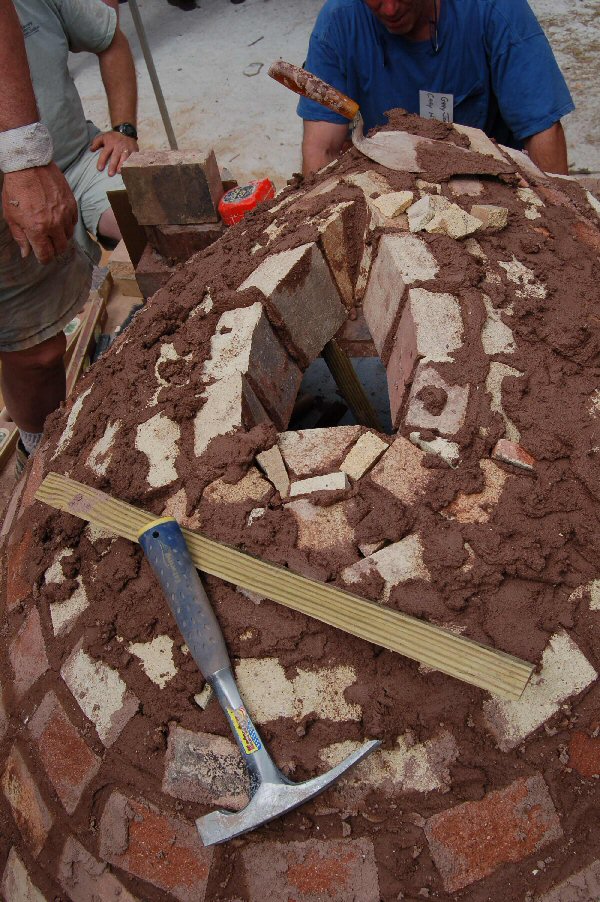
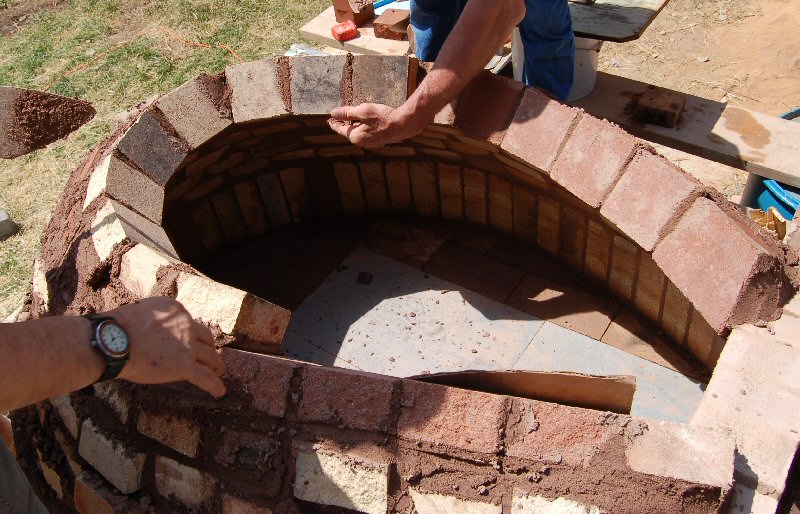
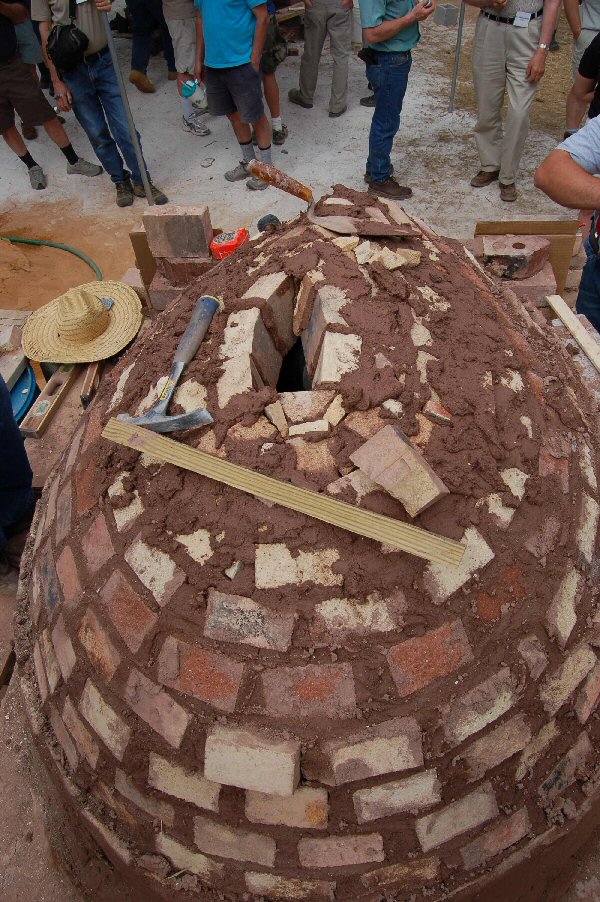
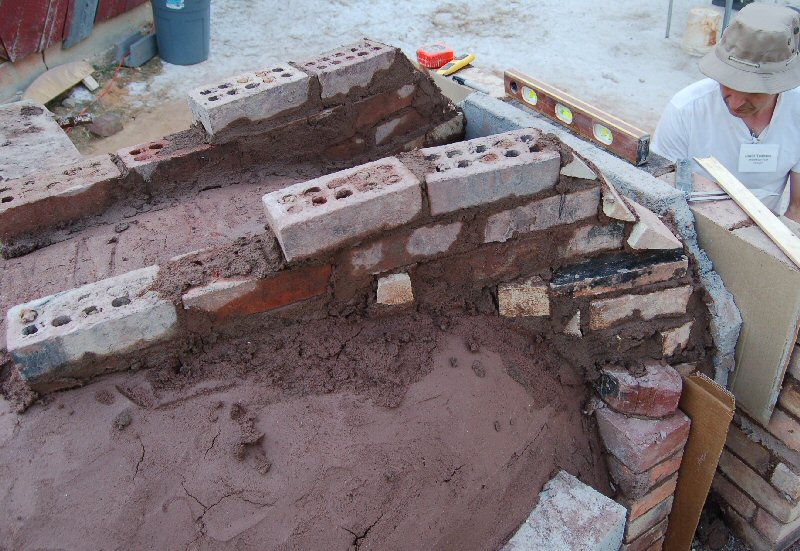
Closing in. When historic ovens of this type fail, this is usually the part that starts to drop.
A modern alternative is to cast a plug for this section from castable refractory.
Albie Barden volunteers to finish the joints on the inside.
Sponge, please.
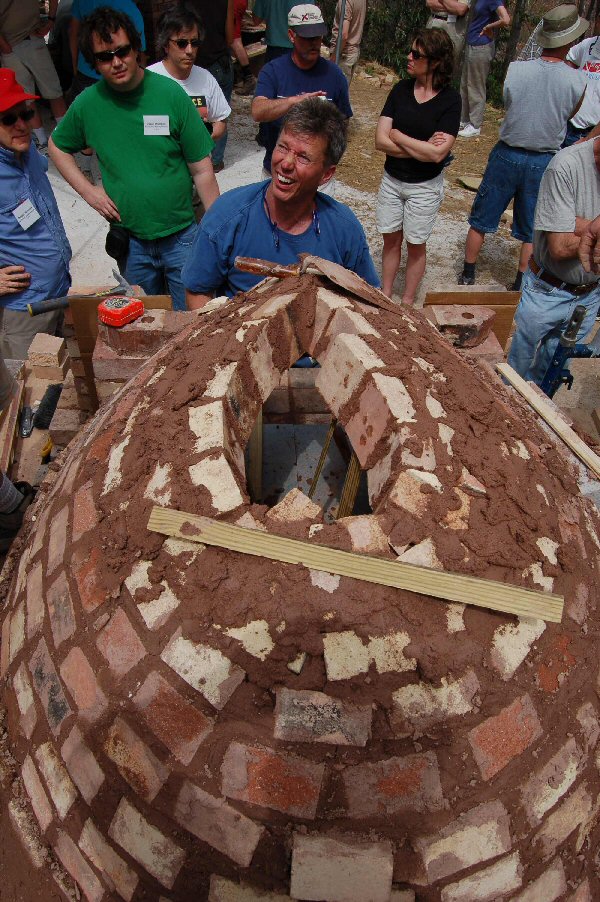
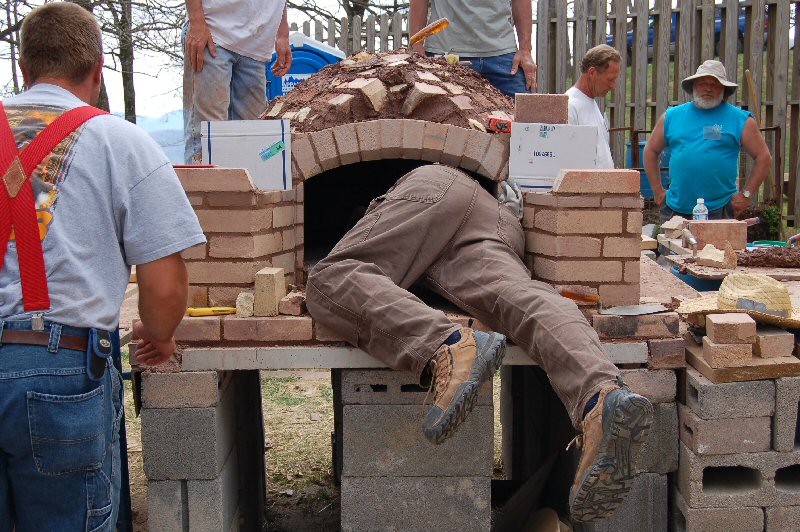
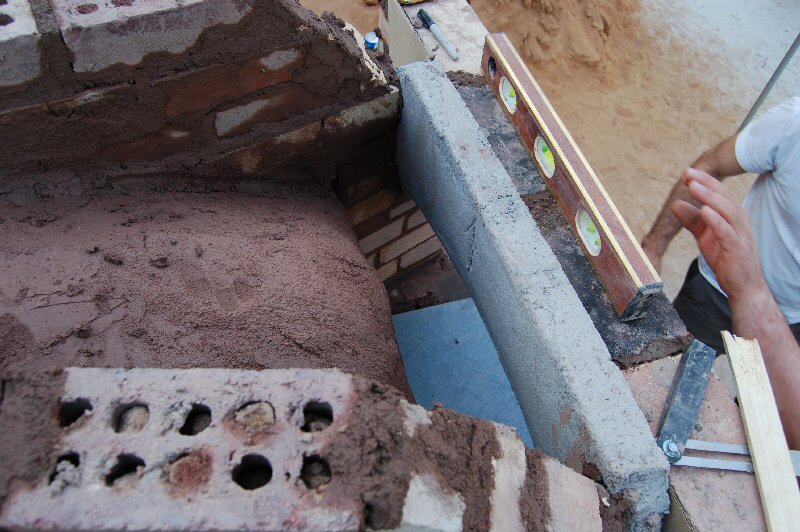
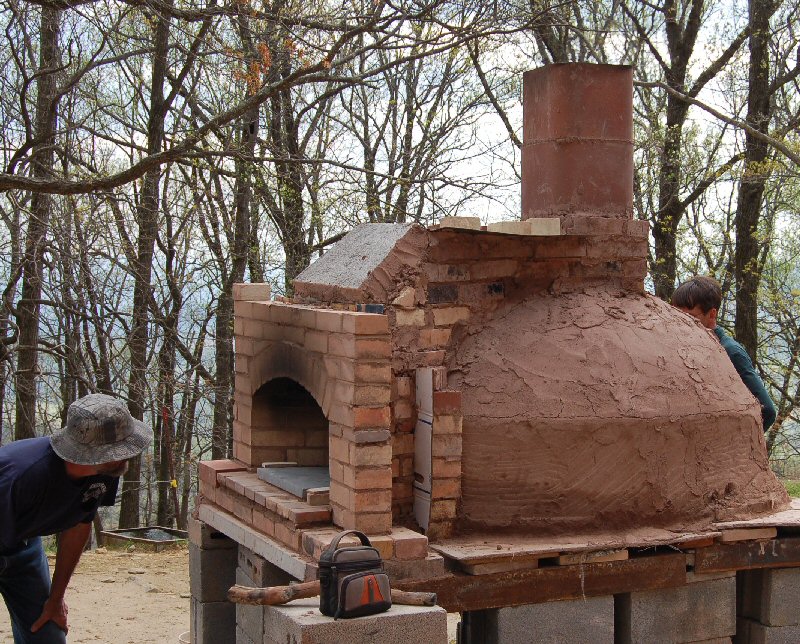
Closed in. The dome is now self supporting.
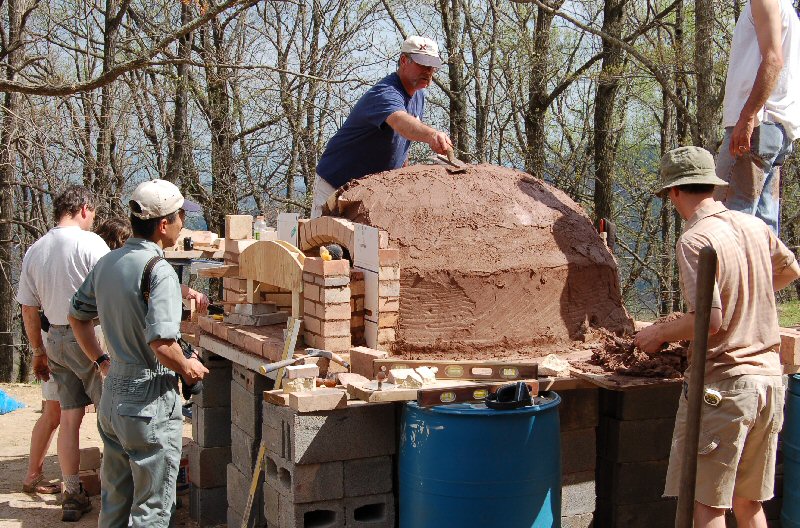
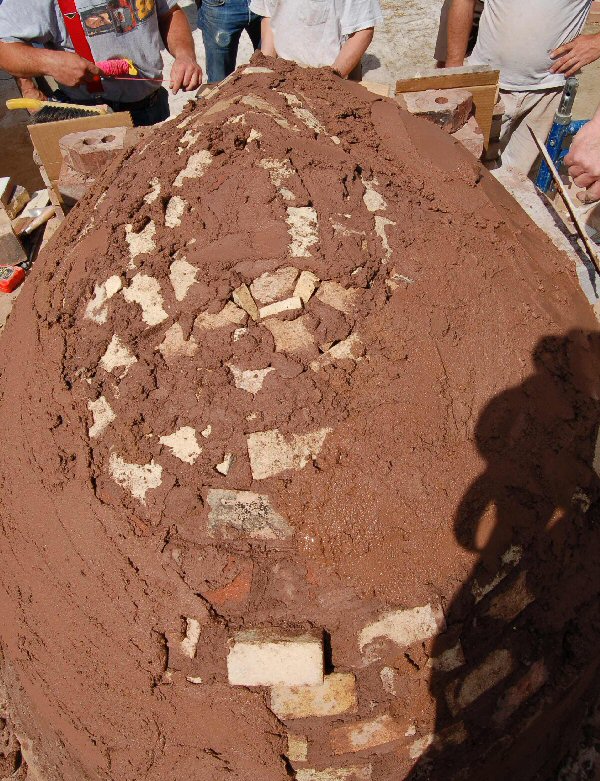
Parging the dome.
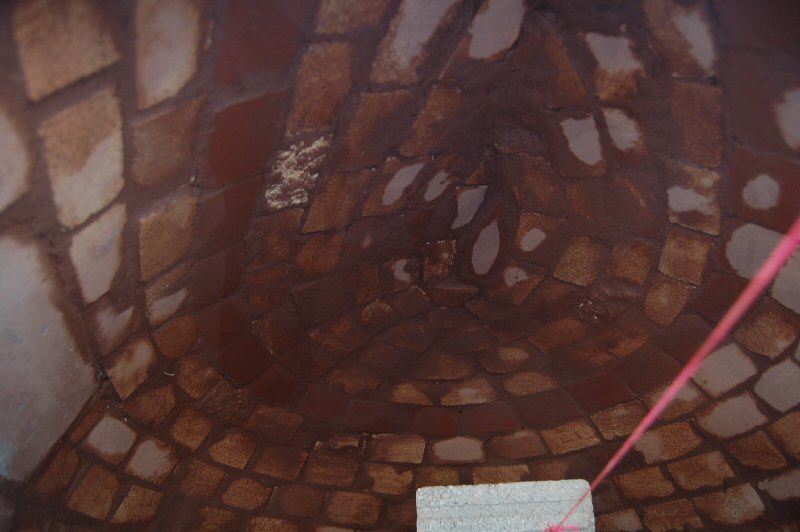
Interior view. Very nicely done.
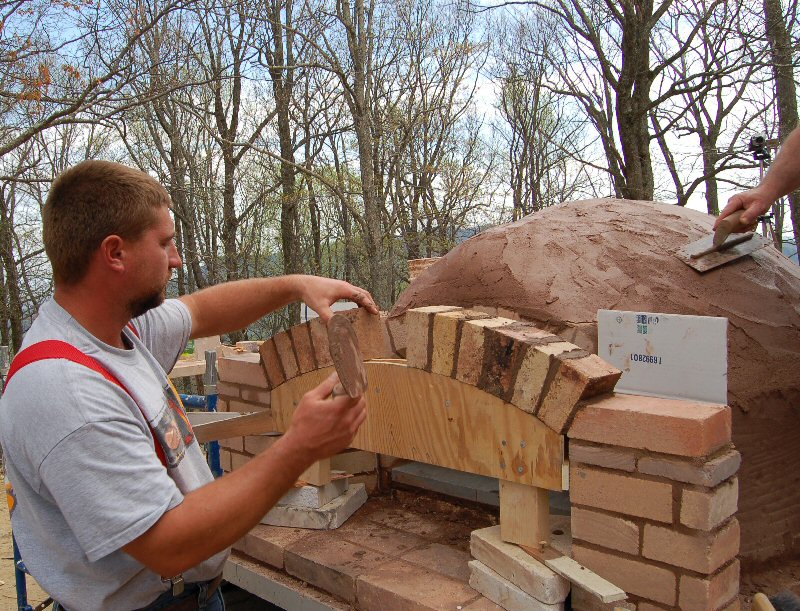
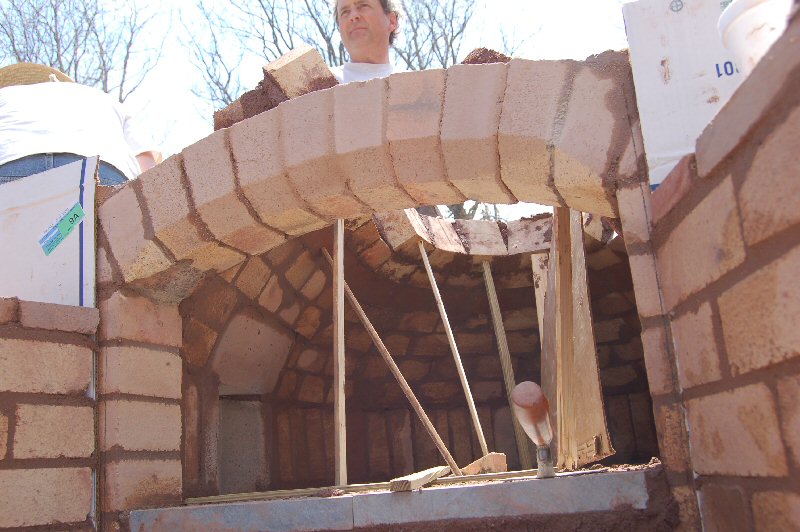
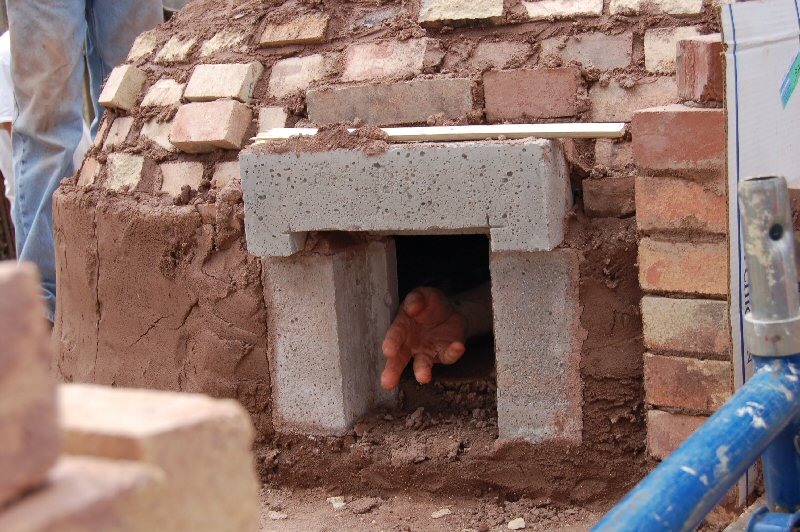
Arch over the outer door.
A throat transition to smooth the gas flow was precast the day before, using castable refractory.

Note the thin edge at the bottom of the casting.
On Peter's ovens, the chimney normally sits at the rear. Here, the
channel from the front exhaust hood to the rear chimney is started.

Smooth gas flow is important, so sharp edges are avoided.

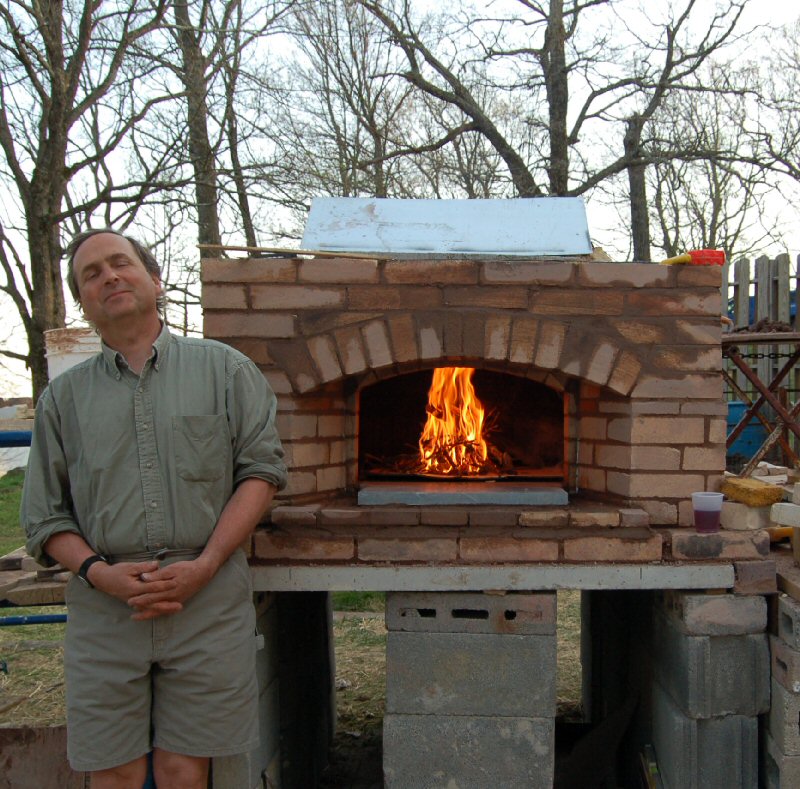
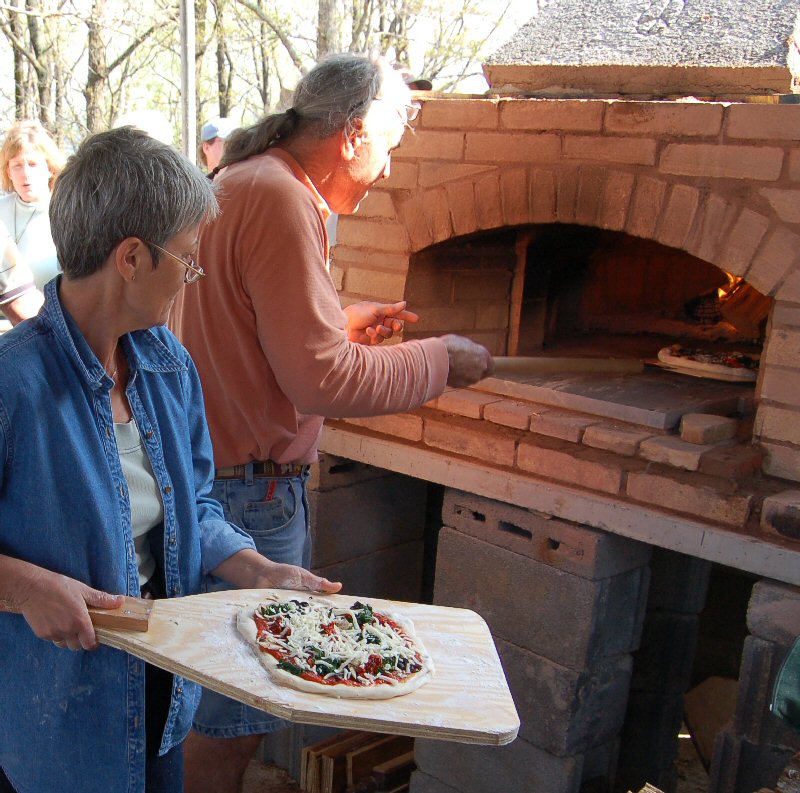
Peter Moore at the first firing to dry out the oven for the pizza party tomorrow.
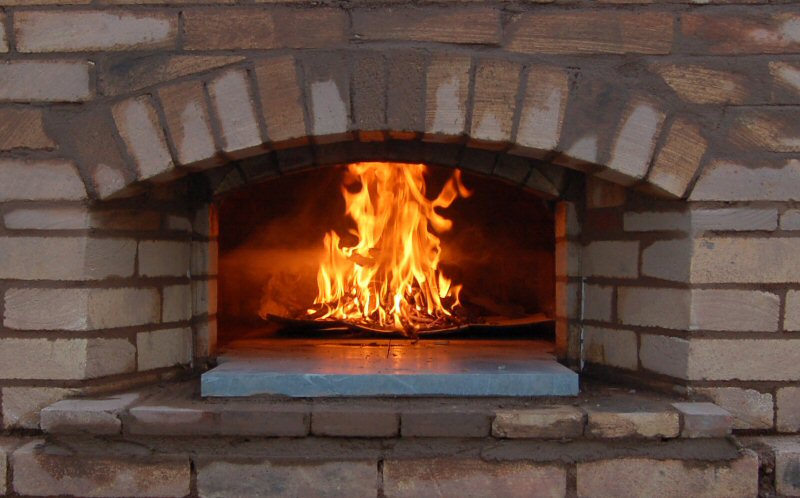
Note the band of smoke concentrated at the midline. This delineates the separation plane between the inflowing combustion air
below and the outflowing exhaust gases at the top.
This is an excellent illustration of gas buoyancy principles.
Interestingly, this is also the design basis used in the "bell system".
Note
the "separation of gases" between hot gases and cold gases due to their different densities.
When viewed in this context, some interesting future design possibilities for ovens may be seen.
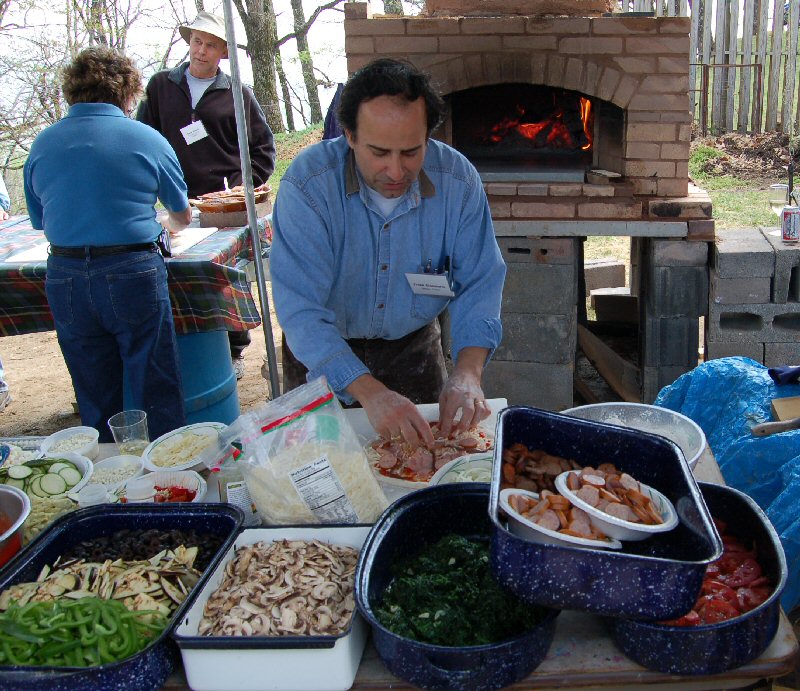
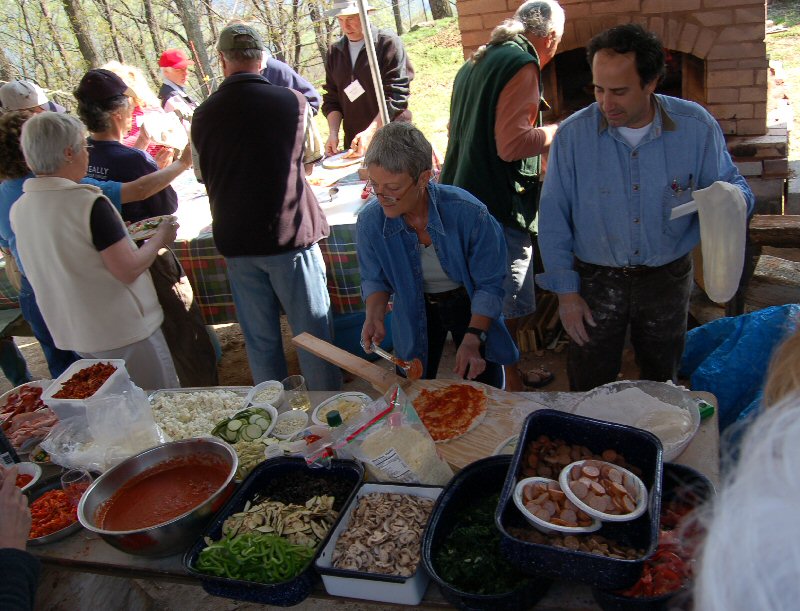
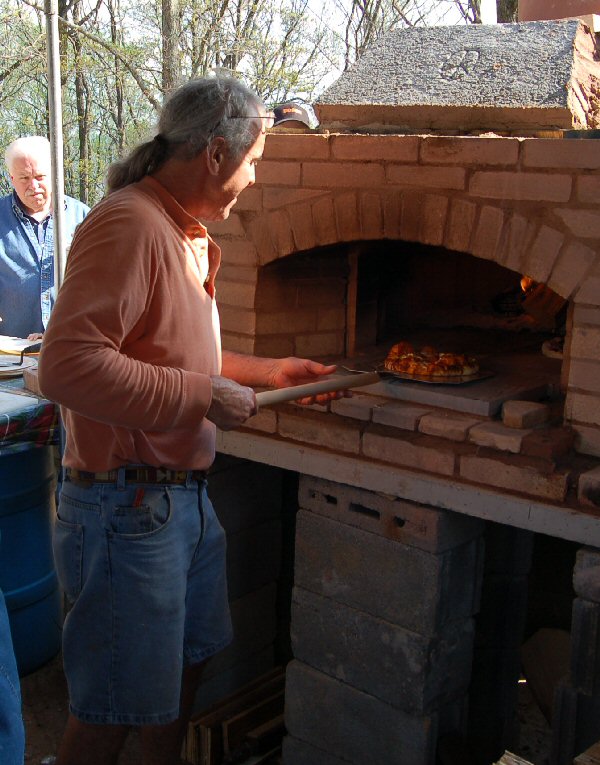
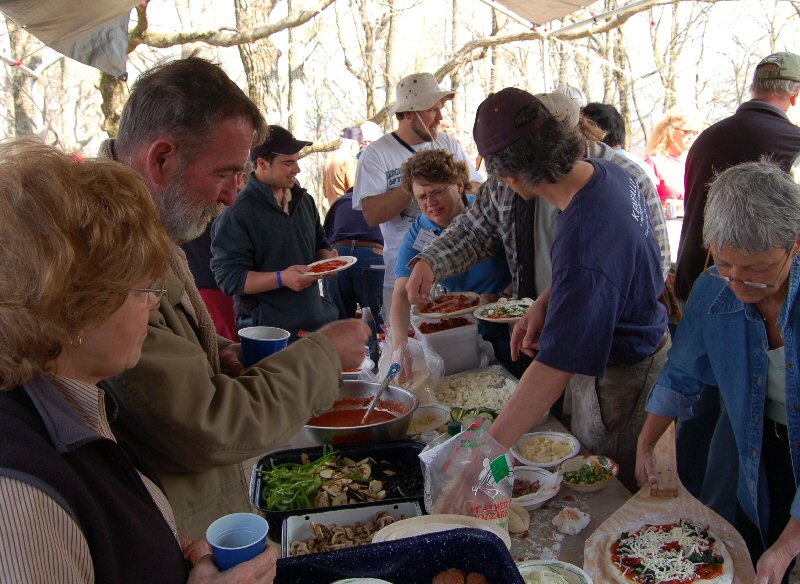
Frank Giammaria gave us a Master Class on pizza.
See also,
2004 Photo Report
2003 Photo Report
2002 Photo Report
2001 Photo Report
2000 Photo Report
1999 Photo Report
1998 Photo Report
1997 Photo Report
This page was last updated on
November 8, 2015
This page was created on April 21, 2006
Back to: