
| Gallery | The Mall | Member Directory | MHA News | Bookstore | Library | Links |
April 14-22, 2003
See also,
2006 Backyard Oven with Peter Moore
2004 Cob Oven with Tom Trout
2007 Experimental Oven with Alex Chernov
2005 Small Commercial Pizza Oven with Pat Manley
Join us as we build a traditional French oven from the Gasconne region.
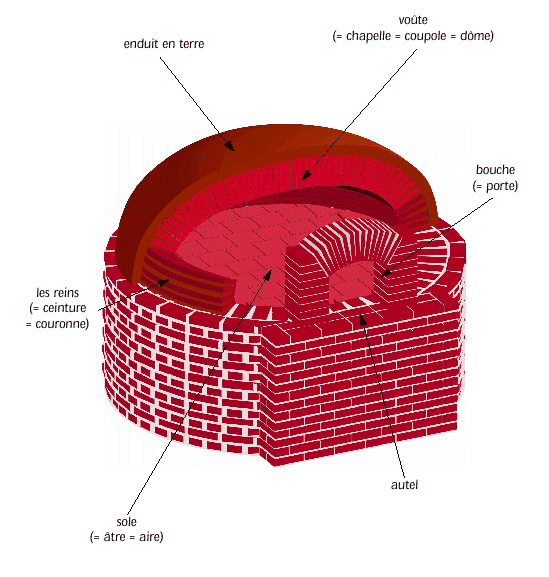
This oven is similar in shape to the Quebec oven, but is built from brick.
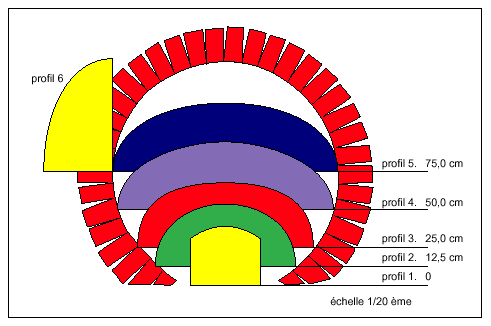
The illustrations are from the French book, "Petite
Traité sur la Constructions des Fours ŕ Pain"
I scaled the historical French templates 75% in plan and 90% in height
and brought sets of scaled layout drawings for workshop participants.
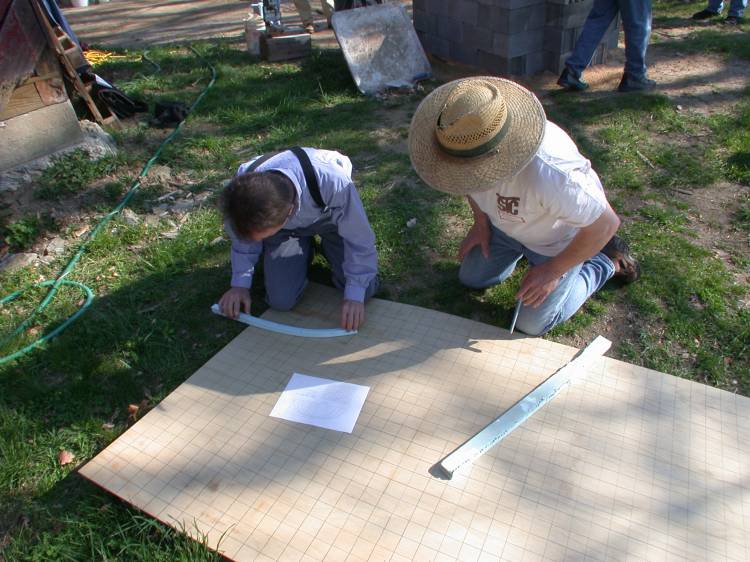
Rod Zander and Glenn Overk lay out templates onto 1/4" plywood.
Download template 1 (4
Kb PDF file)
Download template 2 (12 Kb
PDF file)
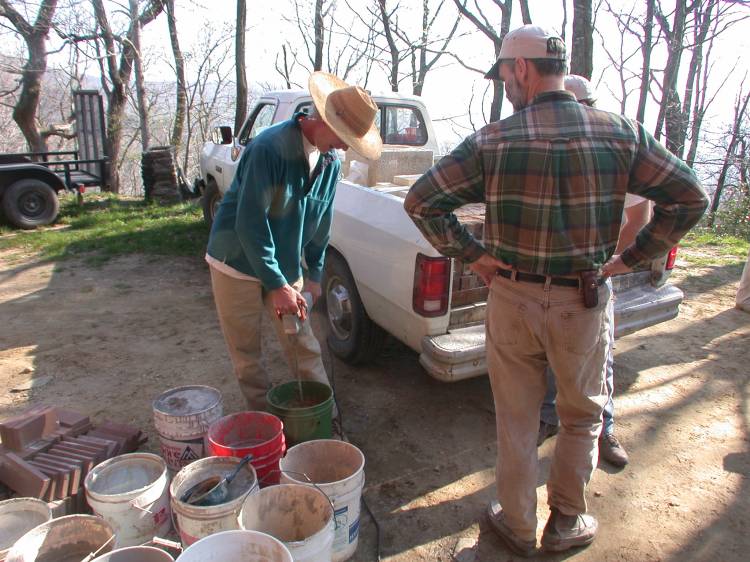
Tom Trout mixes clay/sand oven mortar.
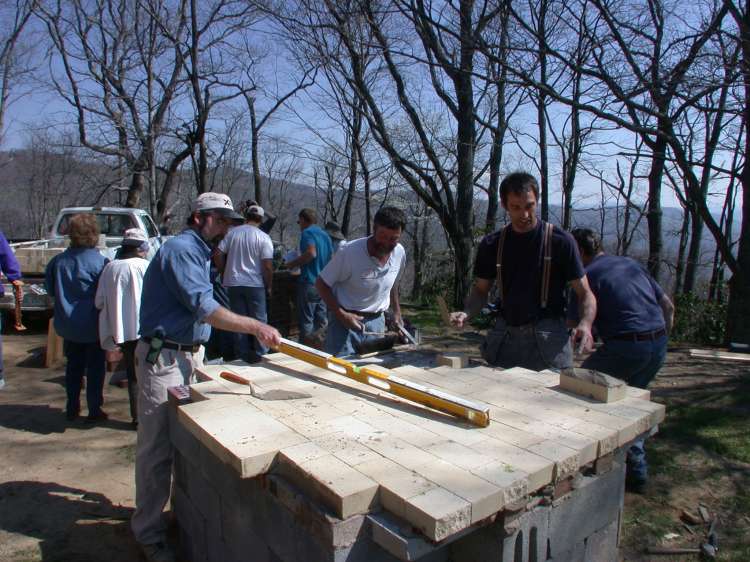
Firebrick hearth.
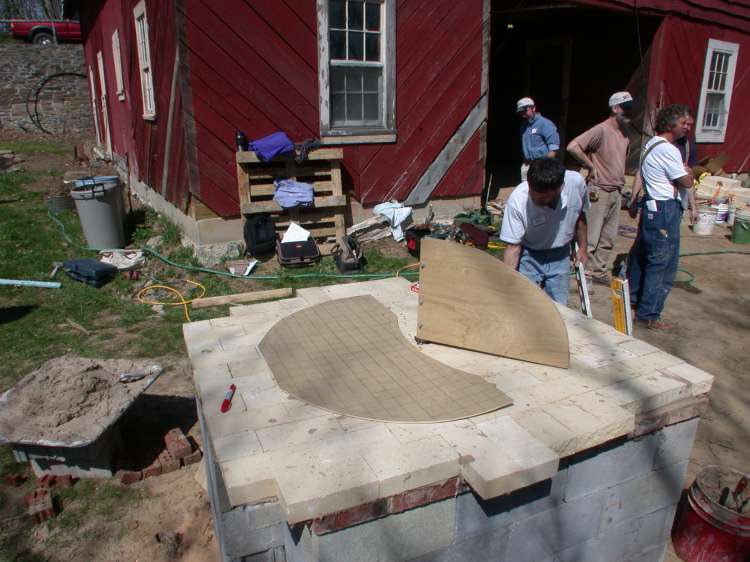
Template for laying out footprint for front half of oven.
Back half is swept with elliptical template on vertical post, which pivots on
a pipe set into the hearth slab.
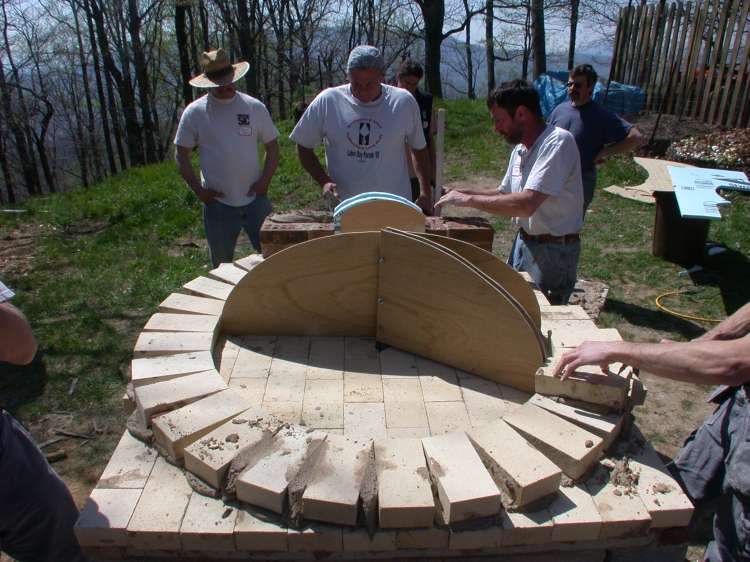
Full firebricks with wedge shaped bed joint and cross joints. Joint is dry on
oven interior face.
This oven is about 46" diameter. It is scaled down from the historical
design, which is 58" diameter.
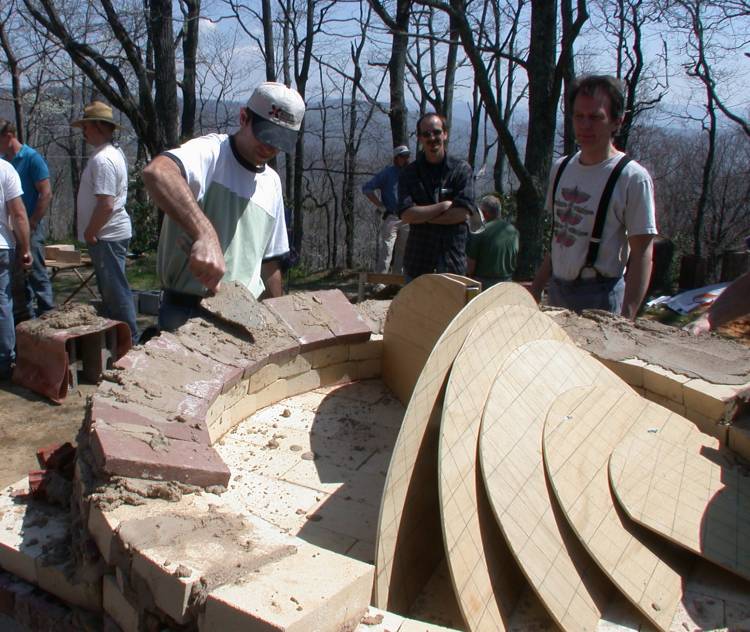
The steep part of the ellipse is laid in firebrick splits to cut down on the
bed joint thickness.
Roger Poulin and Rod Zander watch Eduard Breuer.
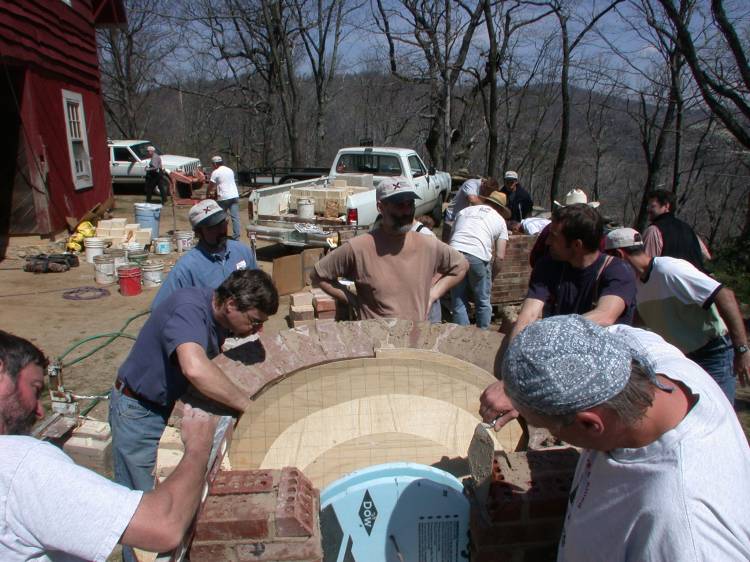
Bricks are set to the templates, without support.
The brick suction holds them in place.
Tom Hagelund and Walt Kelly build the arched doorway.
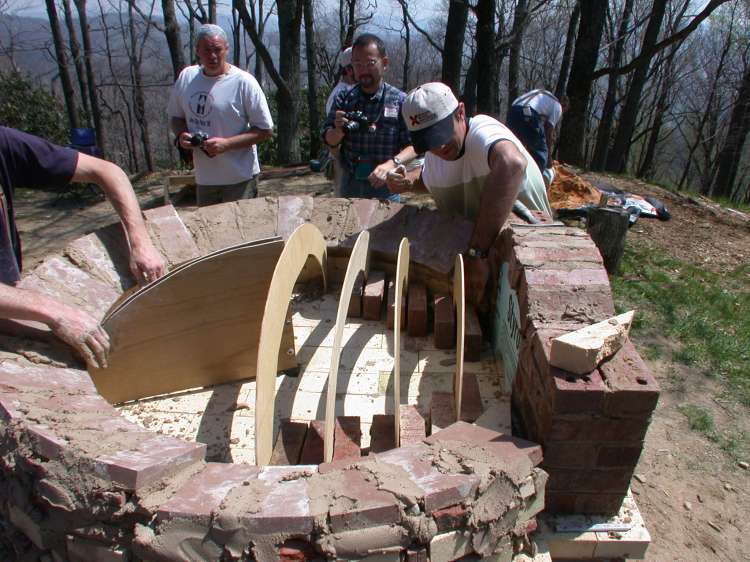
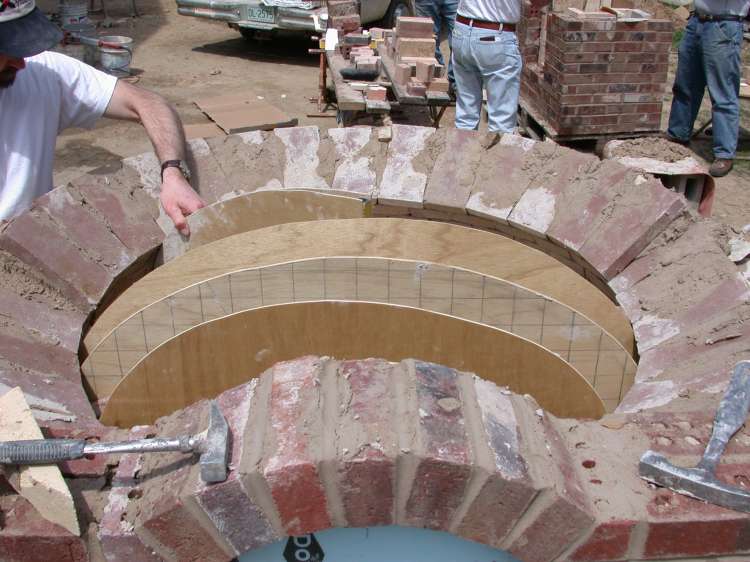
At this point, the bricks started to slide inwards.
The firebricks were quite dense, and did not have much suction.
A softer brick is required for this technique to work - this was one of the
questions we wanted to answer with hands-on experience.
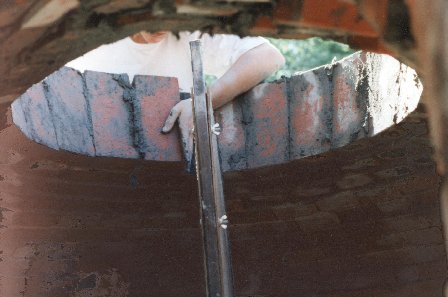
Here's an illustration from "Petite
Traité sur la Constructions des Fours ŕ Pain"
It shows a larger oven being built from softer firebrick without formwork.
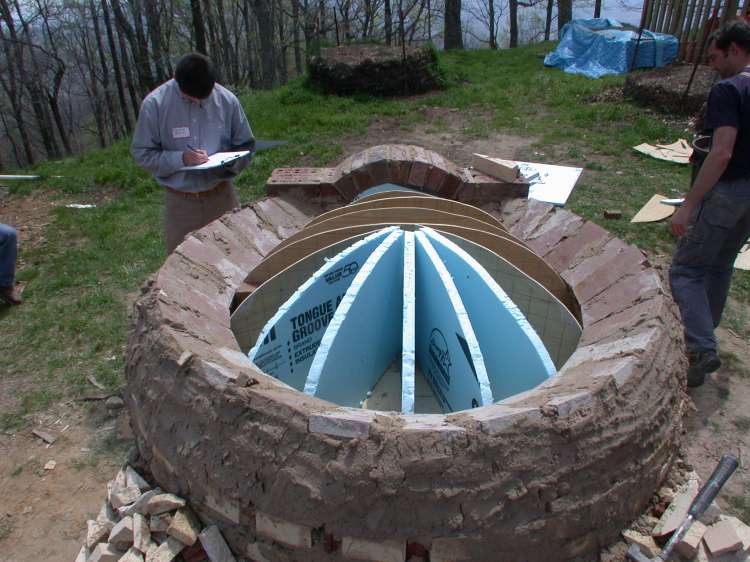
The pivoting template was pulled, and it was decided to build a form with styrofoam
and cardboard.
Emmanuel Barbier (left) came from France, and is marketing manager for the excellent
Le Panyol ovens.
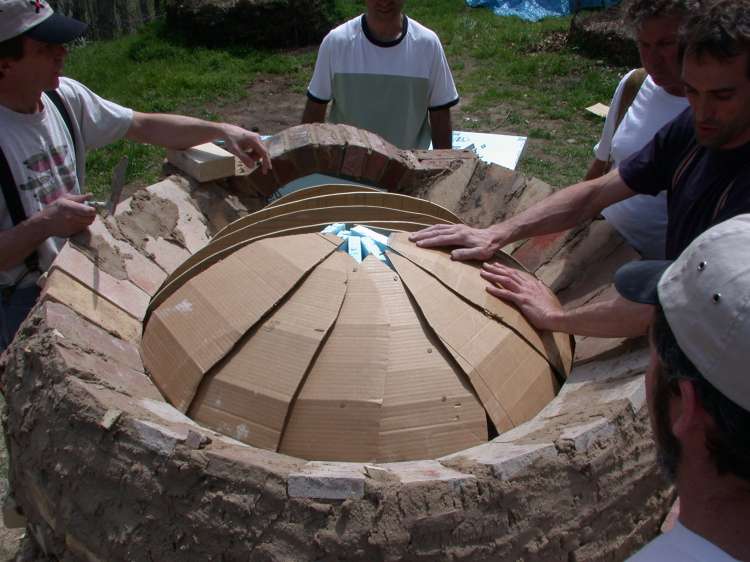
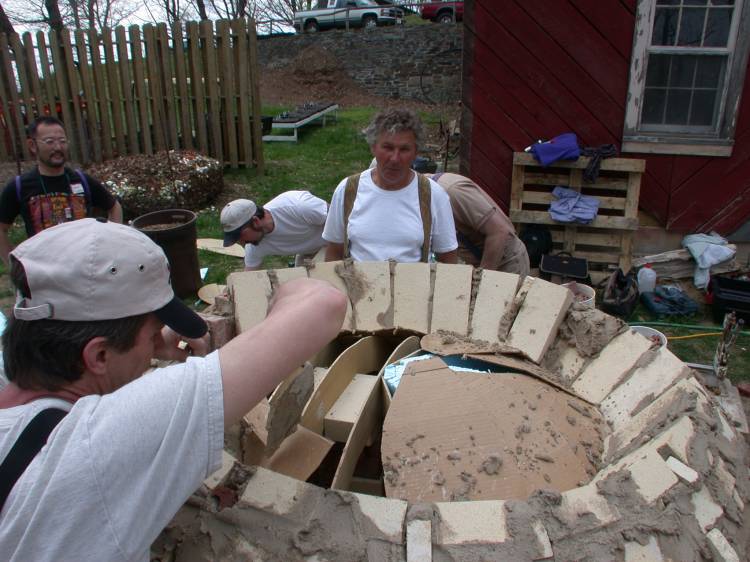
Note that the plywood templates have now been relieved to allow easier removal.
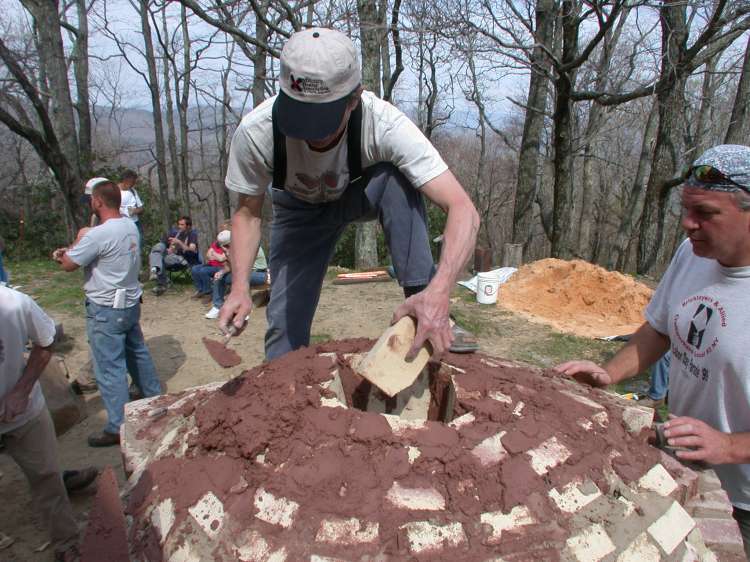
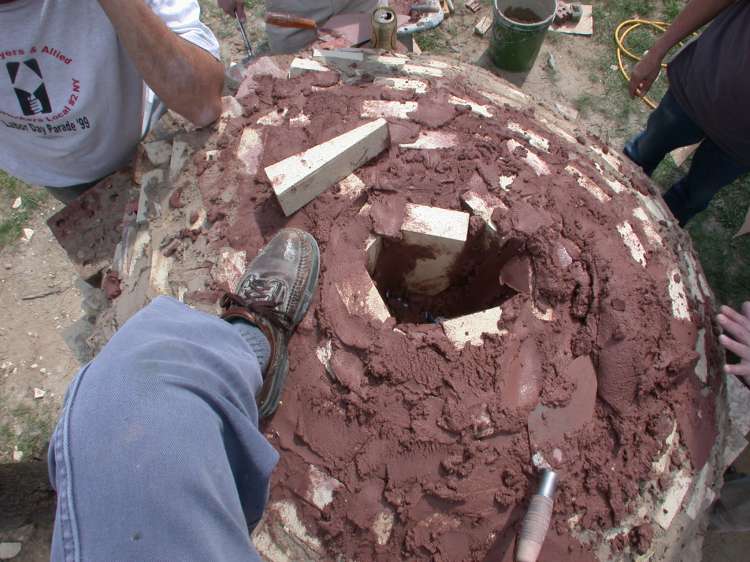
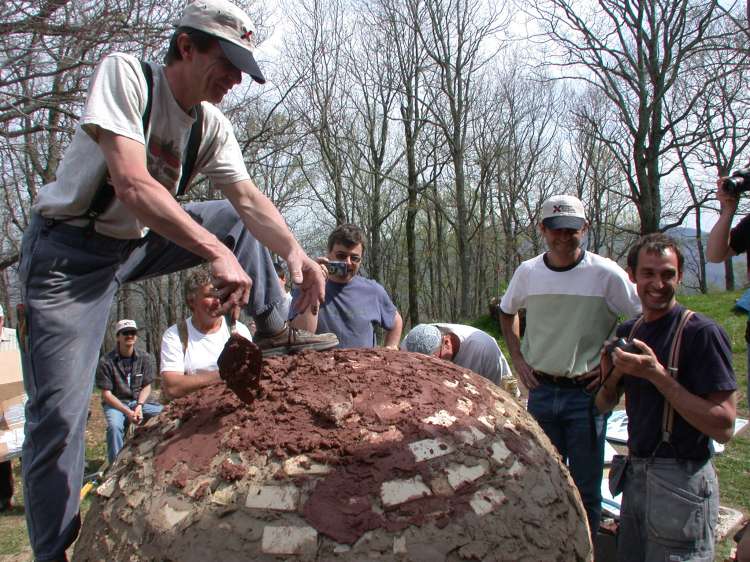
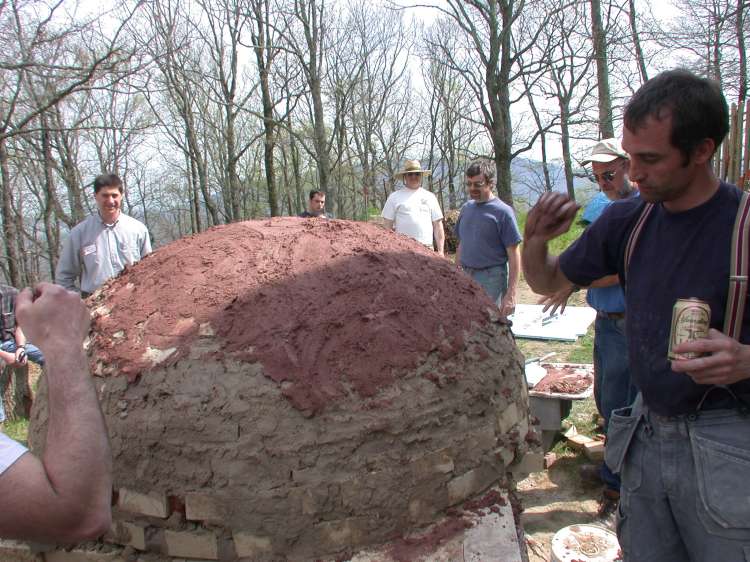
Sealing the oven with a coating of clay mortar.
The traditional oven is covered with a layer of earth for insulation.
This oven will only have a 2 day life, so we didn't insulate it. We needed to
dry it out, fast.
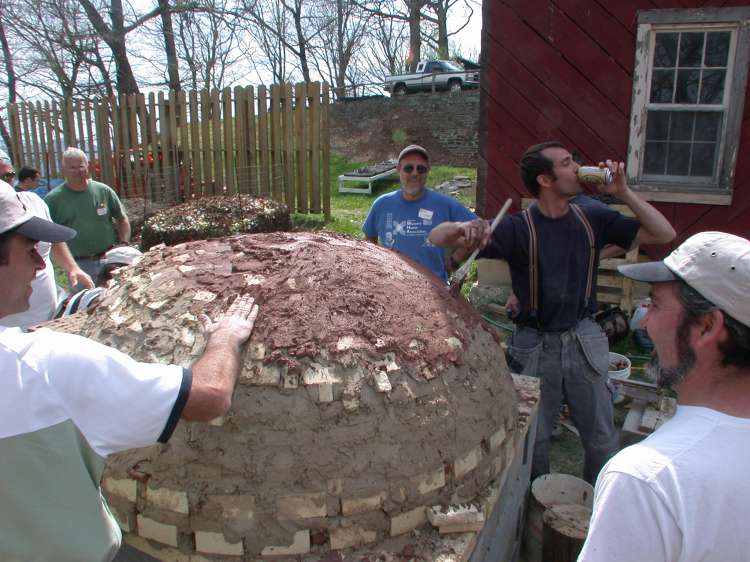
John Fisher demonstrates Swedish two-handed oven technique.
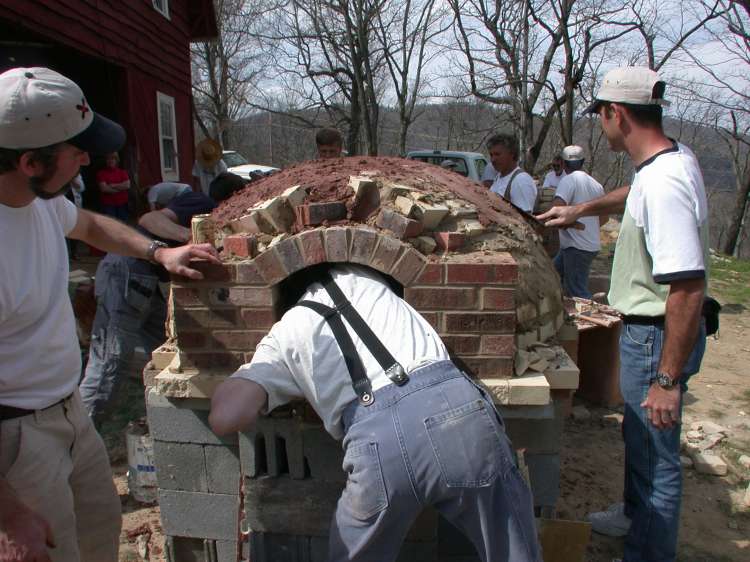
Cleaning up the inside.
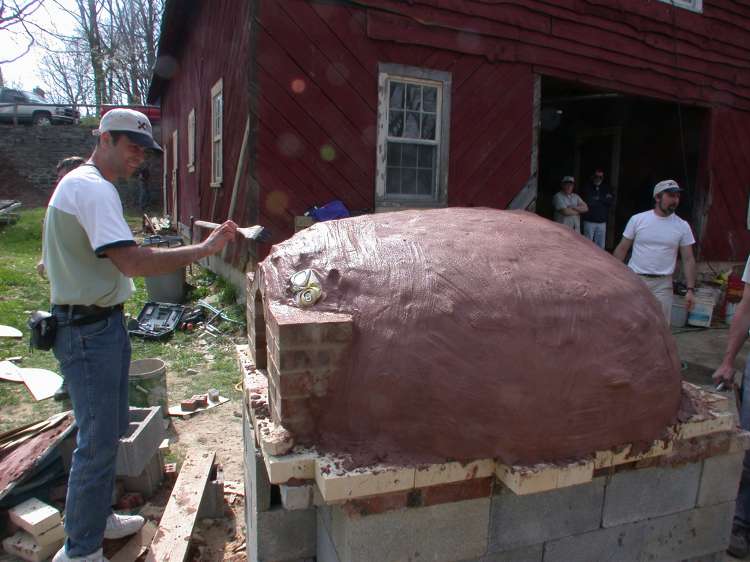
Brush and water finish.
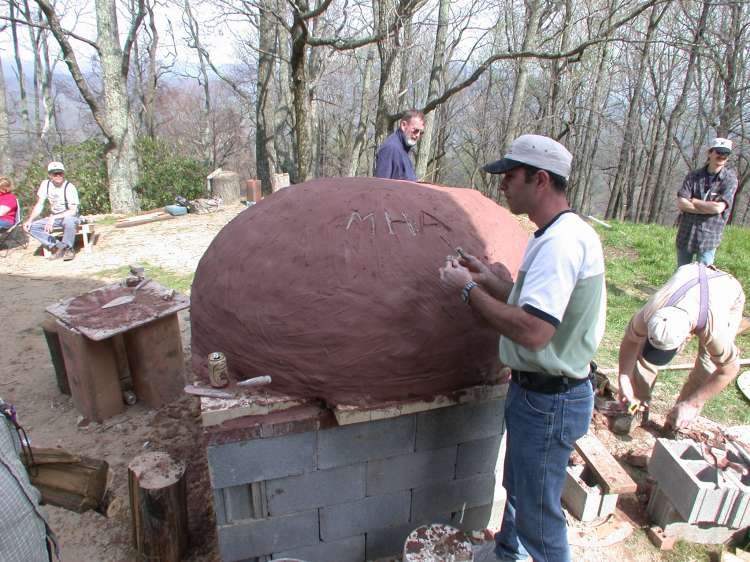
Decorative inlay.
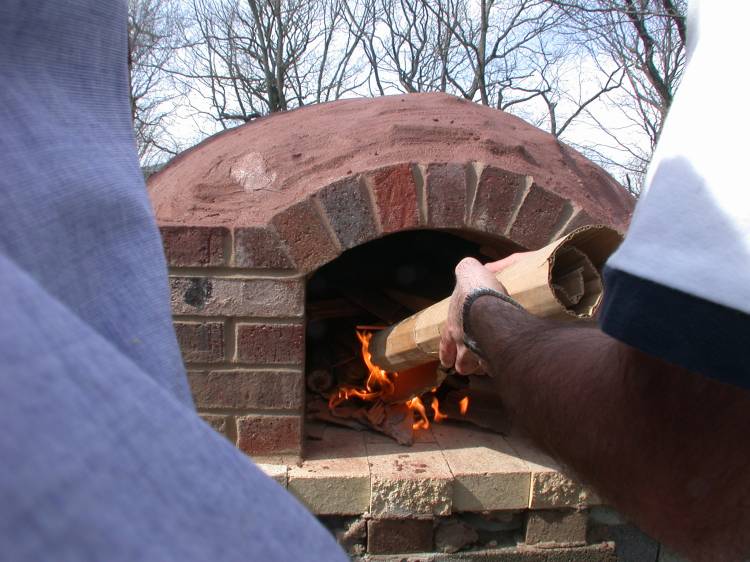
Lighting the drying fire.
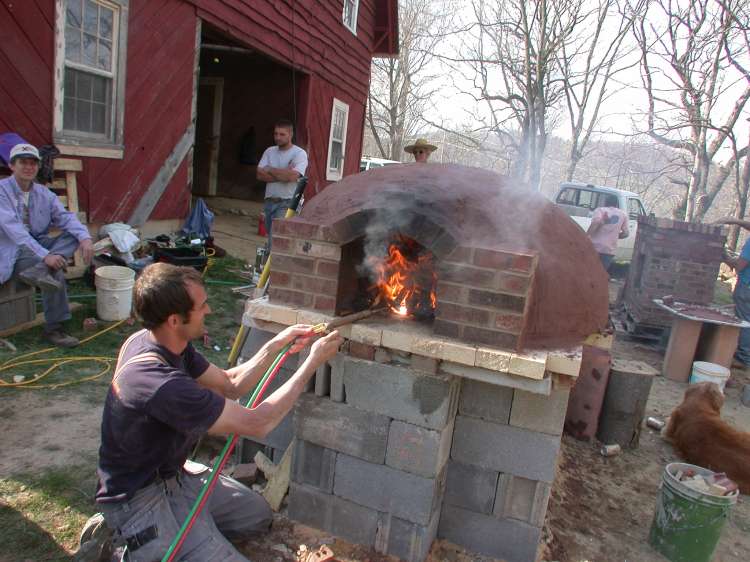
The wood was not dry. John Fisher offers a little encouragement with an oxygen
torch.
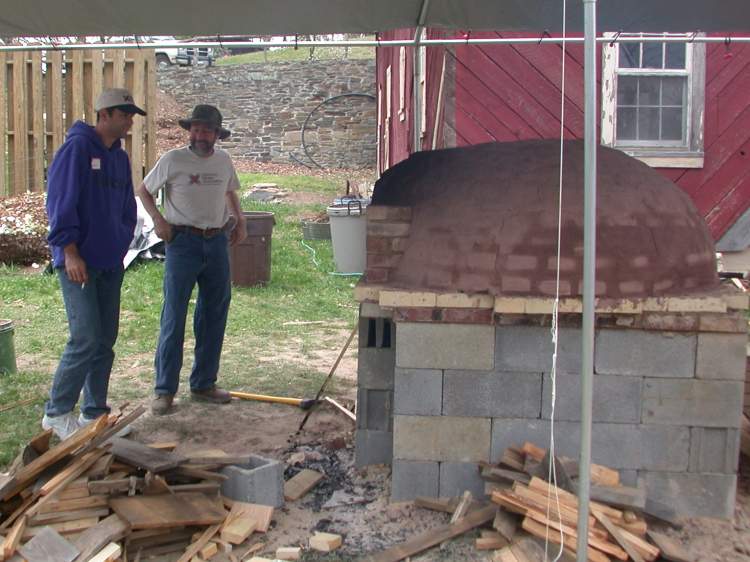
The top of the mountain got rainy on the second day, so we covered the oven
with a tent.
Oven is drying nicely.
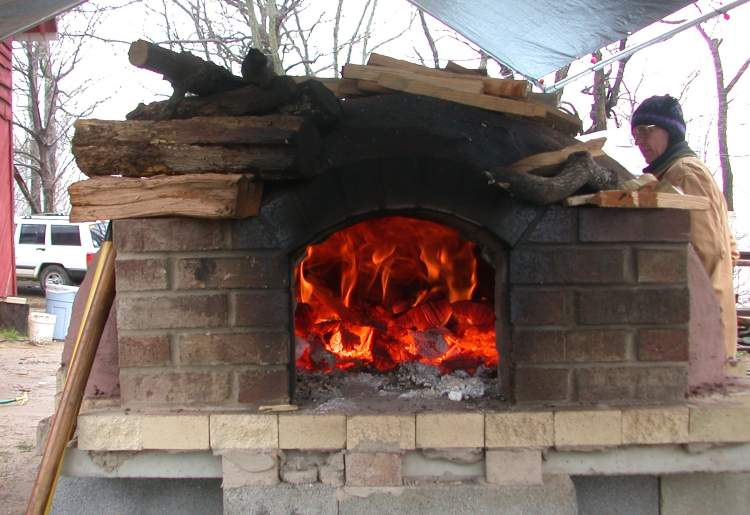
Charge of wood burns down as firewood is drying on top.
We only had wet wood the first day for the drying fire, but Tom Trout brought
some nice dry hardwood for pizza day.
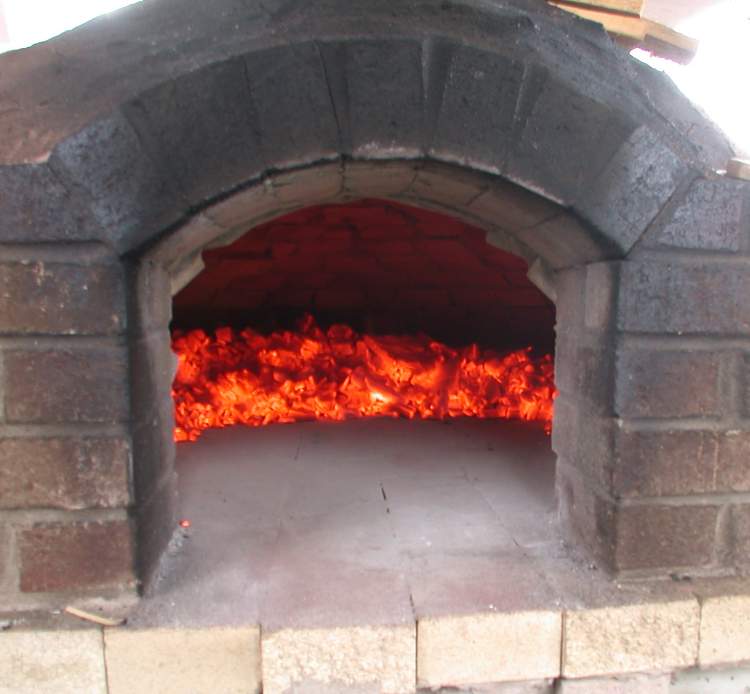
Beautiful bank of coals. The ceiling temperature is over 1000 F. The hearth
is about 850 F right at the door and hotter further back.
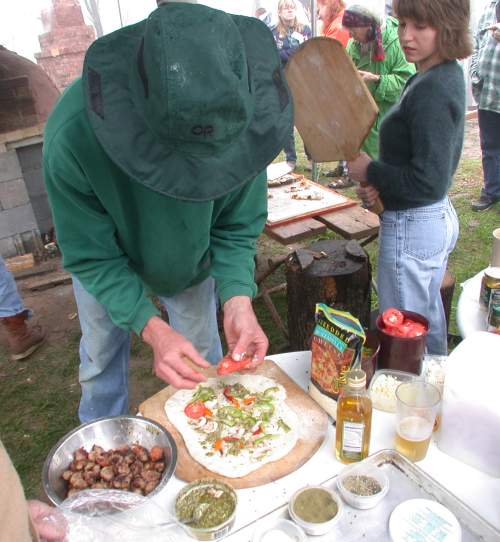
Tom Trout was elected Pizza Maestro.
A lapidary gal offers assistance.
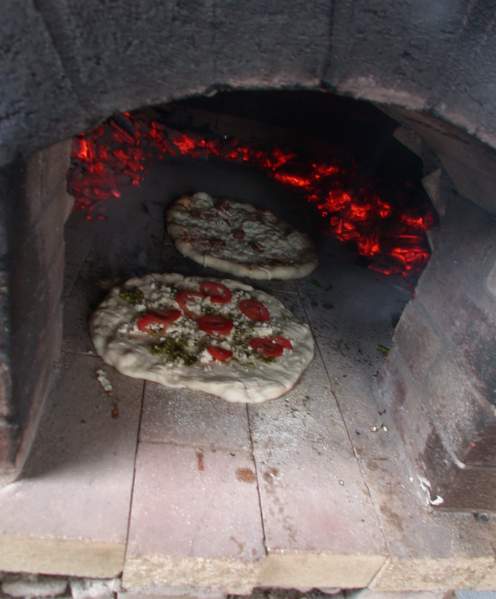
Pizza was flash baked in the centre of the hearth, then moved to the front to
finish.
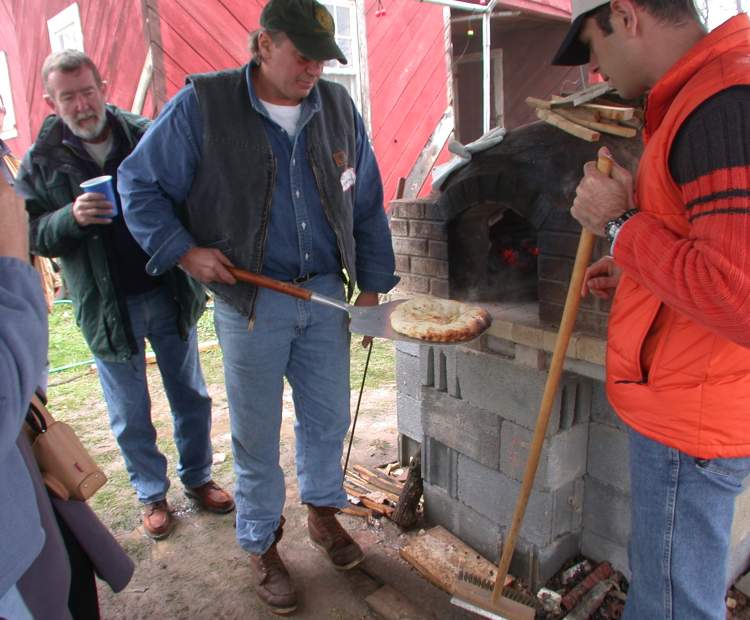
Tom Hagelund was the baker. The first one looks good.
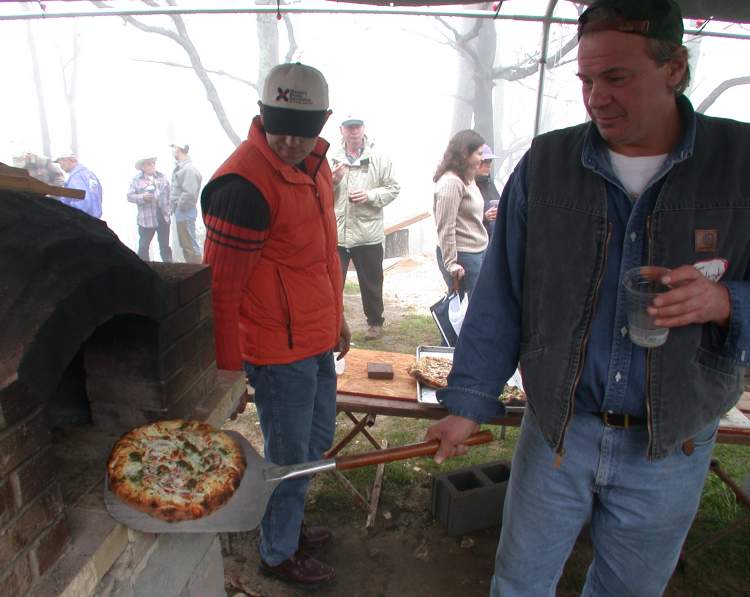
Perfect pizza.
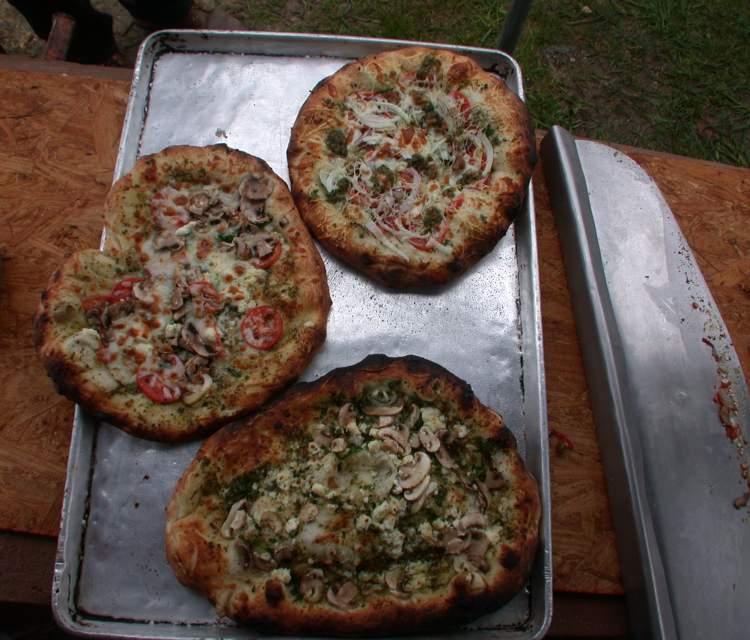
Pizza doesn't get any better than this.
The first pizzas baked in under 2 minutes.
We baked about 30 pizzas, followed by calzones and breads.
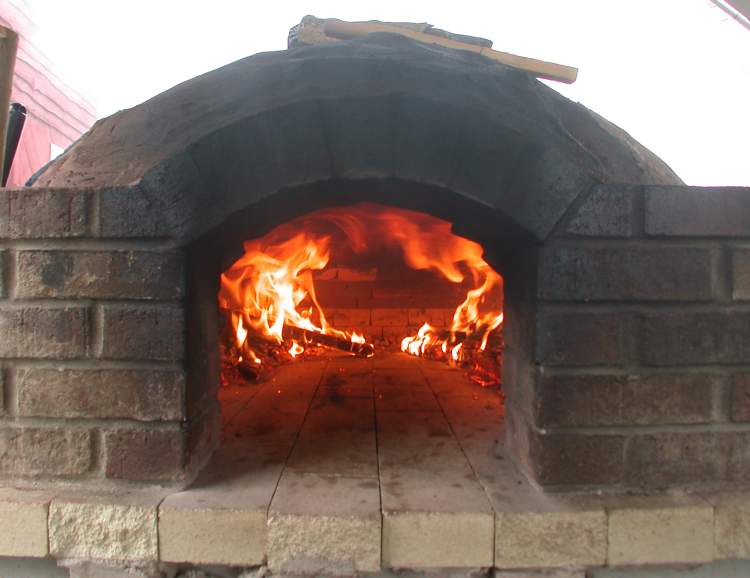
Releoading towards the end with a few small sticks of wood.
Nice flame pattern. The temperature came right back up.
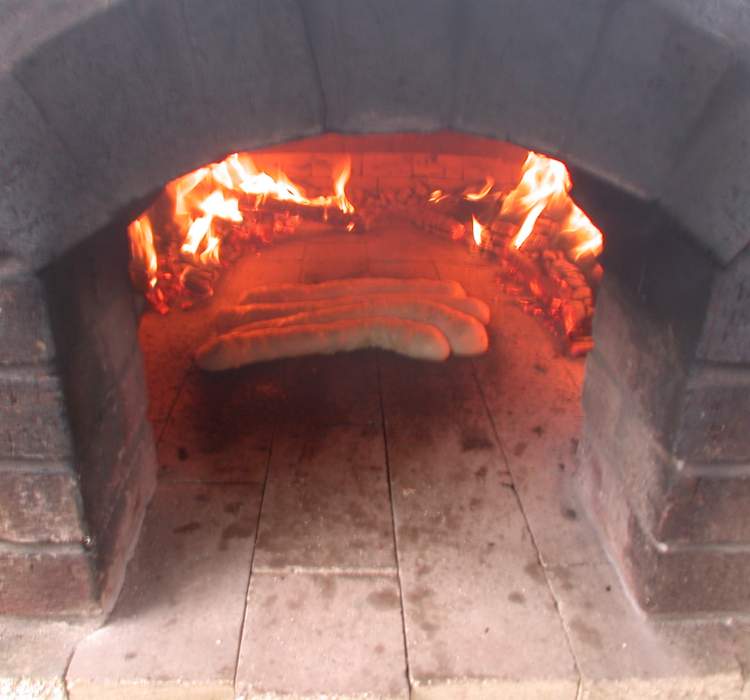
Breads.
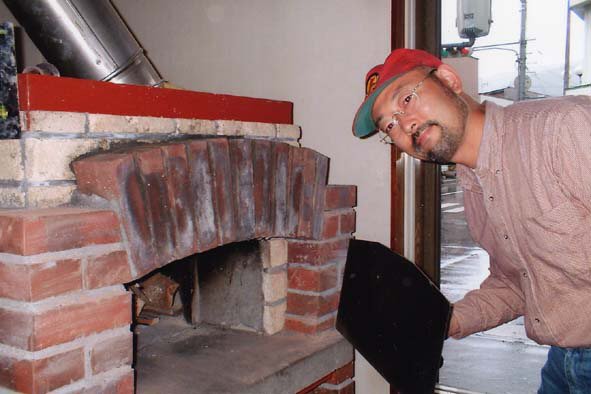
July 28/03: Hikary Fukazawa, a participant at the workshop, returned to Japan
and built his own oven.
Hikari writes:
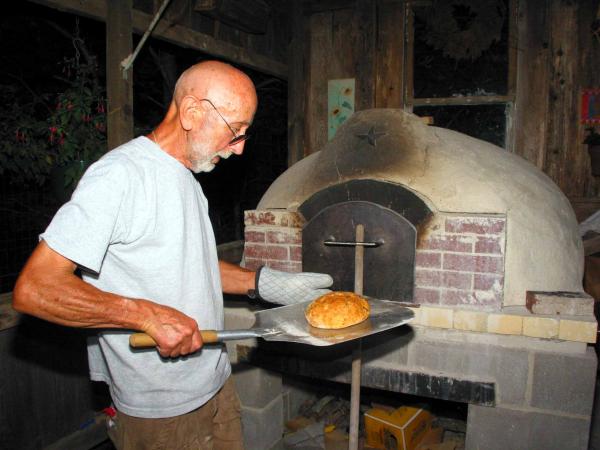
Here is the picture of my bake oven.
Our bakery is going so well.
Last Saturday we sold out 30 pizza at the Saturday evening market.
Of course I baked by wood fire.
Every day my wife Shuko is baking 10kg wheat flour and selling out in a short
time.
We will increase products little by little.
But we will keep making hand made bread.
June 10/04
Jim Landolt writes:
With thanks to your web site....there is now a French bread oven in Goliad,
TX.
The template came from the MHA website.
I used the template to make a sand form to which the oven was built.
After curing, the sand was removed. Having never laid a brick before, my workmanship
after the first 3 courses was not up to spec....the arch was quite trying----however
the oven works very well
One modification....this oven has a 2 inch opening at the peak as most of the
"southwest hornos" have.
To date have baked up to 16 loaves of bread at one time in the oven.
Thanks again....Jim Landolt
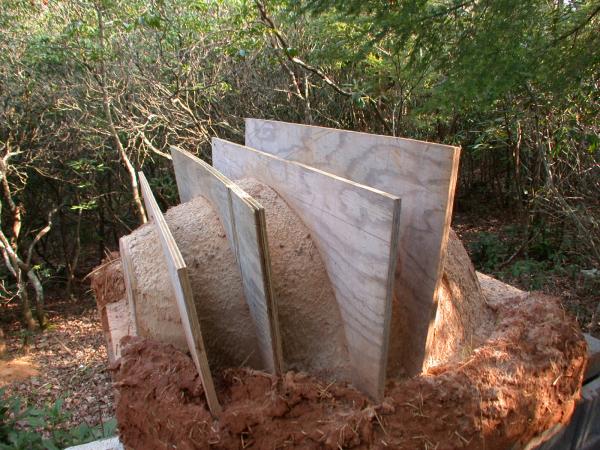
This photo shows Tom Trout's method of using plywood templates used to create
a damp sand form,
in this case for a cob oven.
See also,
2003 Photo Report
2002 Photo Report
2001 Photo Report
2000 Photo Report
1999 Photo Report
1998 Photo Report
1997 Photo Report
This page was last updated on January 24, 2013
This page was created on April 18, 2003