
2018 MHA Annual Meeting
Double
Deck Oven
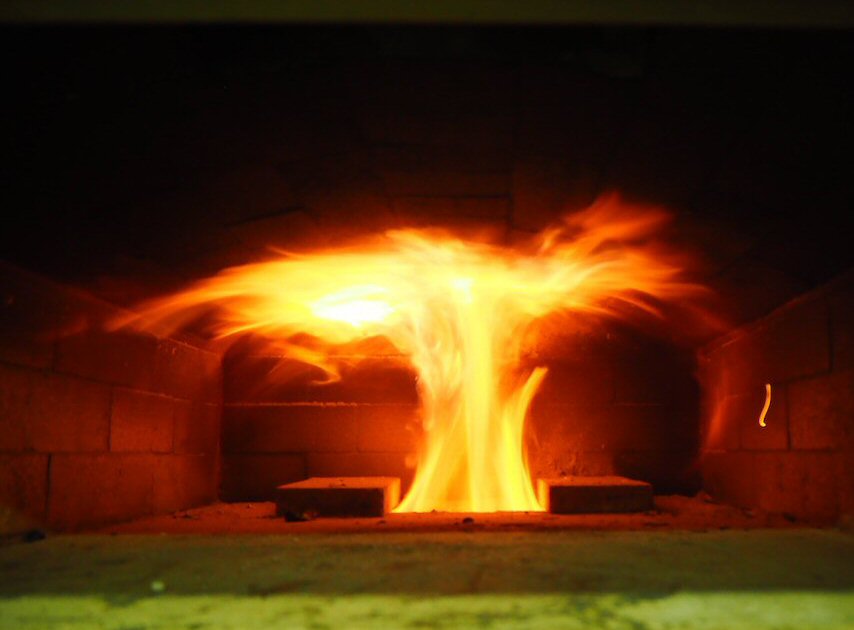
Photo credit: Stefan Polatschek
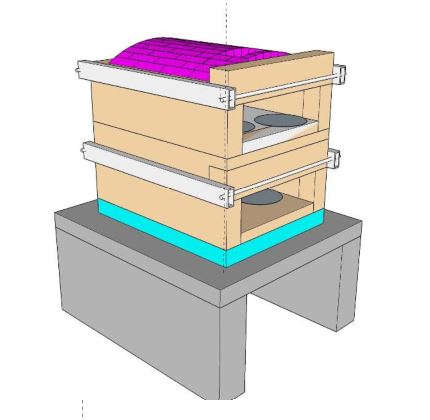
Download Drawings
Comments by
Jon Santiago


Photo
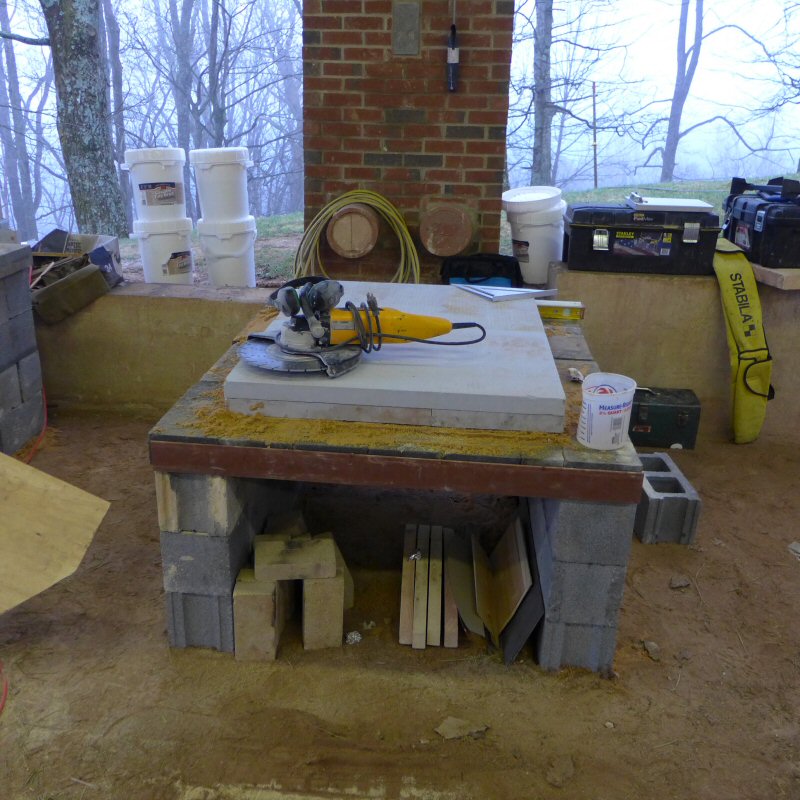
credit: Derek Kowalchuk


Comments
by Jon Sanitago:
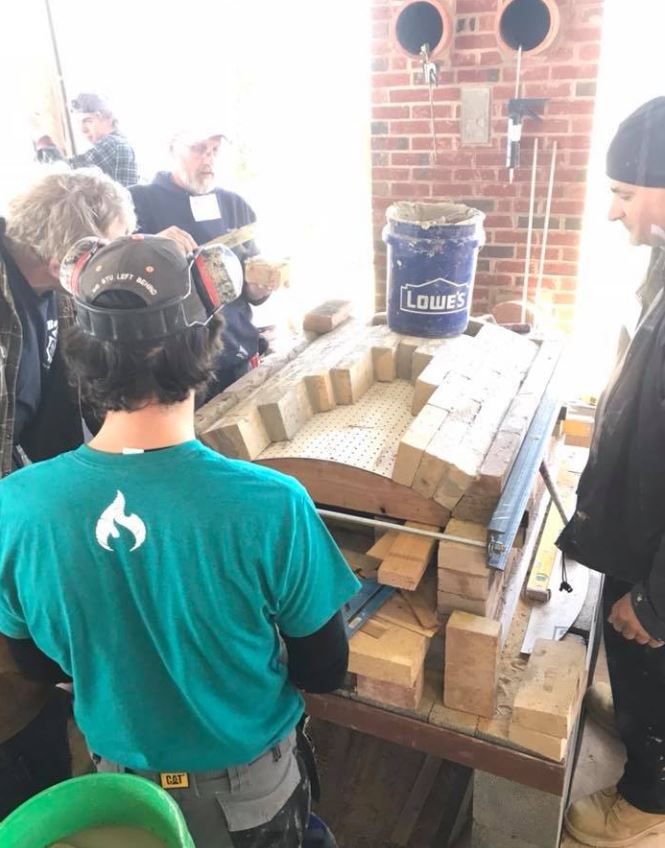
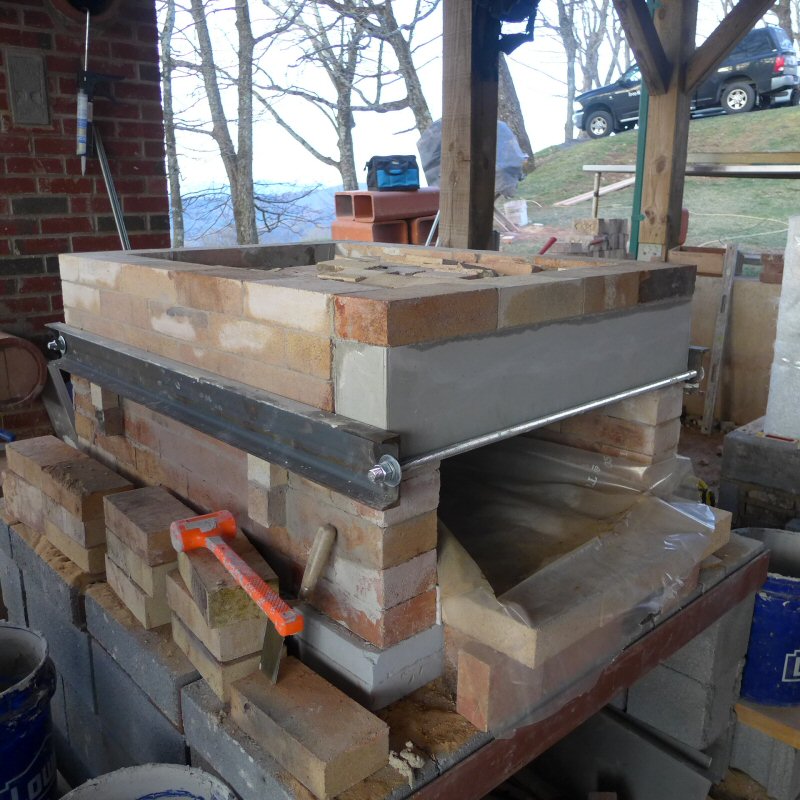
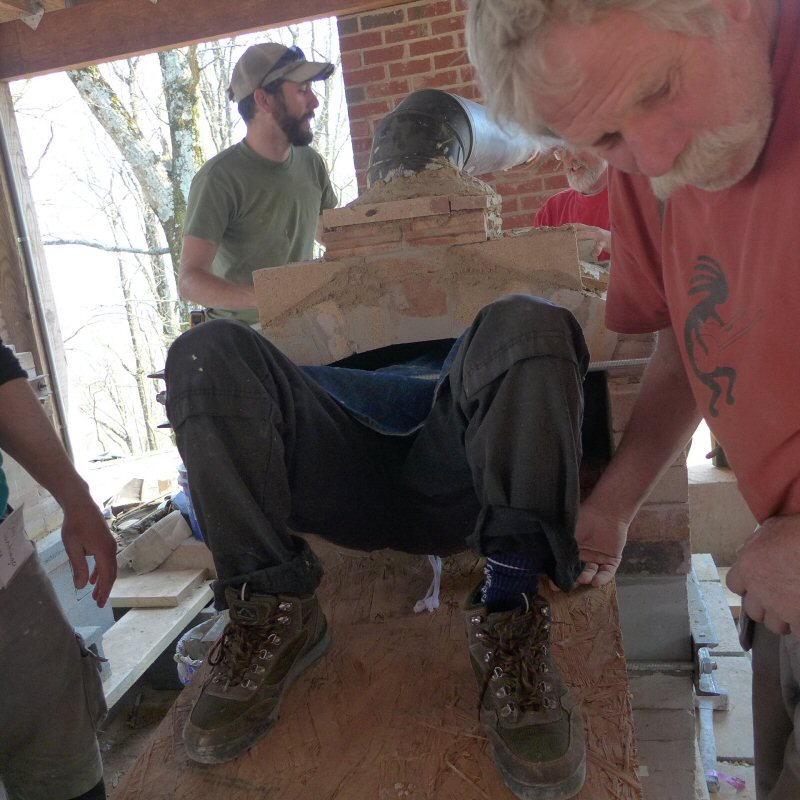
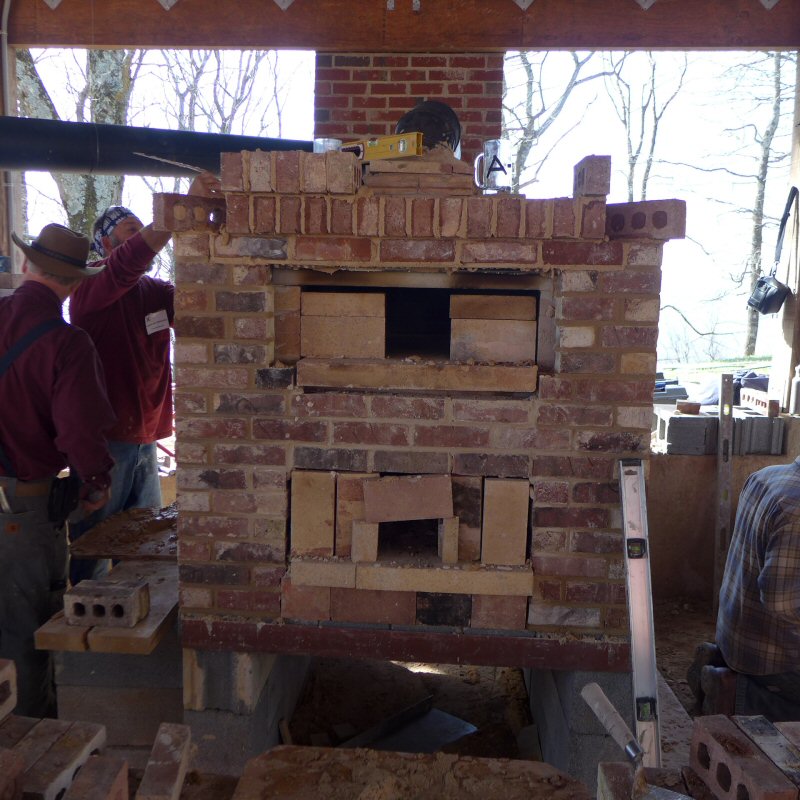
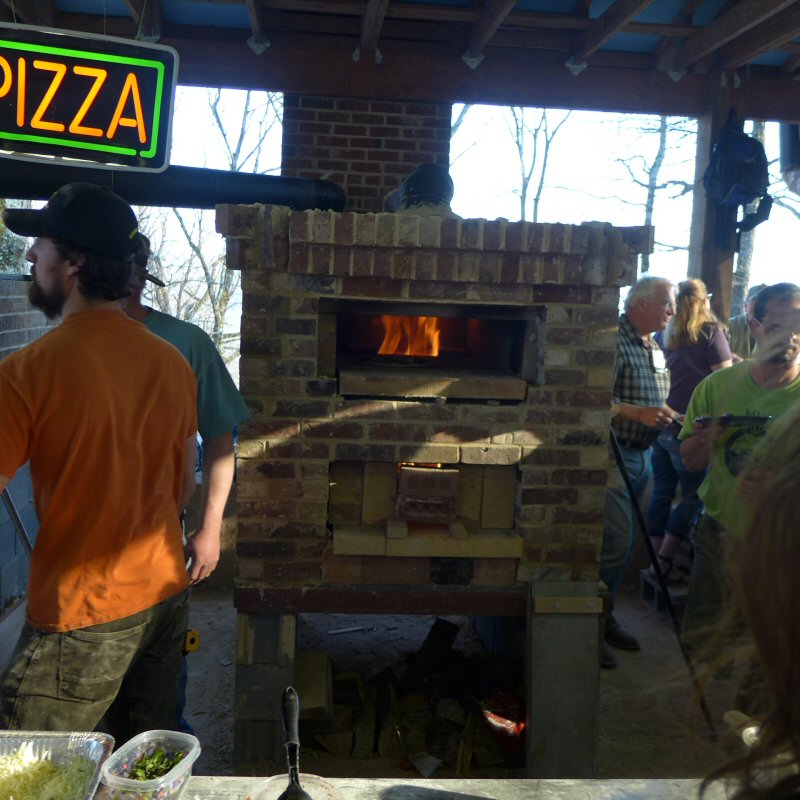
The goal of this build was to get a basic feel
for double-decker ovens--how they perform and how they are
built. The design was done by Jon Santiago of Hearth +
Timber, and informed by the work of John Fisher in Europe and Jeremiah
Church/Turtlerock in the US. Potential advantages include
1)increased capacity in the same footprint, 2) increased baking per
unit of firewood used 3) diverse baking environments allowing different
foods to be cooked simultaneously 4) the ability to cook on the top
deck while firing the bottom deck allows for temperature management and
continuous cooking (almost "white" oven).
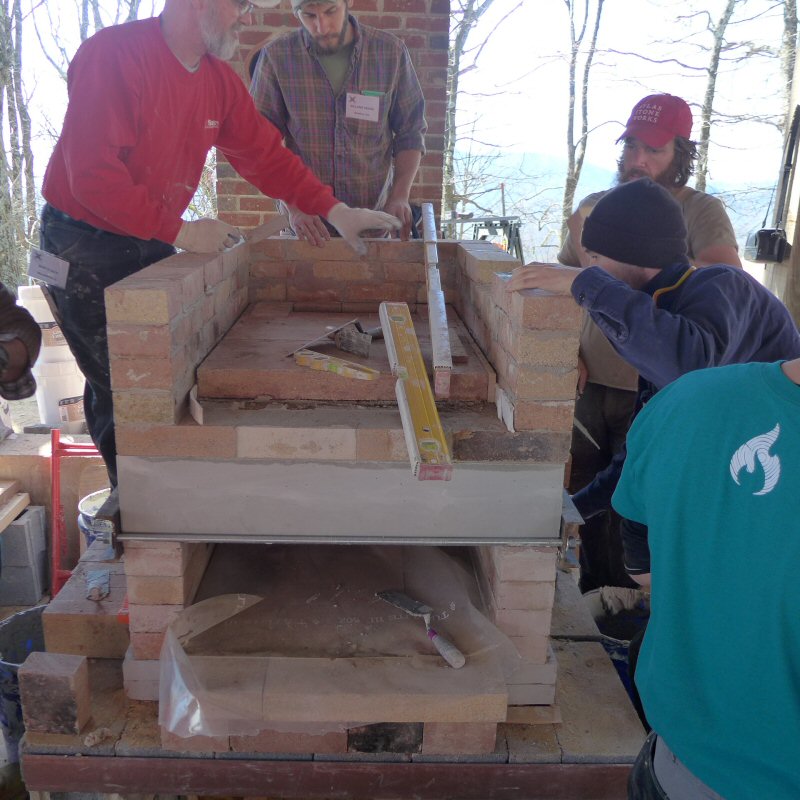
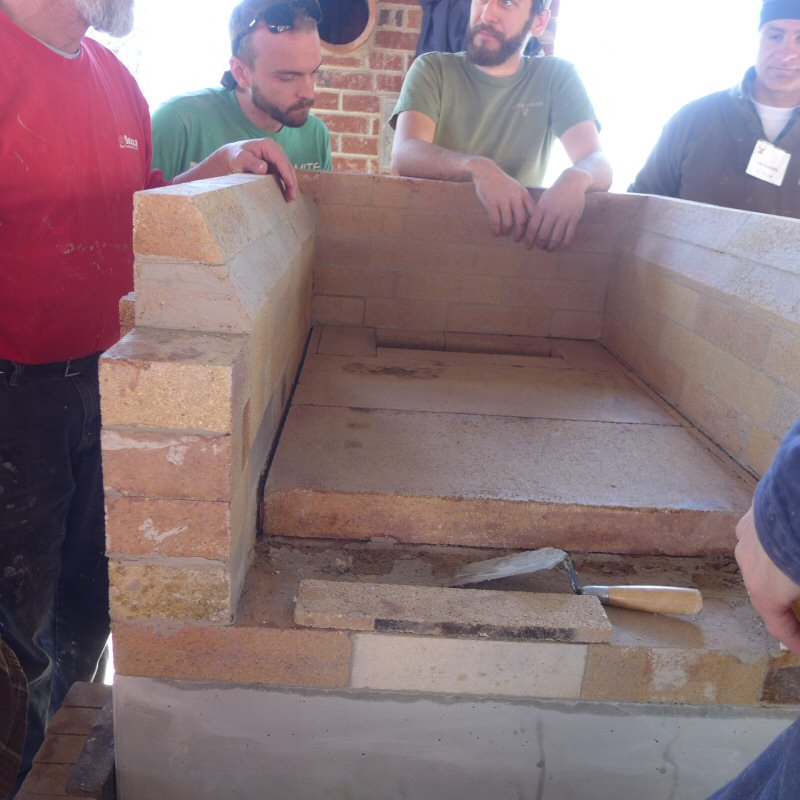
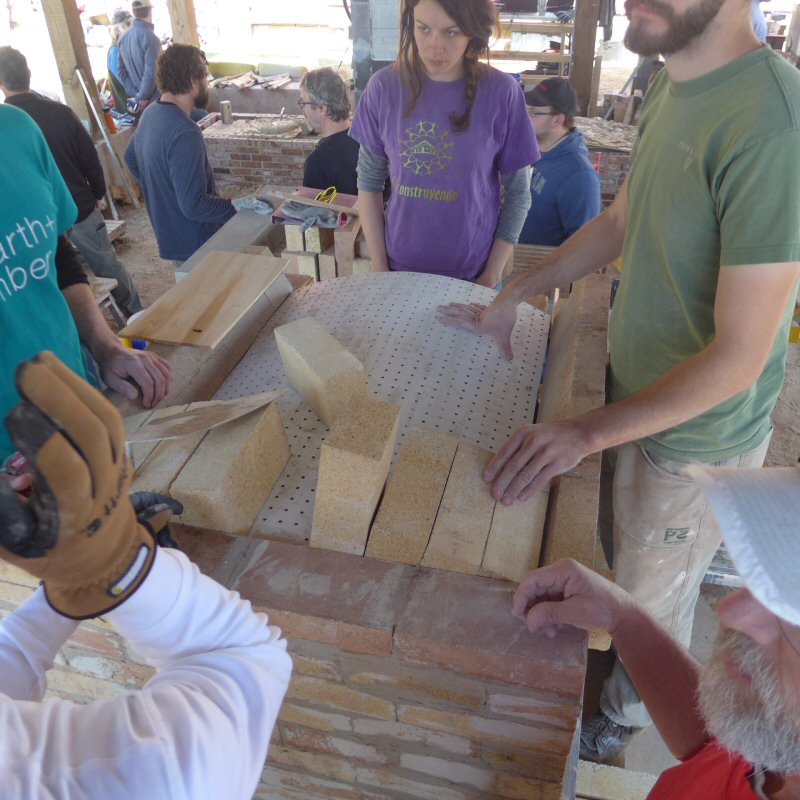
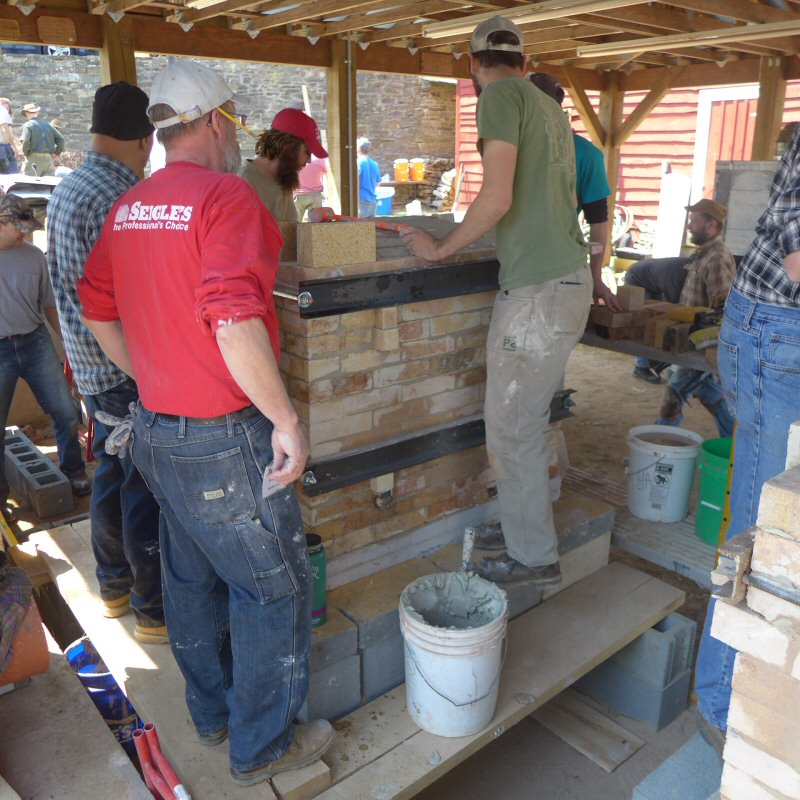
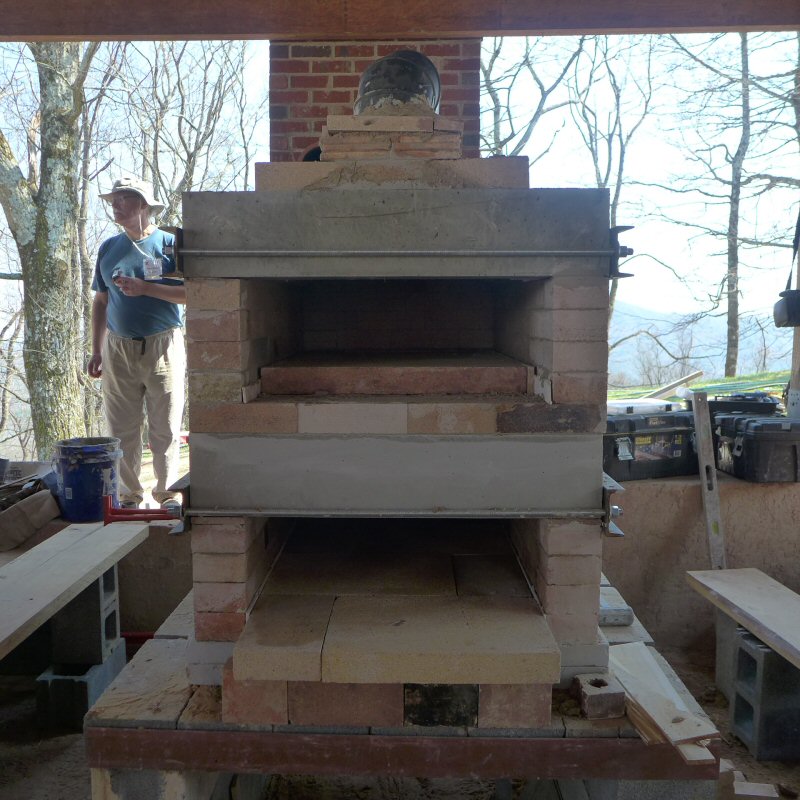
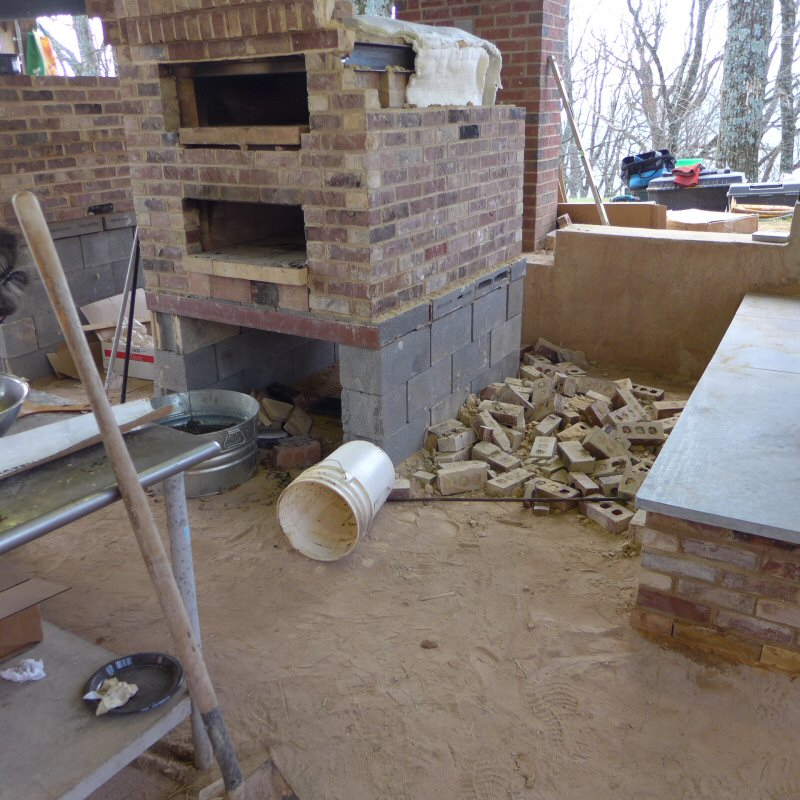
The
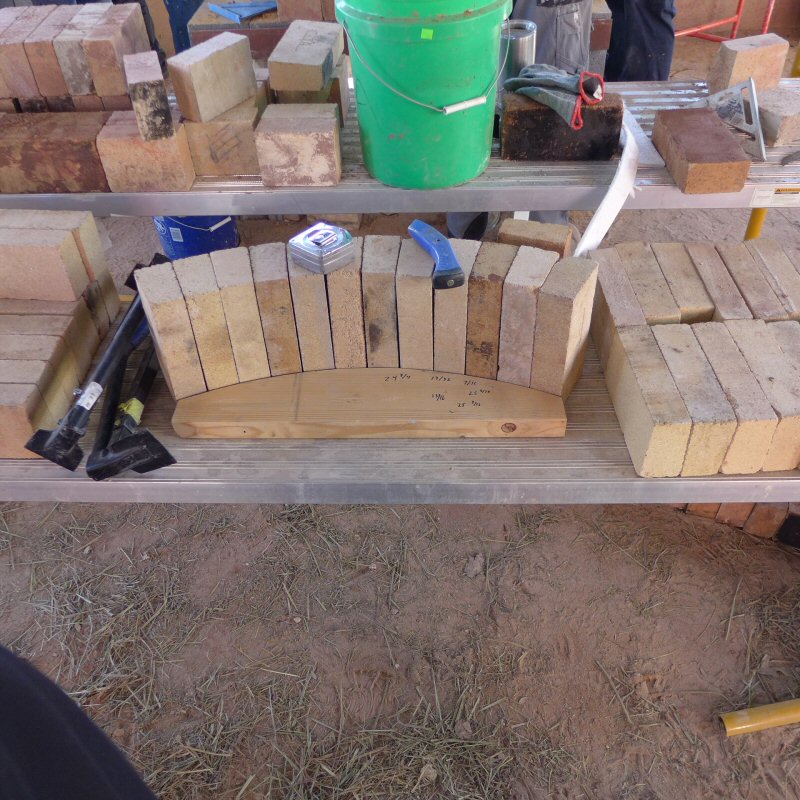
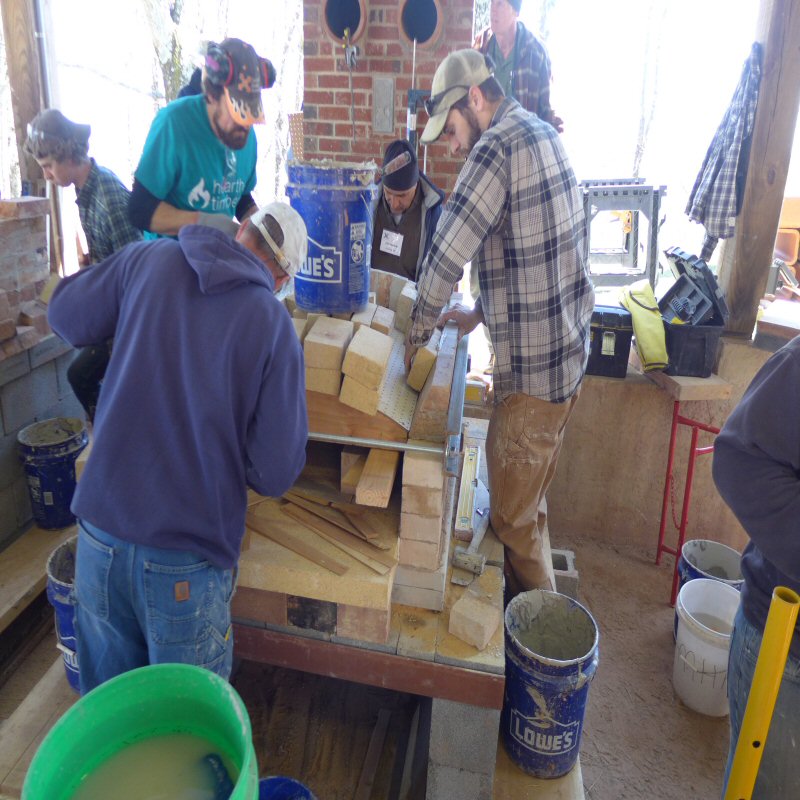
oven was designed for a very straightforward and fast build, with good
results on both counts. The width of the oven was laid out
specifically to match a real-time layout of 12 #1 Arch bricks so that
no ripping of tapered bricks would be necessary. The length
was likewise set so that only fulls and halfs were used along the
length. The oven was roughly close to 2' x 3' (inside hearth
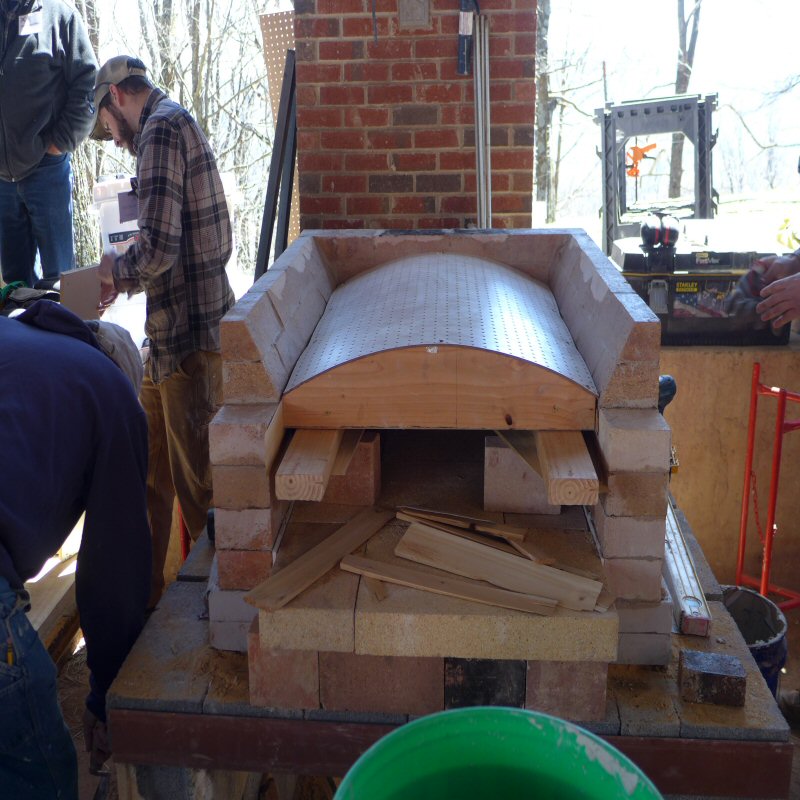
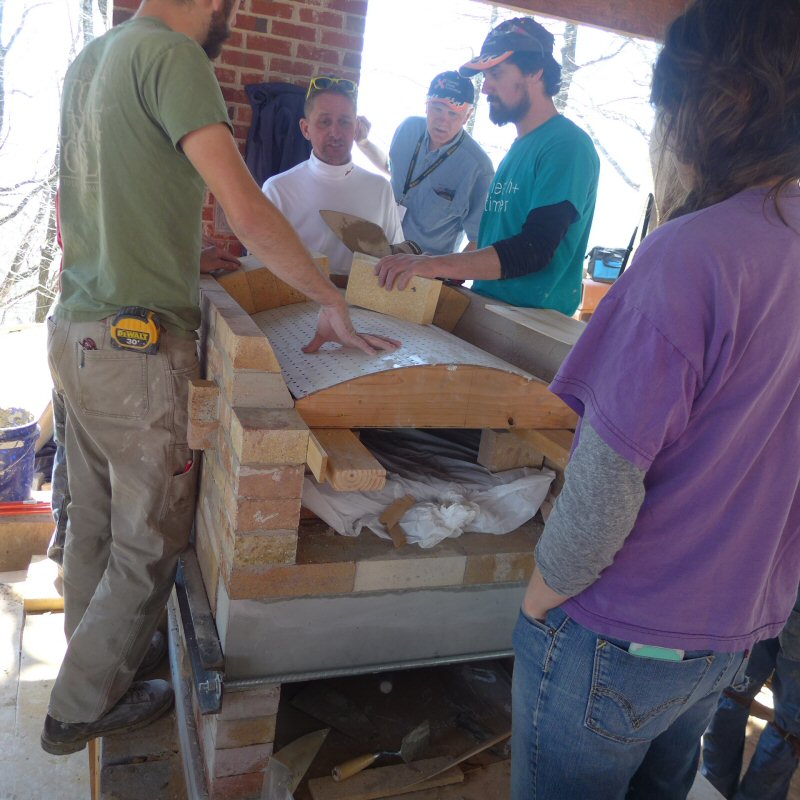
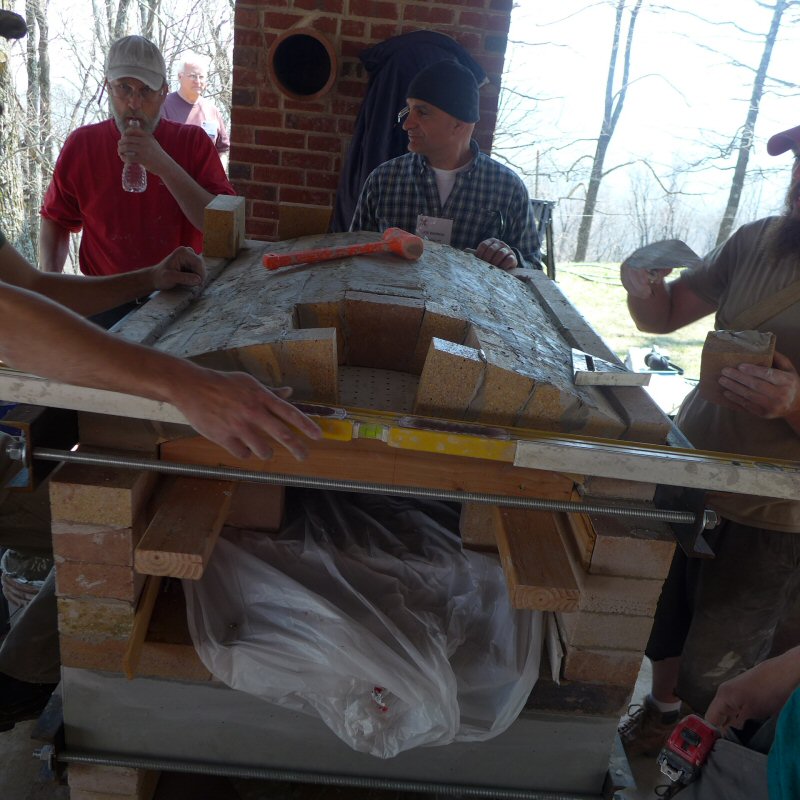
dimensions). The vaults were identical in form, so that the
same form could be used twice. The lintels were cast onsite
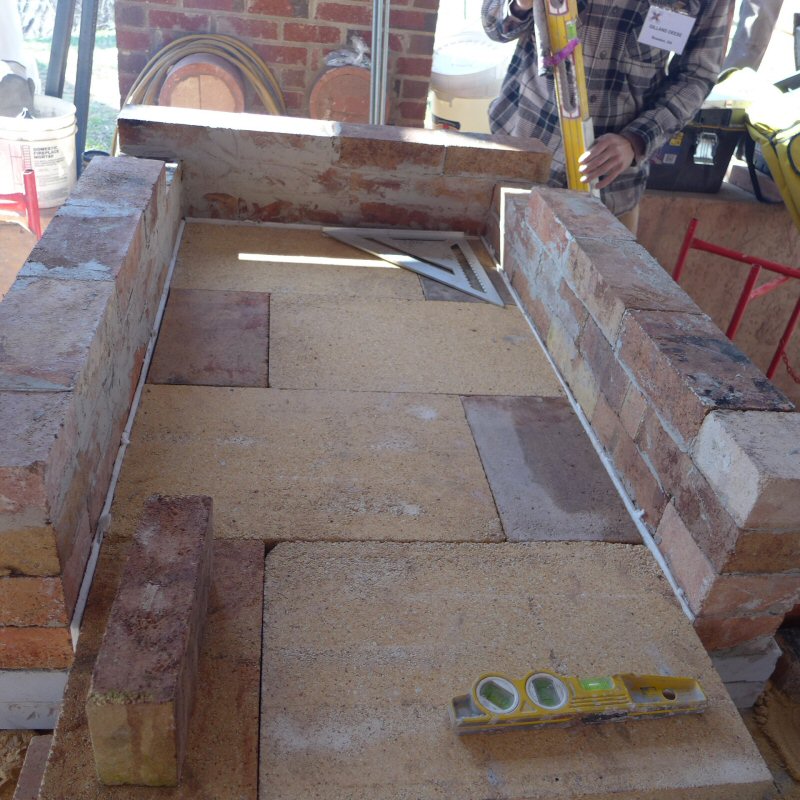
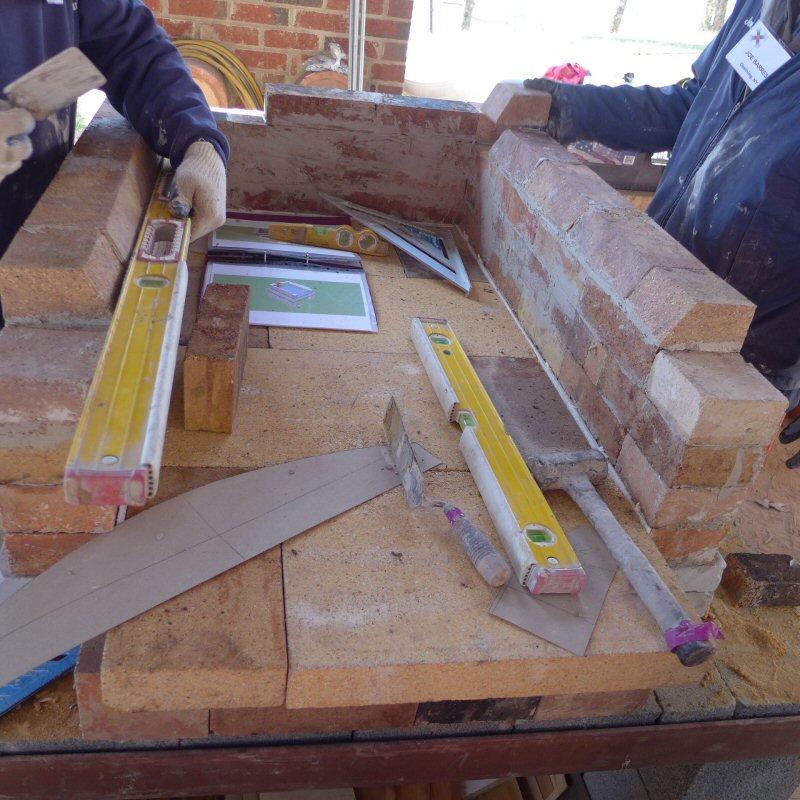
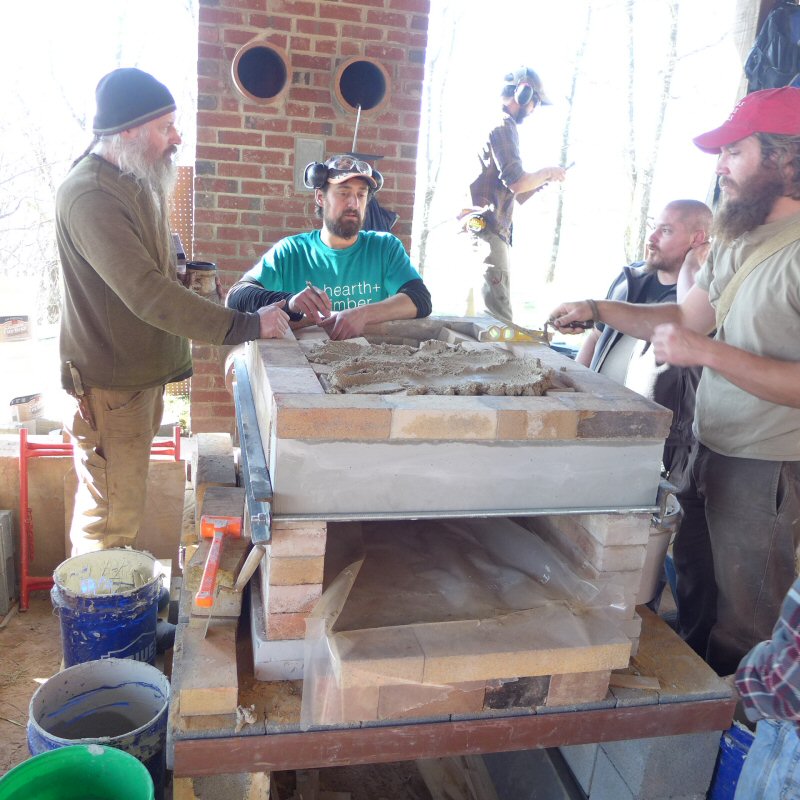
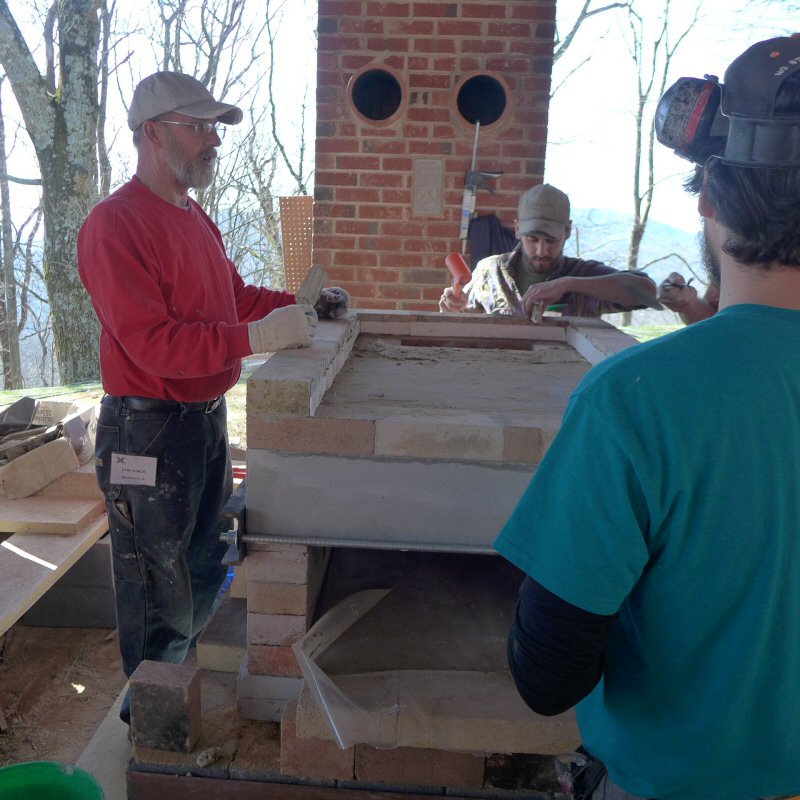
with castable refractory. The oven core was finished in about
12 hours with a regular crew of 3-5 people (many coming and
going).
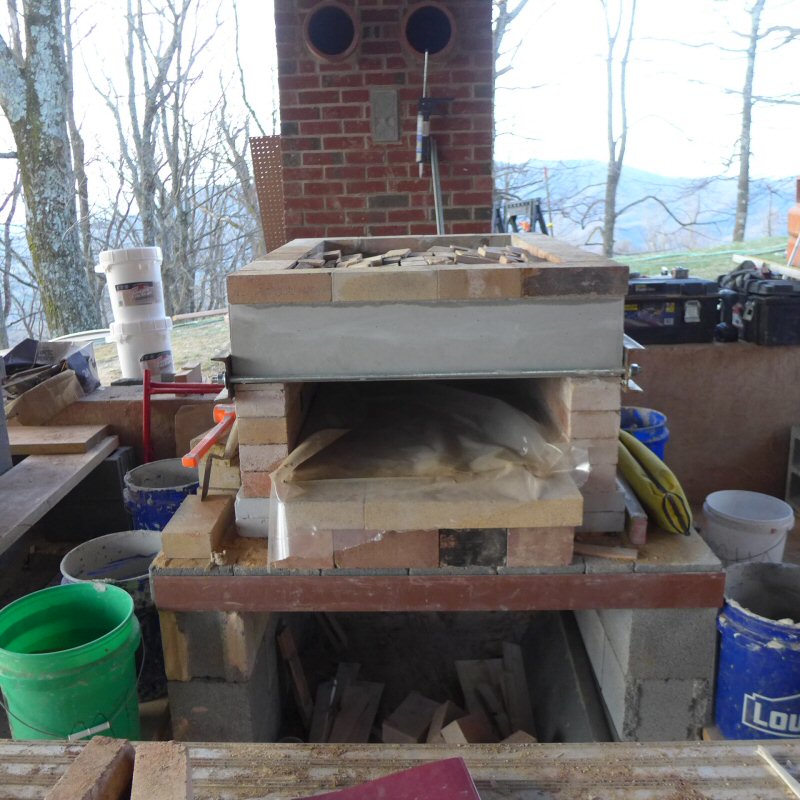
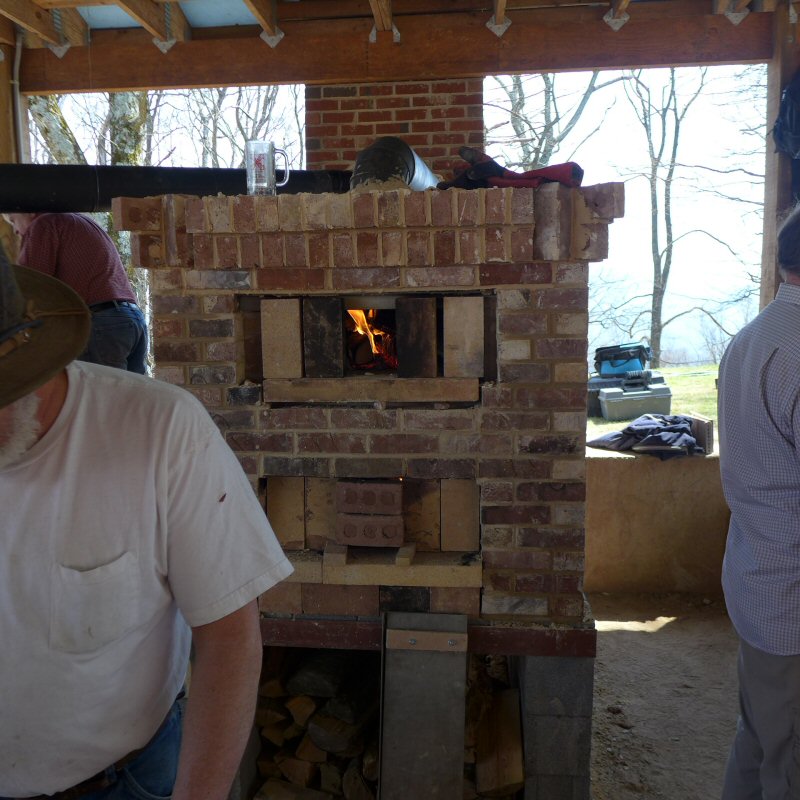
Oven drafted right away and had no trouble with
spillage except in one circumstance, with both doors wide open and a
large fire starting in the bottom deck. Once the fire and draft was
well established there was almost no spillage, and even better when the
bottom deck was closed up to a minimal air entry. The top
could be left open without spillage as long as the bottom deck opening
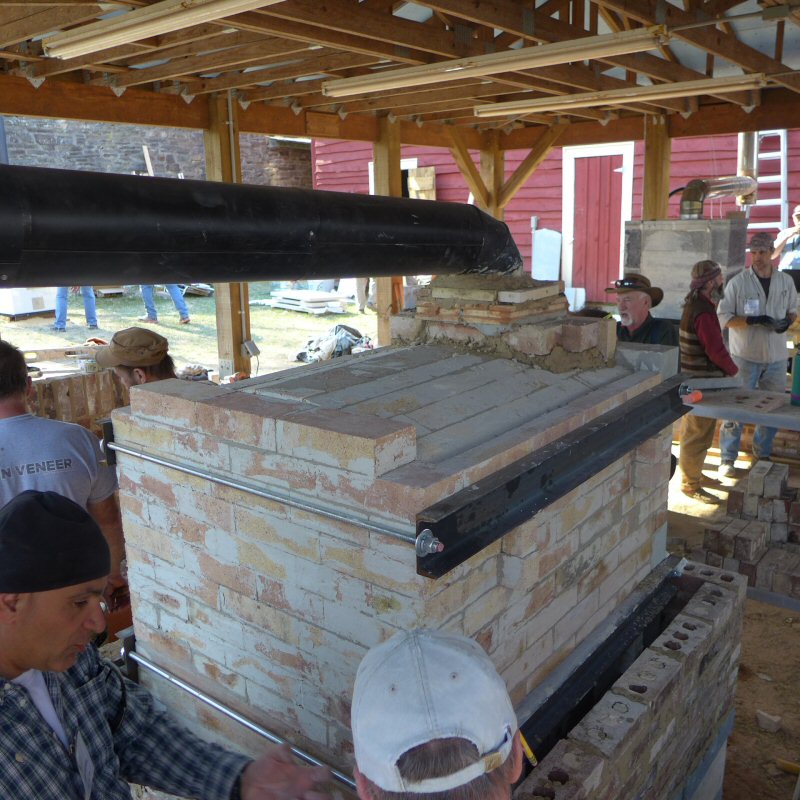
was reduced as it would be with a firing door. All of this done with a
chimney that went near horizontal for 6 ft before entering the masonry
chimney. oven was connected to a 7"
chimney. Height considerations prevented us from creating a
smooth, tapered transition from top deck exit to chimney connection, a
further disadvantage that makes low/no spillage more impressive.
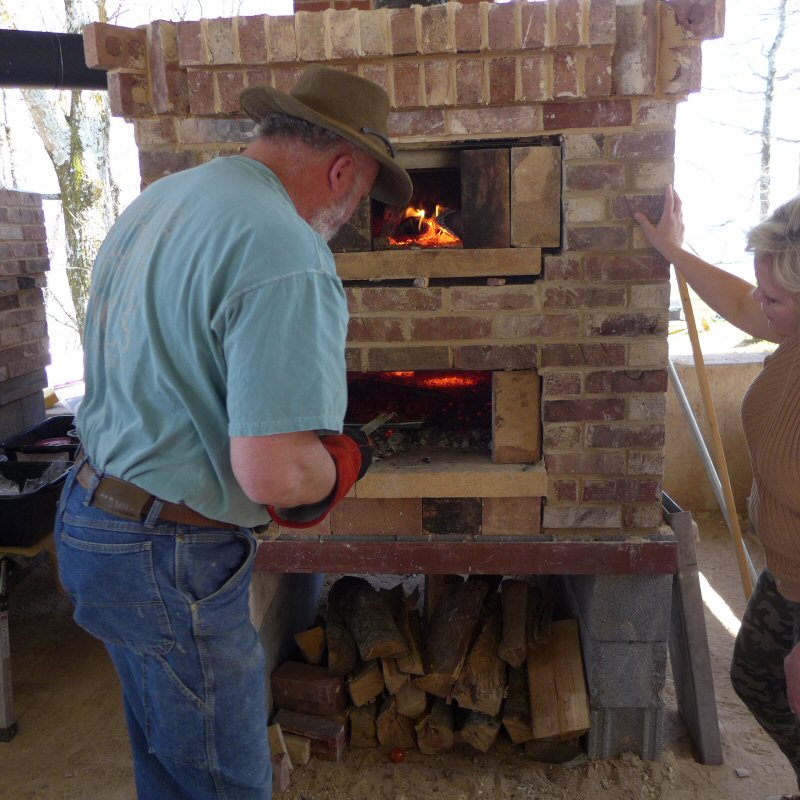
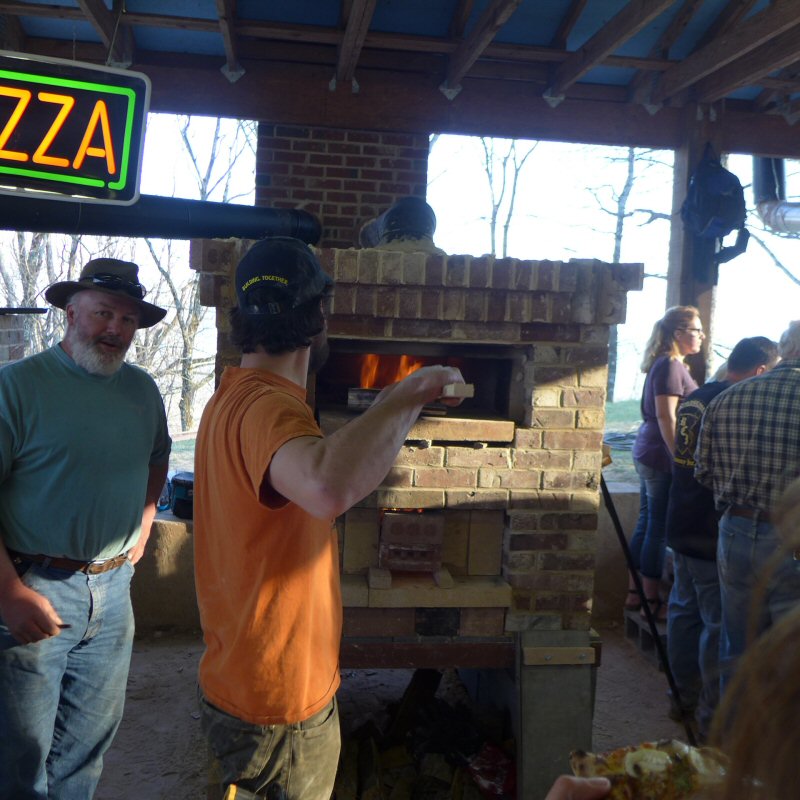
The
oven was fired very heavily to dry it out for the pizza
party. It was fairly easy to get the bottom deck clean of
soot, but with fire only from the bottom deck, the top deck would only
clean off in about the back 1/3 of its length. readings with
an IR gun showed that with temps in the 900-1100F range on bottom
hearth/walls/vault, the top seemed to linger in a lower range, roughly
(and on average) 500-800 front to back, although temps around the
throat would approach the 900+ range.
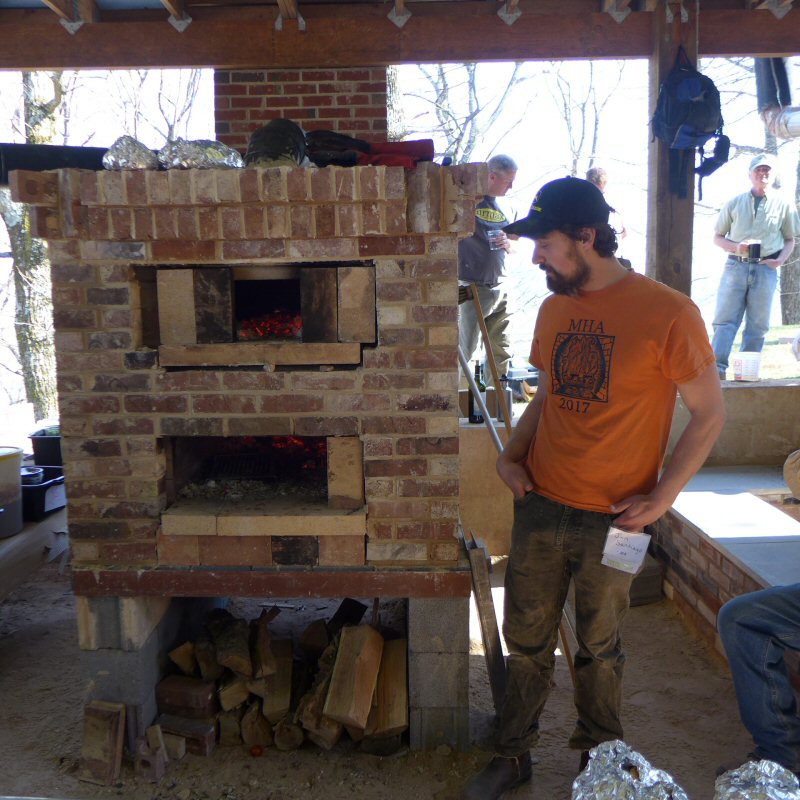
Before
the pizza party we fired both decks at once, which thankfully caused no
problems with draft. With dual firing we were able to more or
less equalize the two decks, although the top deck hearth always lagged
behind because it is almost 10" thick in some parts.
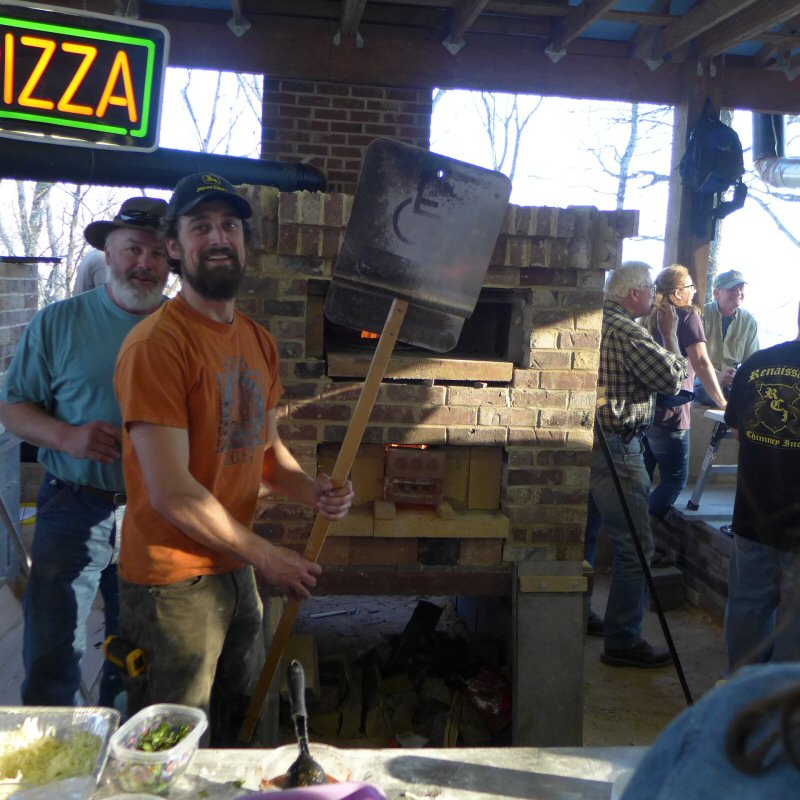
The
pizza baking experience was a learning one! We found that
while the bottom deck was plenty hot for standard thin-crust pizza
baking, it lacked a bit of "top heat" which you get when flames like
across a dome in a standard pizza oven. Even with a large
fire in the bottom deck, the flames were immediately sucked into the
throat and away from the pizzas. This was a very subtle
problem as the pizzas were still coming out beautifully, but the top
broiling wasn't as easy as in a standard pizza oven. We then
switched to baking pizzas in the top deck with a massive fire in the
bottom deck, so that large flames were licking into the back 1/3 of the
top deck. This was great for top-broiling, but the upper deck
hearth was a little cool for 90-second pizzas. The top hearth
was so thick that it was sluggish to reach high temps and hard to
recharge.
A
couple design notes:
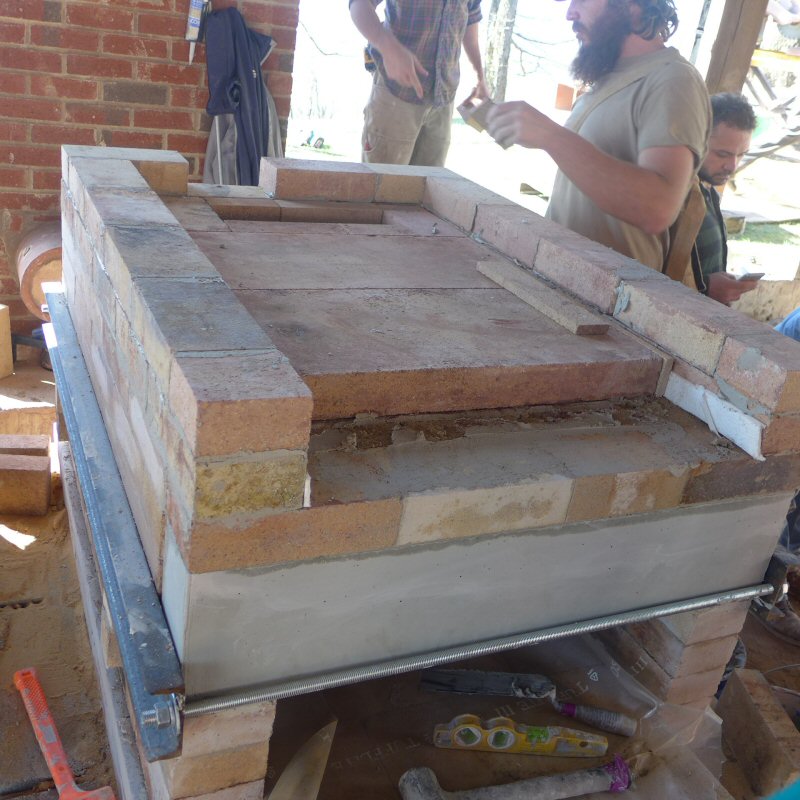
1)
My initial design included a "reduction lintel" on the top deck so that
gases would be forced to duck under it to exit the oven. It
was identical to the other two lintels and would create a "bell" effect
in the top deck. We decided to scratch it for simplicity and
time concerns in this workshop setting, though, and built in a central
exit right into the vault. As such gases were exiting at the
highest point of the top vault. you could feel the gas flow with your
hand and it was obviously a strong single current. As such
the front part of the top deck struggled to gain temps when only bottom
firing was used, especially the front corners. Also, the
flames had less residency along the top vault and a less disperse flow
path. I would consider including this reduction lintel in the
future, although it presents its own disadvantage in that it will
result in a cool spot of its own directly below it, and thus reduces
the usable hearth size anyway. Another option that was
considered would be to exit through two square holes built right into
the vault at the front corners of the top vault. Each of
these designs requires a more complex and larger throat complex on top
of the oven.
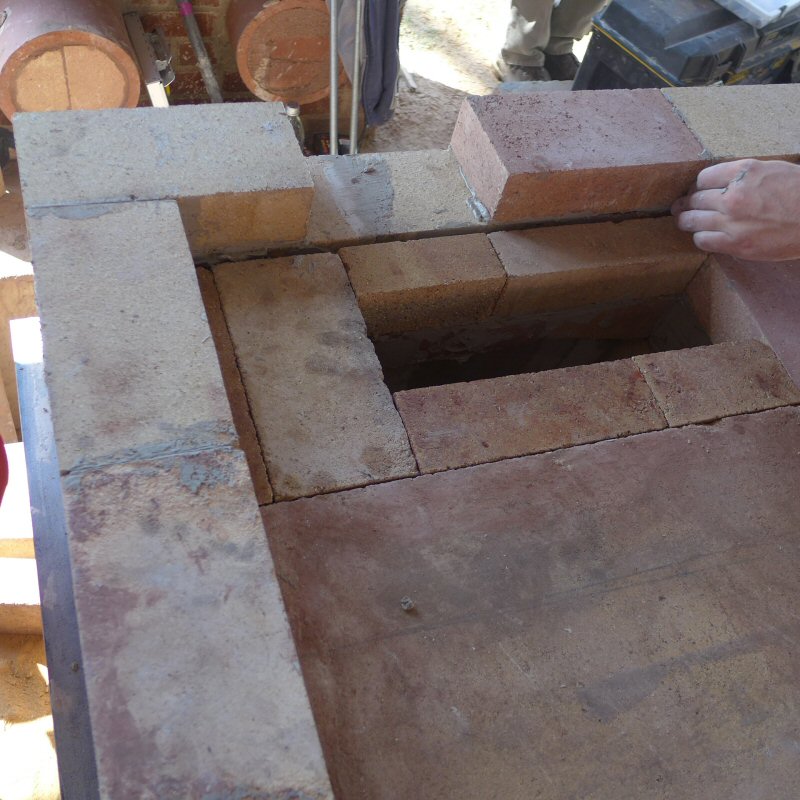
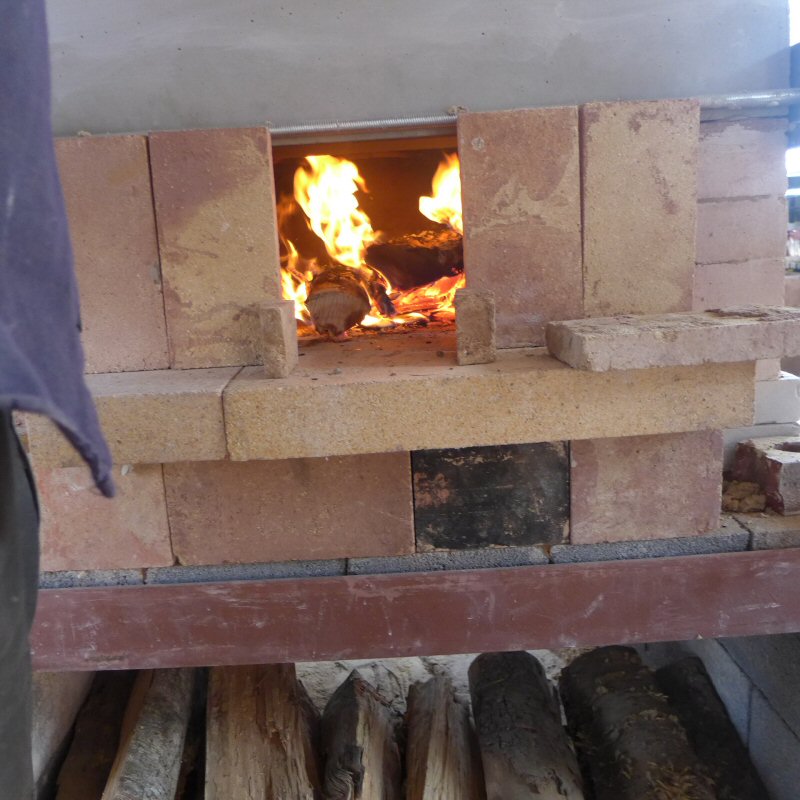
2)
The throat which vents the bottom deck into the top deck was built
large out of caution. It was roughly 5" by 16". It
was originally drawn around 4"x12". While firing we reduced
it in width by putting a couple splits over it, reducing the width down
to as little as 7". This resulted in a spectacular
flame-show, with the flames created tandem spirals or "rams horns" as
they follow the curve of the vault and careen downwards.
More importantly though, I think it creates more residency
time for flames in the bottom deck, and a more vigorous flaming of the
top deck. I'm not sure that starting the oven would be as
easy with a smaller throat, but depending on the chimney size and
height it may not be an issue. At any rate, I feel some sort
of adjustable damper would be a nice addition so that the throat size
could be "tuned" according the firing and cooking desires, as well as
close off the bottom deck. Max Edleson mentioned that pottery
kilns use a removable kiln shelf or thin refractory tile that can be
slid in and out of the brickwork.
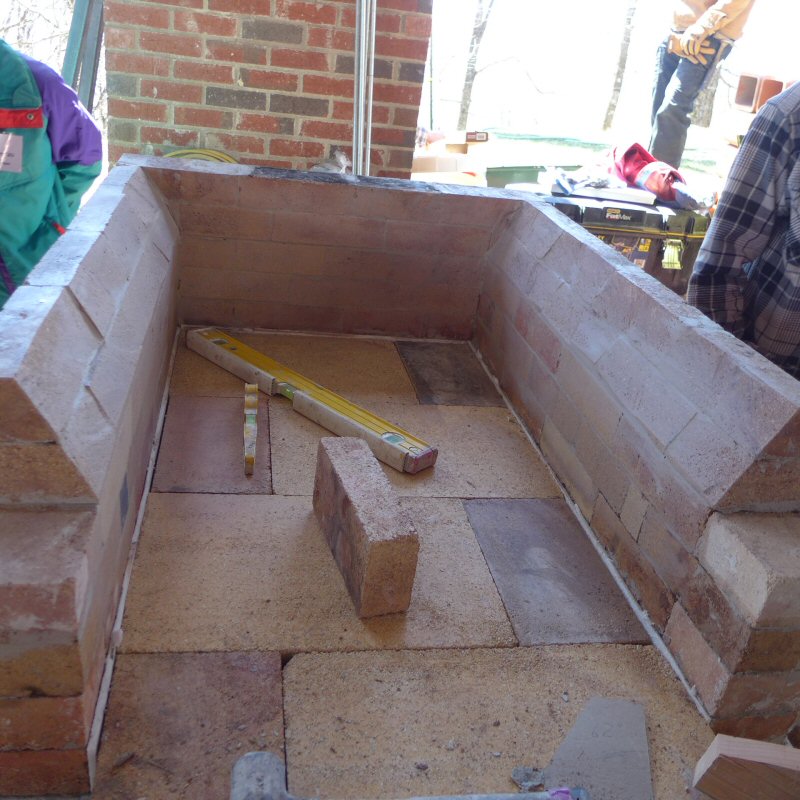
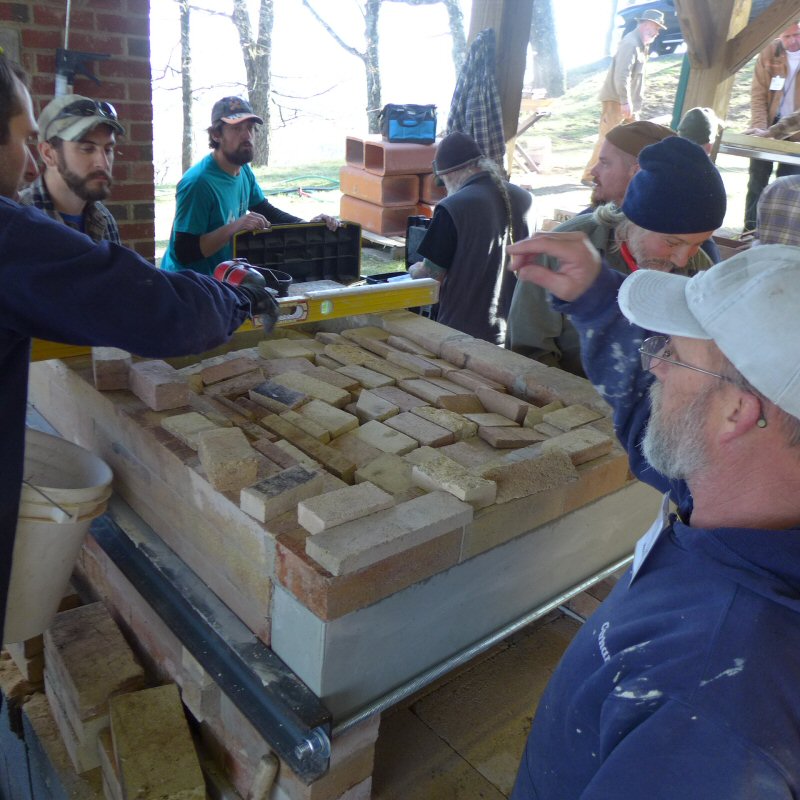
3) I
would consider building the bottom vault with arch bricks cut into
"soaps", so that they have a vertical thickness of 2 1/8".
Once this vault is leveled off and the top hearth in place, it would
have a more manageable thickness with regards to heating up.
4)Another
avenue to explore would be having the gases exit each deck, or at least
the bottom deck, through a long, thin throat that is running lengthwise
along one side of the oven. This would allow the baker to
place the fire on the opposite side and thus get flames licking across
the full width of the vault during live-fire cooking, potentially
increased the "broiling" capabilities. It might also make
fire management easier for pizza baking.
Ultimately
I think a double deck oven has great potential for someone who is
willing to learn it and able to take advantage of its
versatility. It is probably not ideal for a "purist" baking
either pizza or bread, but for someone with limited space, a diverse
menu, or a culinary-pyromania complex, it could be a fantastic baking
machine.
Jon
Santiago
See
also:
2017 Photo
Report
2016 Photo
Report
2015 Photo
Report
2014 Photo
Report
2013 Photo
Report
2012 Photo
Report
2011 Photo
Report
2010 Photo
Report
2009 Photo
Report
2008 Photo
Report
2007 Photo
Report
2006 Photo Report
2004 Photo Report
2003 Photo Report
2002 Photo Report
2001 Photo Report
2000 Photo Report
1999 Photo Report
1998 Photo Report
1997 Photo Report
This
page was last updated on April 23, 2018
This page was created on April 19, 2018
Back
to: