| Gallery | The Mall | Member Directory | MHA News | Library | Links |
with Erik Moshier, Doug Hargrave, and Norbert Senf
photos by: Norbert Senf, Tom Dougherty, Doug Hren
Design concept with soapstone face.
Design concept with heated bench. Brick face with soapstone trim.
Section drawings for this heater
Revised section drawings (May 21, 2009)
The concepts behind this heater are as follows:
- similar channel design to Tulikivi TU-2700 five run (Swedish style), which is top vented
- white soapstone oven
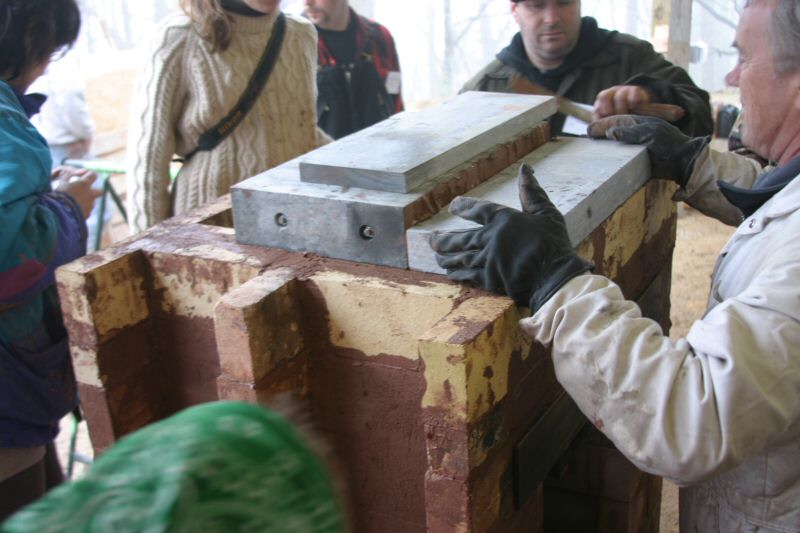
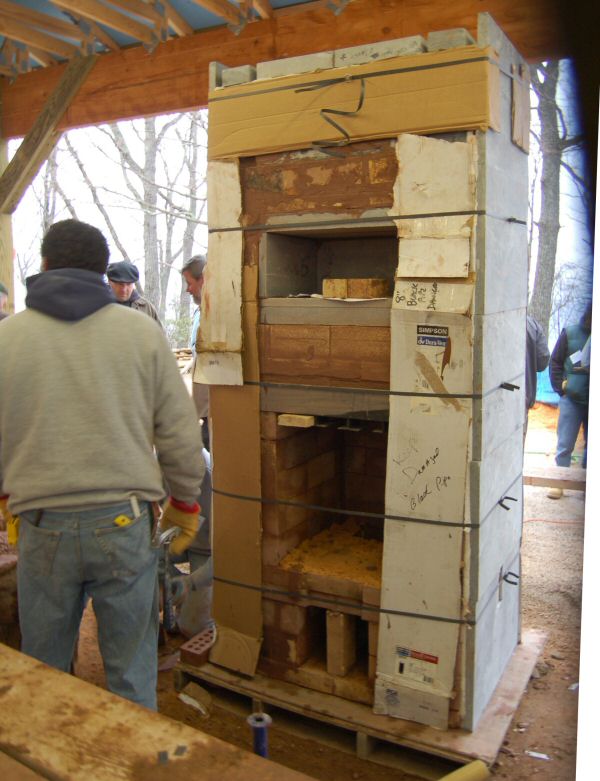
- firebrick core, with soapstone slab heat exchangers
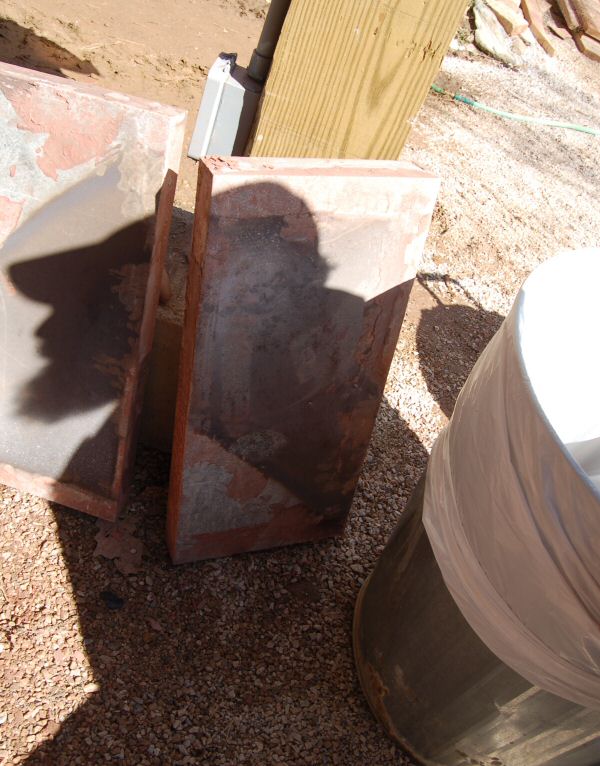
- no refractory castings required. Instead a "slab package", shown above, is sourced from a soapstone supplier
- replaceable firebrick firebox liner. Minimum number of cuts.
- current Lopez Labs air system, which has undergone extensive testing, and is used in the MHA Plans Portfolio large contraflow.
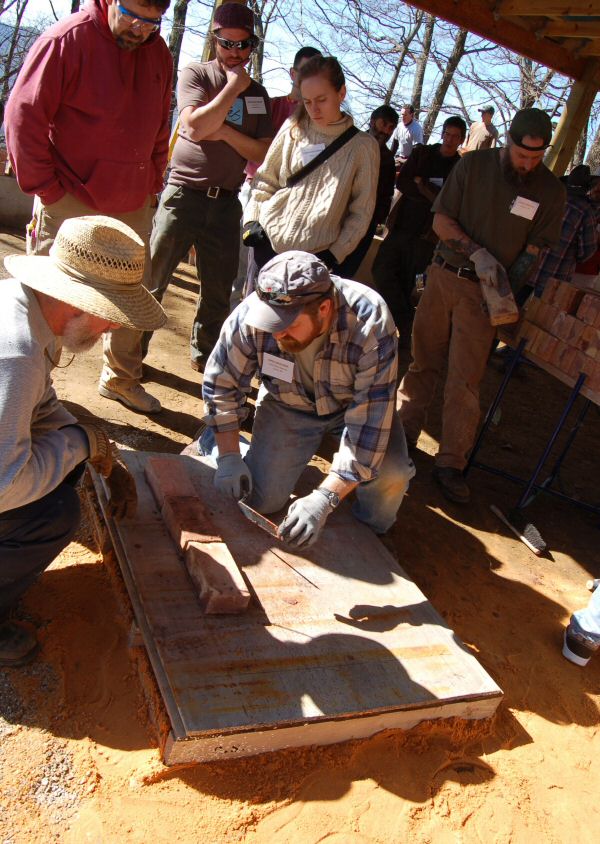
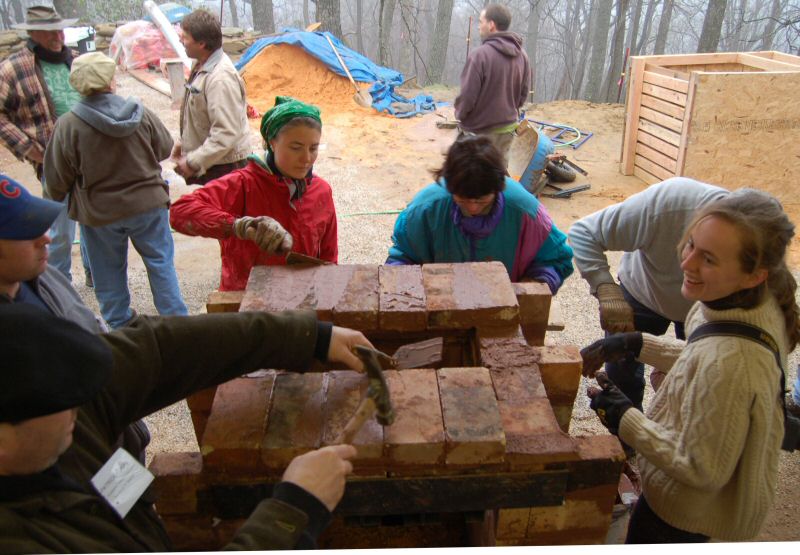
Drawings and cut list are handed out.
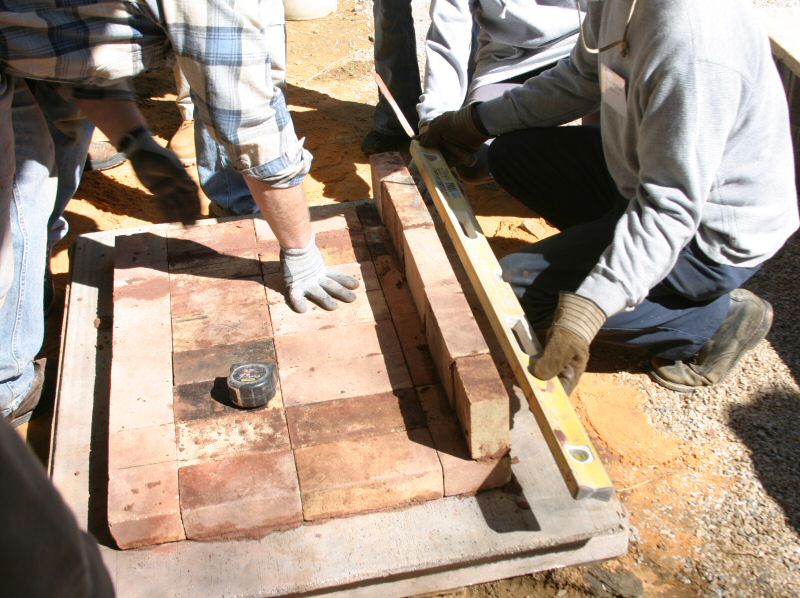
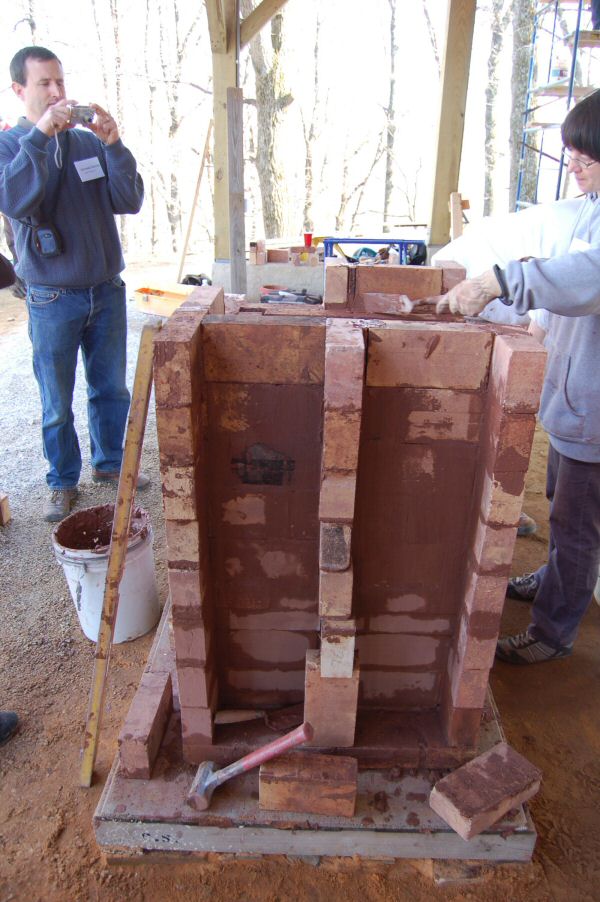
Erik Moshier starts the layout.
End of day one.
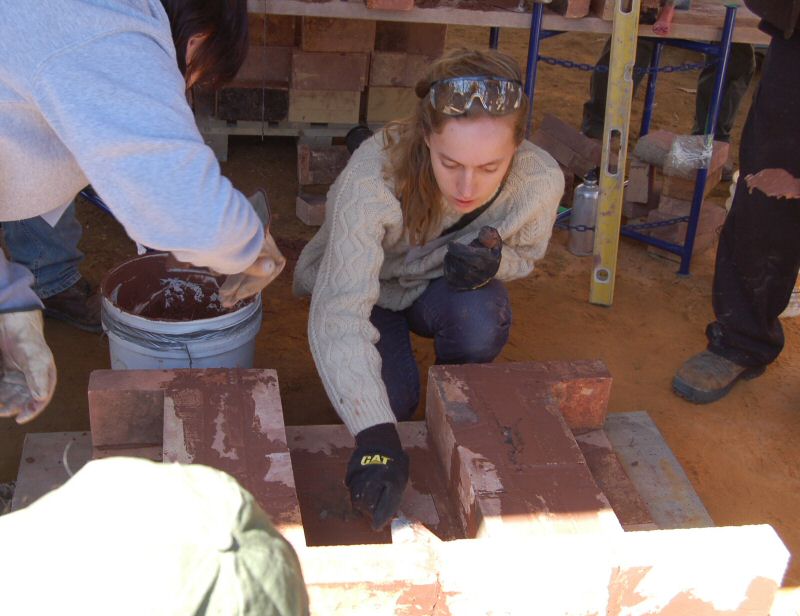
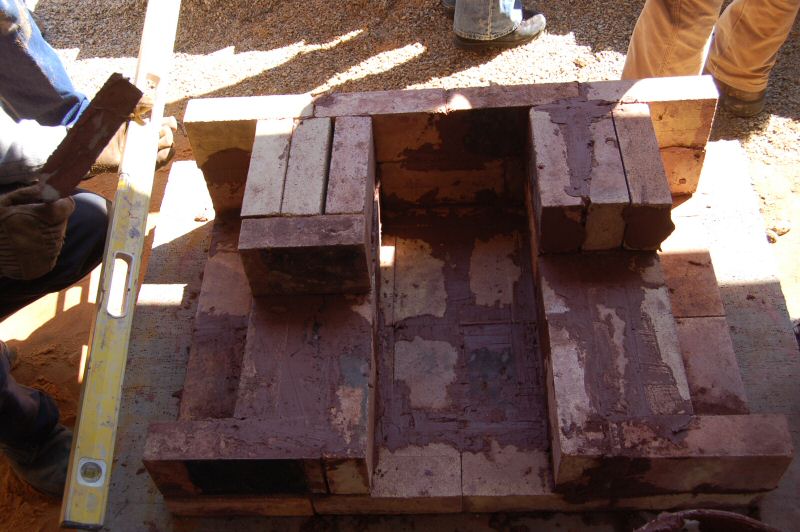
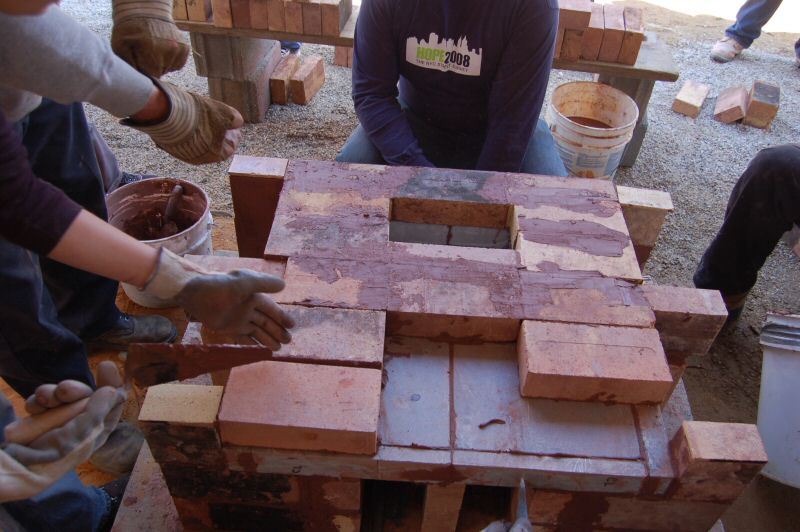
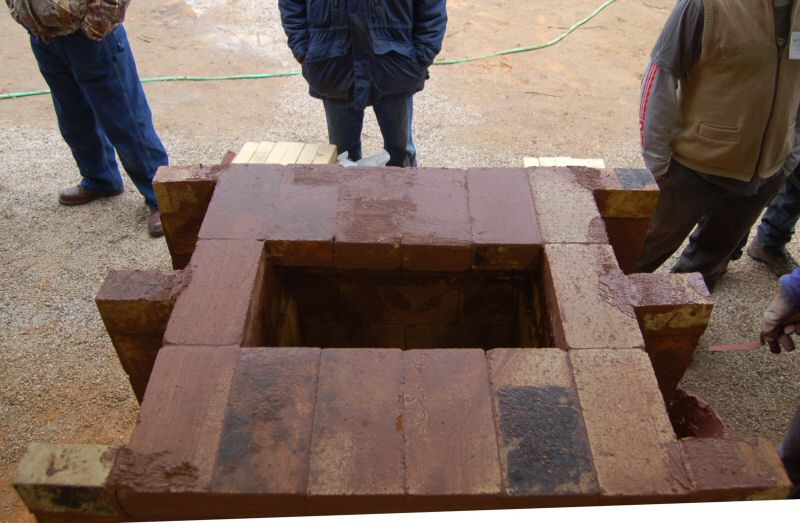
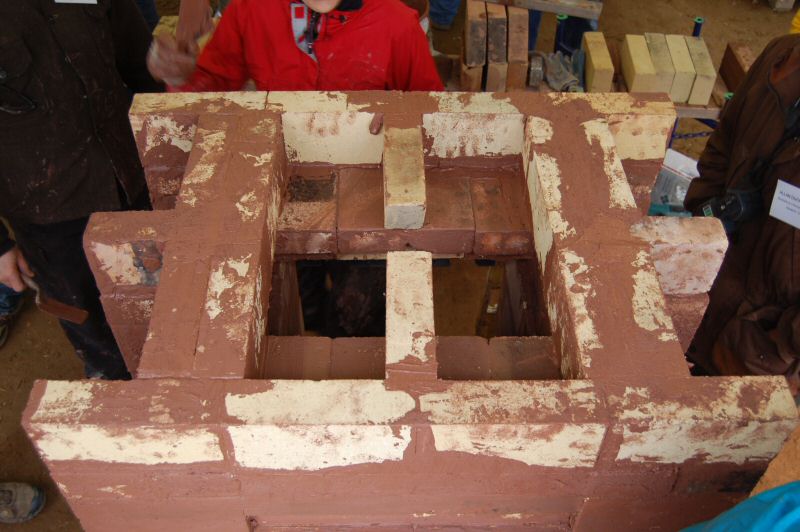
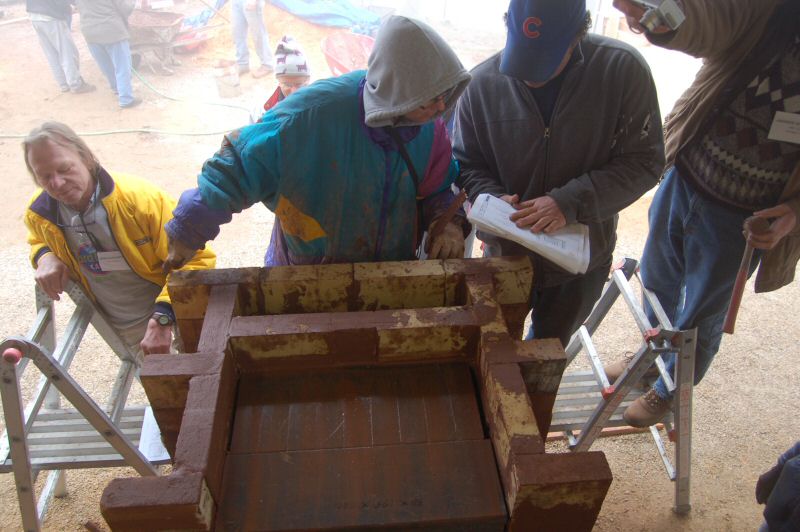
Core was finished the next day.
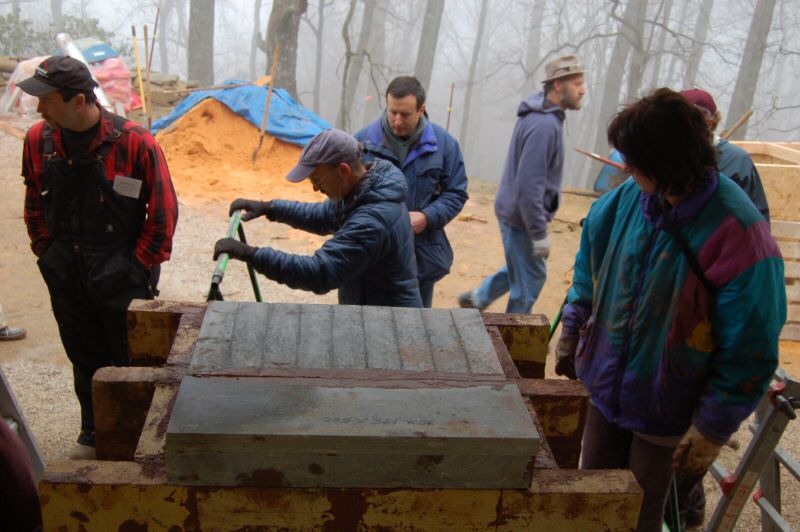
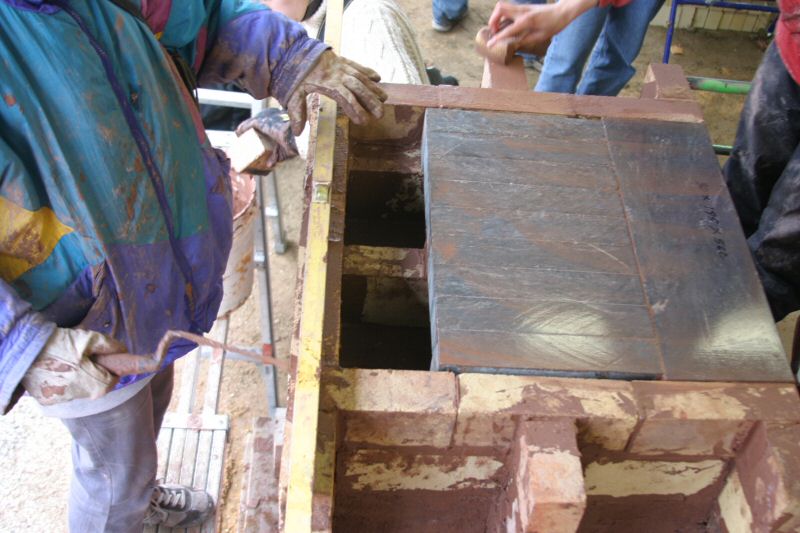
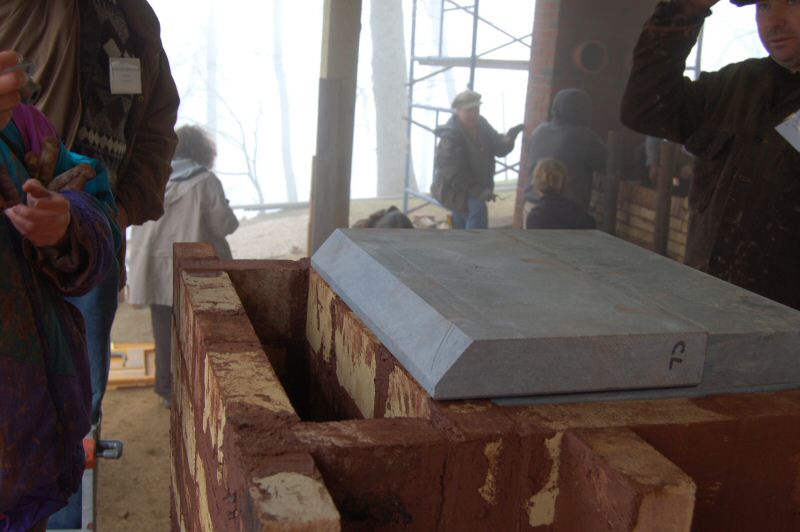
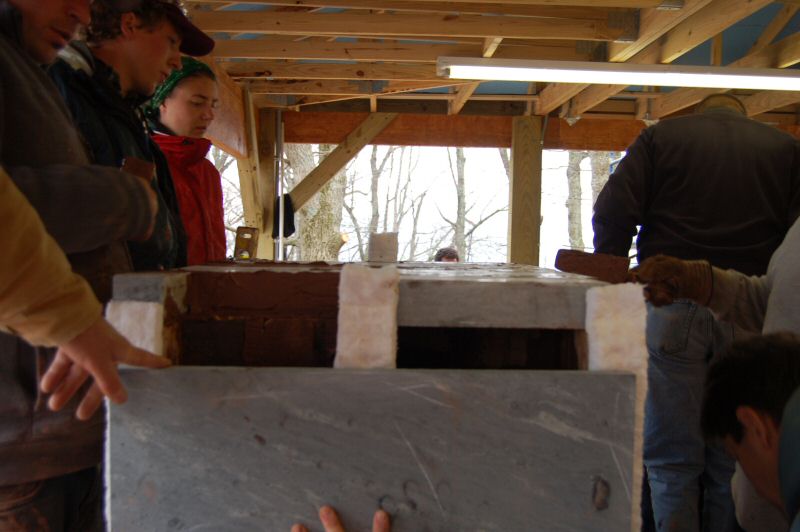
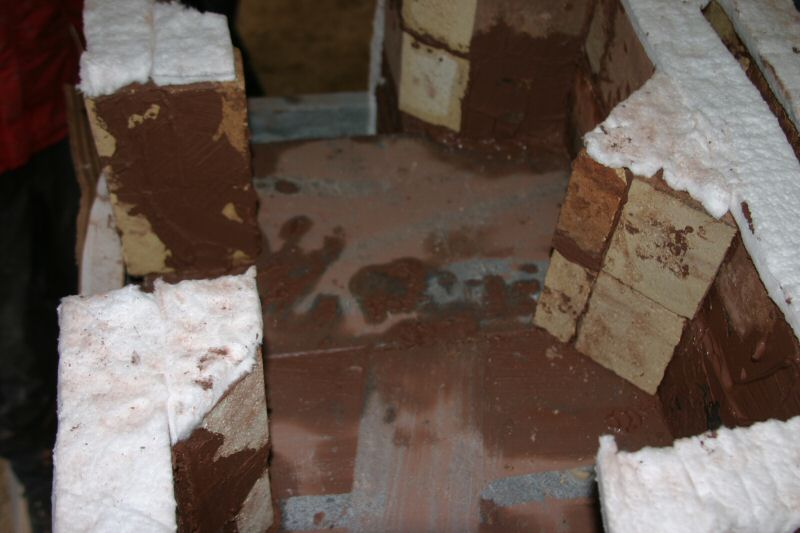
Setting the oven floor slabs. The rear one is a bolted assembly, to provide vertical grain orientation of the soapstone, which is
more thermal shock resistant.
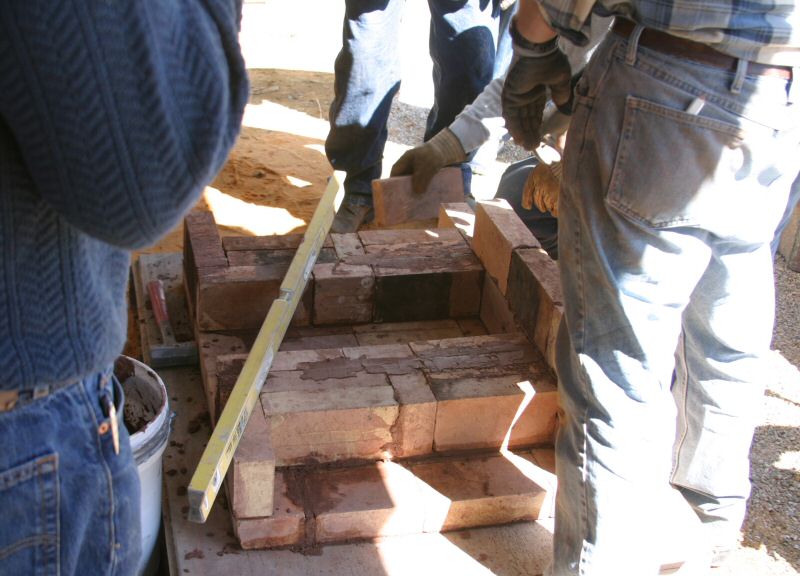
Bolted 4" thick floor assembly (rear), with slabs in front. The bolted assembly has to handle large amounts of thermal stress, and it
is important with soapstone that the grain is oriented in the right direction (up and down in this view).
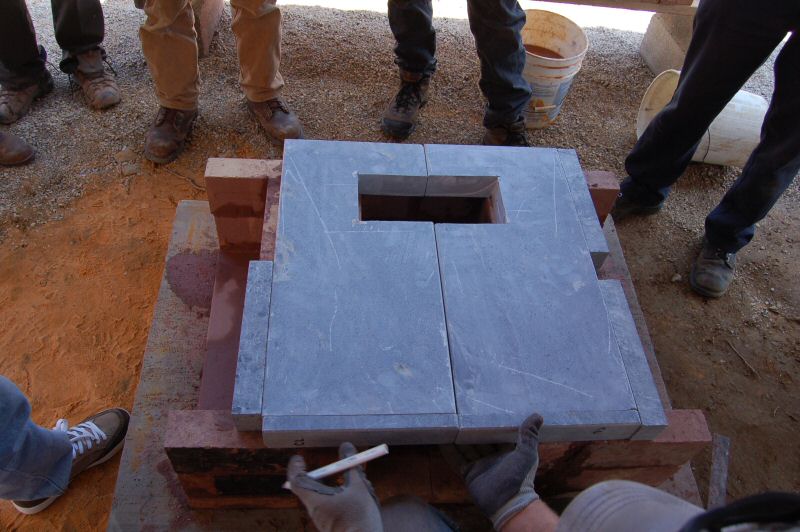
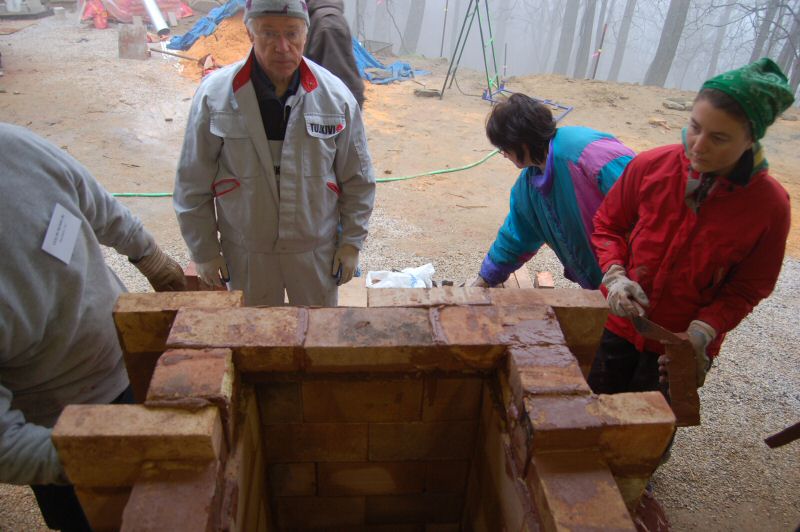
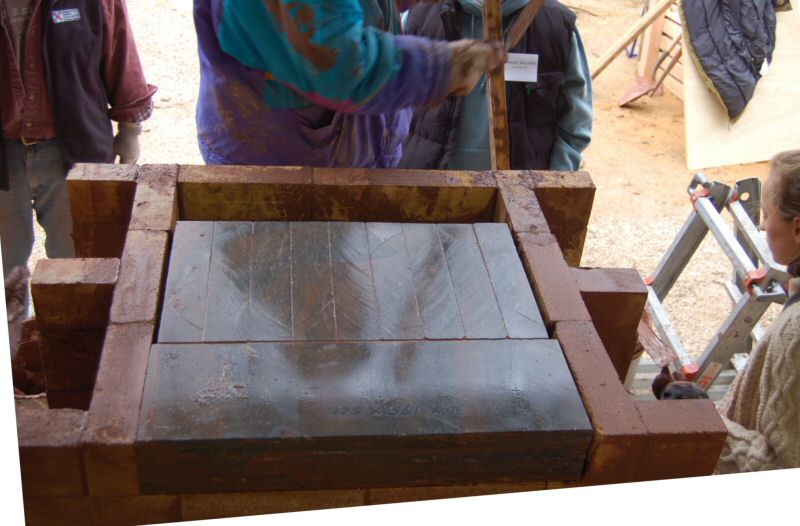
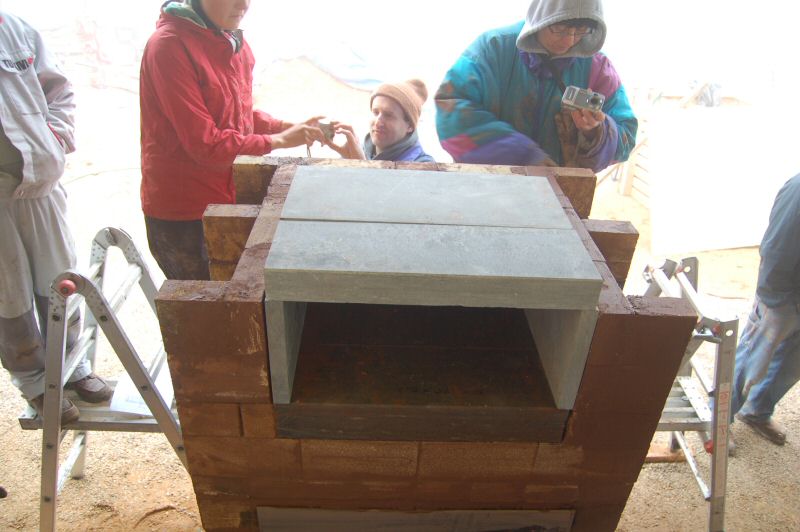
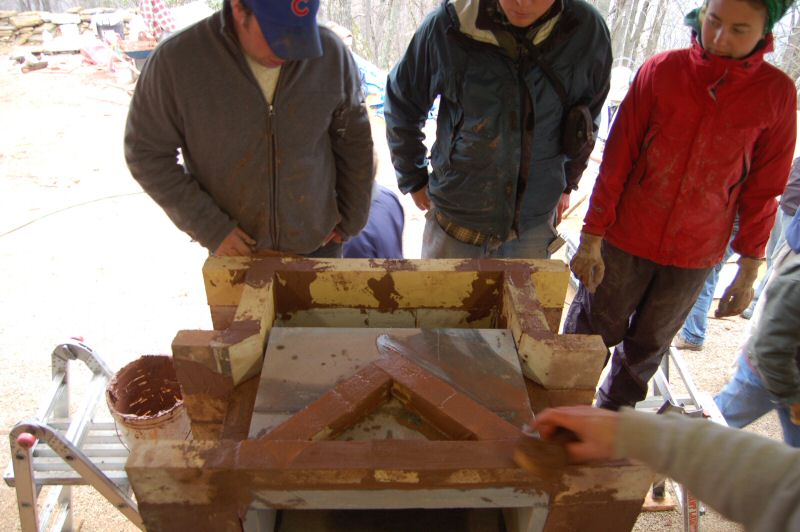
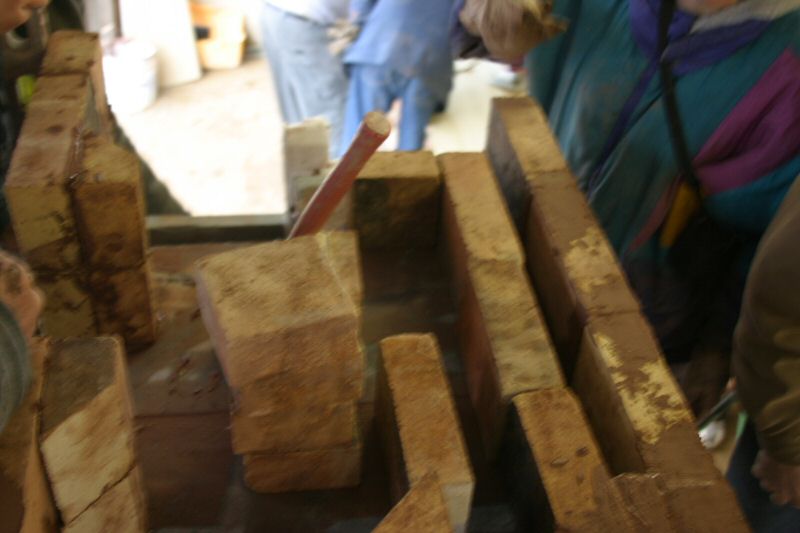
Bake oven ceiling slabs.
This triangle support arrangement may be modified in future versions, to maximize hot gas contact with the oven ceiling slabs.
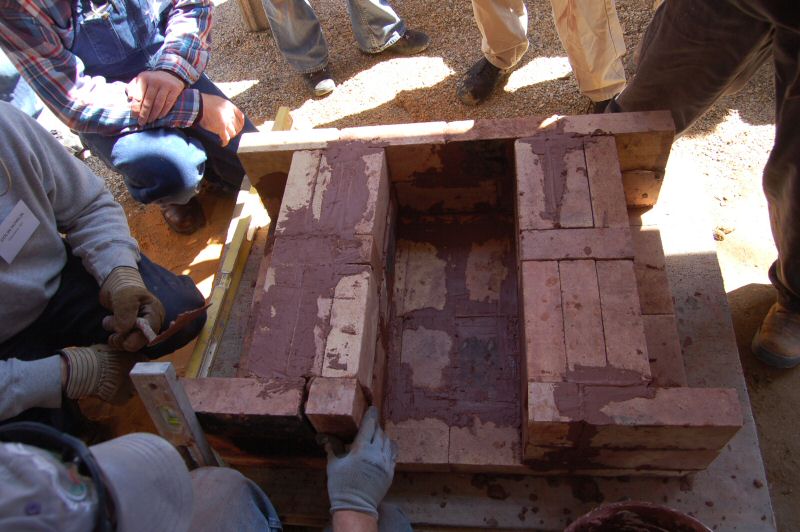
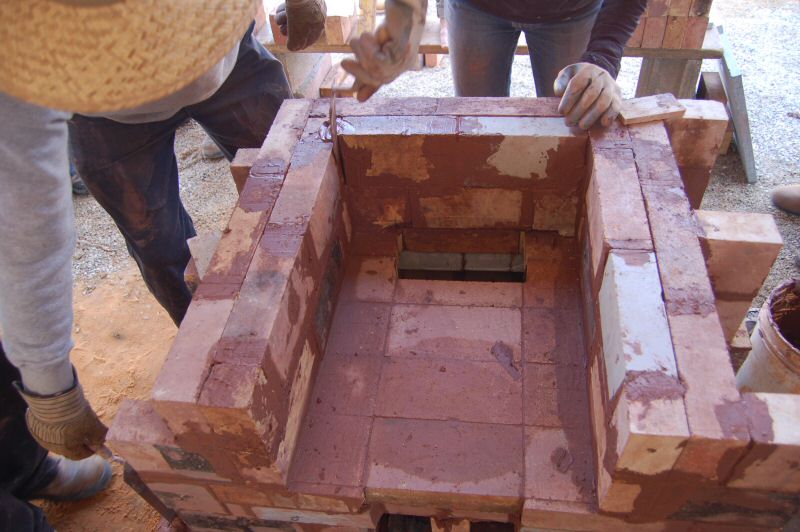
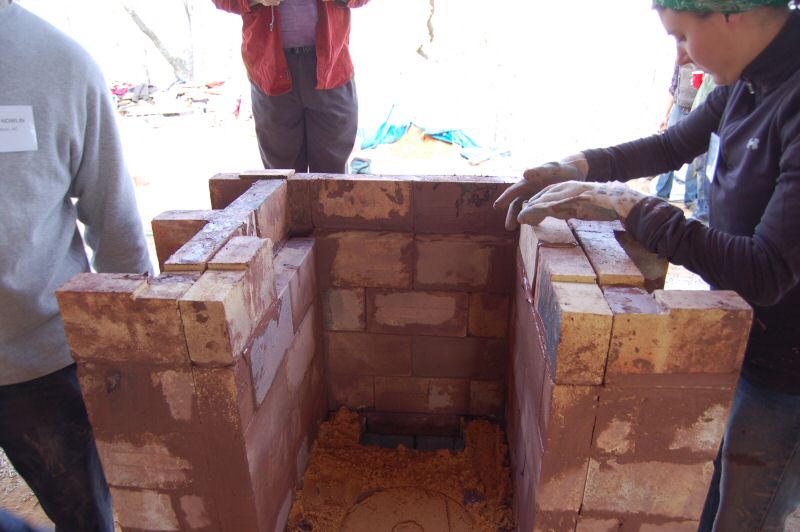
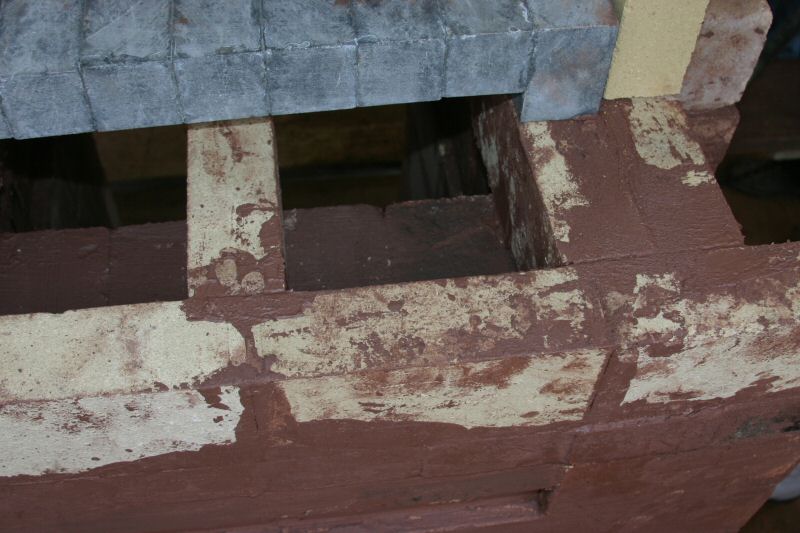
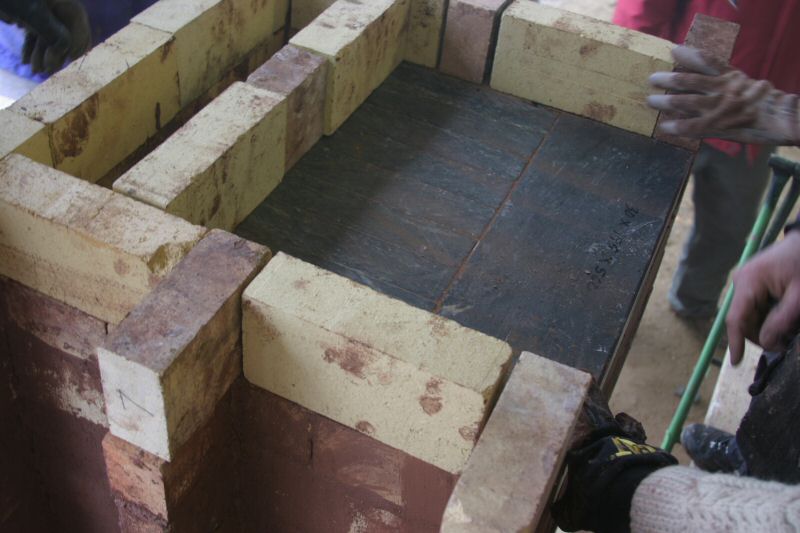
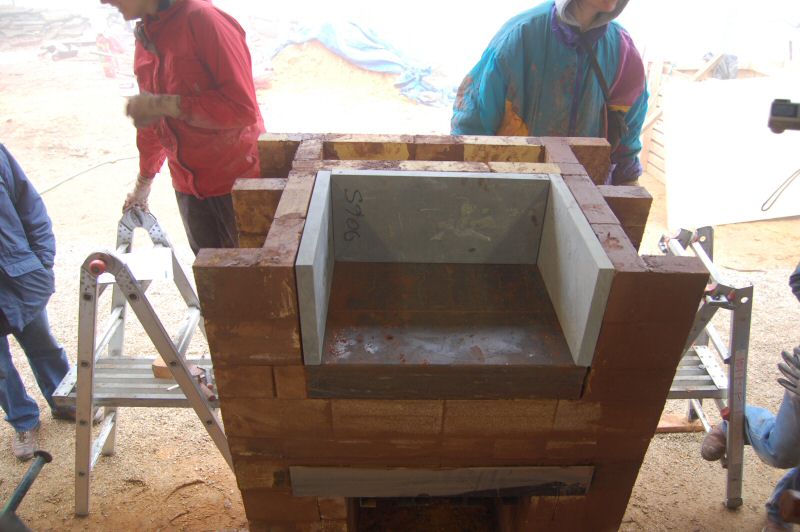
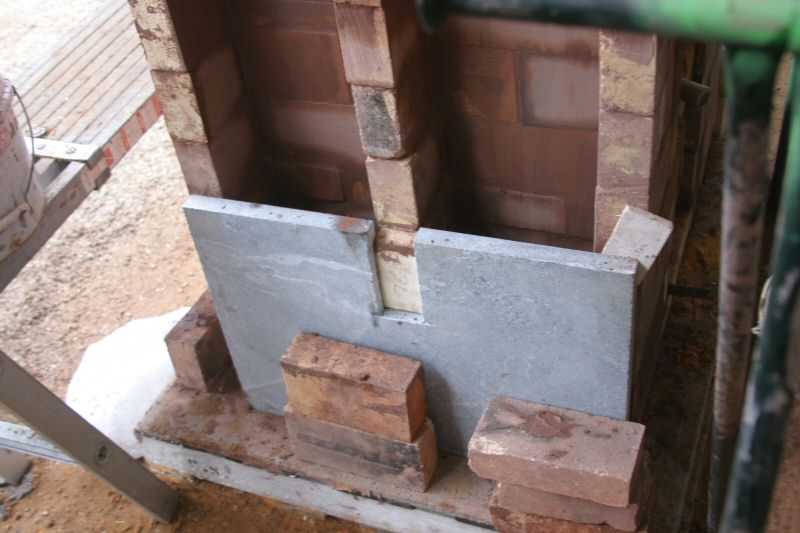
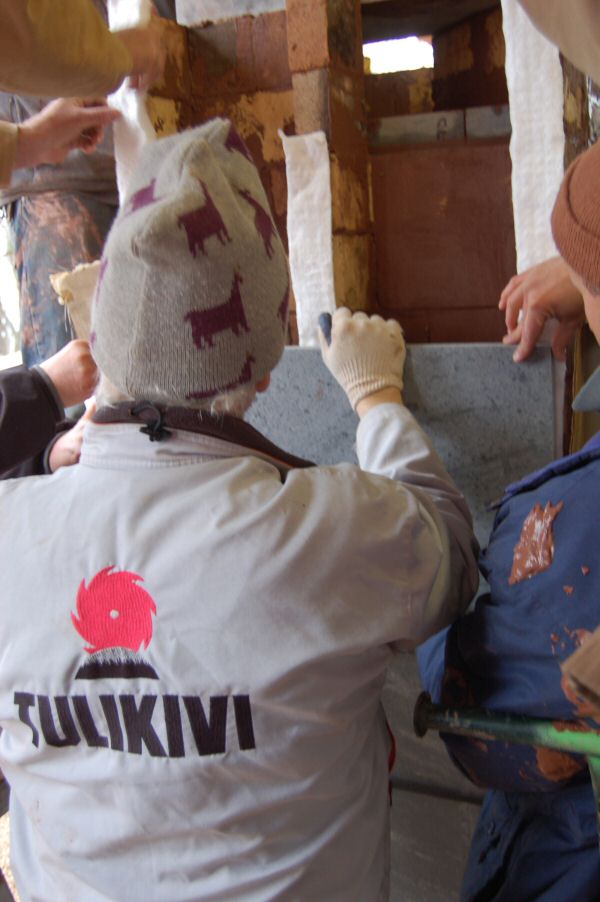
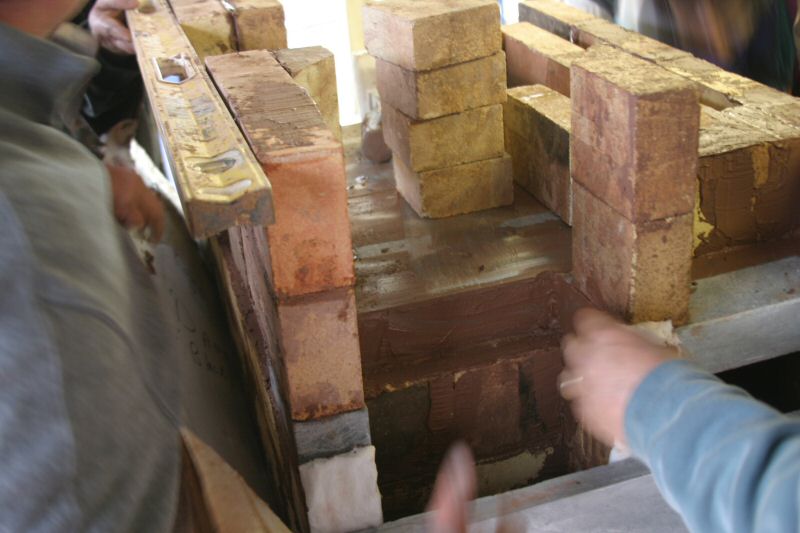
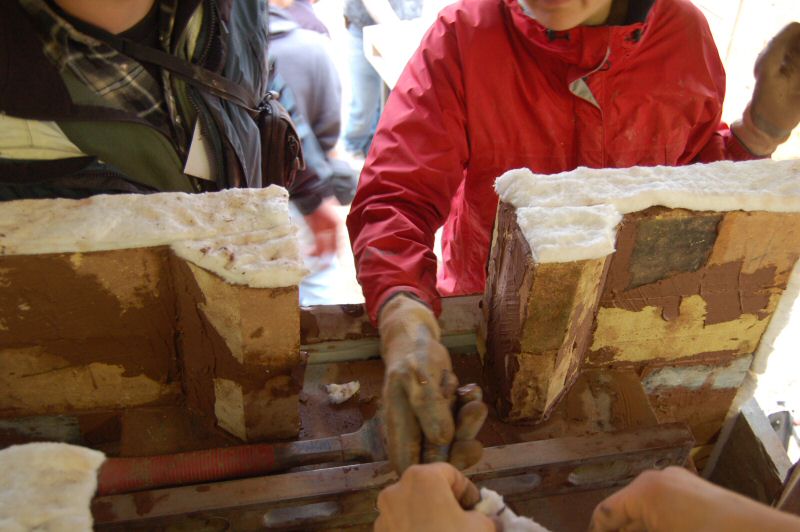
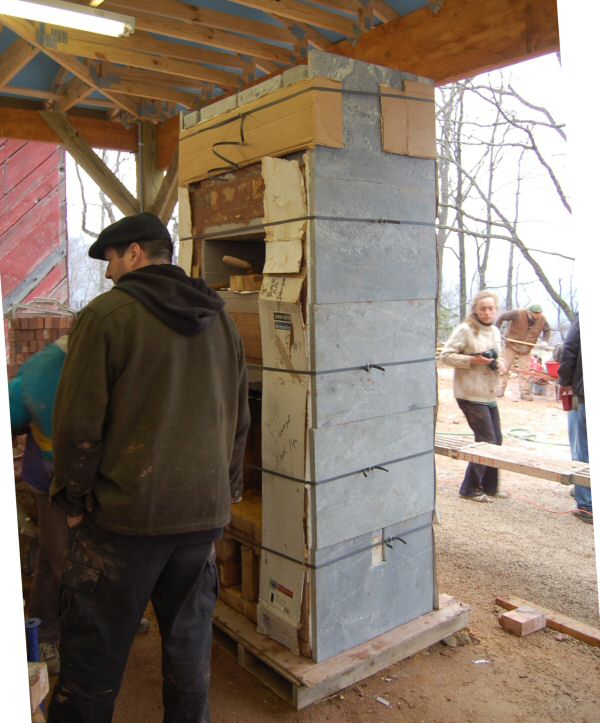
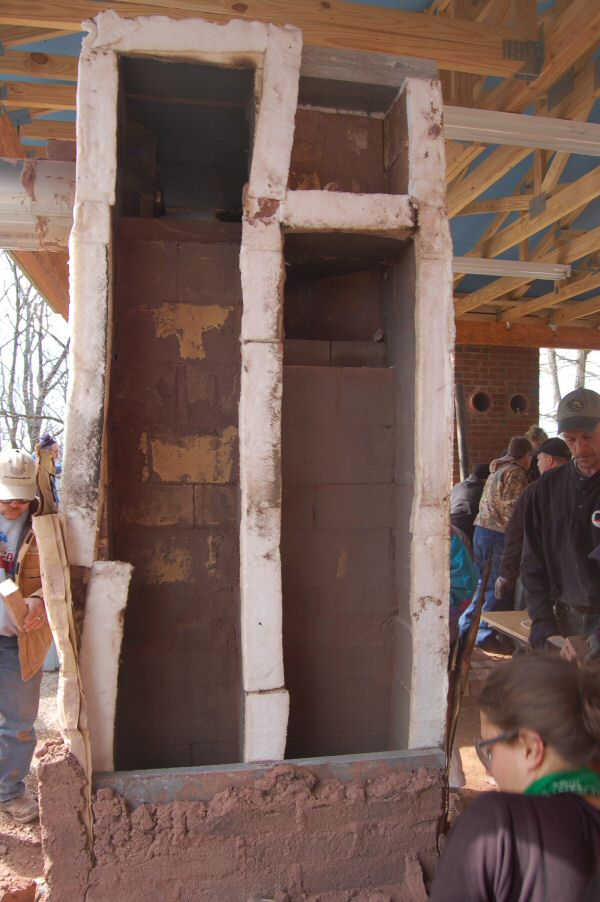
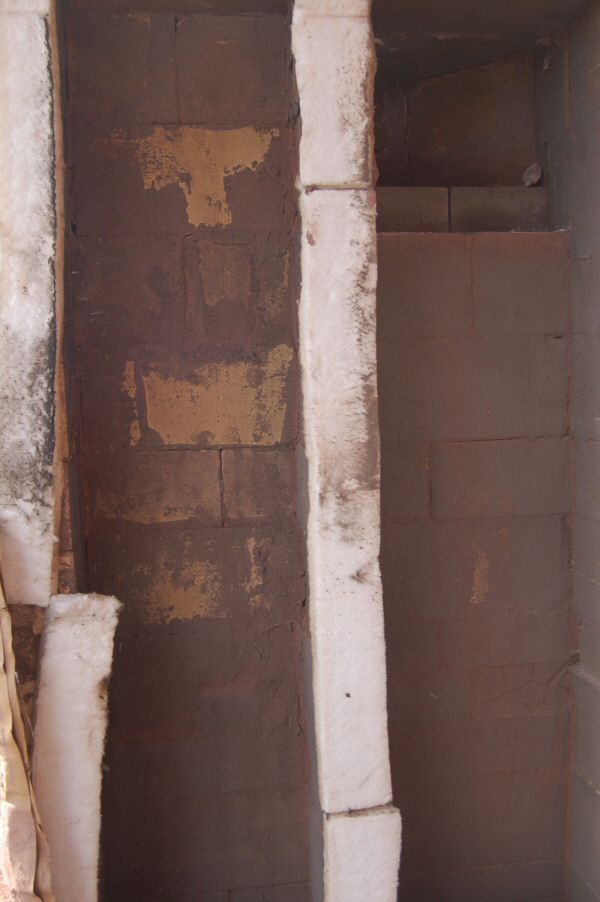
Soapstone heat exchange plates are set.
Note the strips of 1/2" ceramic blanket. Proper installation of these, with no mortar bridging,
is critical to the success of the expansion joint system. The strips take up the left-to-right expansion
of the core without transferring any force to the panels. Hence, there are no internal forces in
the left-to-right direction being transferred to the face, despite the solid slush.
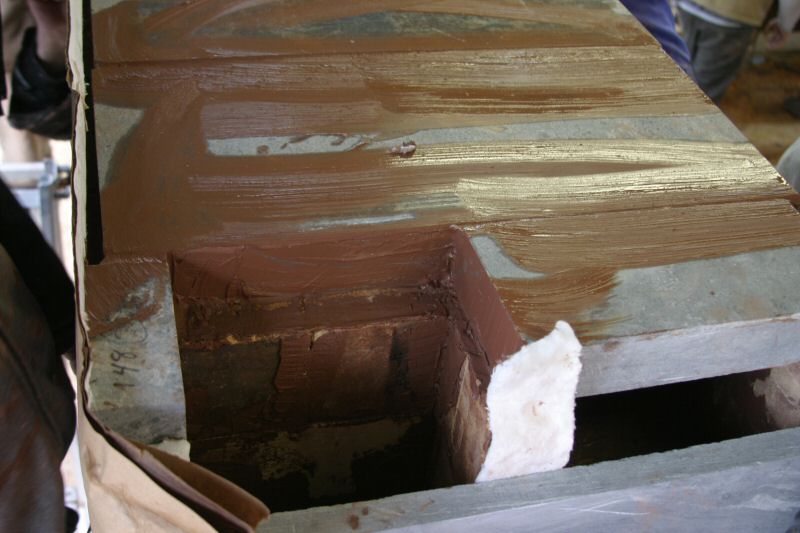
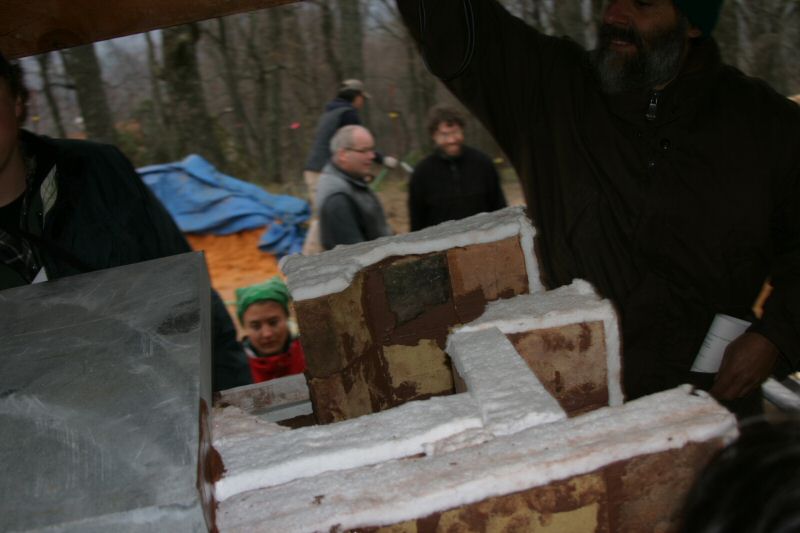
Cardboard is not required, and slows heat transfer. However, a bond break is required, since the
core also grows in height relative to the facing.
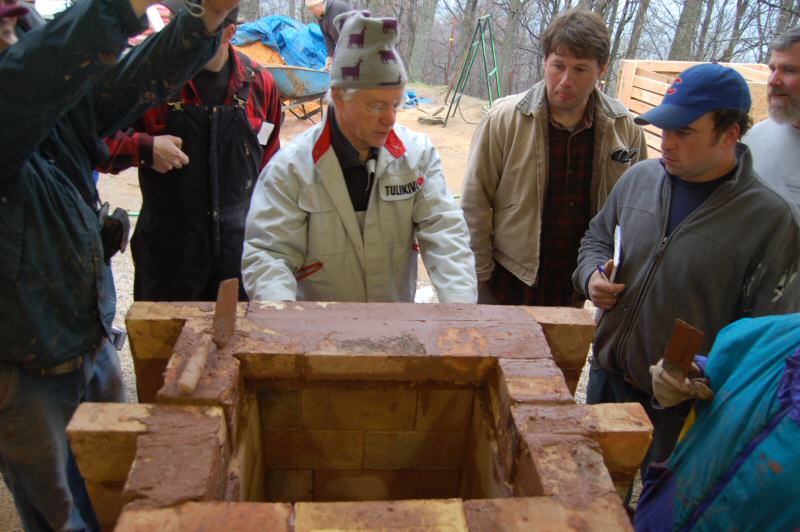
The soapstone slab arrangment above the oven ceiling may be modified in future to maximize transfer into the oven
ceiling.
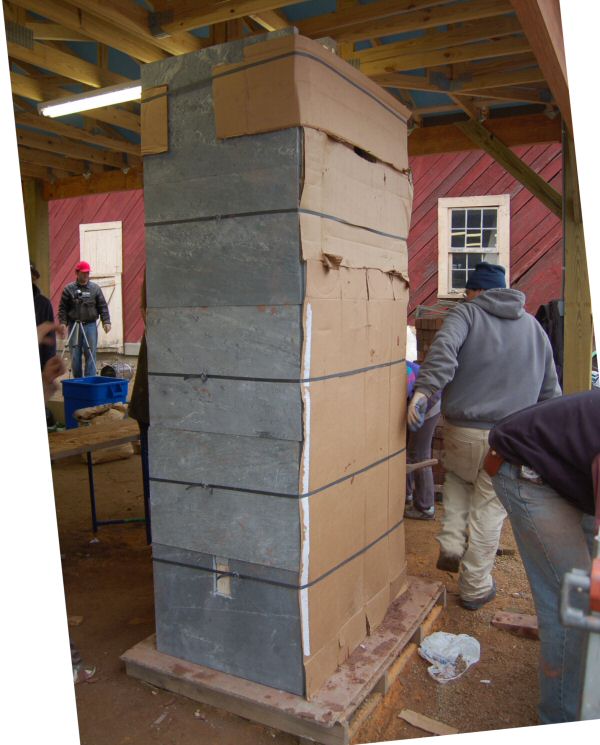
Cardboard expansion/slip joint.
The soapstone heat exchanger plates don't require an expansion joint to the face, because they
are set up so that is it impossible for expansion from the core itself to pass through the plates.
Stricly speaking, only a slip joint, or bond break, is required. This is because the core will grow
in height inside the facing. The expansion is cumulative towards the top. Nothing
is required for the first 2 ft. of the core.
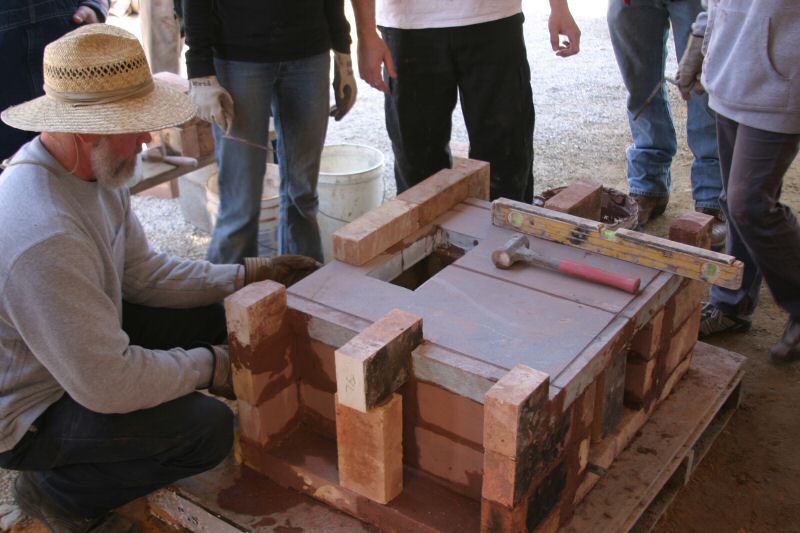
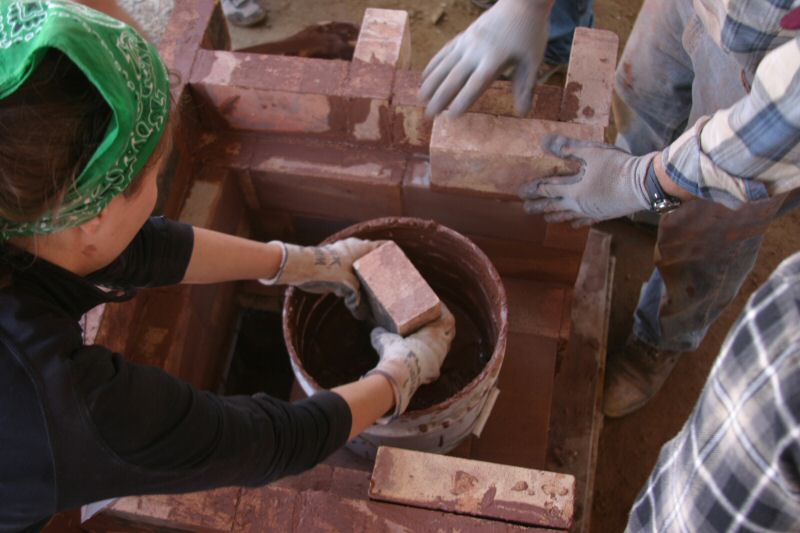
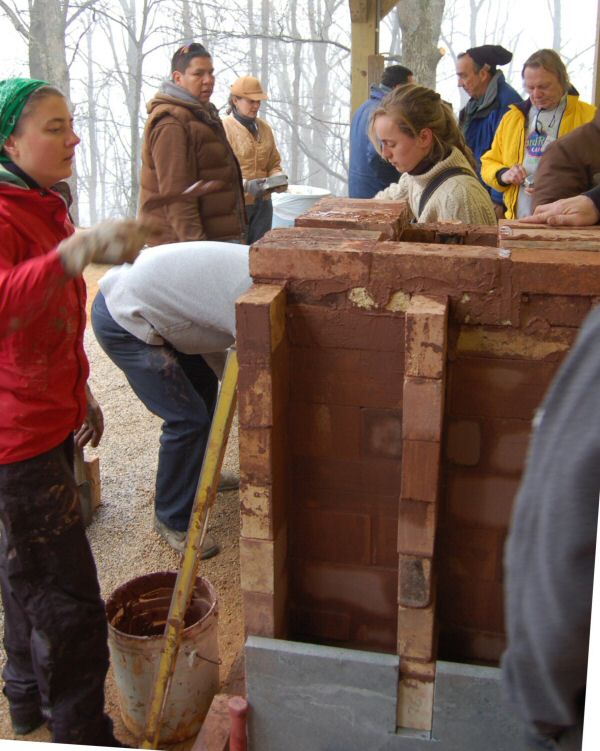
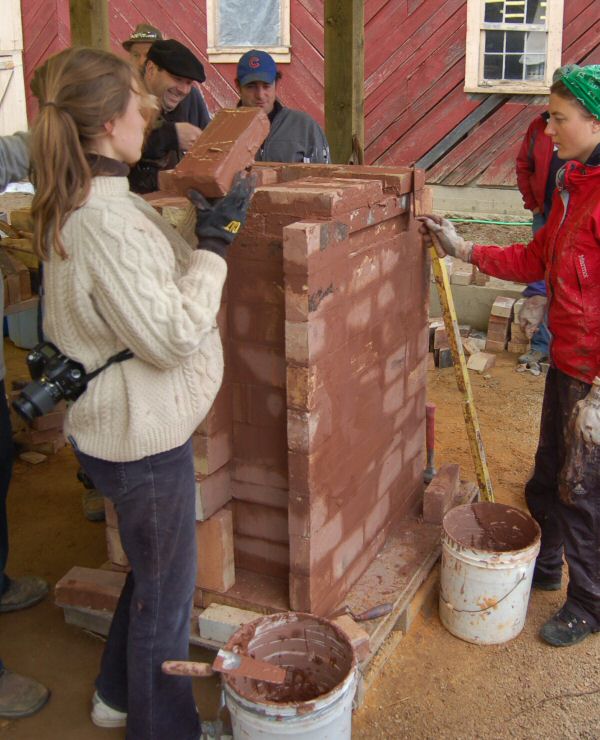
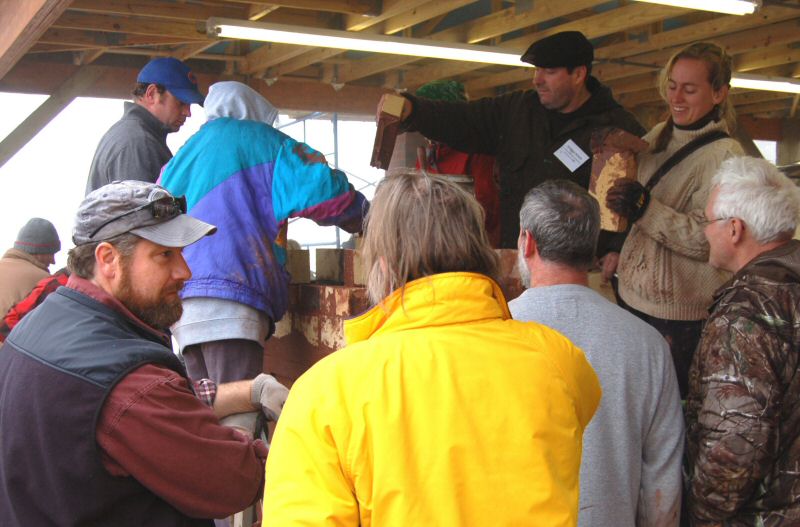
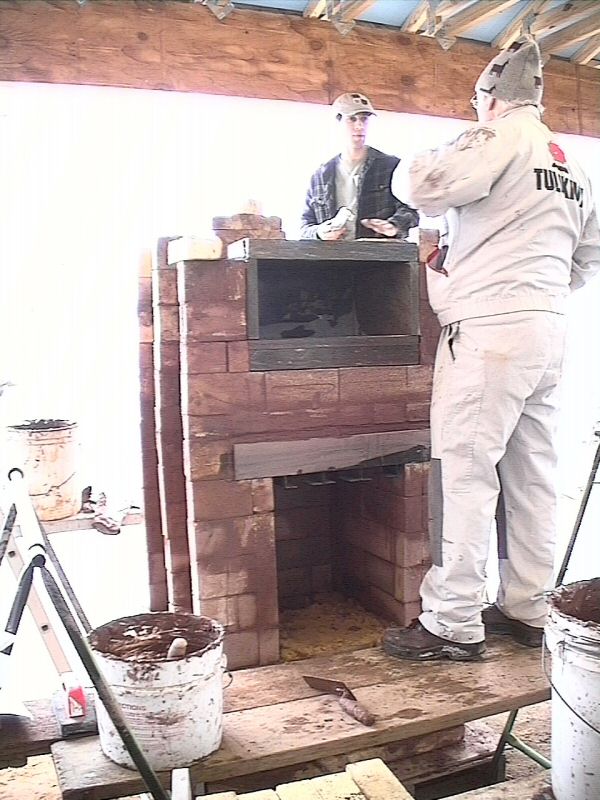
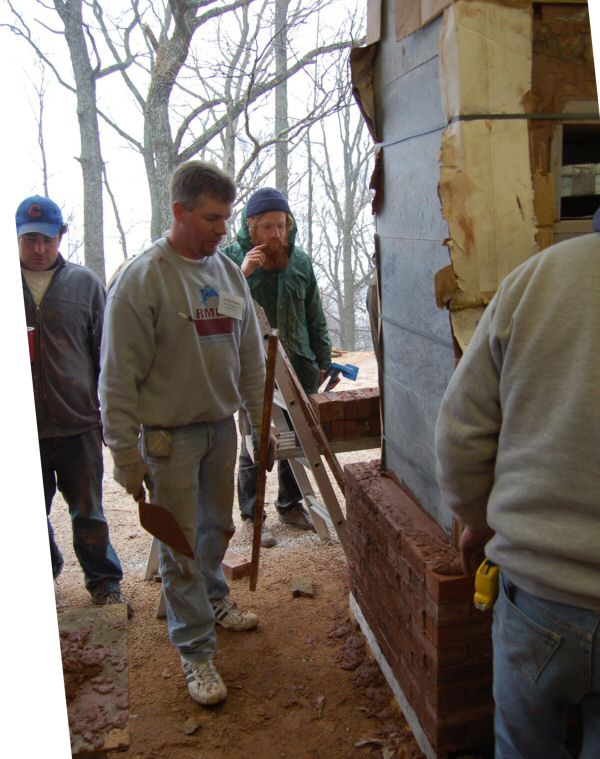
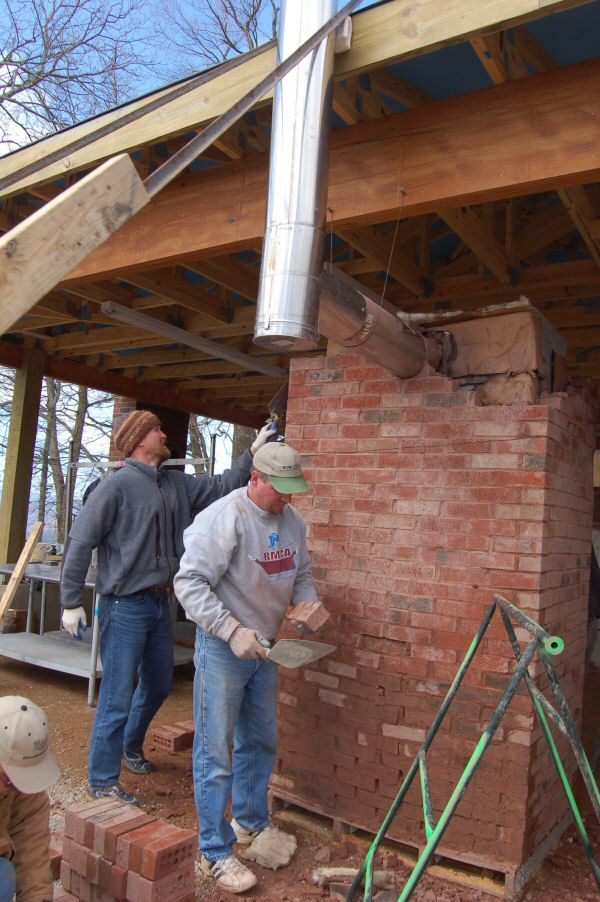
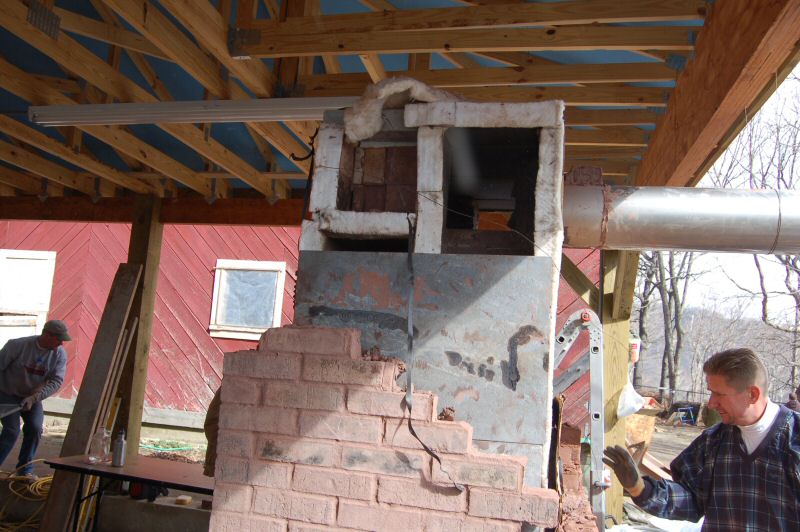
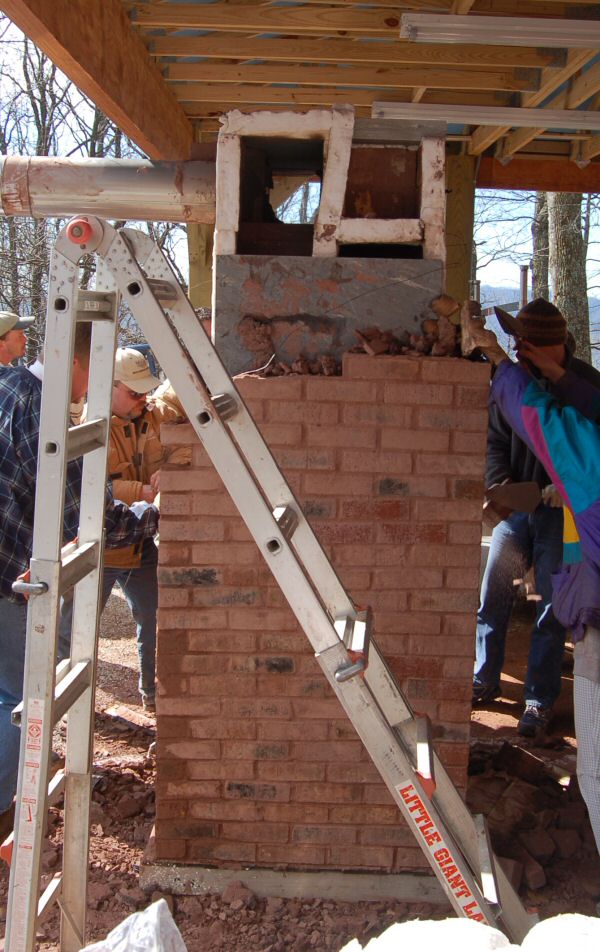
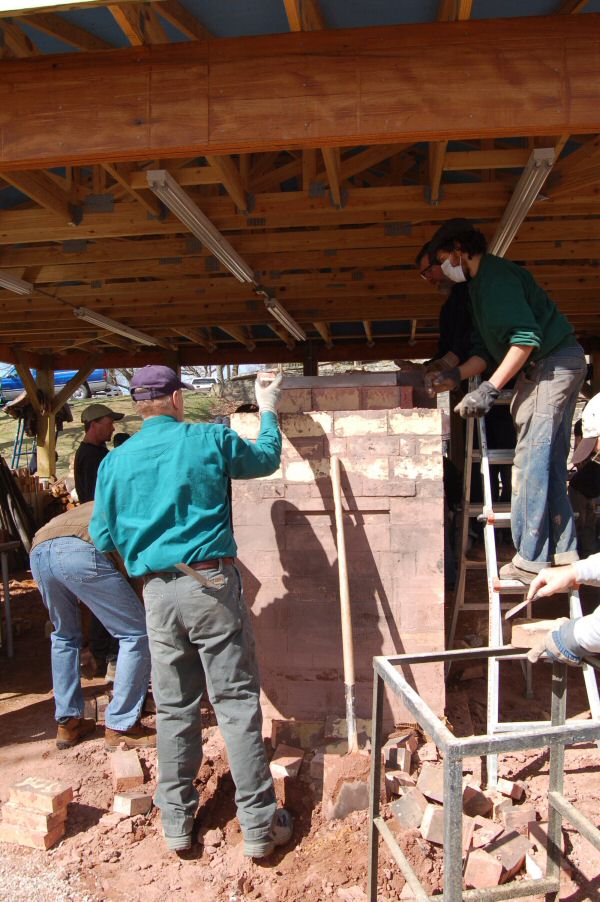
The plans called for a soapstone slab facing, similar to a Tulikivi.
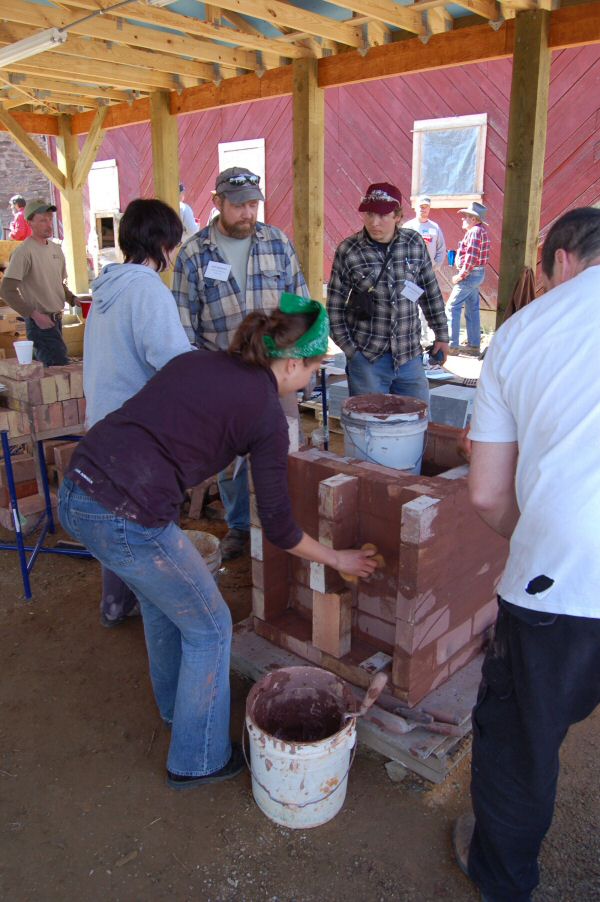
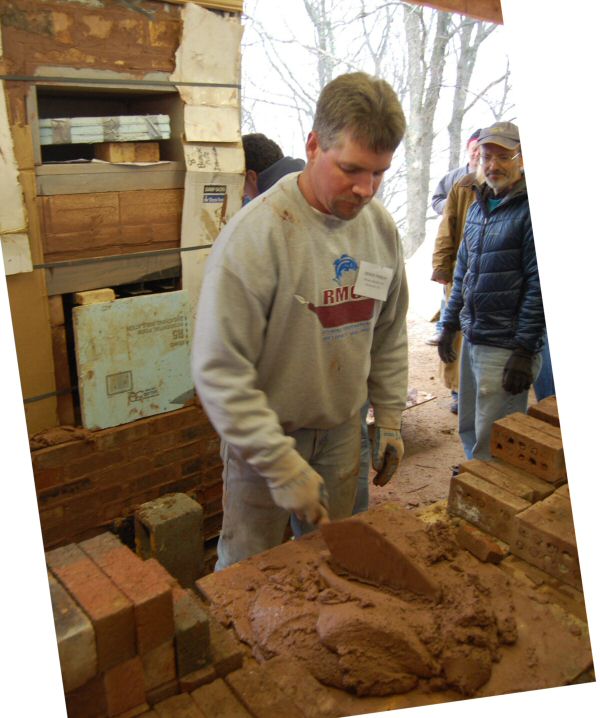
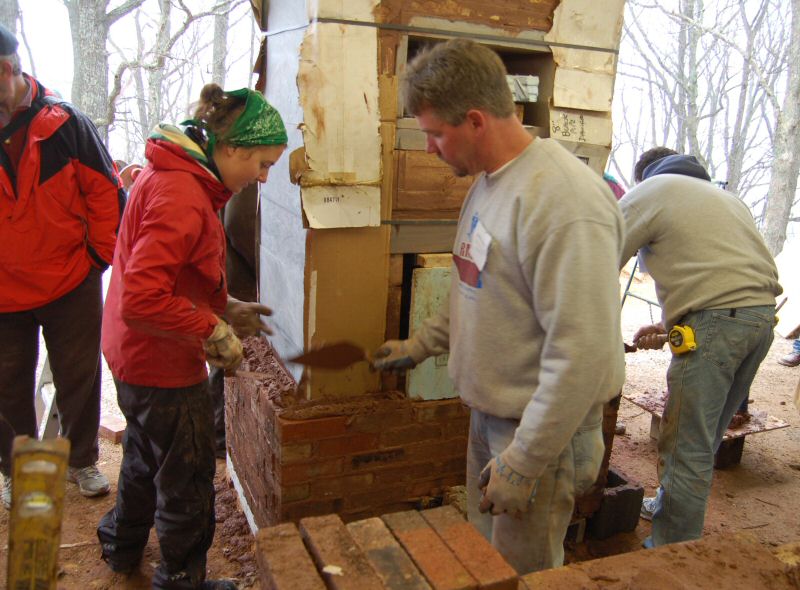
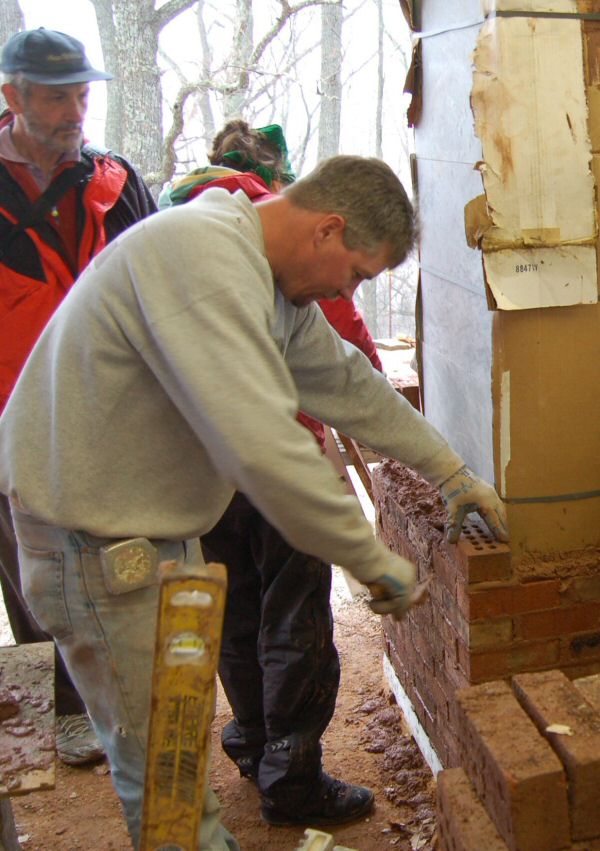
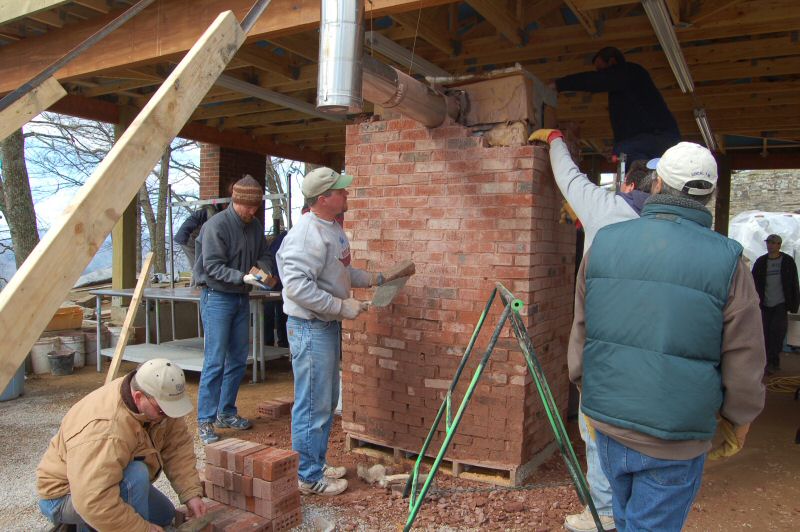
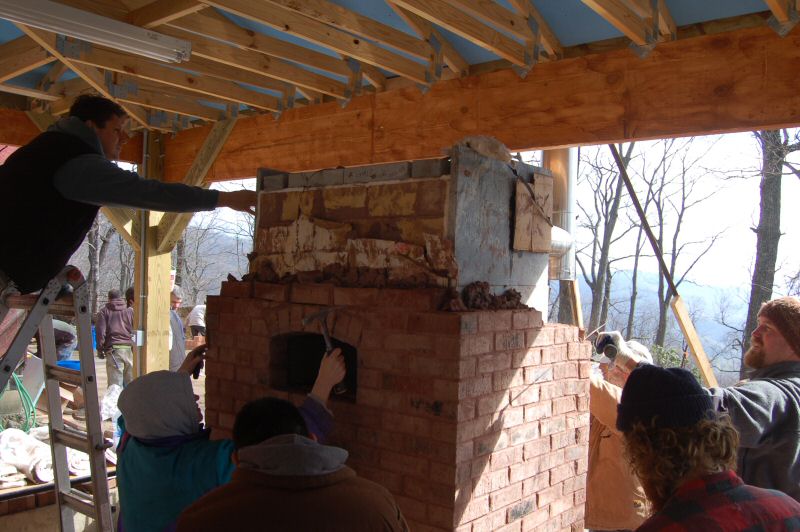
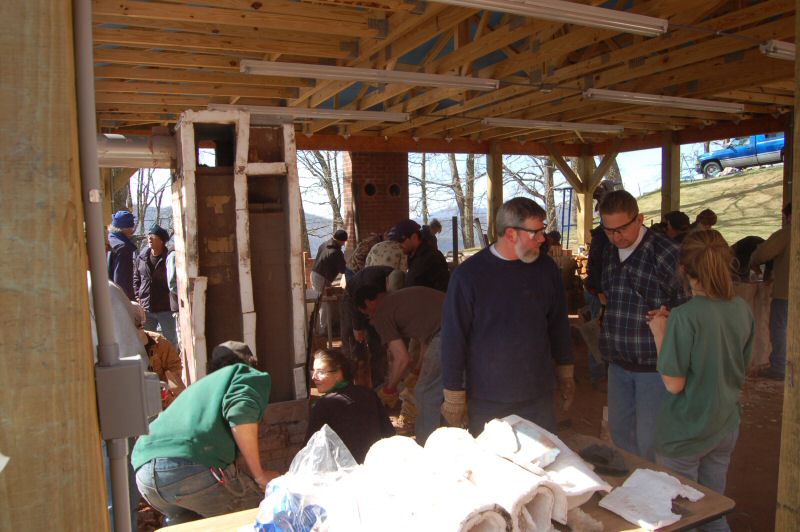
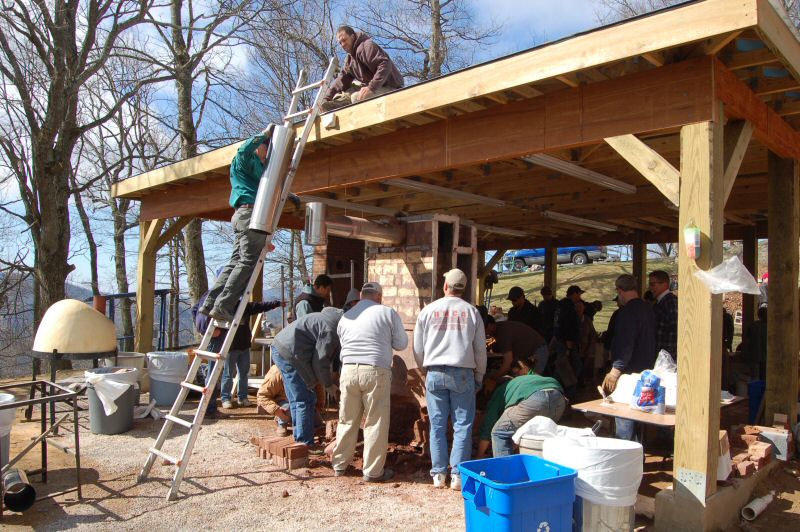
We did not have the slabs, and instead threw up a quick brick facing. Time was getting extremely tight,
as we were planning on firing the heater and having the oven ready for the pizza party, as well as testing
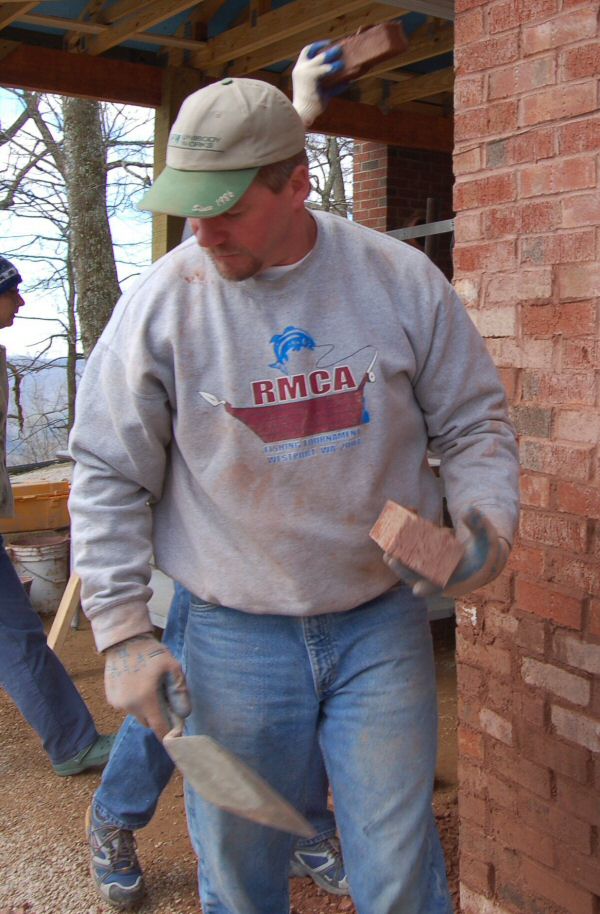
the oven. Derek Frisch and a couple of other professional brick masons stepped in to help, and the
bricks went up lightning fast. A couple of dedicated guys stayed after supper to "get 'er done".
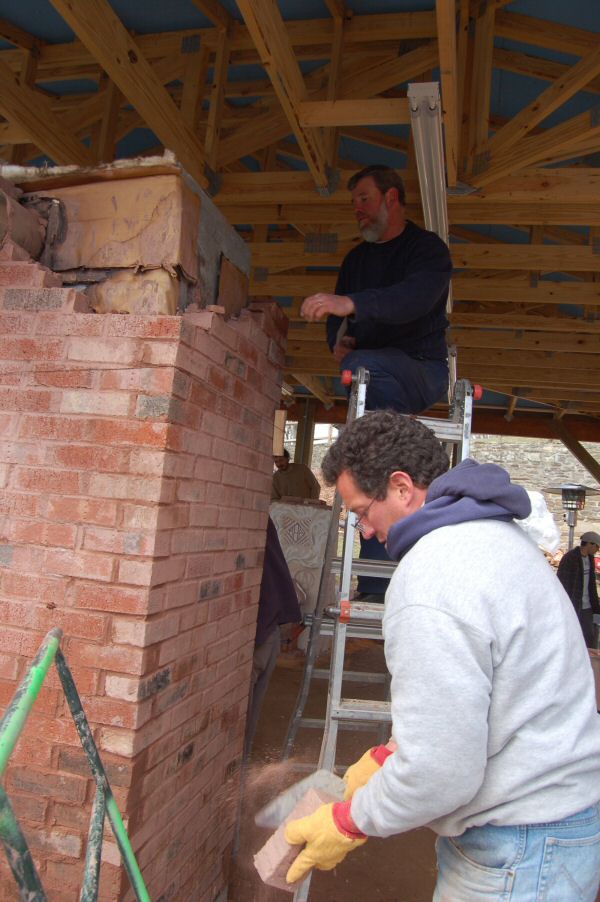
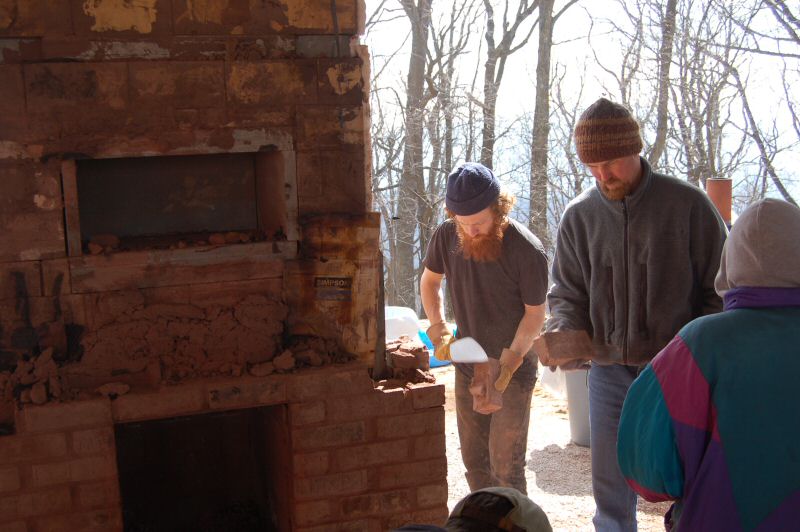
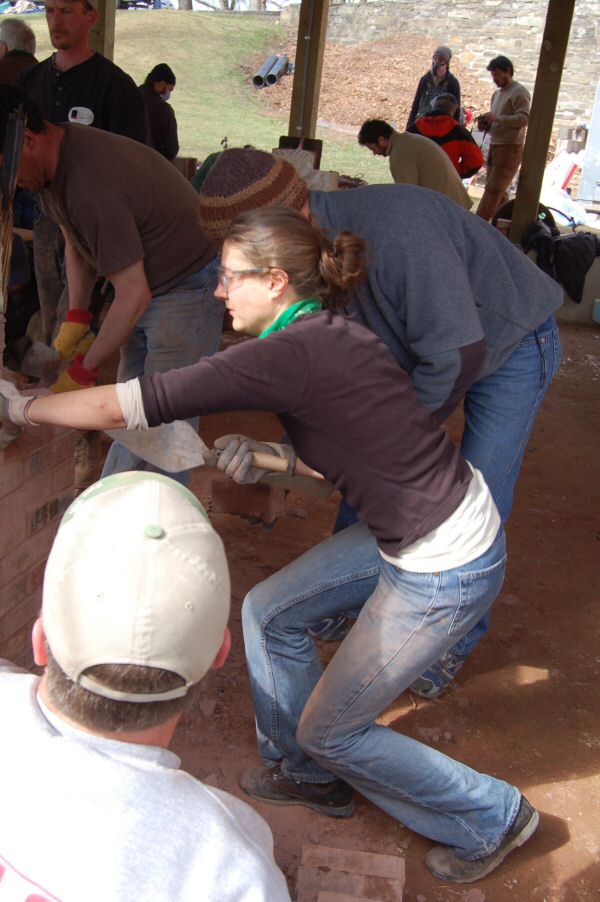
Bricks were wet, it was raining, and everything was sliding around. The mortar slush between the
facing and the core was starting to blow out the bottom of the rear face, so we decided to abandon
slushing.
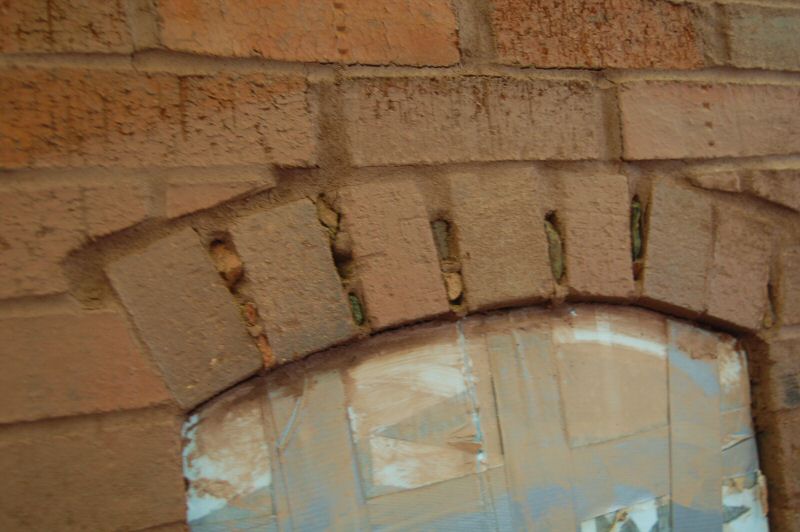
We tried to remove the styrofoam oven door arch form, early "the morning after" a "late night".
When I pulled the wedges from under the arch form, the weight didn't come off the form, as it normally does, even on green bricks.
The bricks had zero suction and the clay mortar hadn't dried at all. The arch was not stable.
We pushed some wedges into the joints in an attempt to stabilize it, so that we could at least temporarily mount the oven door.
We held the door on with a loop of wire, and waited for the bricks to dry out enough that we could try a tapcon.
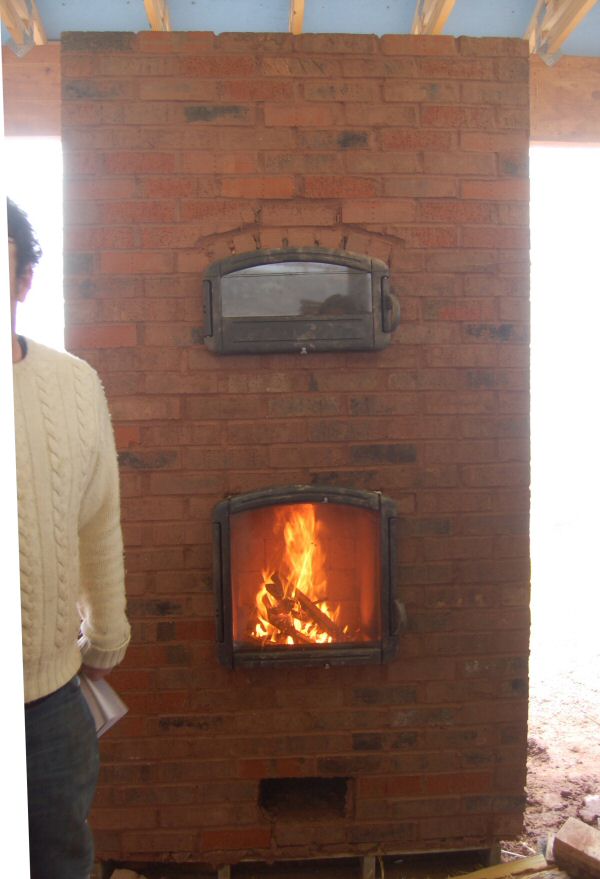
Mortar is finally drying out. Clay mortar has no hydraulic set, and relies strictly on drying.
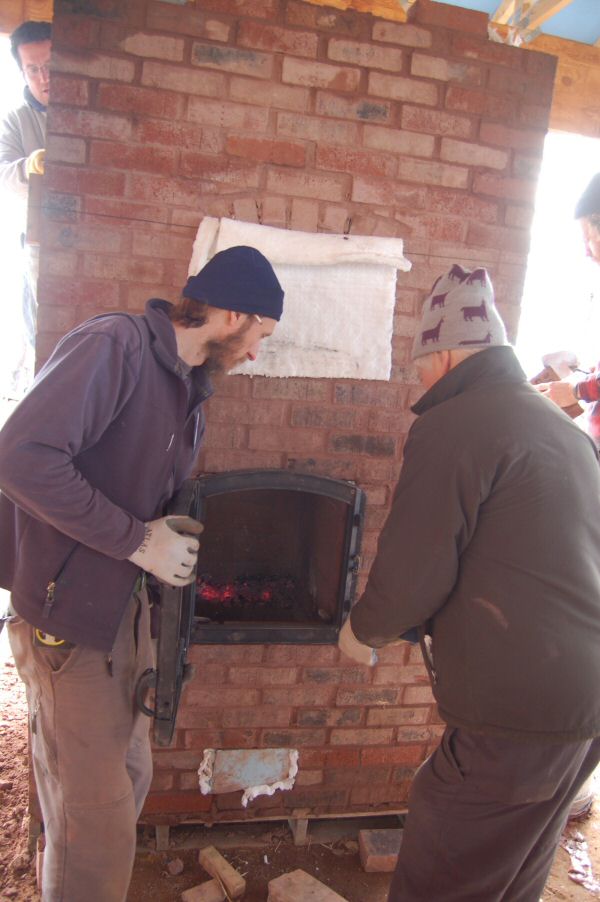
We got the doors in right away and fired the heater up. We fired it straight through to 9:00 pm that
night. It took roughly 200 lbs of wood, and there was still moisture in
the rear bottom slush, when the heater was taken down the next day around 10:00 am.
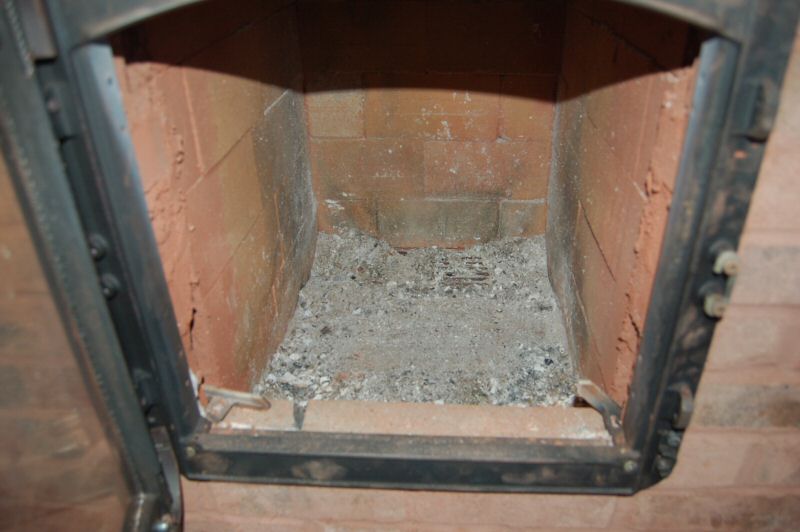
Ash bed the next morning.
Colby Dehoff from Whittaker-Greer brought us some green firebricks to test, and we laid up a couple in the firebox.
They survived with no problems at all. We saved them and will run some tests on them later.
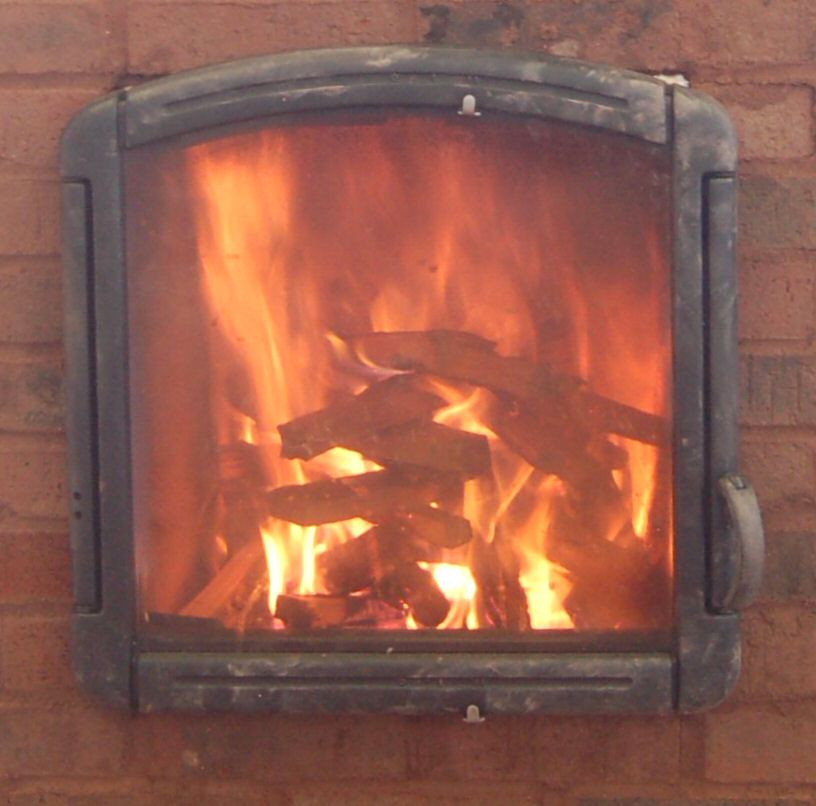
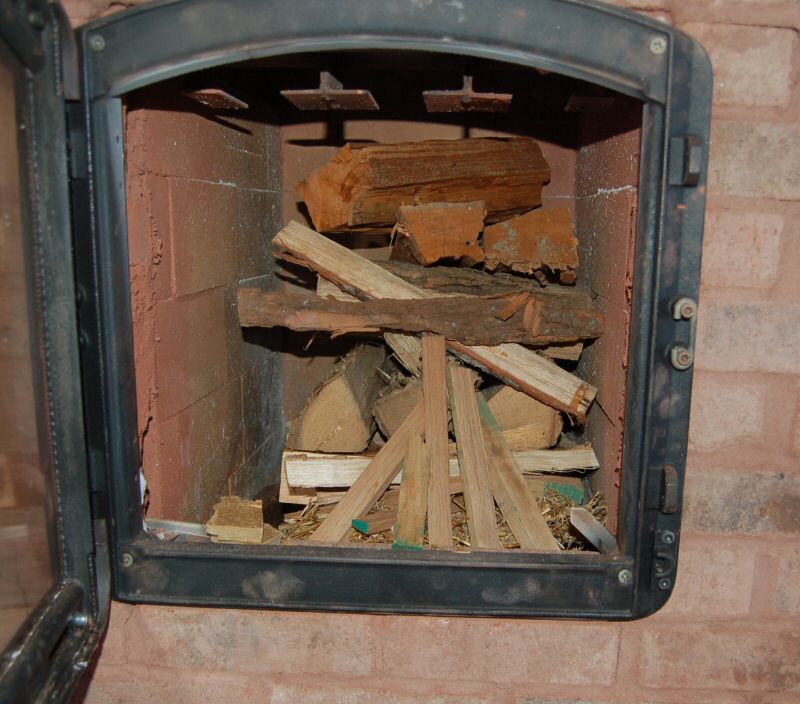
Fuel load for the oven test. Approx. 40 - 50 lbs.
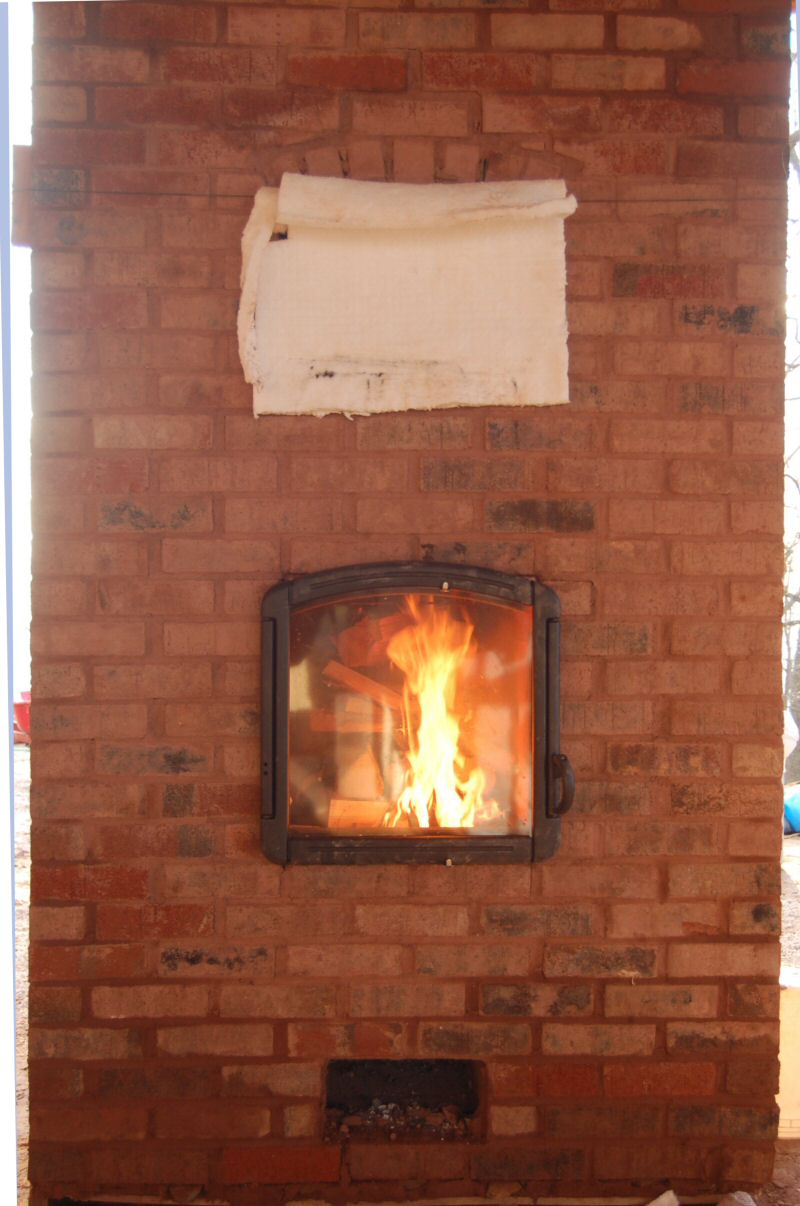
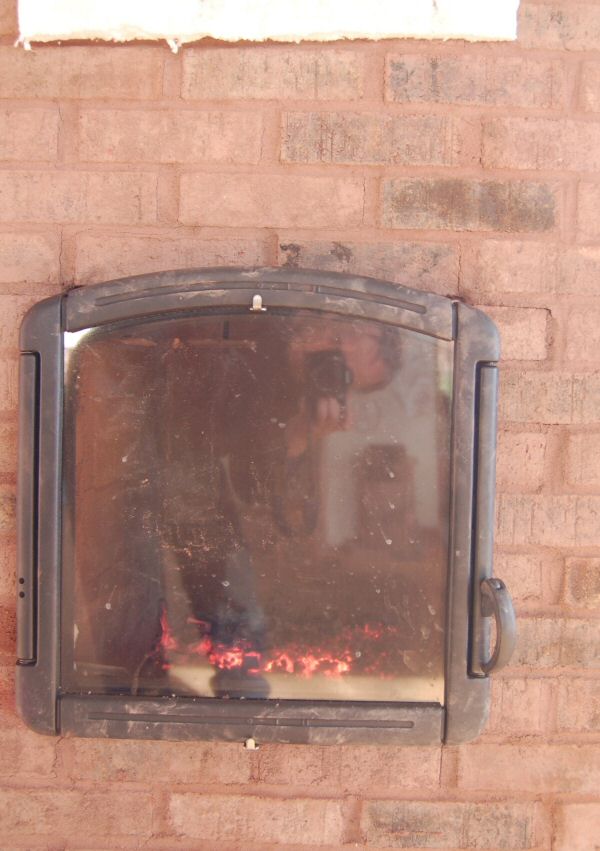
We could not get the oven door stabilized in time, and decided to pull it and replace it with
a ceramic blanket.
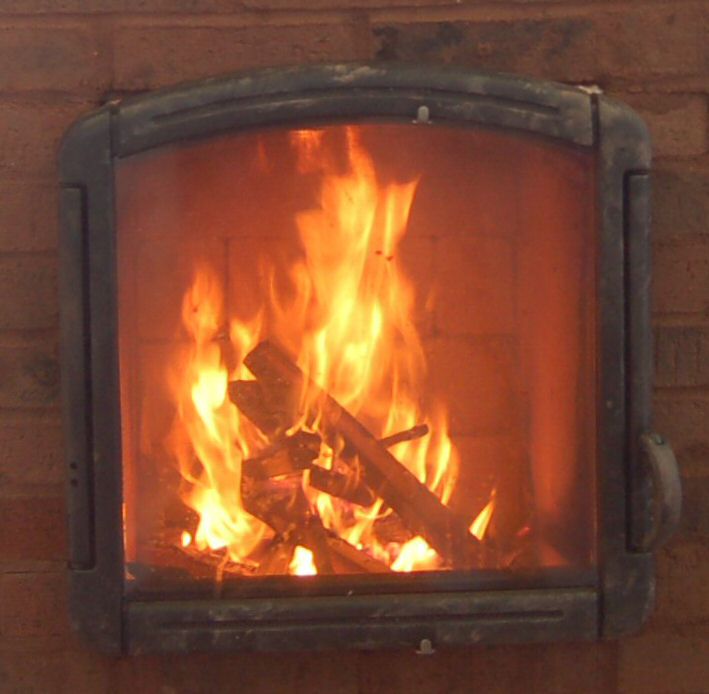
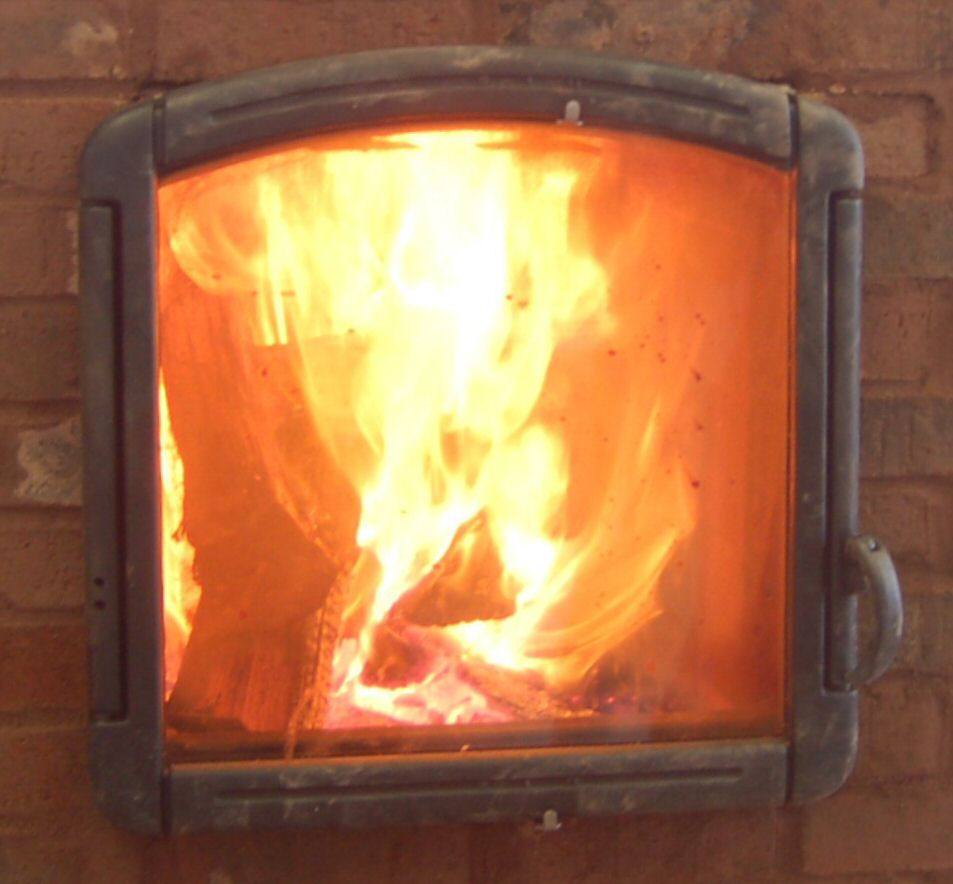
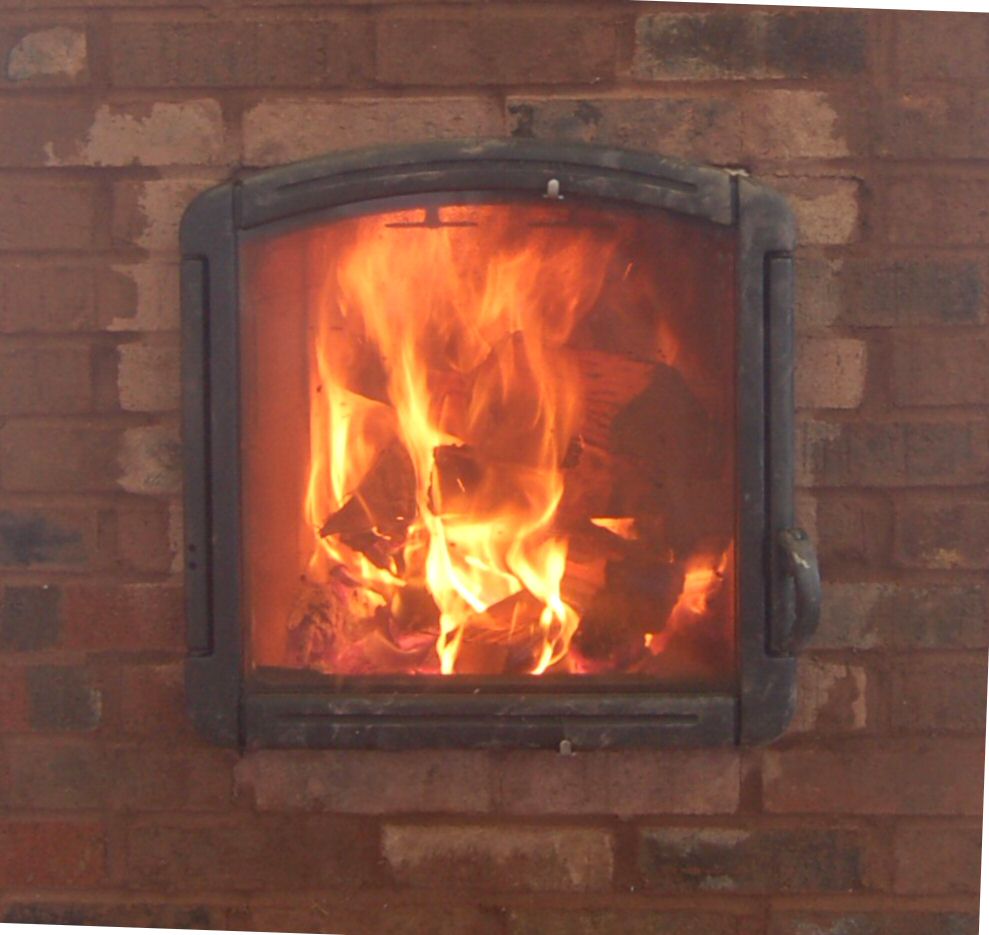
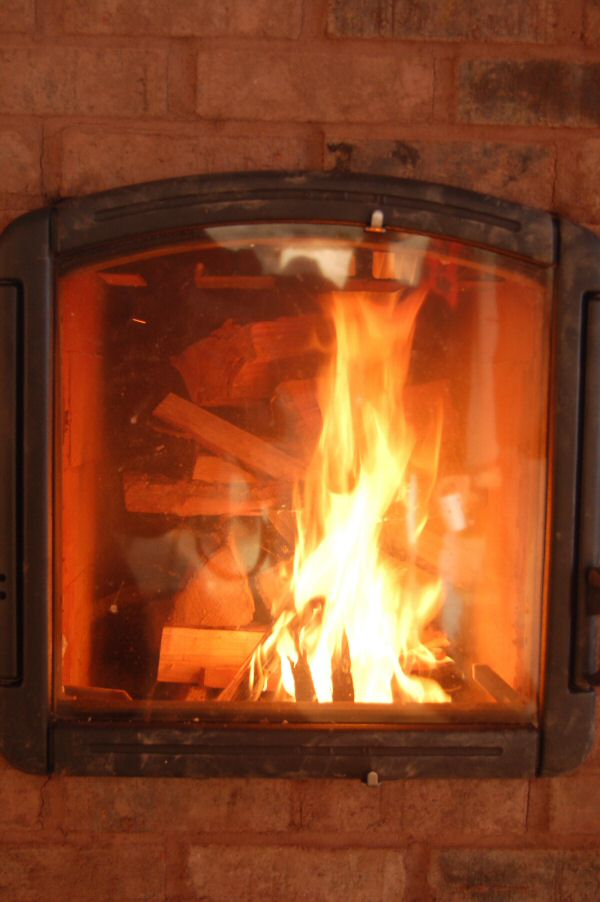
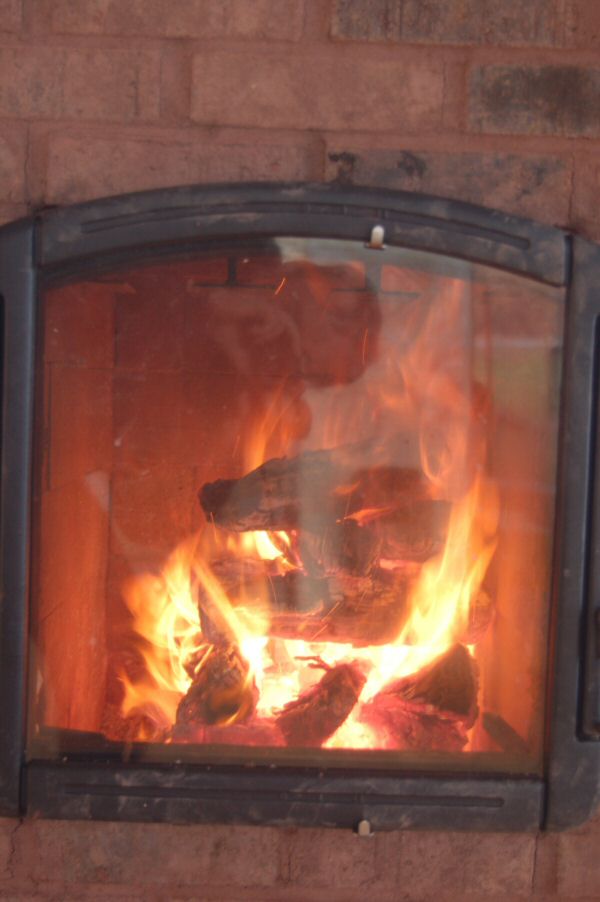
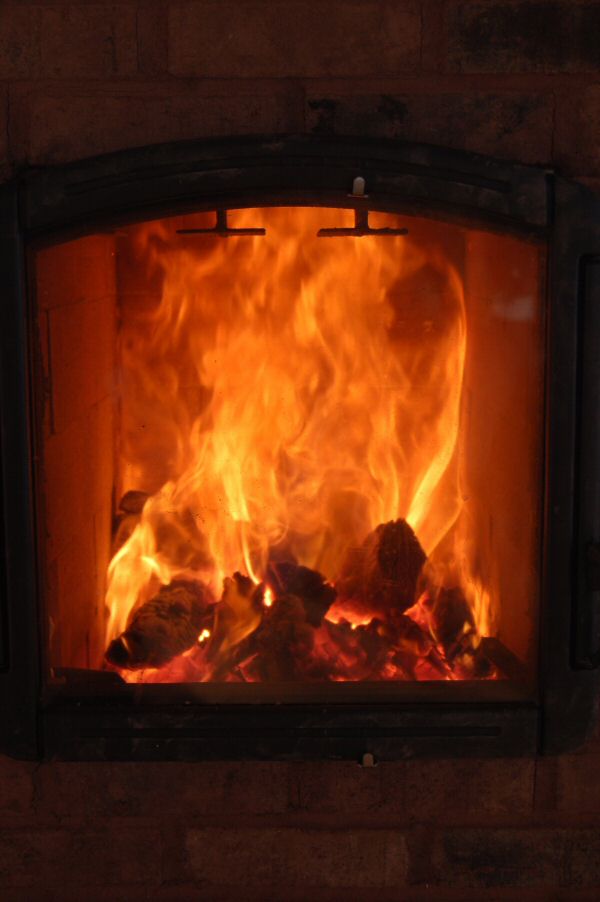
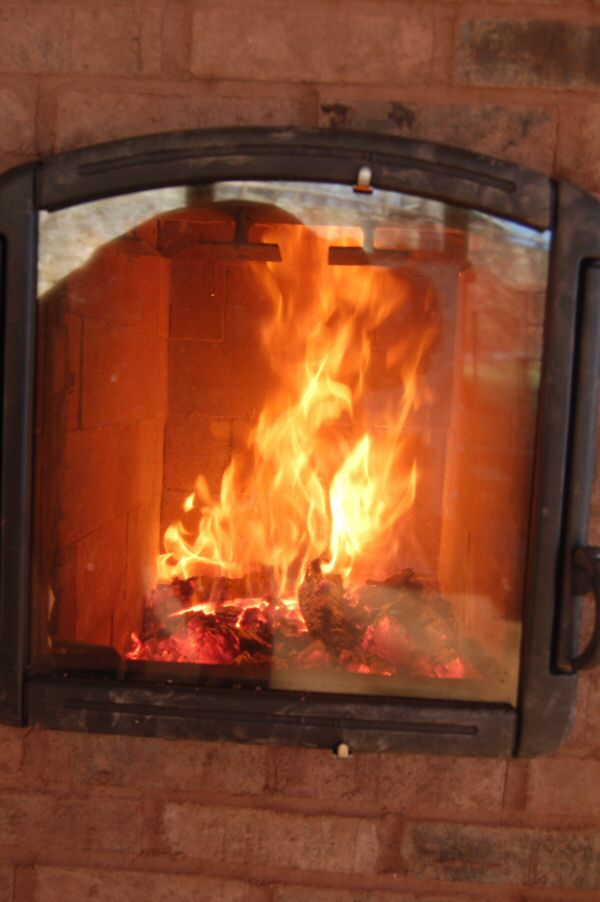
The firebox air system performed beautifully.
Very clean burn, by all appearances.
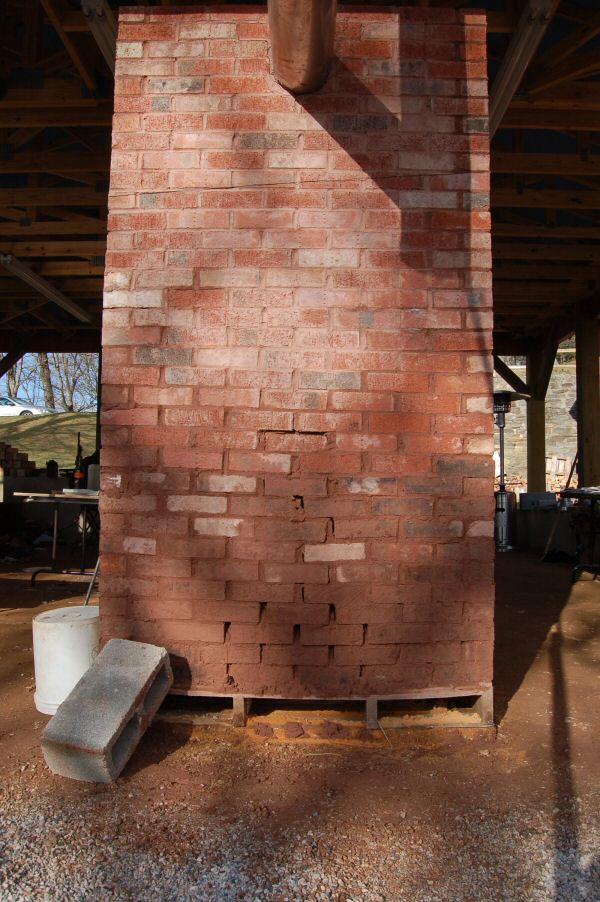
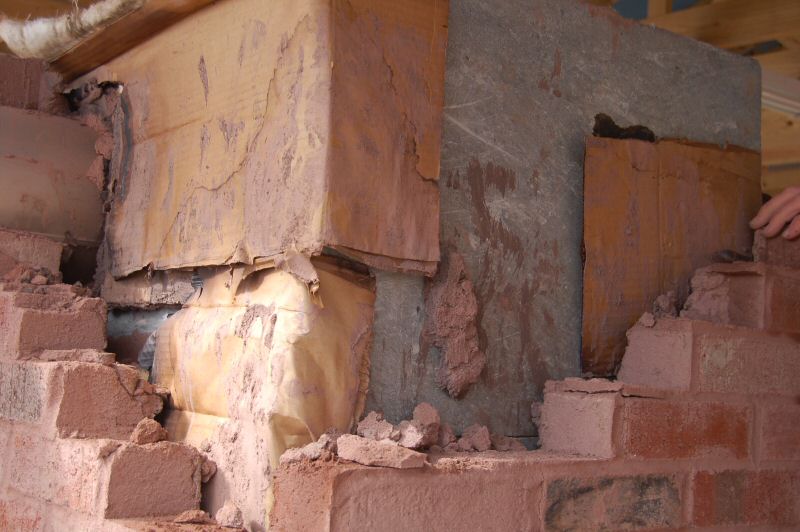
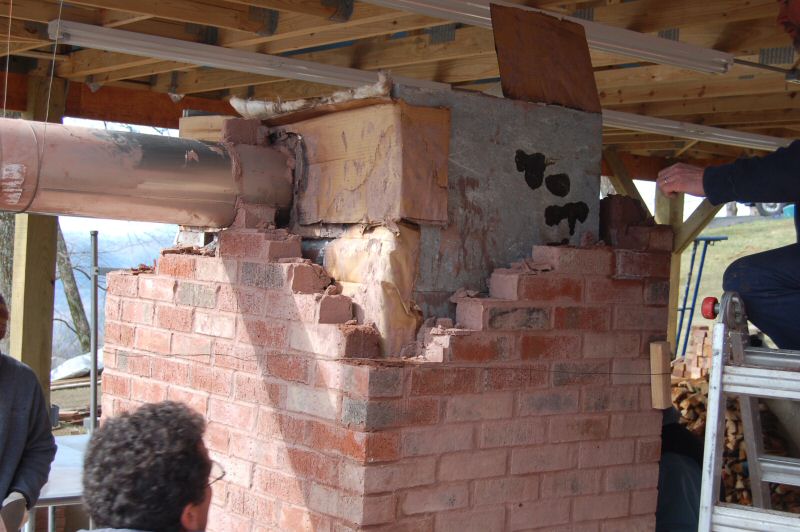
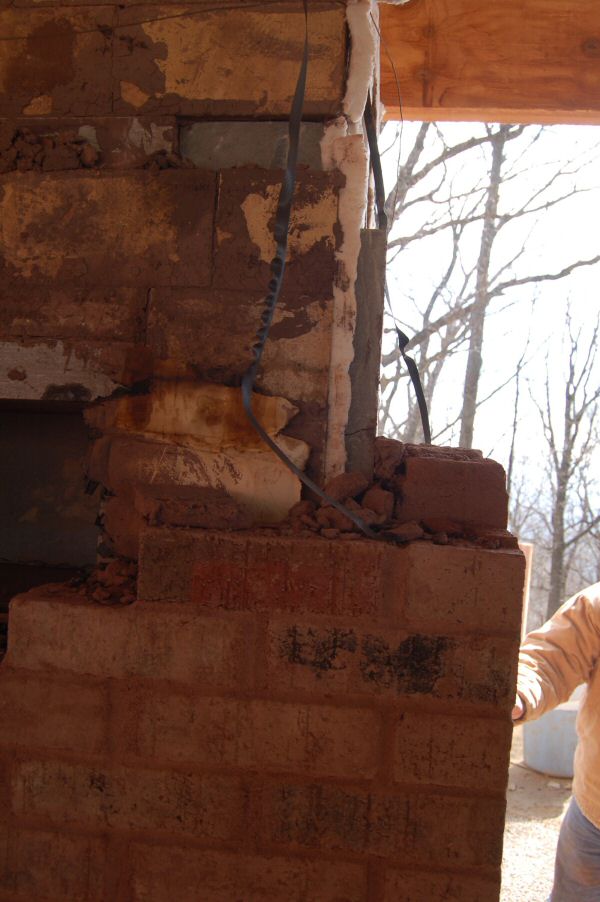
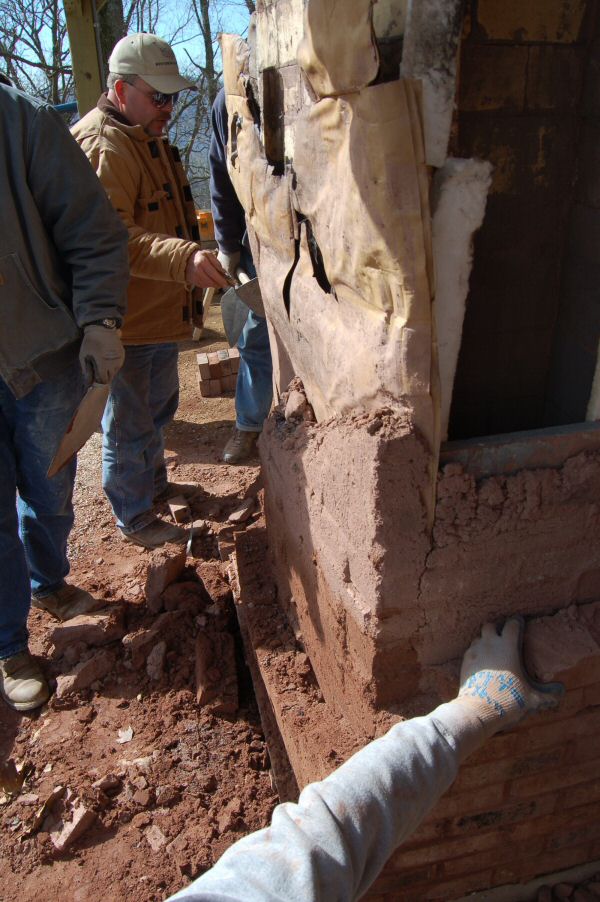
Blowout at the back, from the slush.
Note that the bricks at the top are getting dry.
Blowout at back. A pallet was wedged against it to keep it from bulging out further.
The next morning, I removed the pallet, only briefly, and it continued to bulge out, likely because
water was settling to the bottom, and keeping everything saturated.
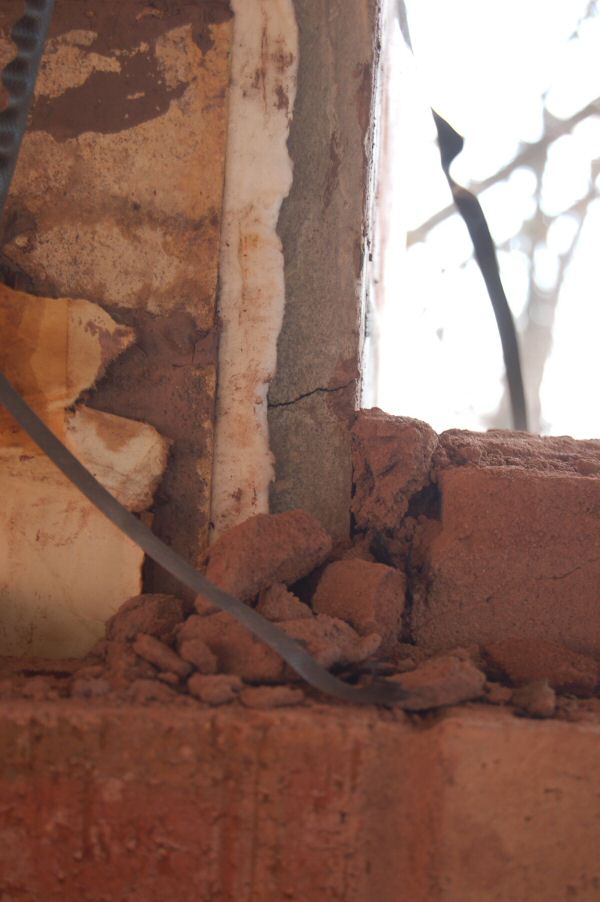
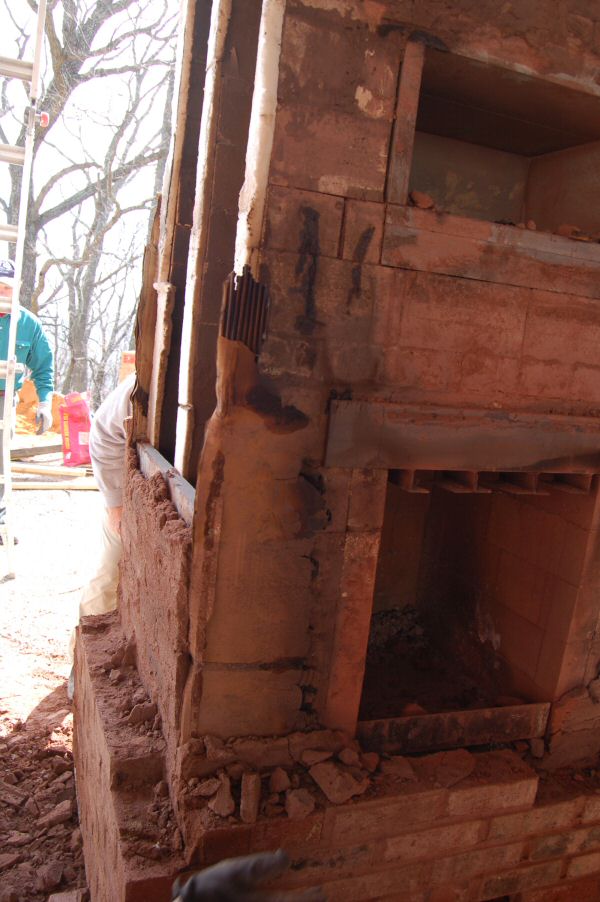
There is still a bed of coals from the morning burn, as the demolition starts.
Notice that the bricks and mortar joints are still not dried out in the blowout area.
The front side runs hotter than the rear, in the classic Swedish 5 run design. It can also be built vice-versa.
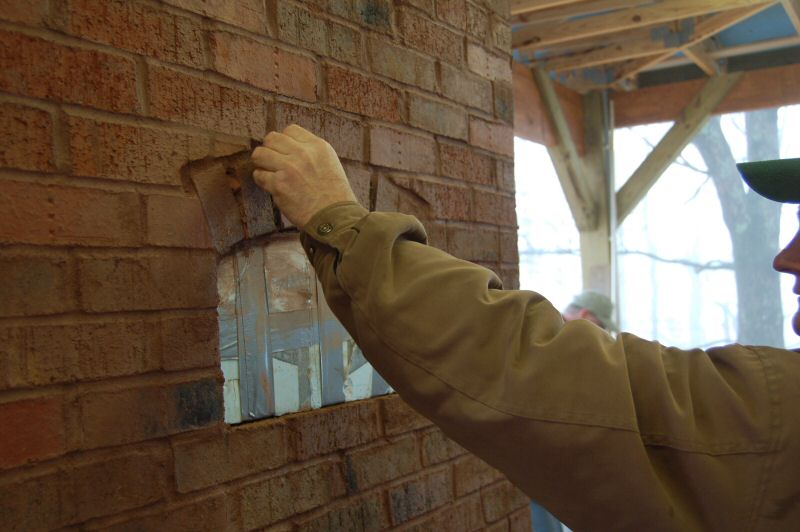
Burnt cardboard.
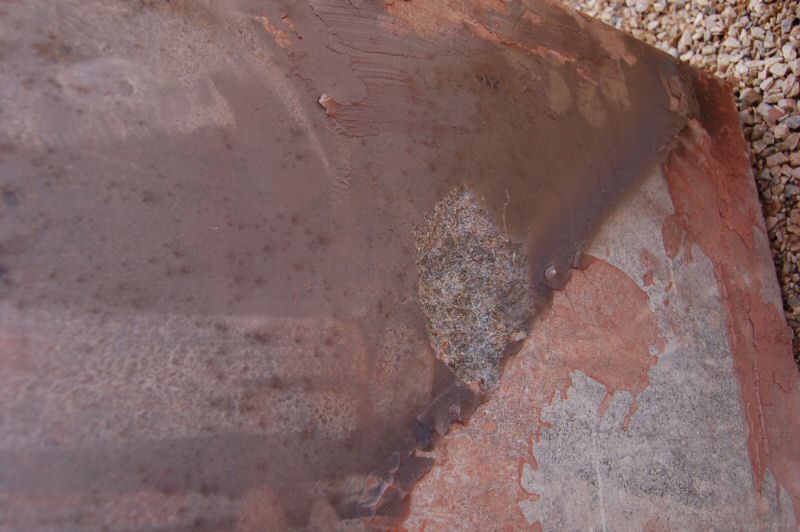
Cracked panel, at the hottest part in the channel system -- the top of the downdraft run
(exit from the firebox).
close up of hairline crack.
Detail. Typically, this hairline is harmless, and will not progress any further. The panel was exposed to an extreme event that it will
never repeat in the lifetime of the heater. The crack allowed some internal flaws, etc., to relieve their stress, and is now in a relaxed state.
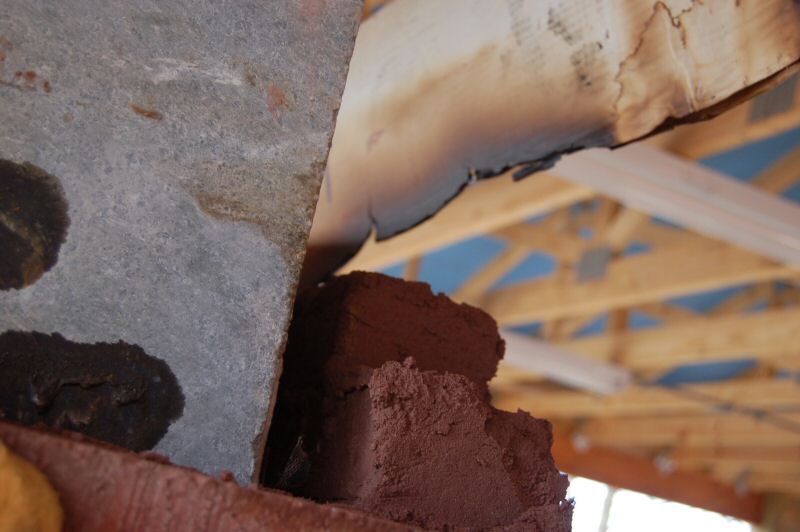
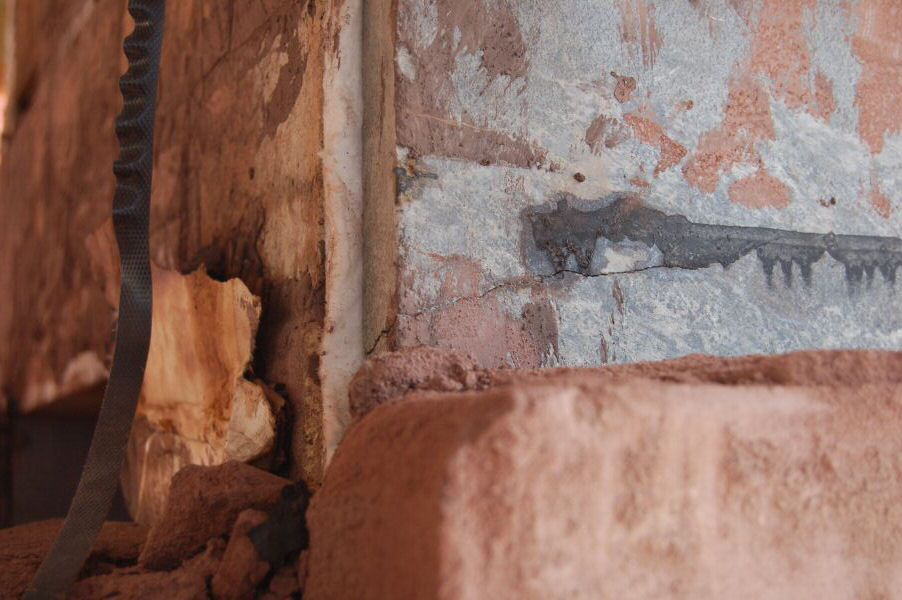
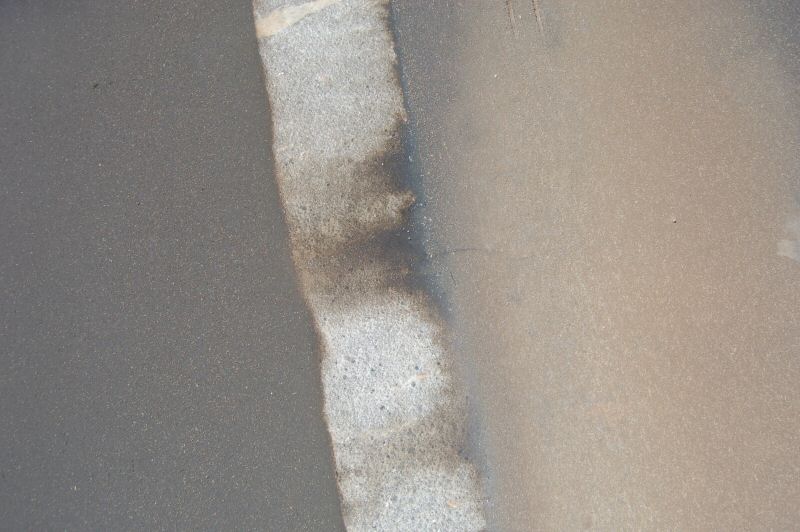
View of left side channels. Note the lack of deposits on the bricks.
Note the moisture in the slush at the rear, where the blowout was.
Slush should be tight and provide a gas seal.
Note the hot area around the doors, where the facing brick are exposed inside the firebox.
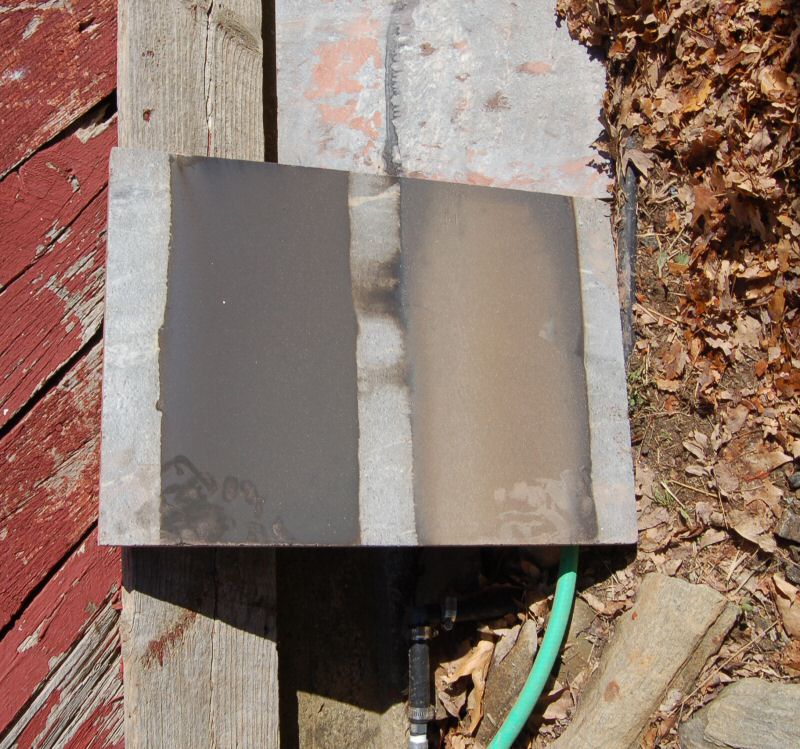
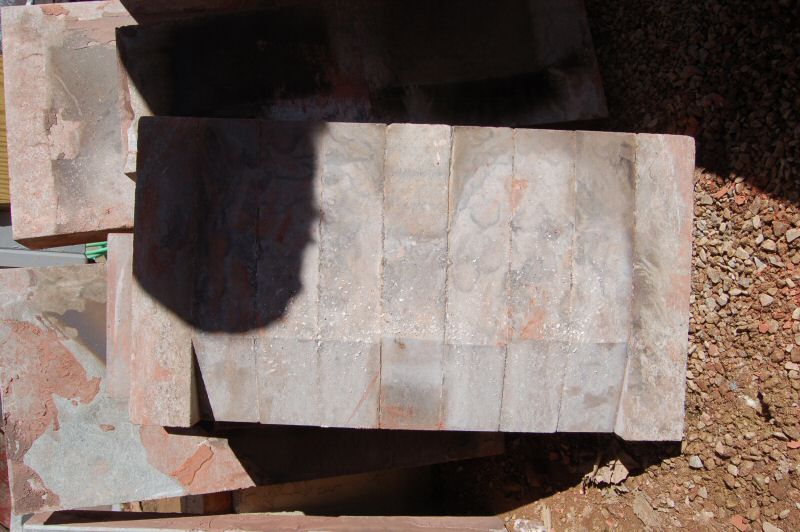
Heat exchange panel from left side, near the top. The lighter deposits are on the hot (downdraft) side.
Note that the deposits on the soapstone are heavier than on the hotter bricks, on the opposite wall of the channel (above).
The soot probably got cooked off the hot side by the severe overfiring of the initial burn.
Updraft (cooler) side on the left.
Note some slight crossover of gases through the centre strip - not an issue.
Detail.
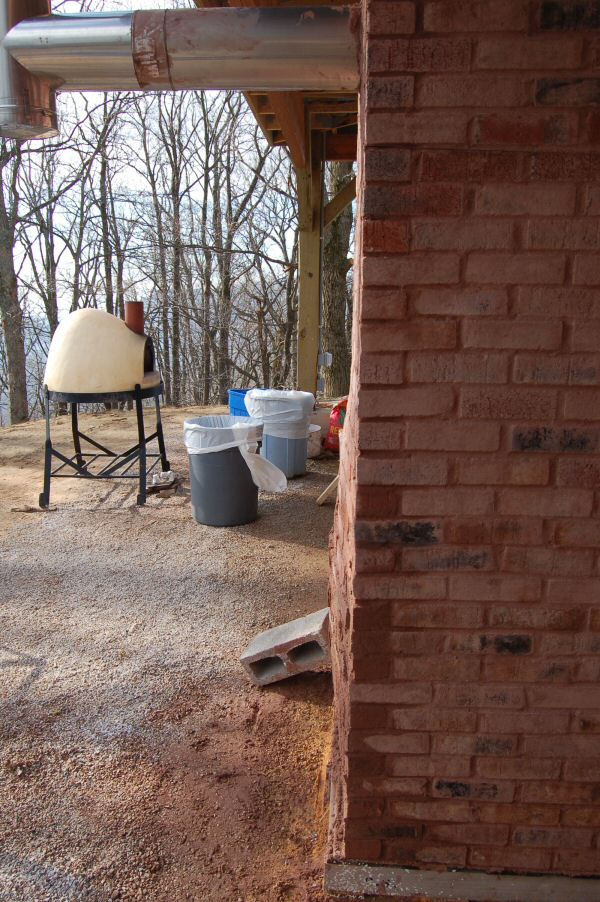
Dismantling the single wall stainless chimney. Heater exited at top rear, due to height limitations.
The capping slab on the first downdraft run had a small 1"- 2" lens spall out.
Detail.
Bolted 4" firebox floor assembly was in perfect condition. This component gets the heaviest stress of any of the soapstone in this design.
Oven temperature data. (scroll right)
The graph on the right shows the soapstone oven performance, from a cold start with a completely water soaked heater, containing an estimated 25 gallons of water.
The graph on the left, for comparison, shows a 2003 test on a then-current HeatKit white oven.May 31, 2009:
Revised design, May 21, 2009
See also,
2008 Photo Report
2007 Photo Report
2006 Photo Report
2004 Photo Report
2003 Photo Report
2002 Photo Report
2001 Photo Report
2000 Photo Report
1999 Photo Report
1998 Photo Report
1997 Photo Report
This page was last updated on
May 31, 2009
This page was created on April 19, 2009
Back to: