
| Gallery | The Mall | Member Directory | MHA News | Library | Links |
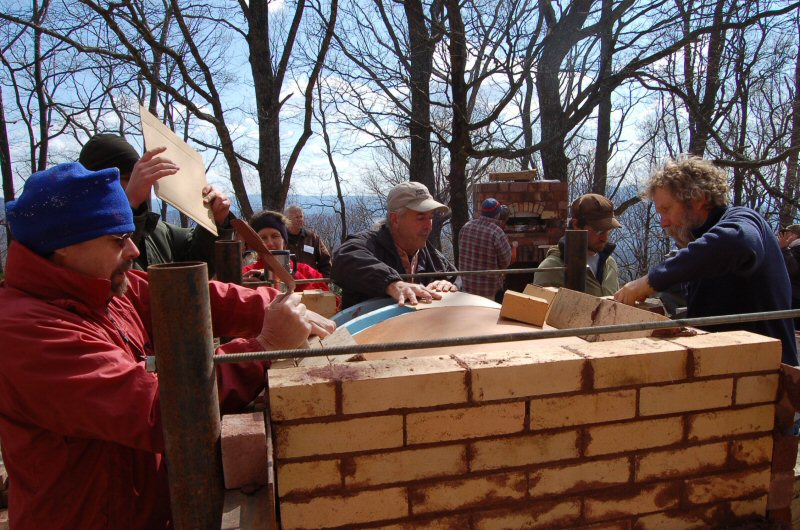
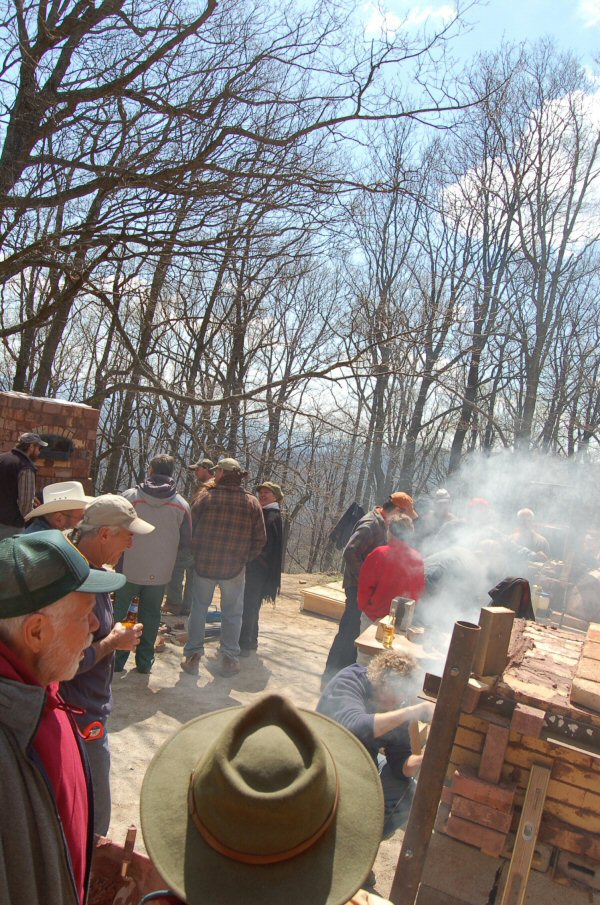
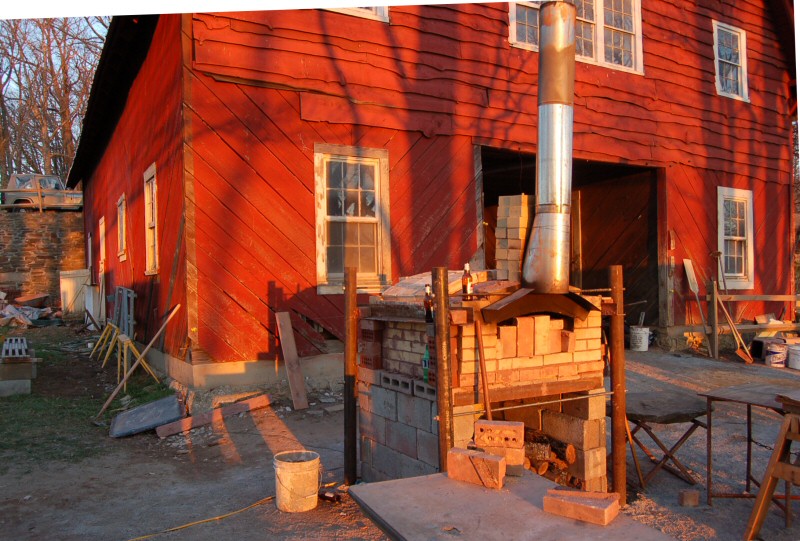
As soon as we realized that we couldn't get the geodesic oven dried in time, we had to build a backup oven, fast. Luckily, we had lots
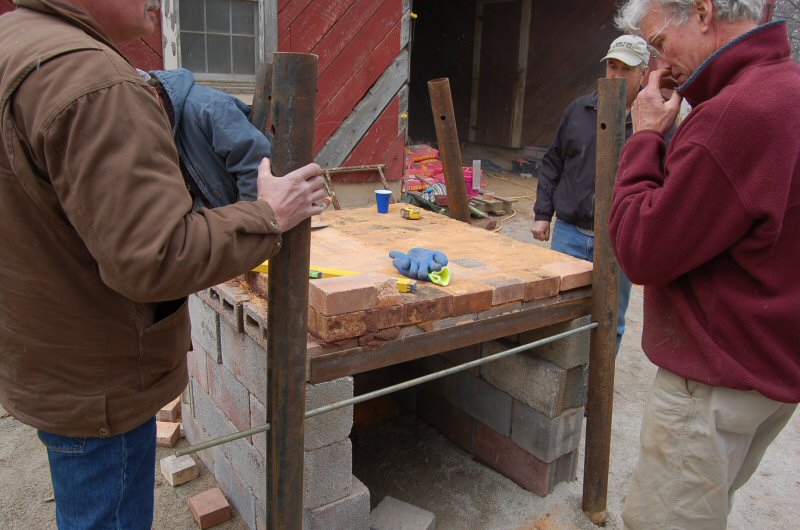
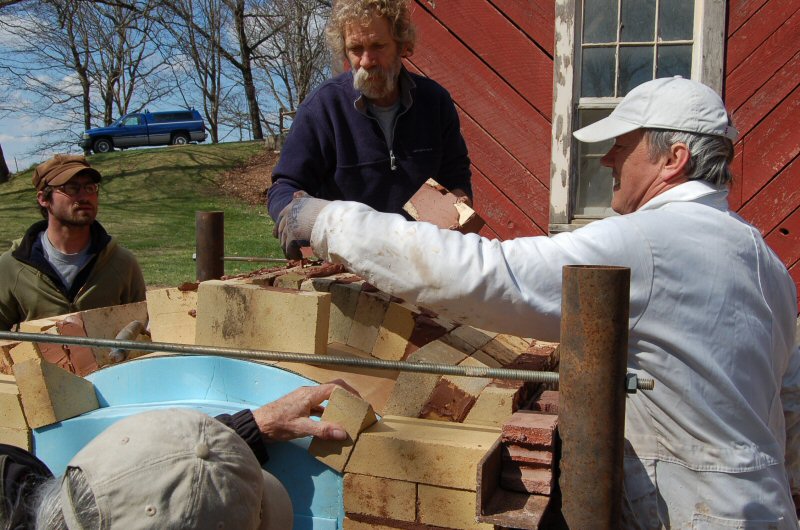
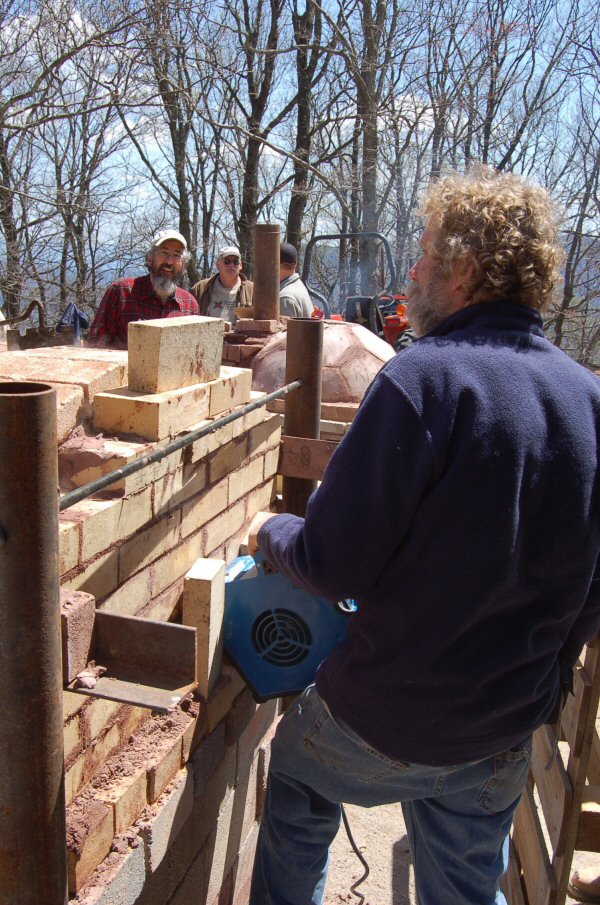
of experienced oven building talent available. Tom Trout (right) donated the steel harness system, which he uses on his ovens.
Layout.

The sidewalls went up fast.
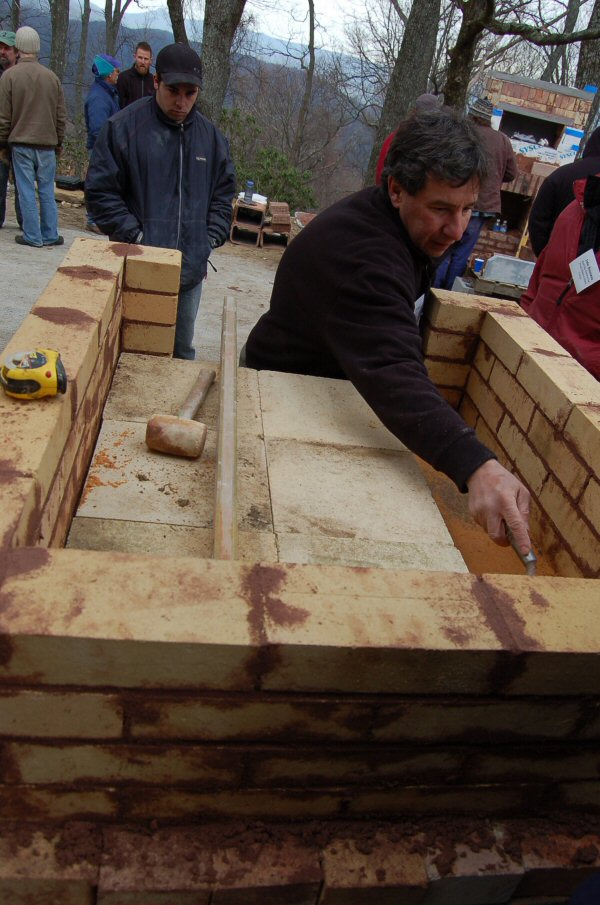
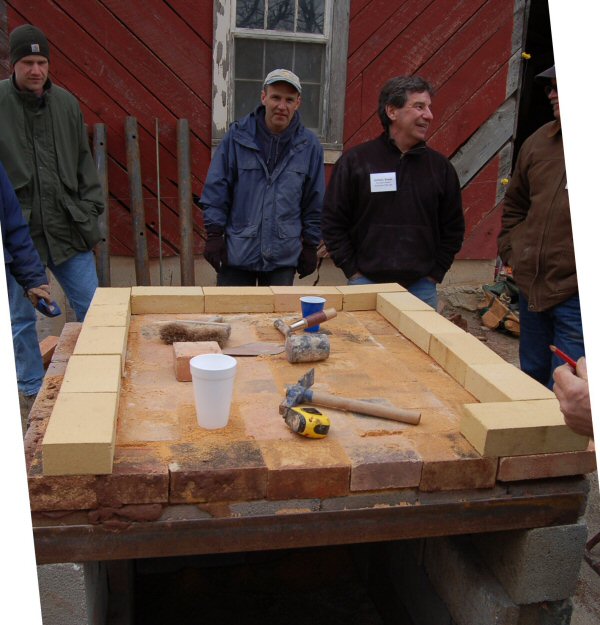
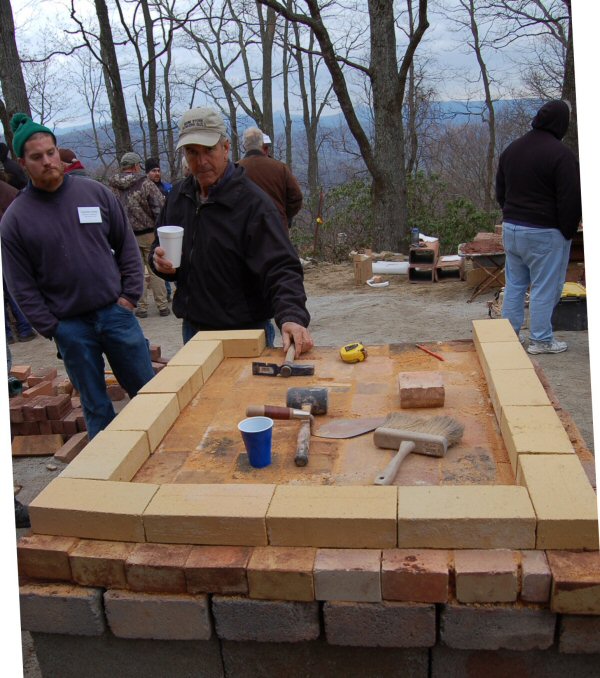
12x12 firebrick tiles for the hearth.
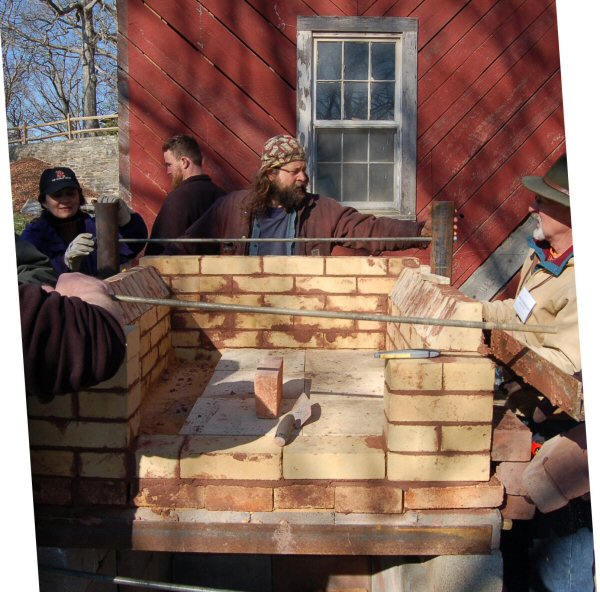
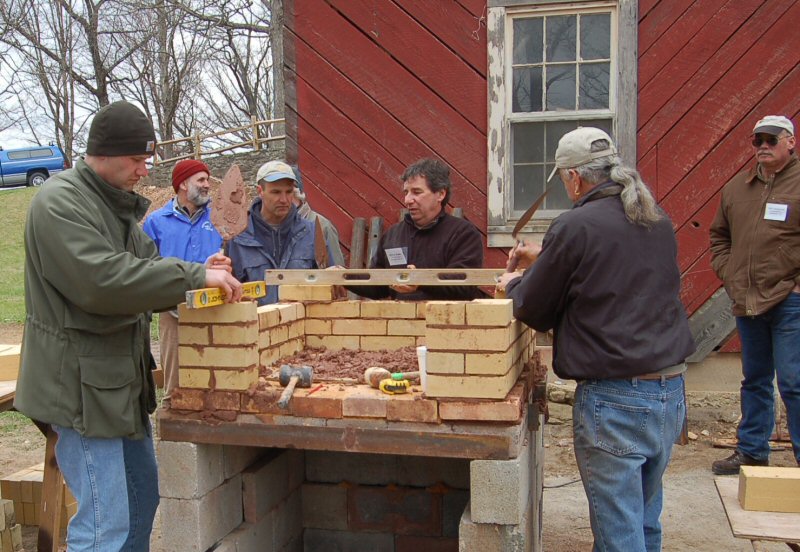
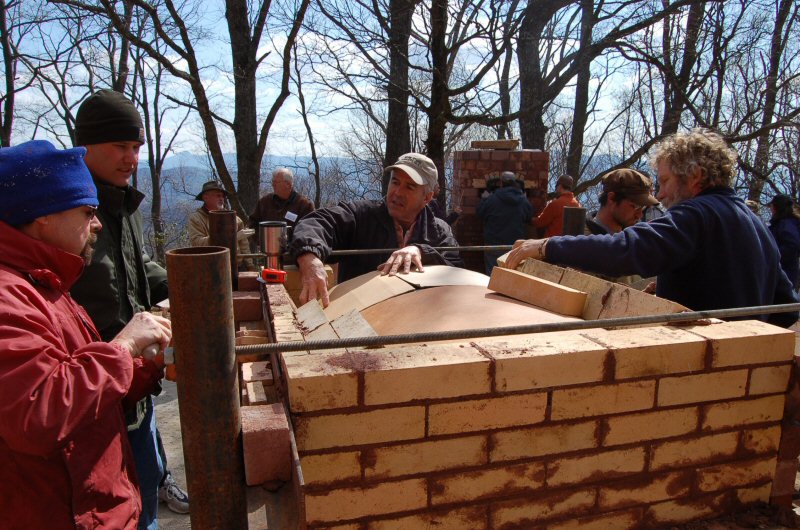
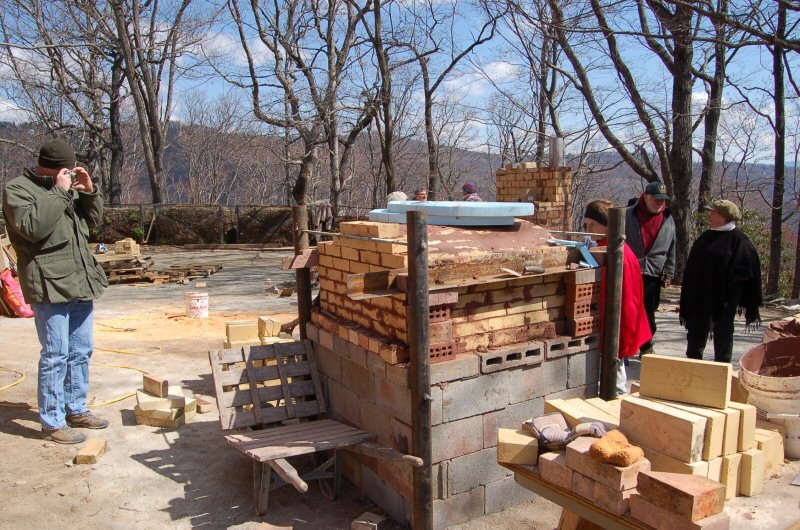
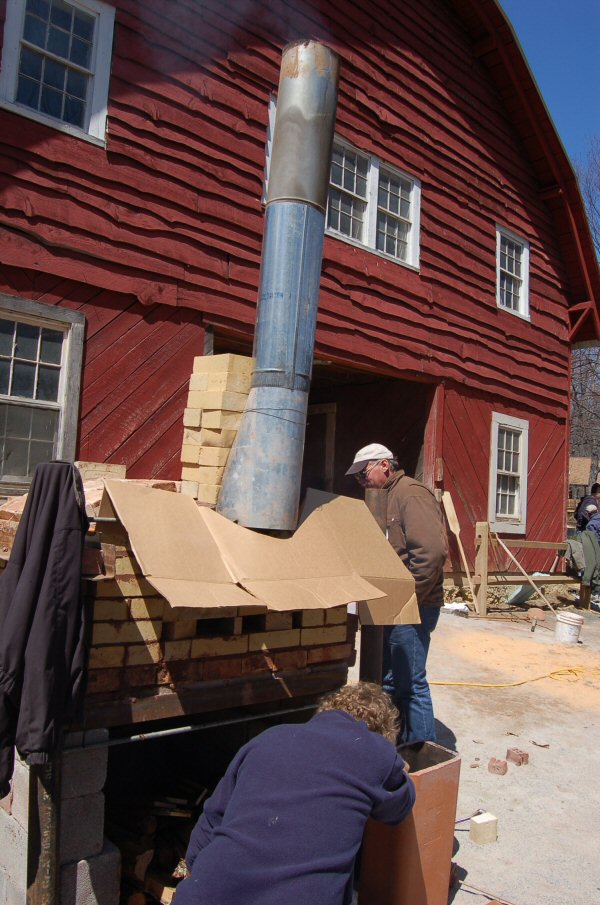
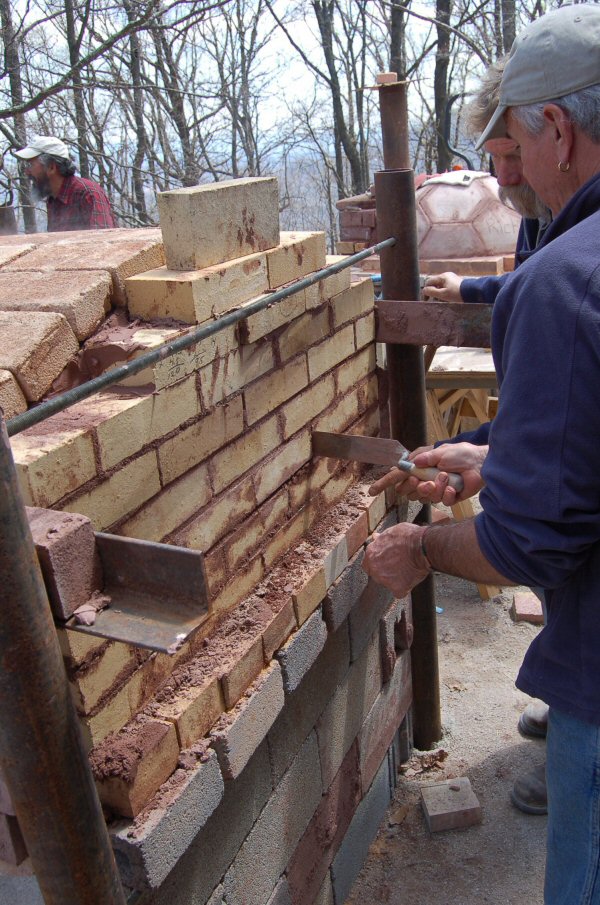
Skew course is in place. Steel harness is being installed, which will absorb outward thrust from the
firebrick ceiling vault, which takes place at the skew course.
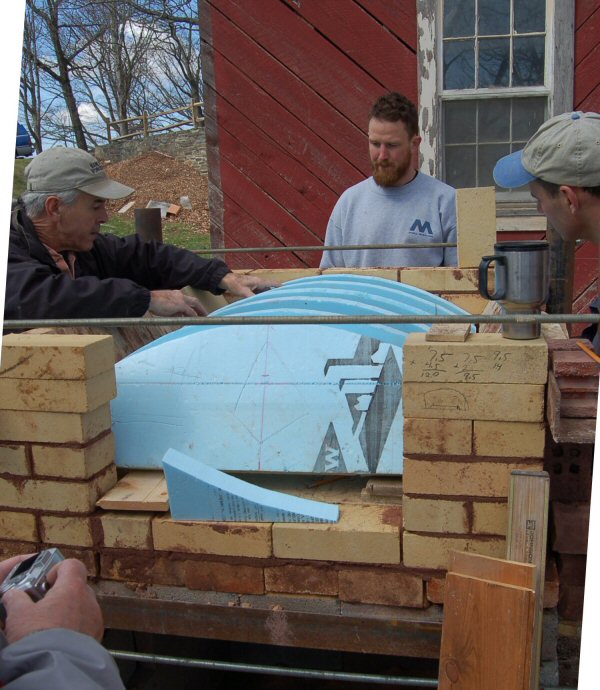
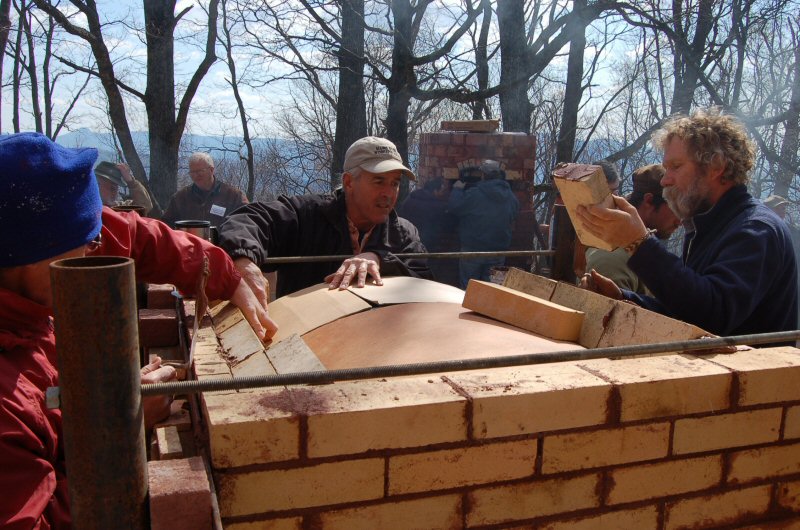
Styrofoam centering.
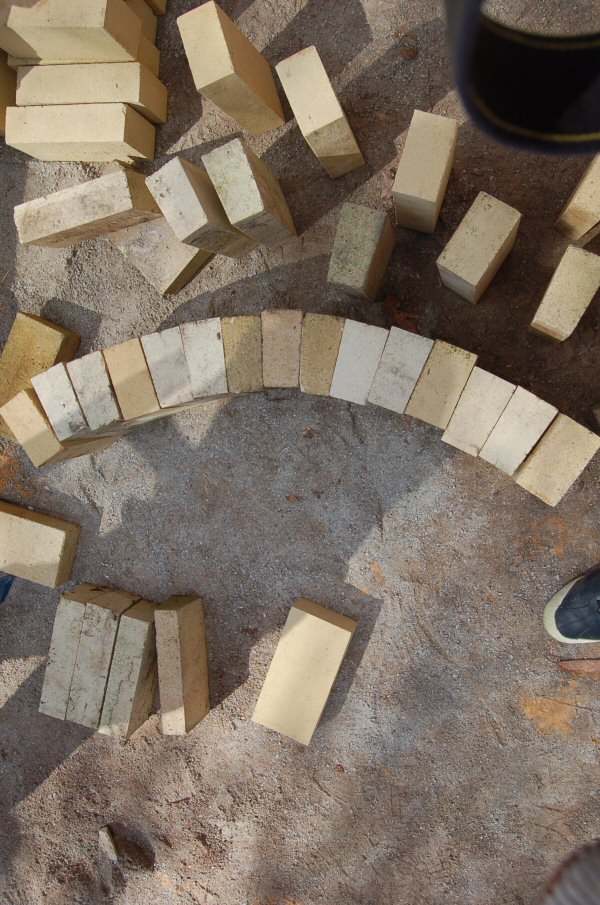
Marty Pearson does the vault layout. Every third brick is a #1 taper (a standard refractory shape).
This allows for thin joints, and minimized the amount of wedge shape joints.
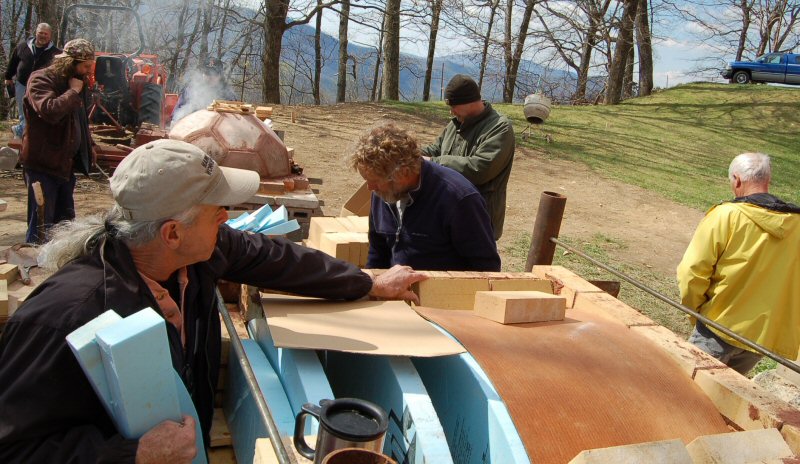
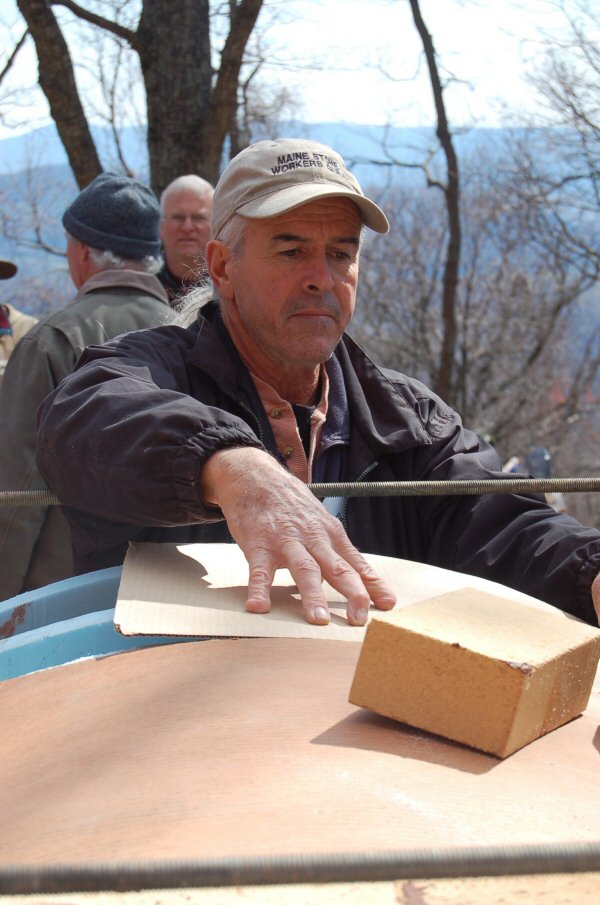
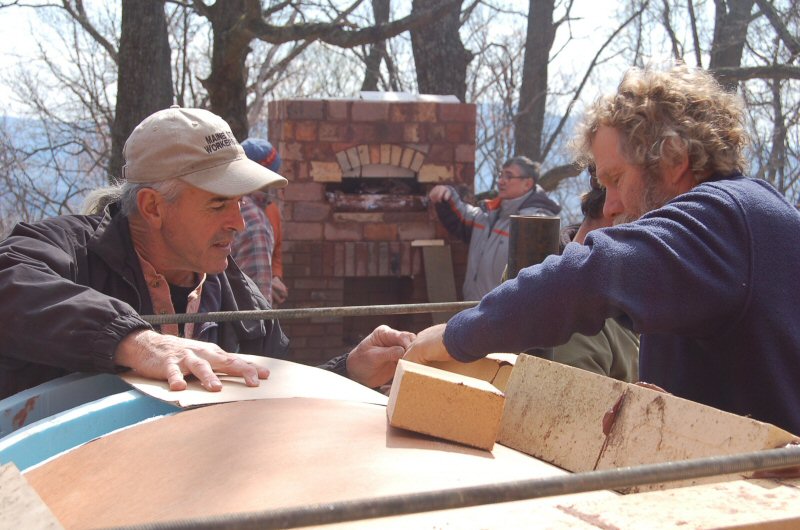
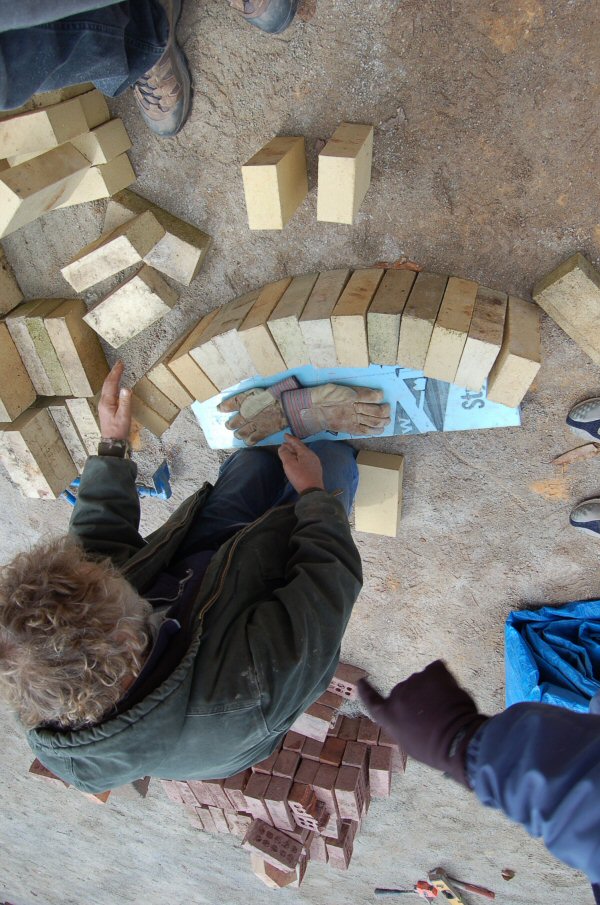
The vault is in progress in the back, as Pat and Marty finish up covering the styrofoam with bendable thin stock (cardboard, in this case).
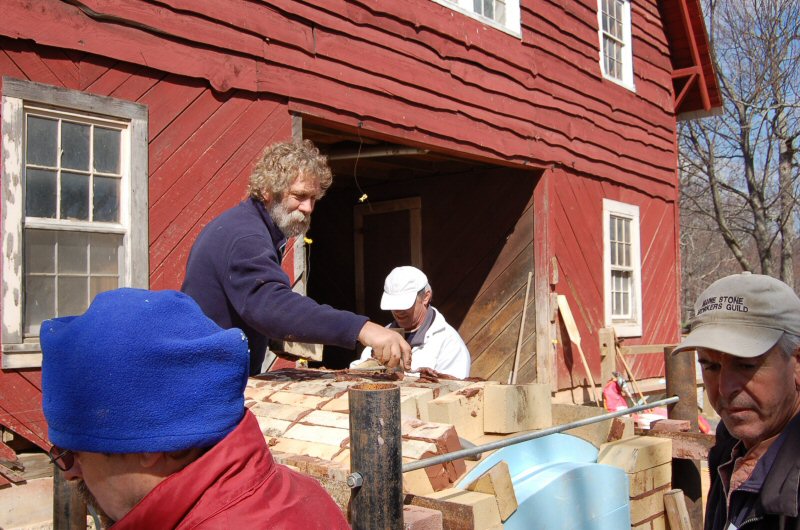
The vault is built in rings, for speed. Normally, Pat does a running bond on the vault.
I even got to sling some mud.
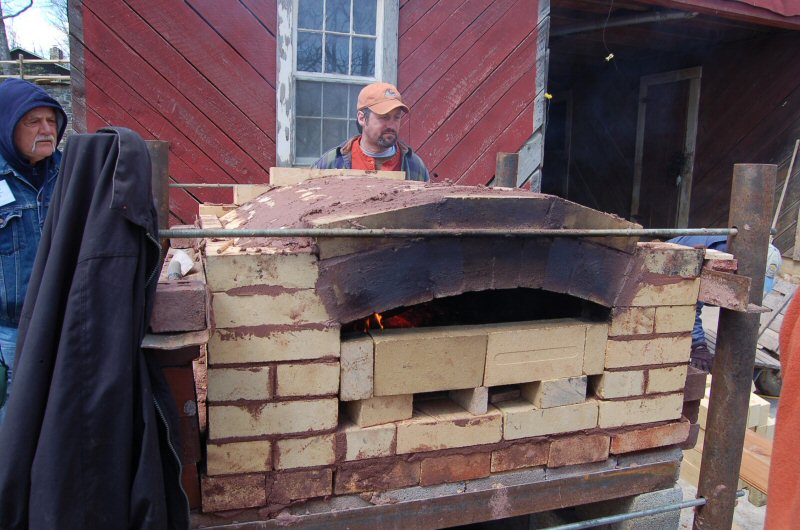
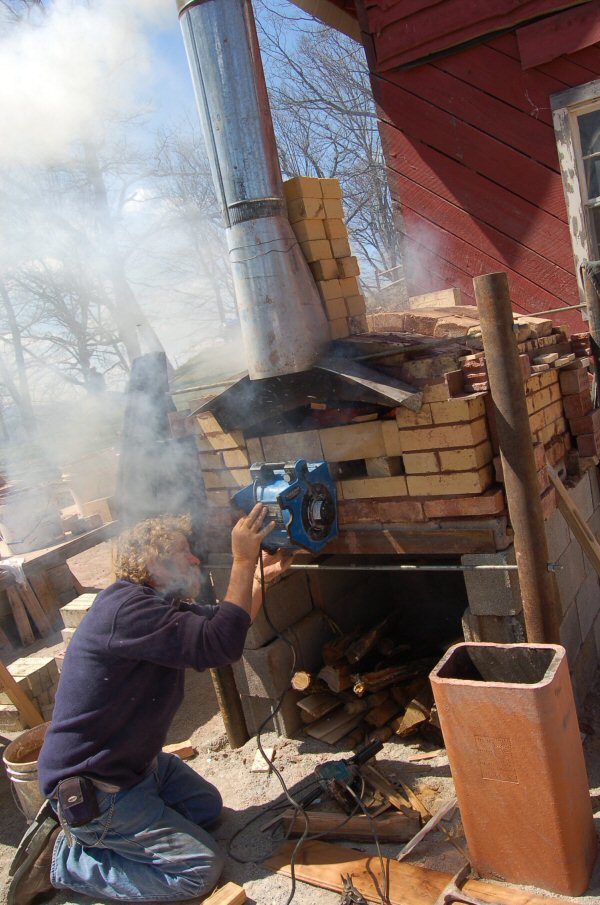
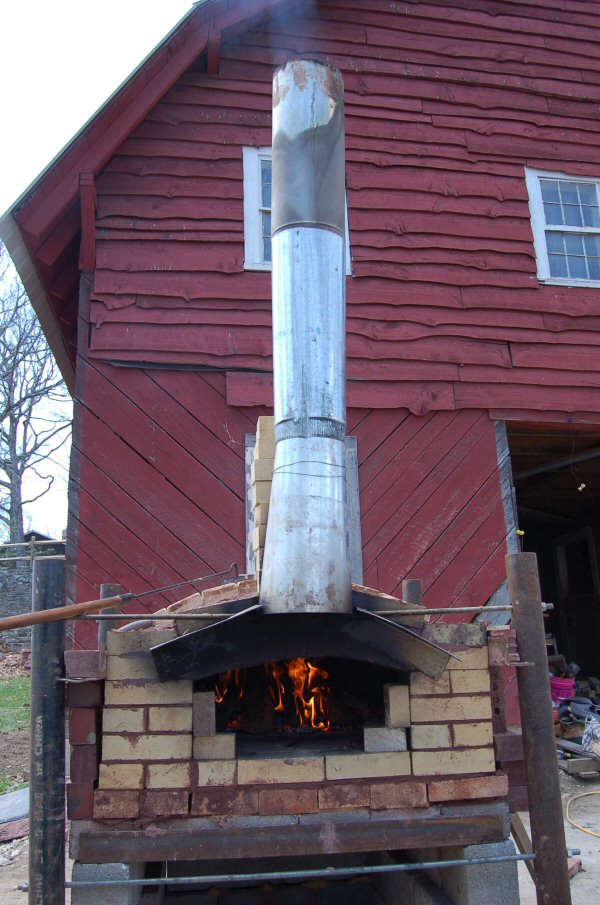
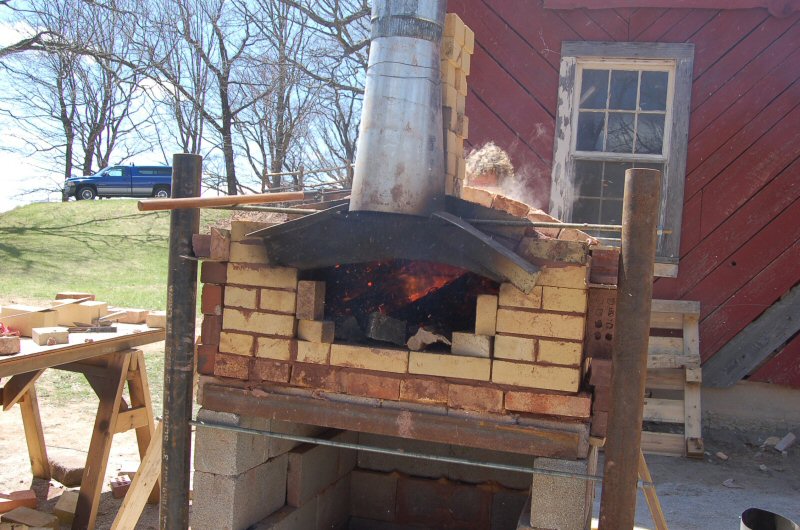
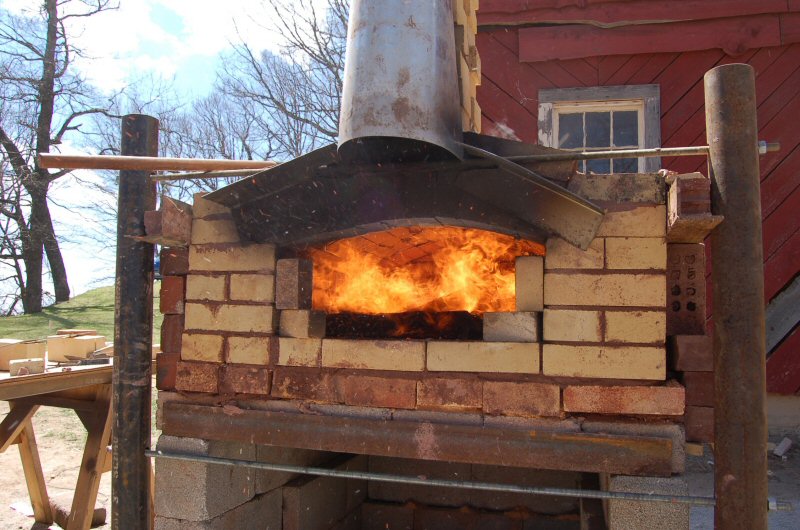
4 hours from starting, it was ready for a curing fire..
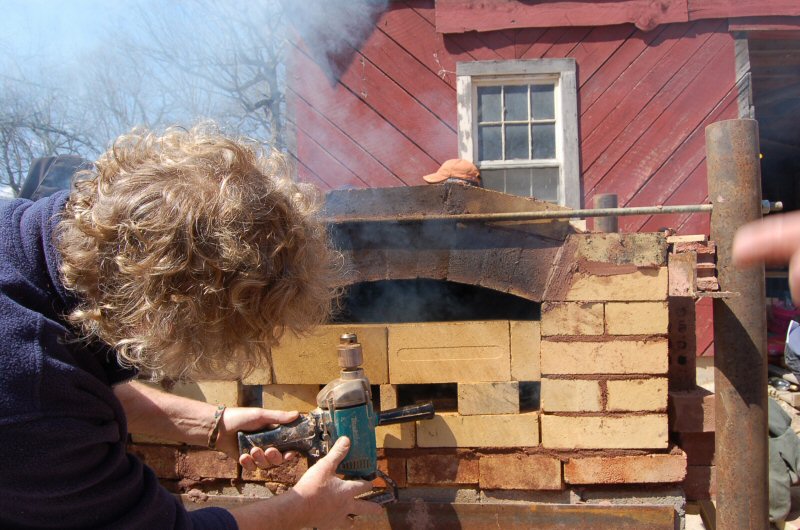
Marty tries to amp up the fire by using the exhaust air from a Makita 6013BR 1/2" drill, favorite tool of the heater mason.


Meanwhile, Alex Chernov came over from his project to make suggestions for installing a hood.
Heh, heh. Somebody found a small blower fan.
Now were talking !
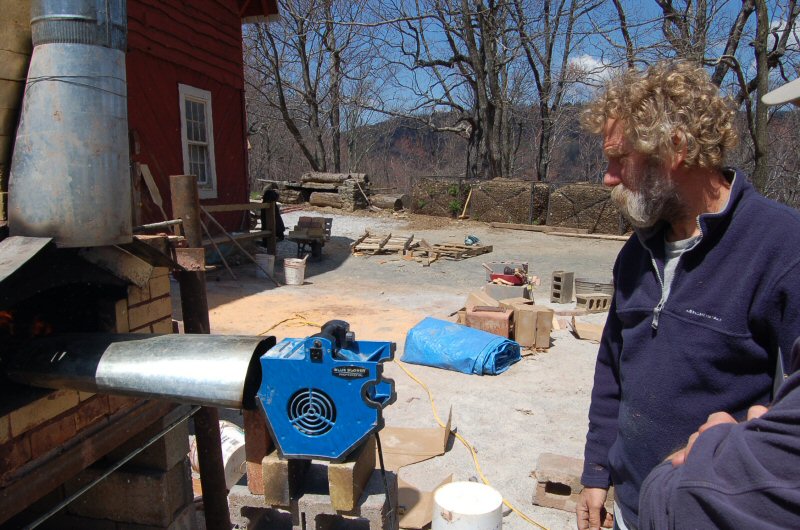
Marty rigged it up for unattended operation.
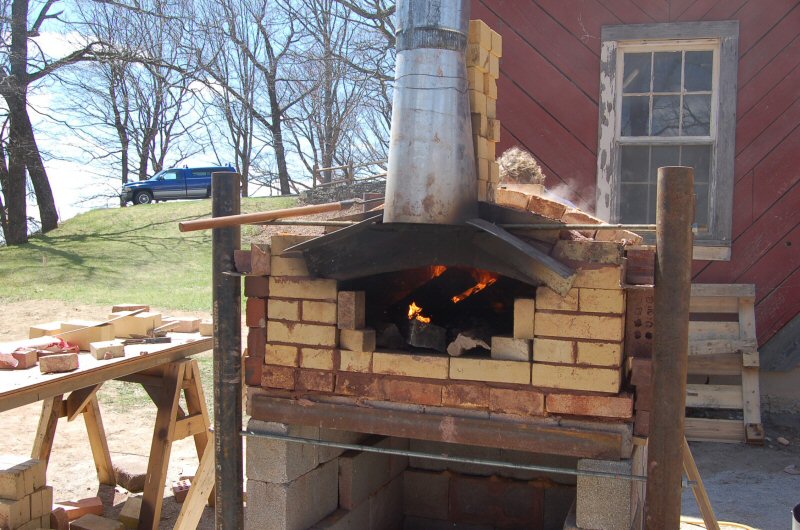
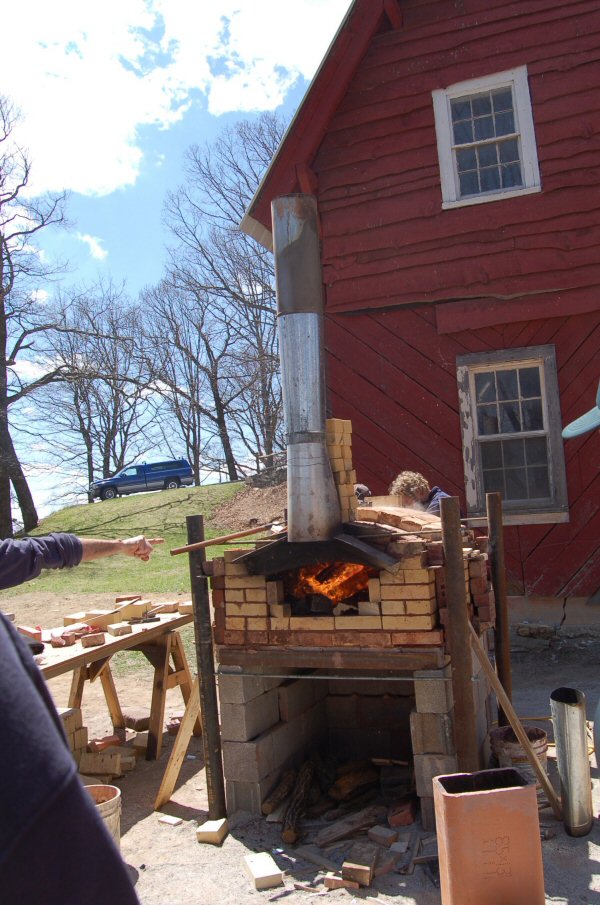
It was decided that the rear could use some more heat. Marty and Pat remove a brick to provide
a combustion air hole.
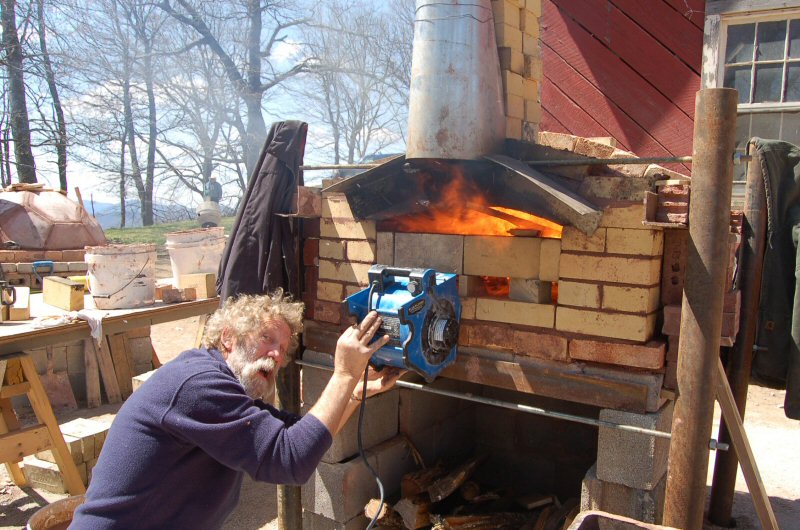
Marty tries the blower from the back.
Looking good.
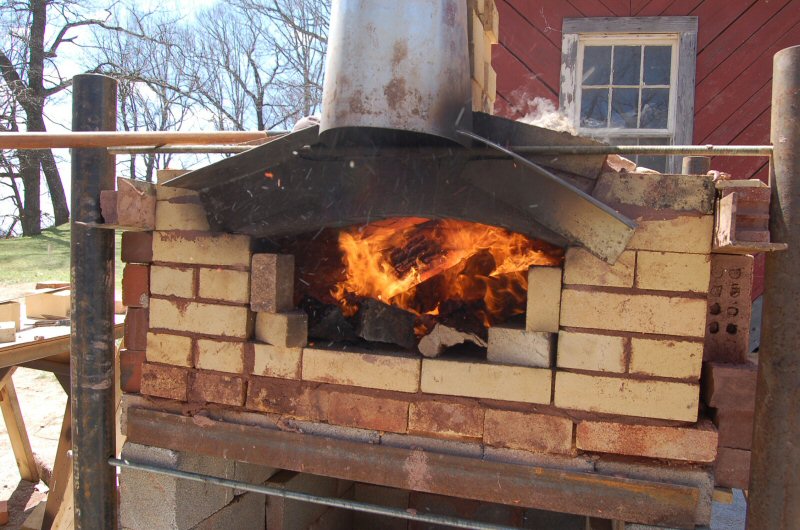
All right! That's more like it.

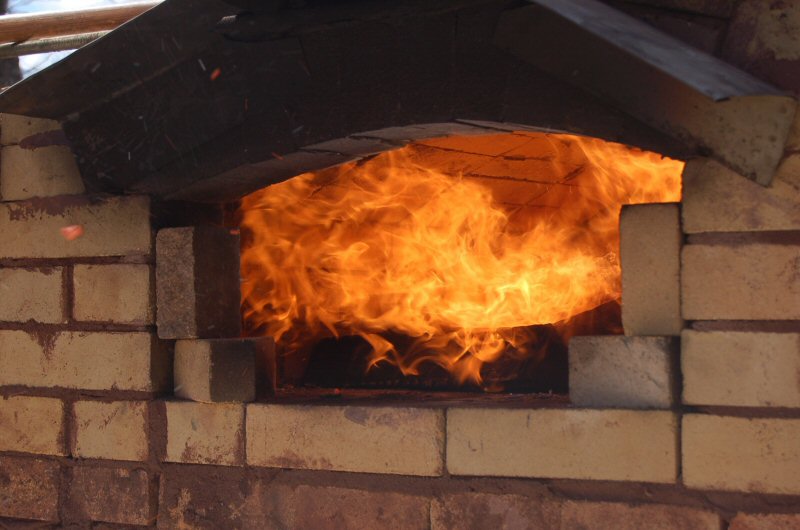
Don't try this at home, kids.
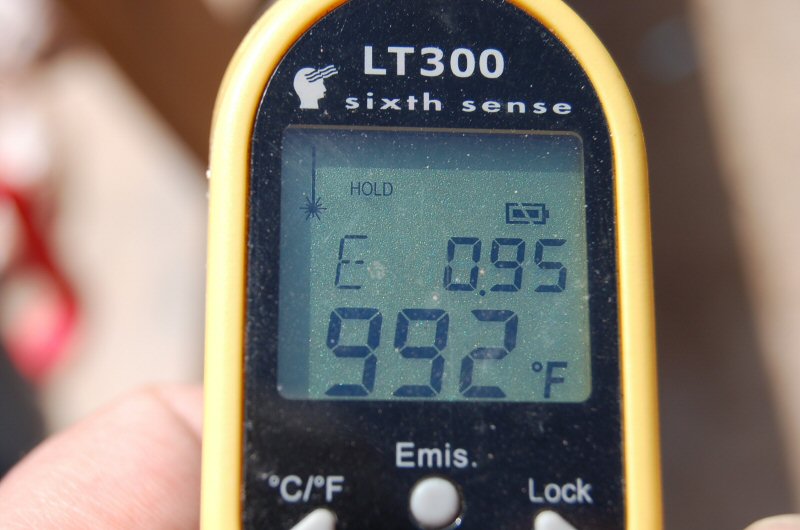
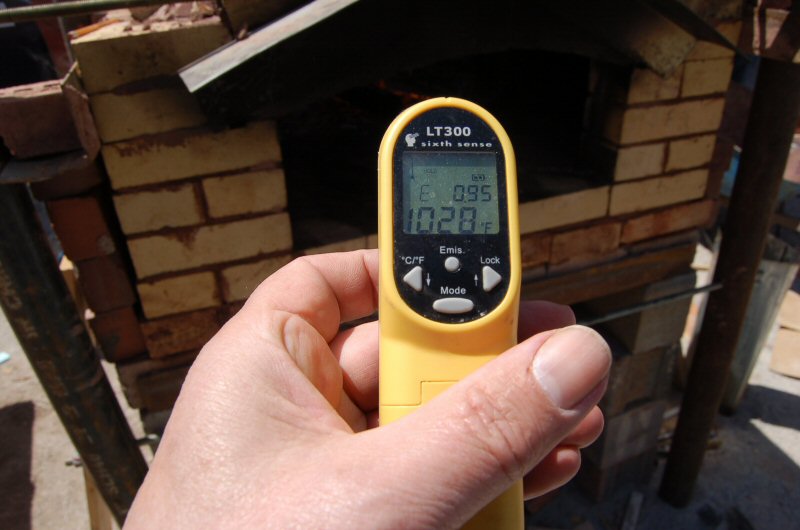
Hearth reading
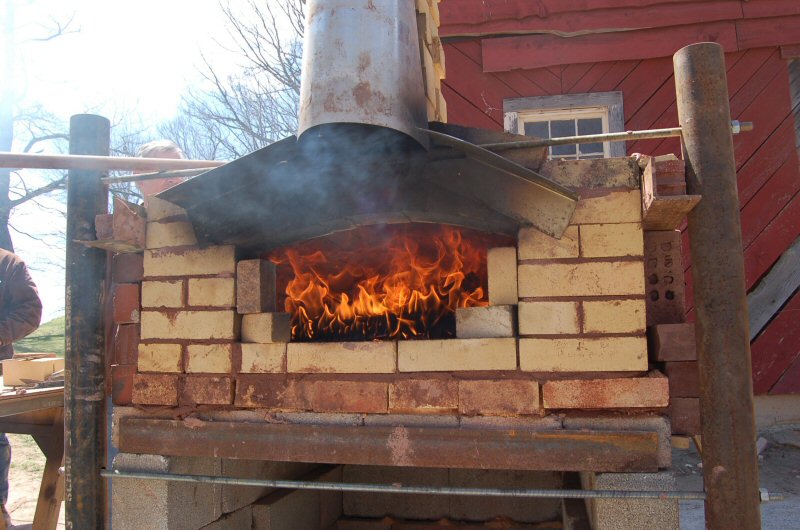
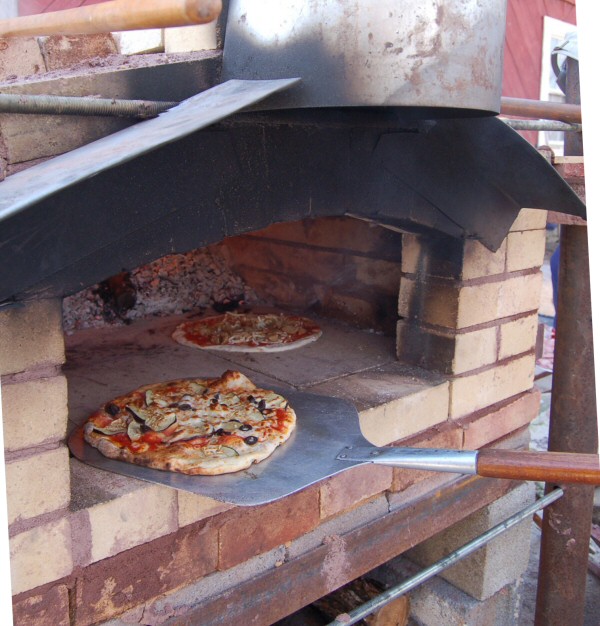
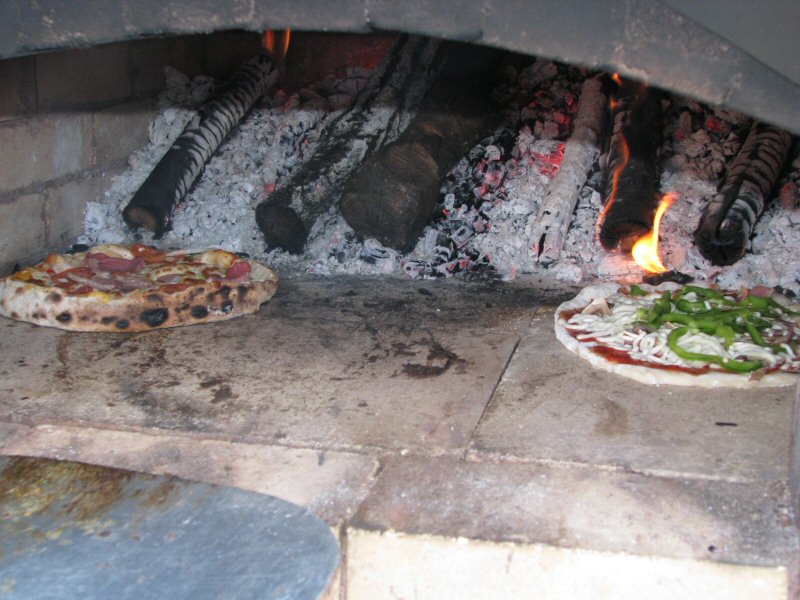
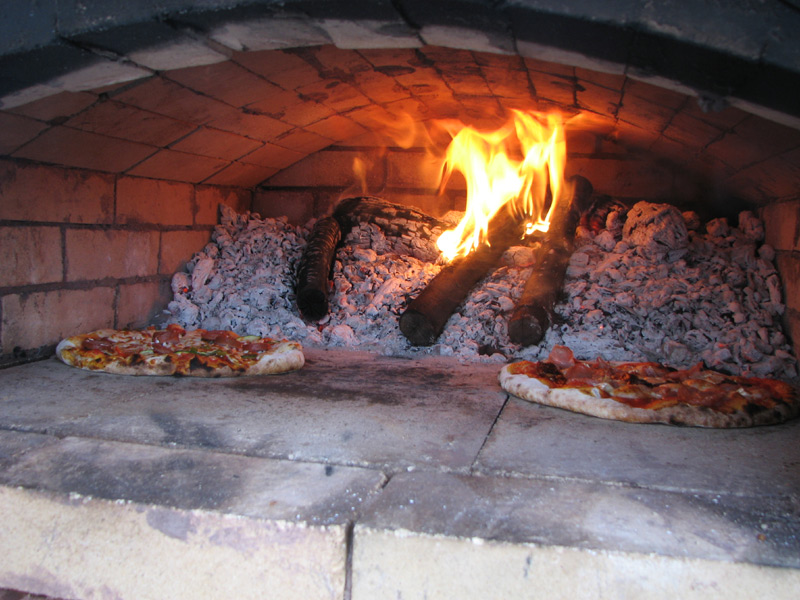
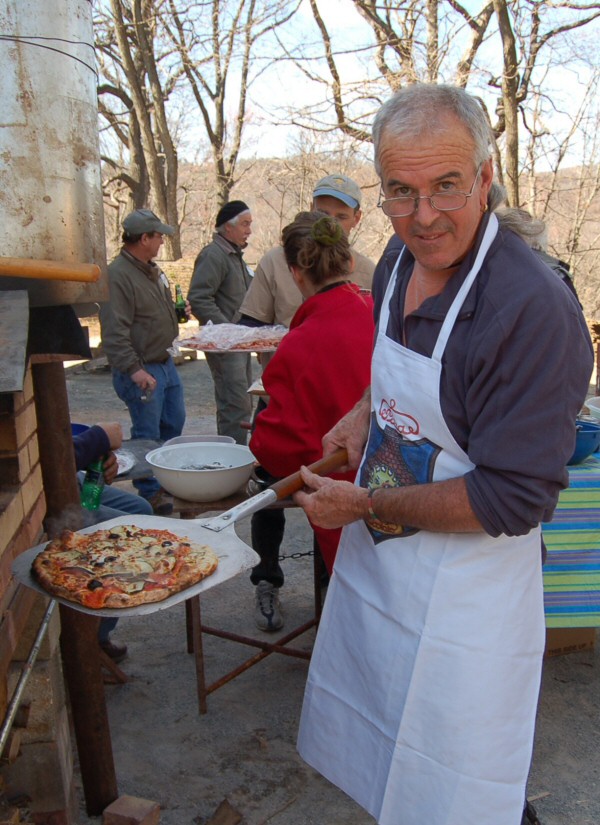
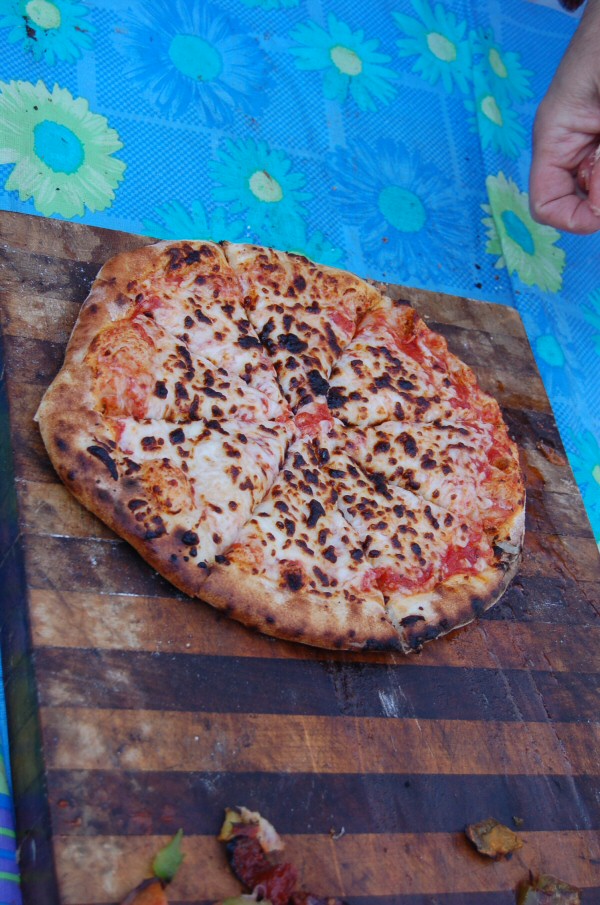
A little later. Ready for pizza.
See also,
2007 Photo Report
2006 Photo Report
2004 Photo Report
2003 Photo Report
2002 Photo Report
2001 Photo Report
2000 Photo Report
1999 Photo Report
1998 Photo Report
1997 Photo Report
This page was last updated on
May 25, 2008
This page was created on May 5, 2008
Back to: