
MHA Heater Mason Education and Development Program
4 Day Workshop with Jerry Frisch,
Sept 17 - 20, 2011 -- Perth, Ontario
Level 1, Module 1
Level 1, Module 2
Level 2, Module 1
Level 2, Module 2
Photos by Norbert Senf
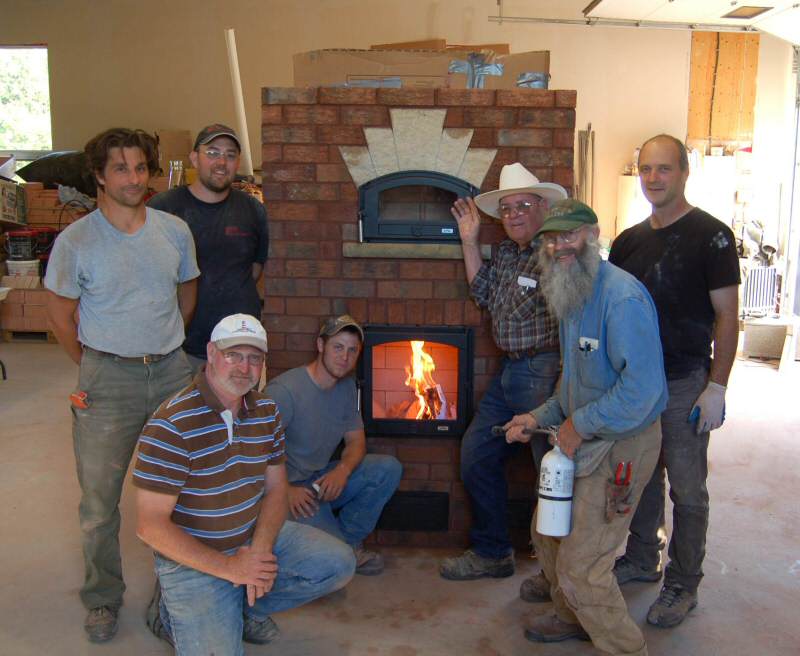
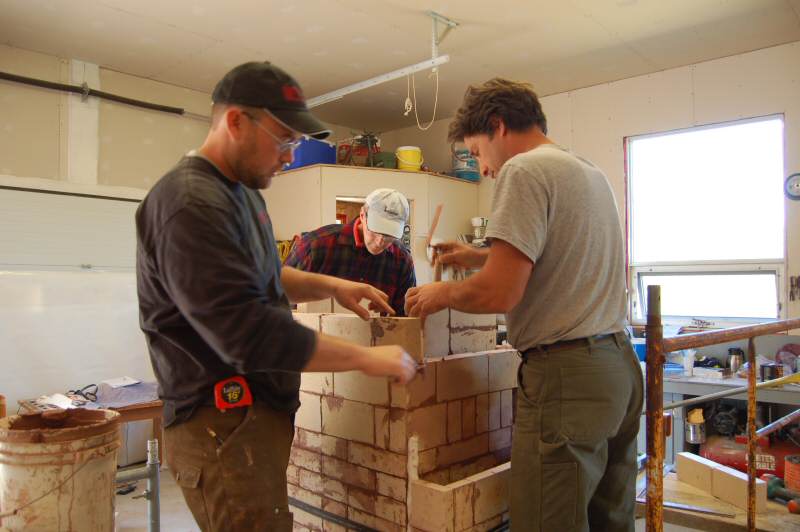
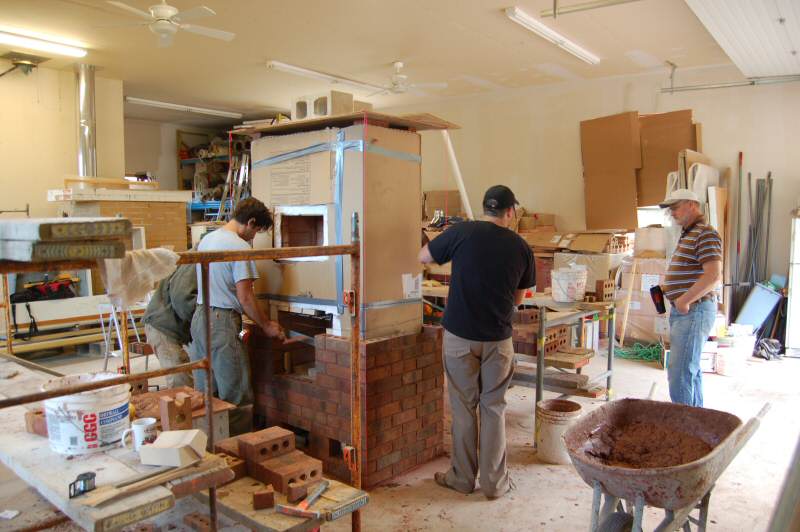
Workshop
participants (left to right): Danny Savino (Calgary), Shane
MacDonald (PEI), John McDougall (host), Mike Huppert (Perth ON),
Jerry Frisch (instructor), Bill MacKently (Canton, NY), Mark Seymour (Canton, NY)

The training took place at John McDougall's shop near Perth, ON.
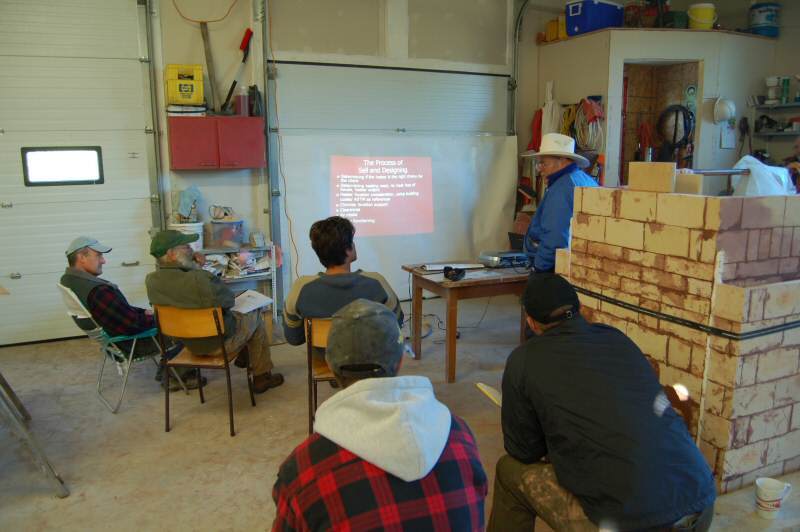
The training was for Level 1 and Level 2 of MHA's new Heater Mason Education and Development Program (HMED). Each level
requires
2 days. The morning sessions started out with a Powerpoint presentation
and discussion. It included theory, and a discussion
of the hands on project, which is the 22" contraflow from the MHA Heater Plans Portfolio. Jerry Frisch was the instructor.
Level 3 and Level 4 training is not available yet, but is in the works.
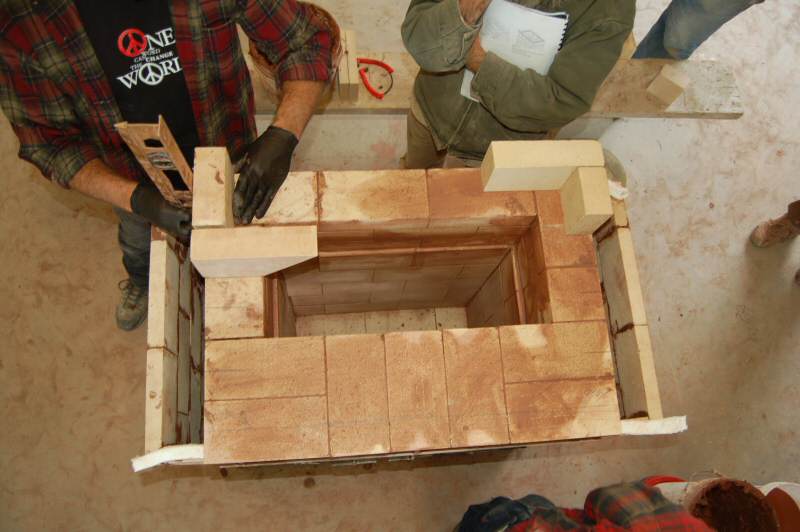
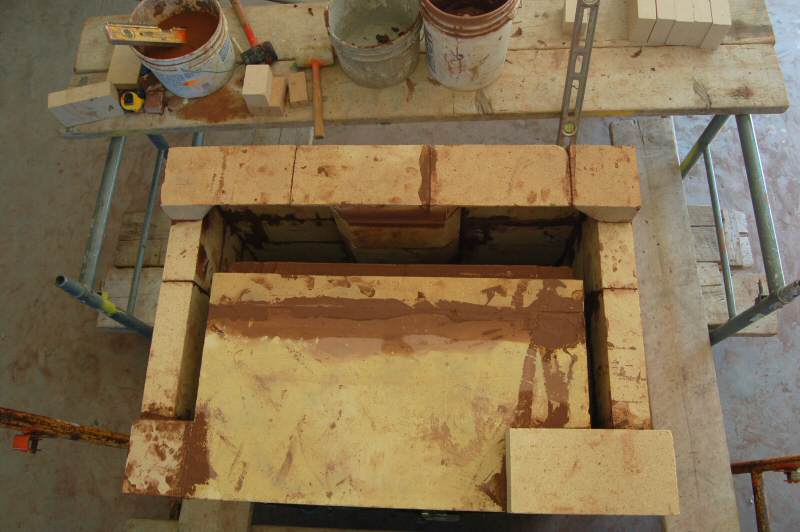
Corbelling
under bake oven floor. The Portfolio heater uses precast slabs for the
oven. This heater uses 12"x24" firebrick tiles,
which are restricted to 24" length. Additional corbelling is used on the left and right, to accomodate the slabs.

Floor slab will float on ceramic paper.
Rear and side walls rest on the floor.
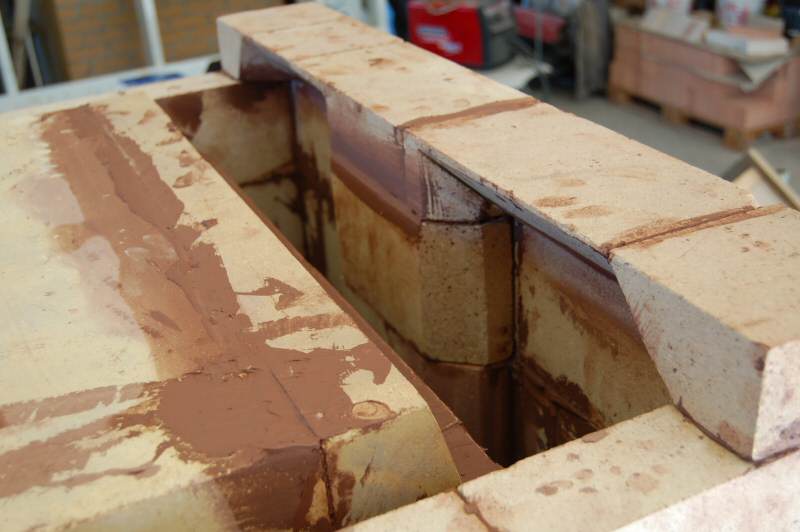
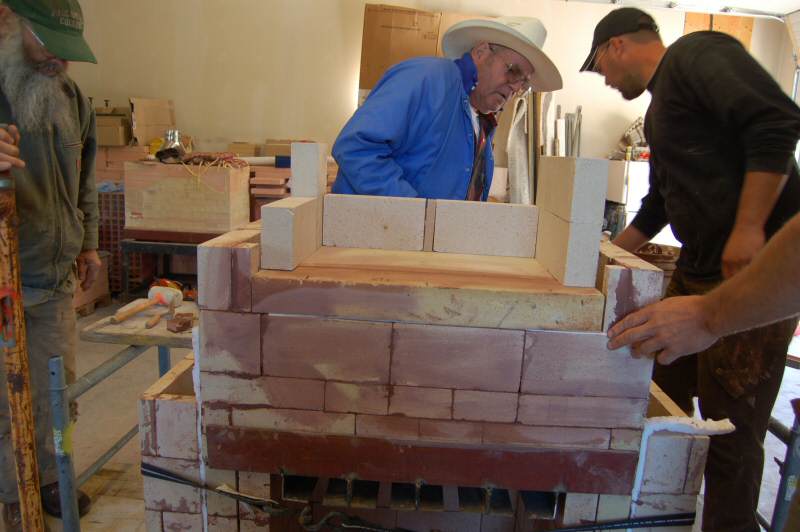
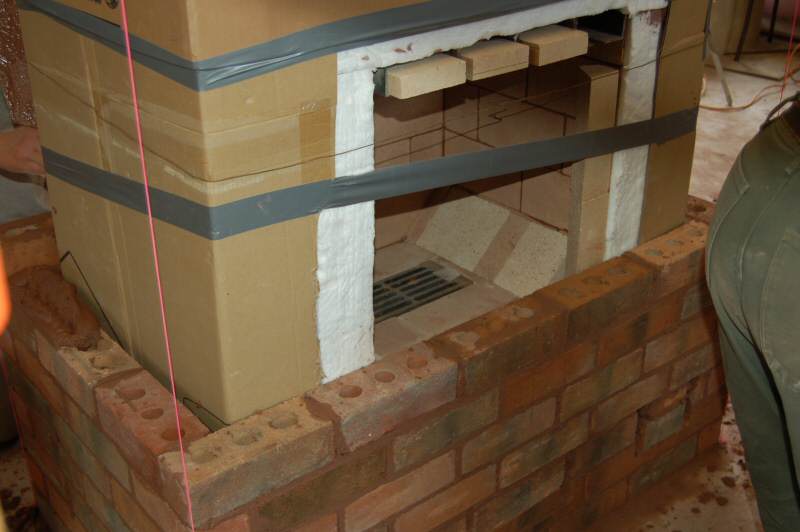
Detail at the top of the throat (channel behind the oven).
Bake oven ceiling in place.
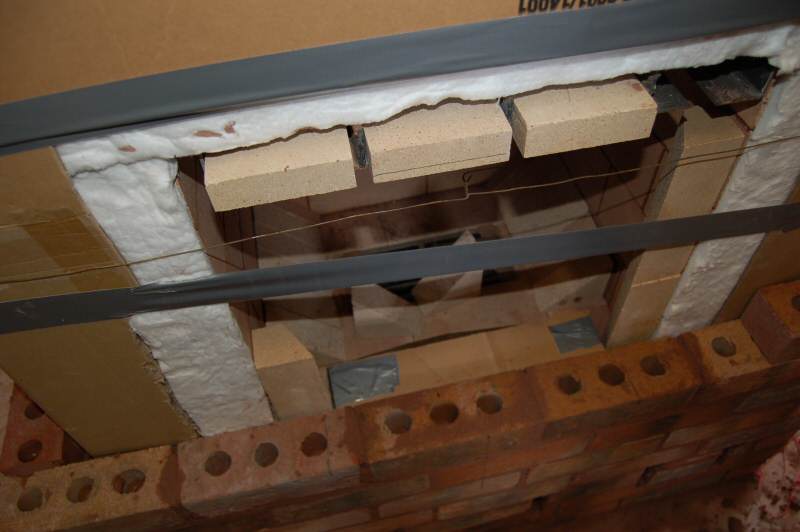
Corbelling at the ceiling transition/.
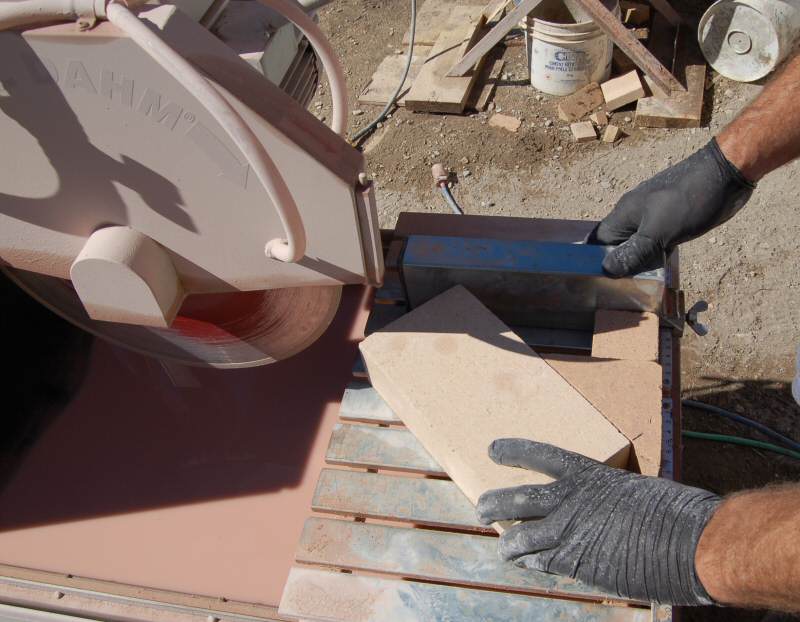
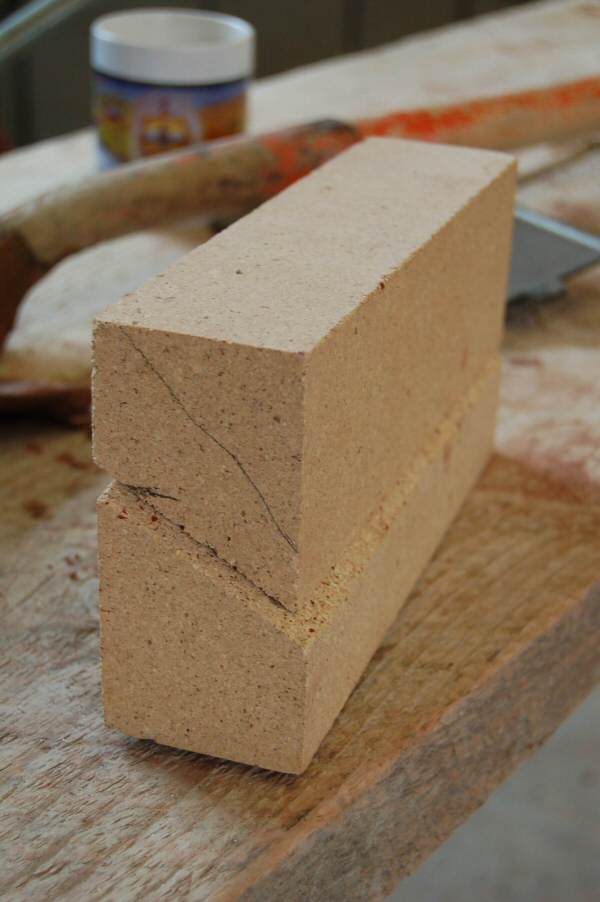
Jig for cutting the corbels. John had a German saw and blade that cut firebricks like butter.
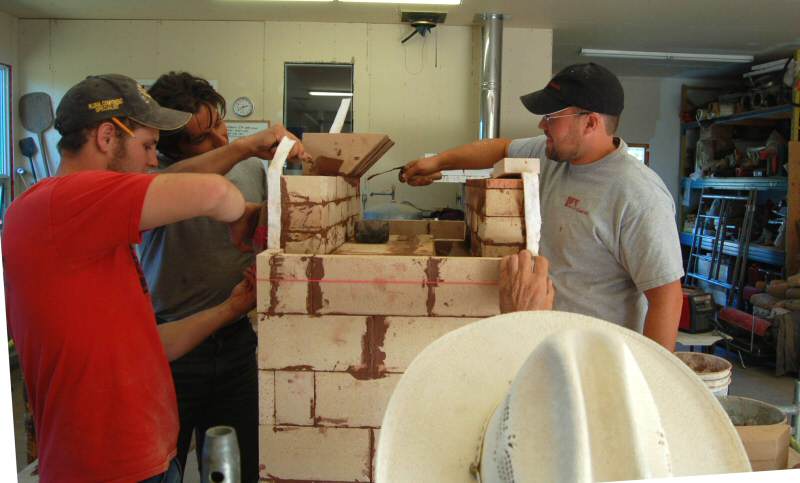
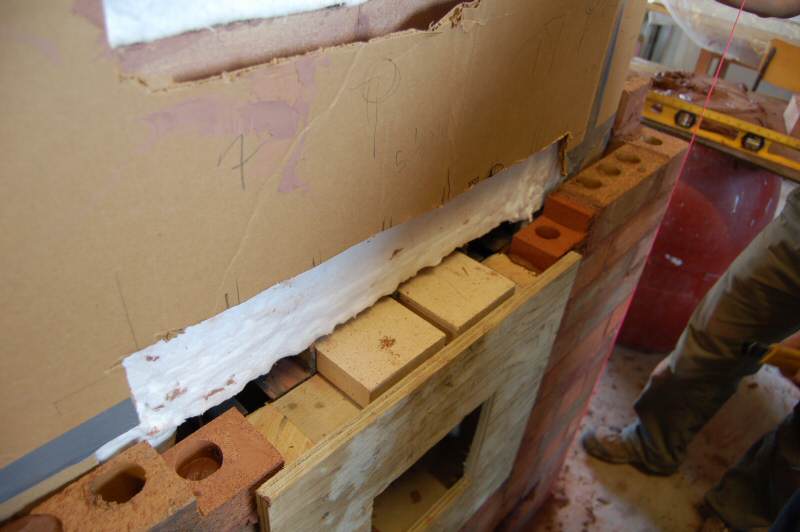
Laying down ceramic paper for the ceiling slabs.
Stabilizing the side channels.
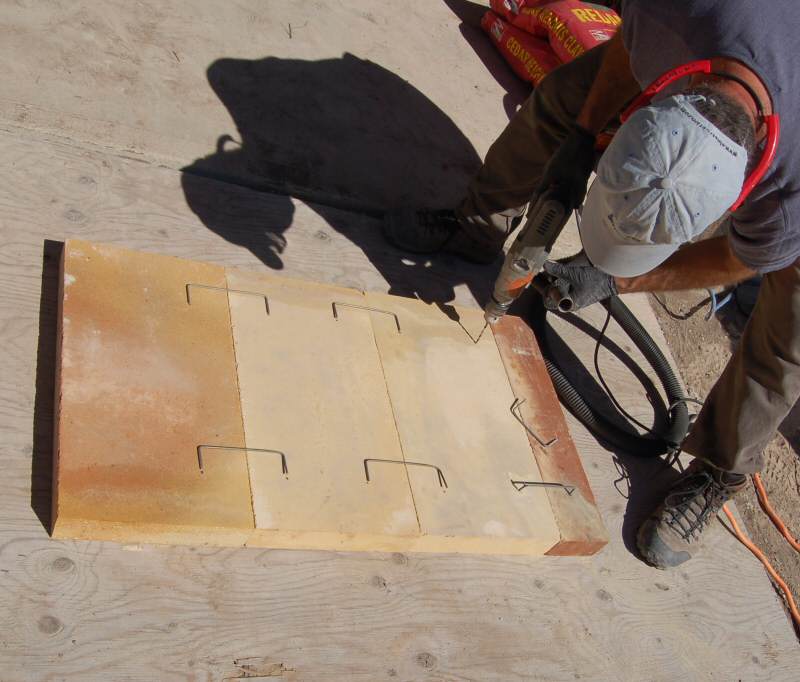
Drilling and clipping the ceiling tiles, to prevent them from wandering.
Discussiing ceiling capping options.
Ceiling is capped with brick.
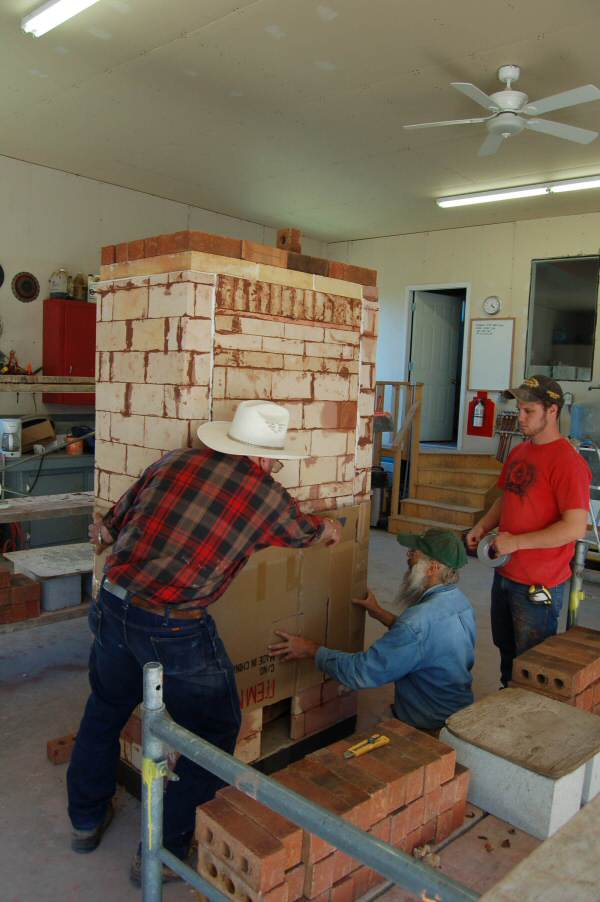
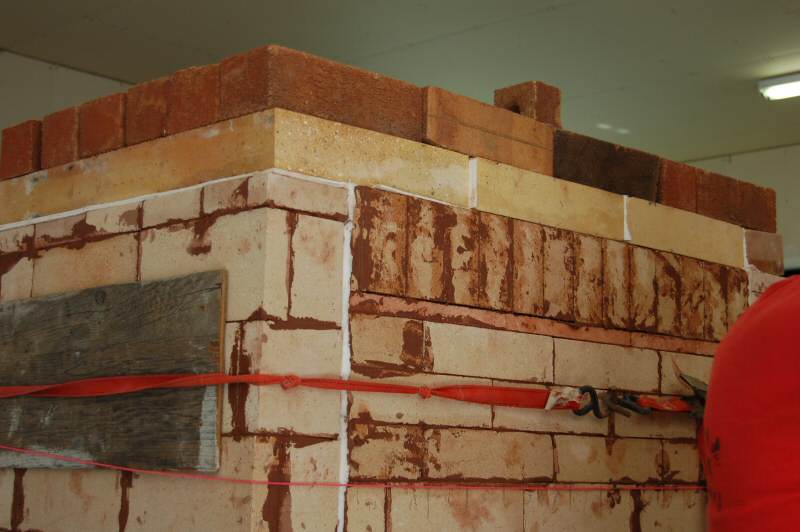
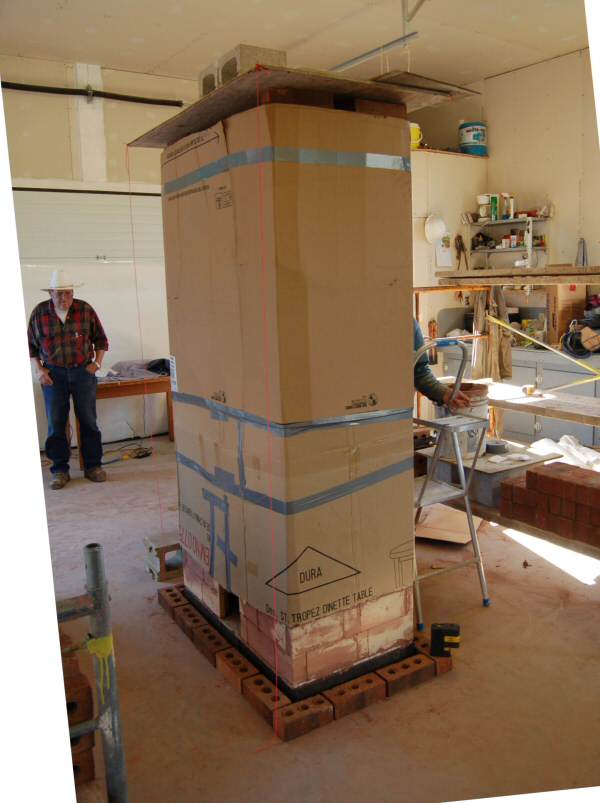
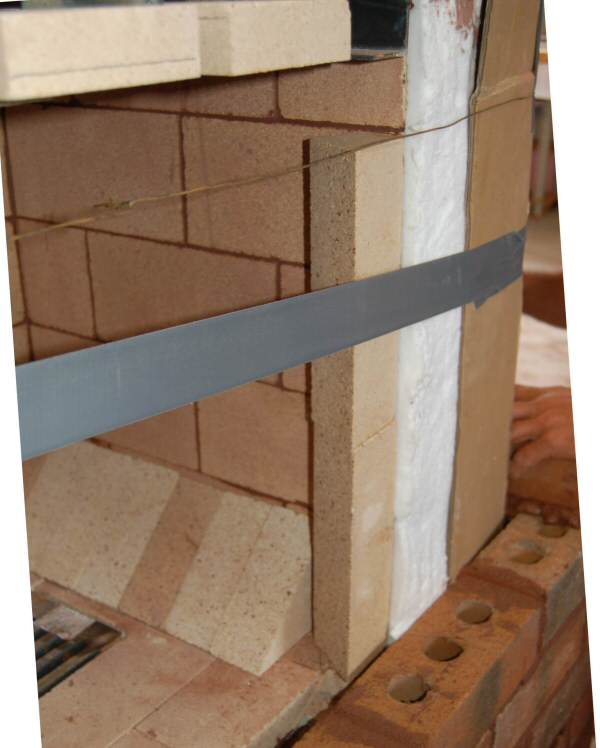
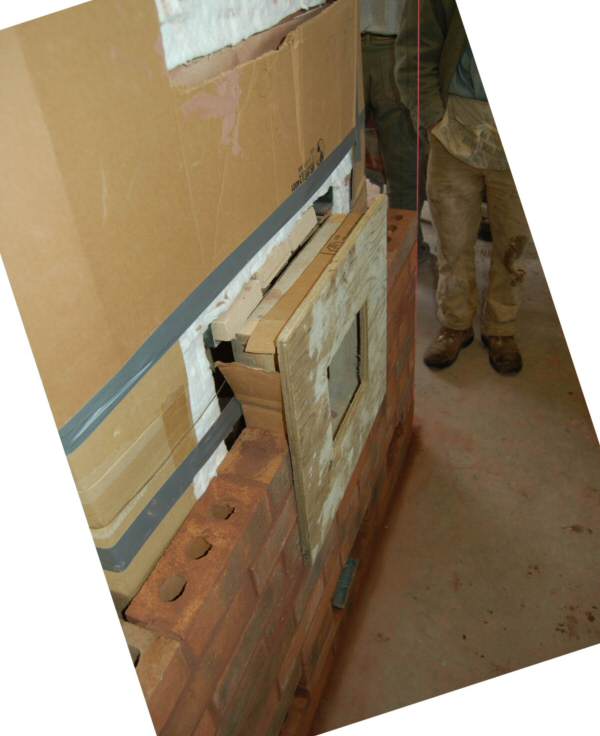
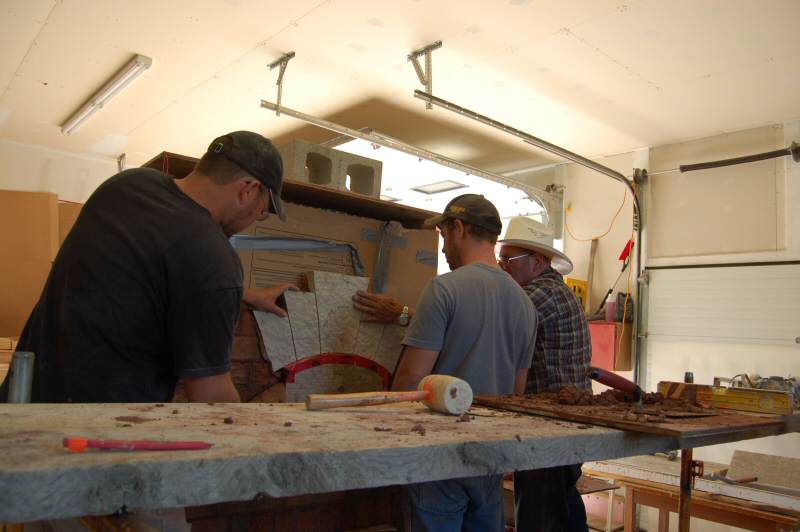
Wrapping the core with cardboard.
Note that the cardboard starts 9" from the base. There is no stress down there.
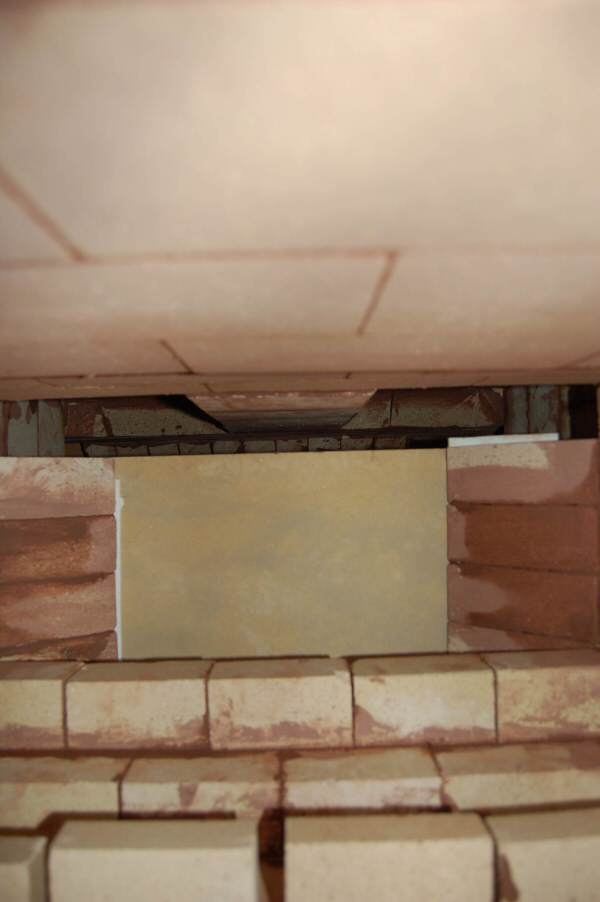
Looking up the throat, from the firebox.
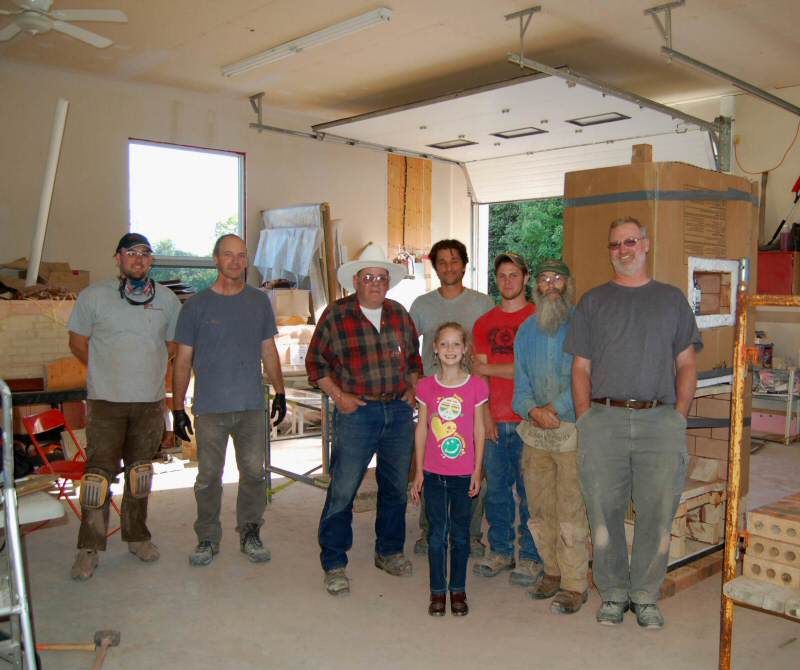
Core completed. Group photo.
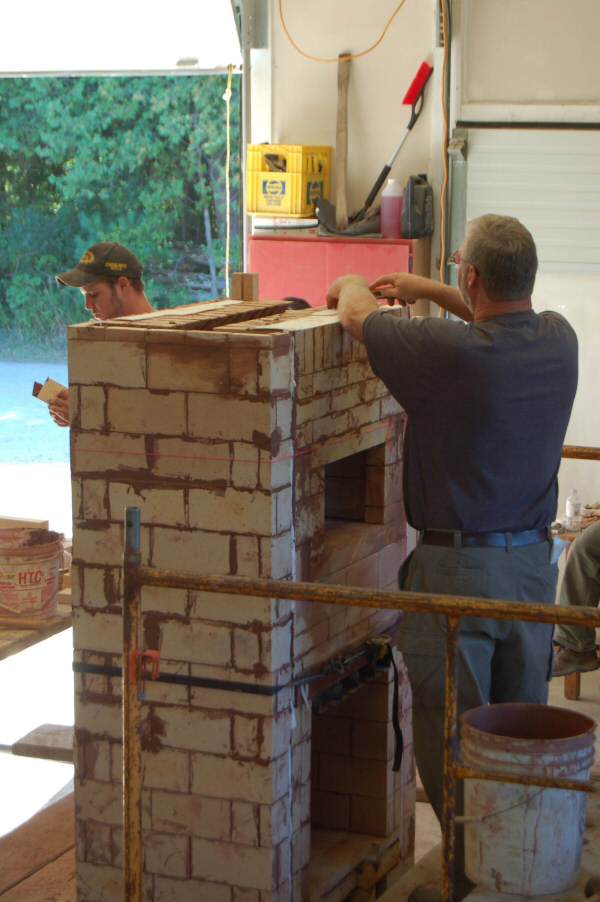
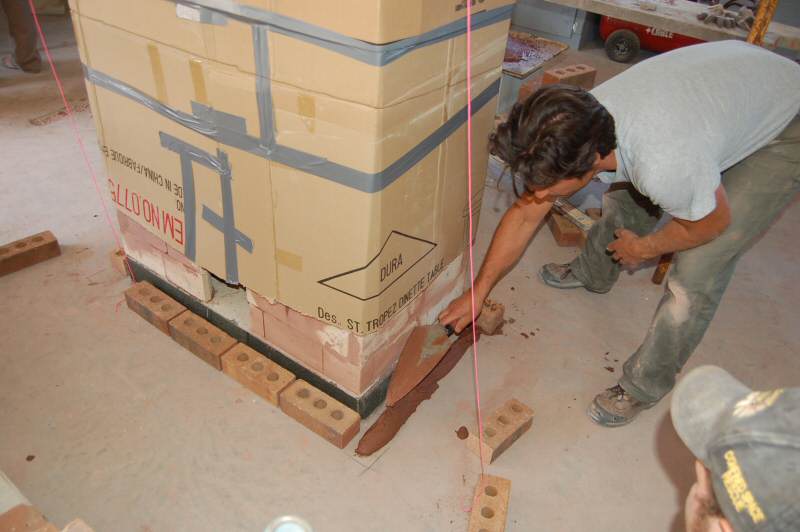
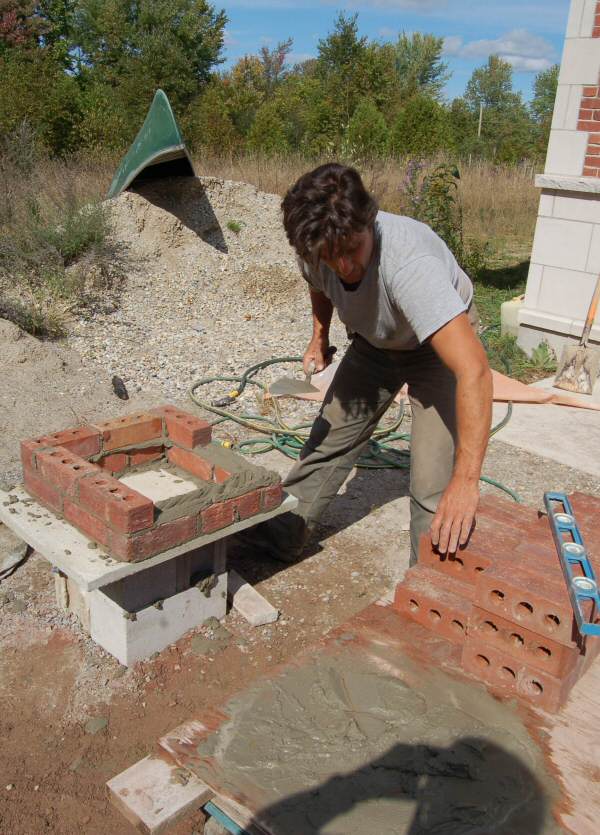
Bonding out the brick face. Space between bricks and core is slushed solid with mortar.
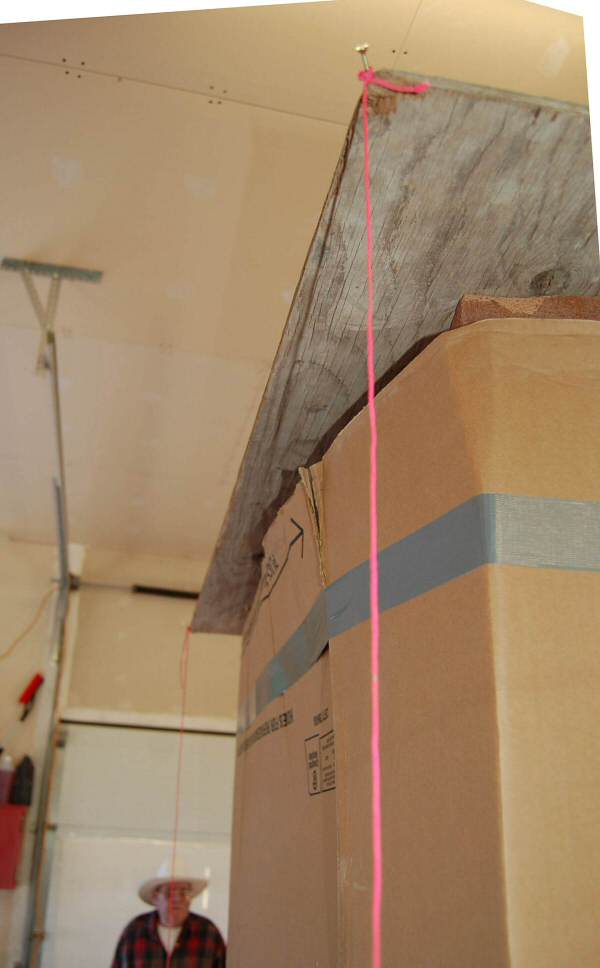
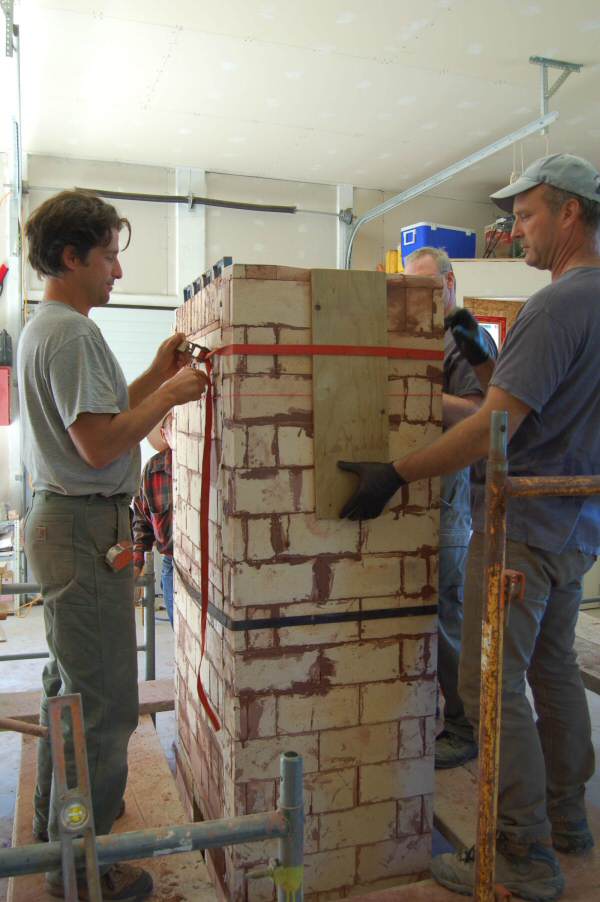
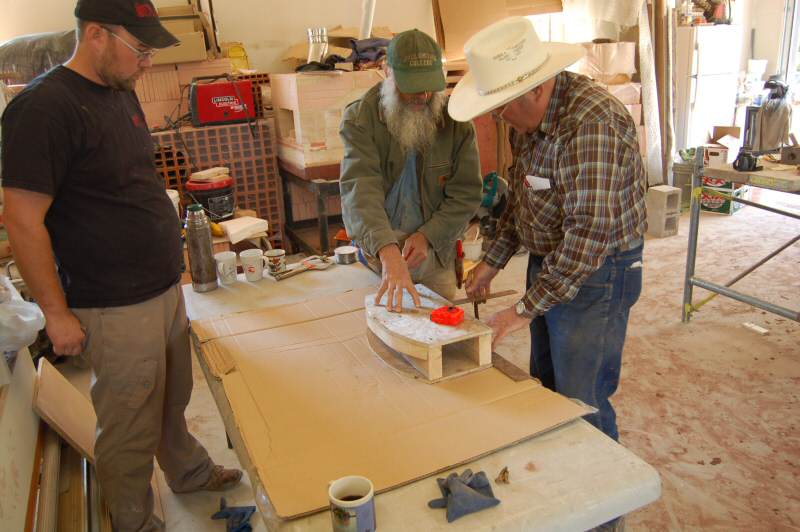
A piece of plywood is cut to the finished dimensions, and secured to the top with weights.
This is used to hang corner plumb lines.
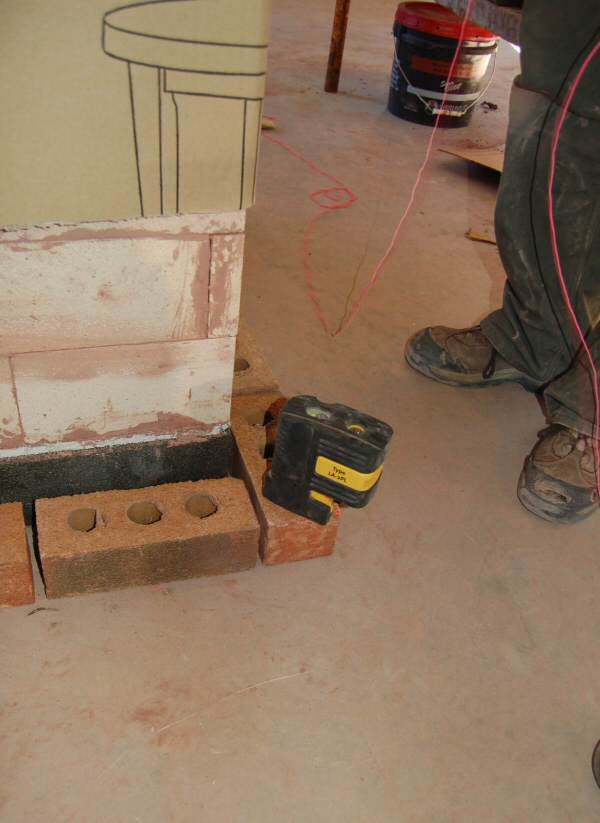
A laser plumb bob makes setting the lines easy. Hard to do accurately, otherwise.
Dan Savino lays the first course.
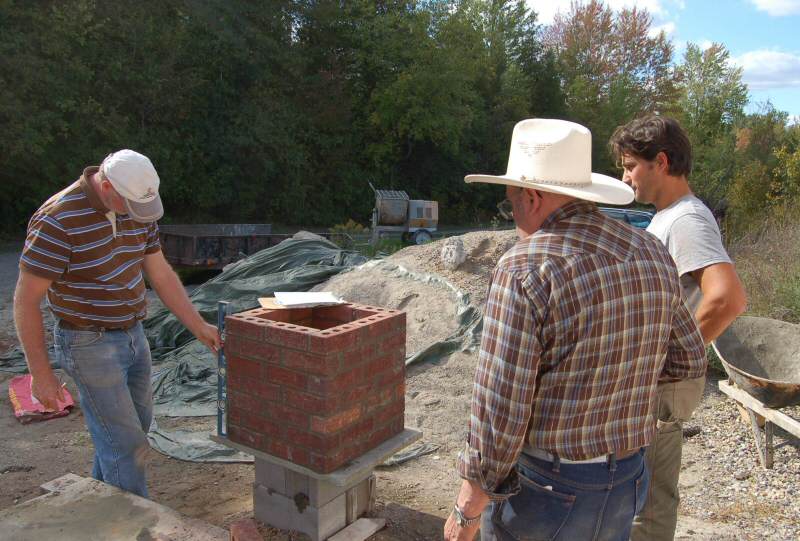
Rear chimney exit detail. The 8"x9" opening is transitioned to 6.5" x 10.5", to take a modular 8x12 flue liner.

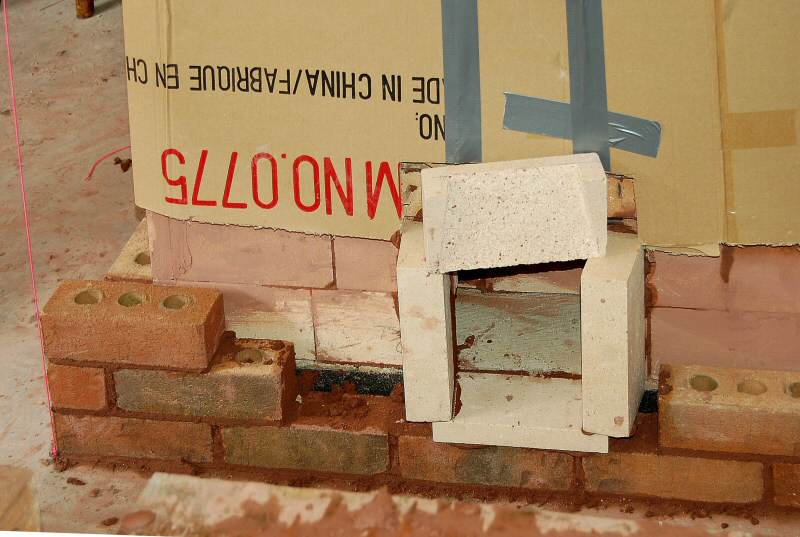
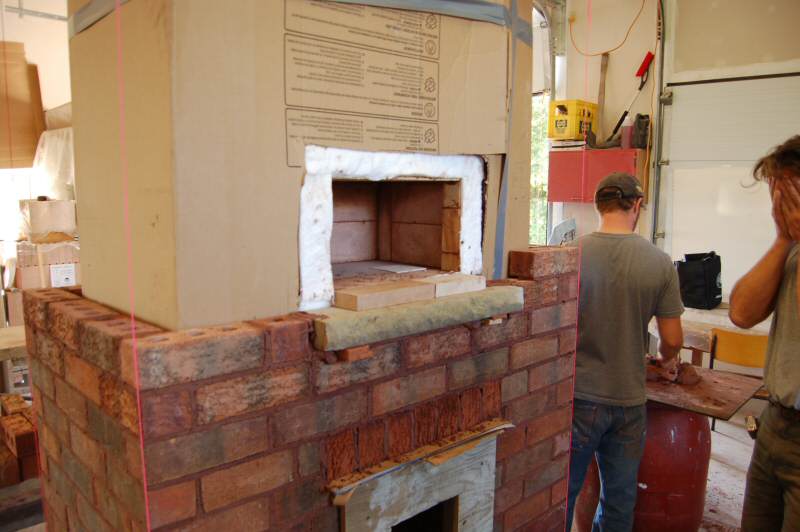
Heat shield bricks for the firebox (see next photo)
These heat shield bricks protect the back of the face brick, which otherwise are exposed in the
firebox. With a 22" firebox and a 16" door, there is 3" of exposure on each side.

A plywood and 2x4 plug is made to simulate the door in the opening.
The opening in this design was originally for an 18" x 19" door. To fit a 16"x16" door, the door is raised in the firebox.
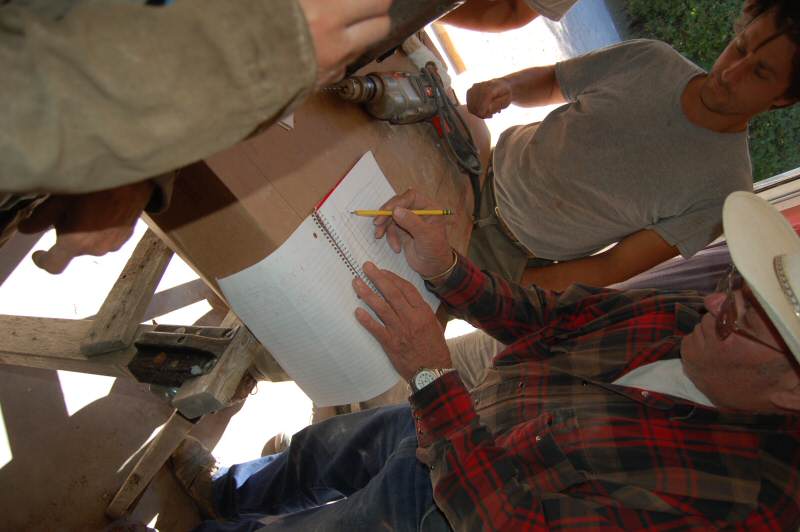
We held a brainstorming session to discuss various alternate options, such as lowering the firebox lintel. The lower face bricks
are protected by the air system (see next photo).
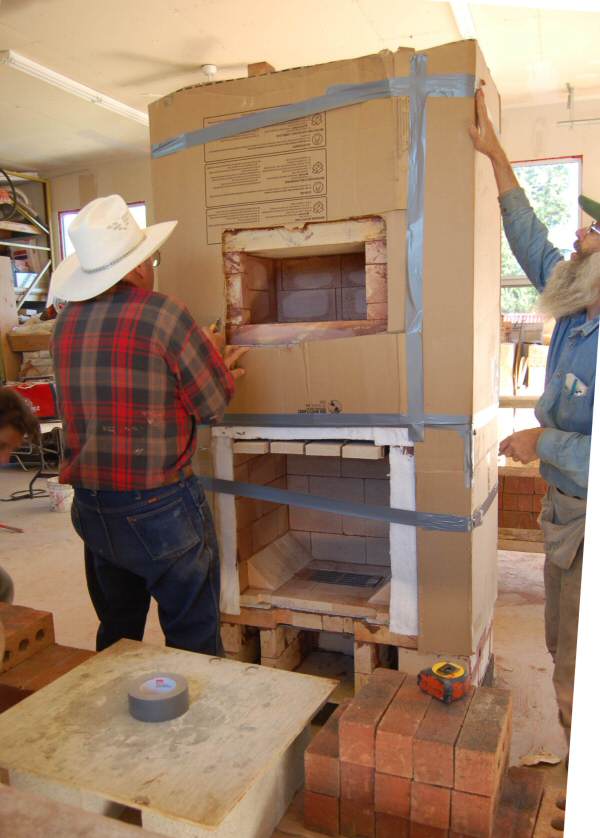
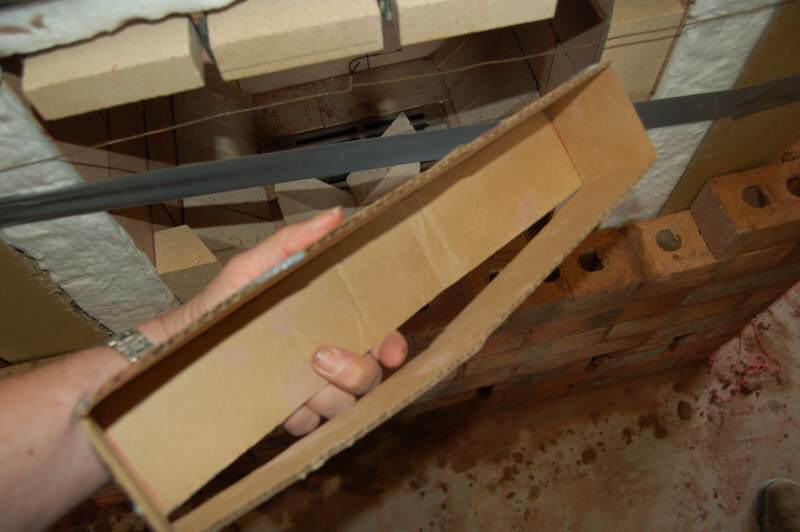
Carboard mockup of air supply.

A 1/2" to 1" slot near the top supplies air to the firebox
The box is welded up from a 2x3 angle iron, and a flat bar.
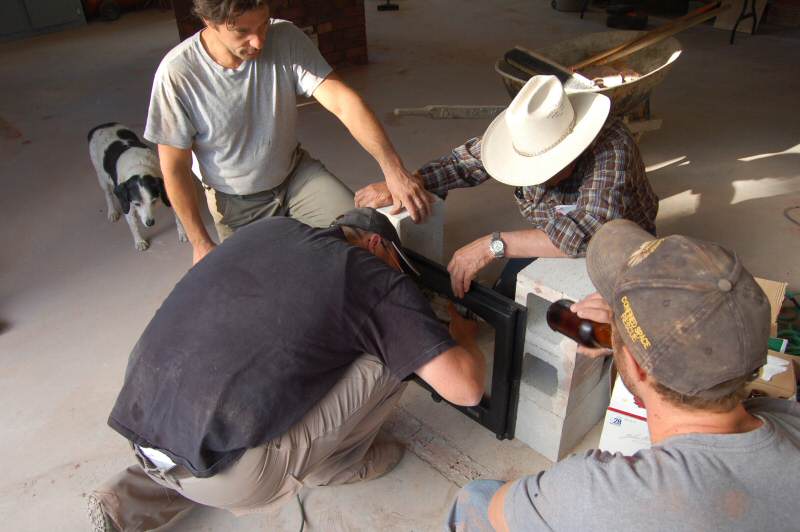
Door plug in place. Cardboard is used to allow removal.
Facing
angle iron lintel needs to be at same level as firebox lintel, to allow
heat shield bricks to slide forward and protect it.
Face bricks are notched to required height.

Coursing above the firebox is made up with a custom height header (or soldier) course.
Bakeoven shelf is Indiana limestone.
Laying out the bakeoven door arch.
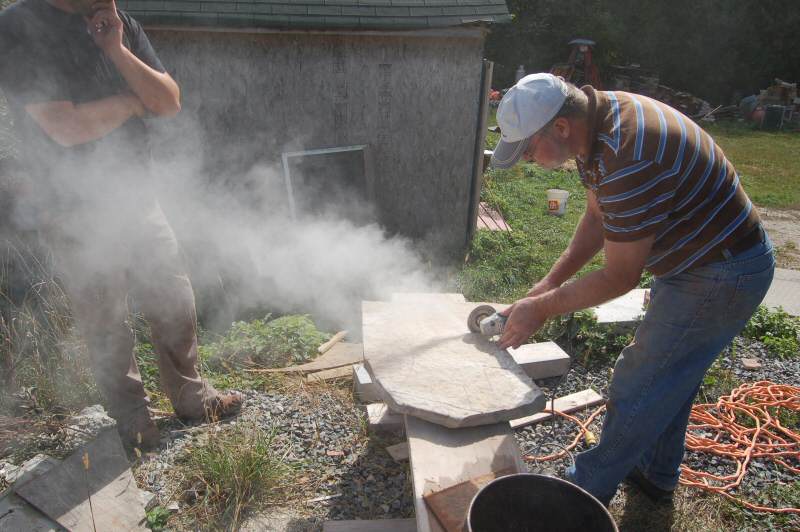
Cutting a decorative limestone arch.

Finished limestone arch.
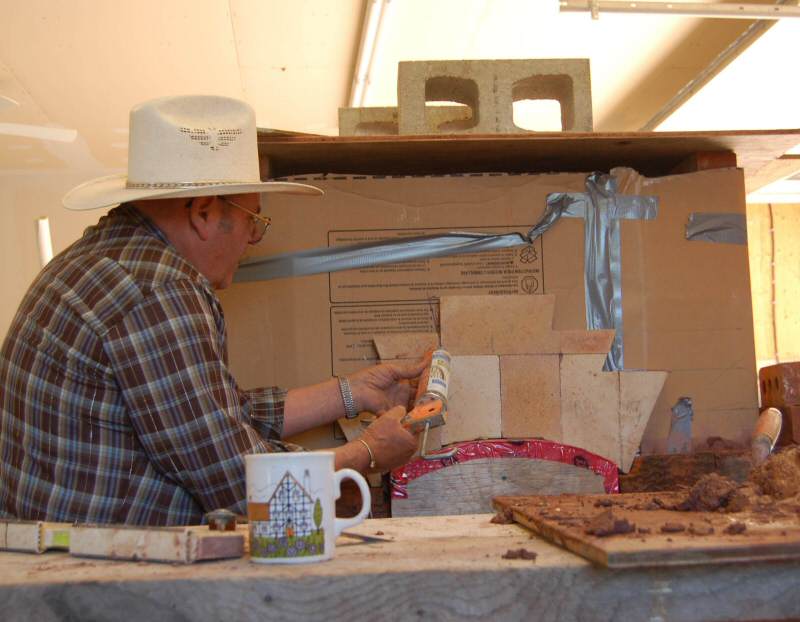
Building a backing for the thin limestone. Firebrick splits are siliconed to the cardboard.

Backing and arch stone are buttered to create a full mortar joint.
Test fire with newspaper. There was decent draw with some spillage, with no chimney and no door glass.
Castable Refractory Seminar:
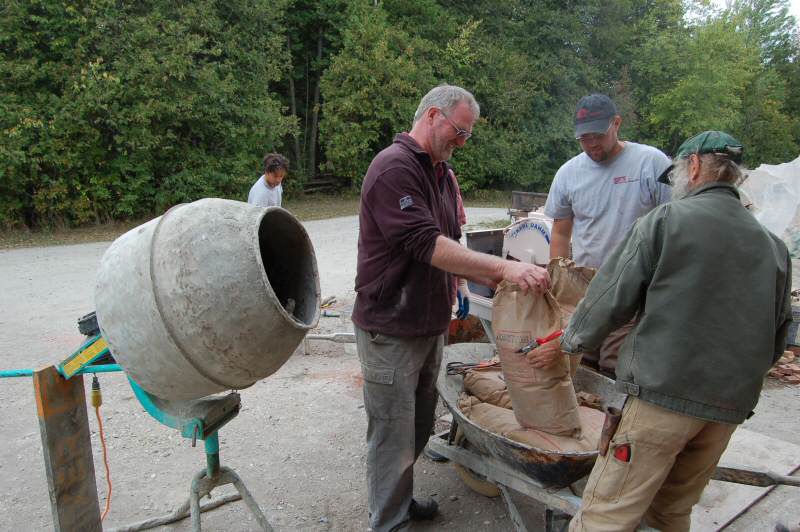
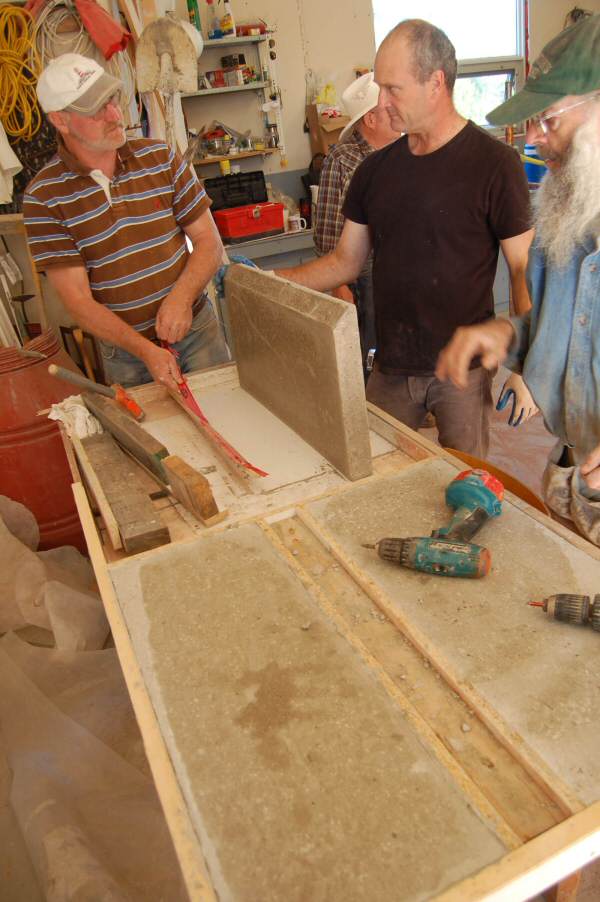
Mixer
was cleaned of portland cement residue, which is harmful for castable.
Because of the dry mix, it is tricky to mix castable in
this type of drum mixer.
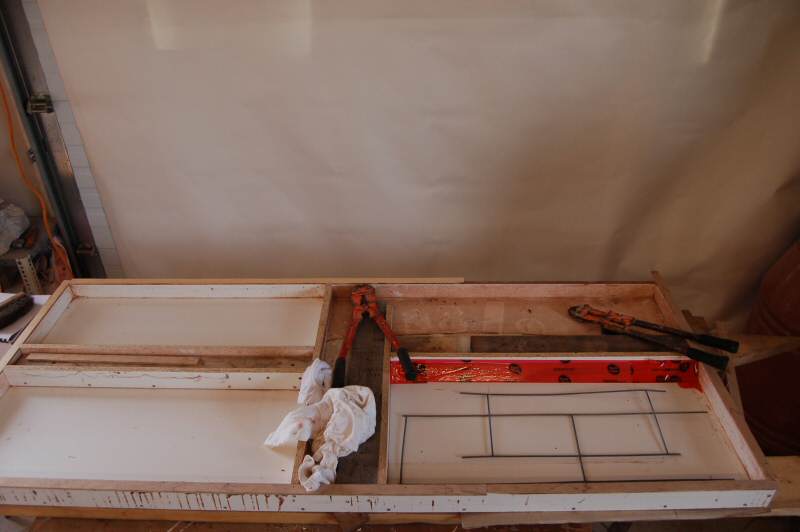
Mold for oven slabs. On this heater, firebrick slabs were used instead. With precasting, custom 31.5" wide slabs could be cast,
rather
than being restricted to the 24" firebrick tiles. Note the Durawall
reinforcing, used in all the slabs. For the rear slab, the
reinforcing should be towards the cooler side of the slab.
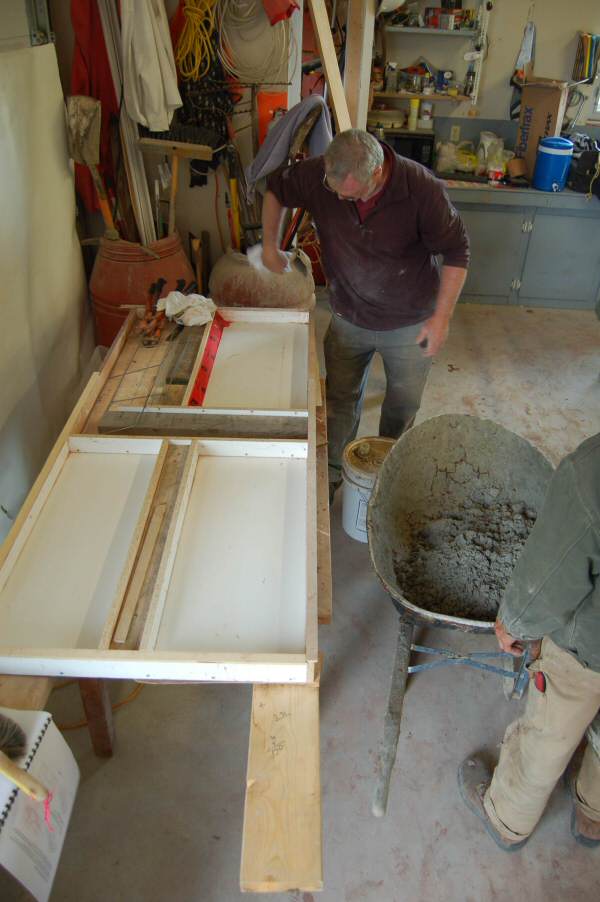
Applying mold release.
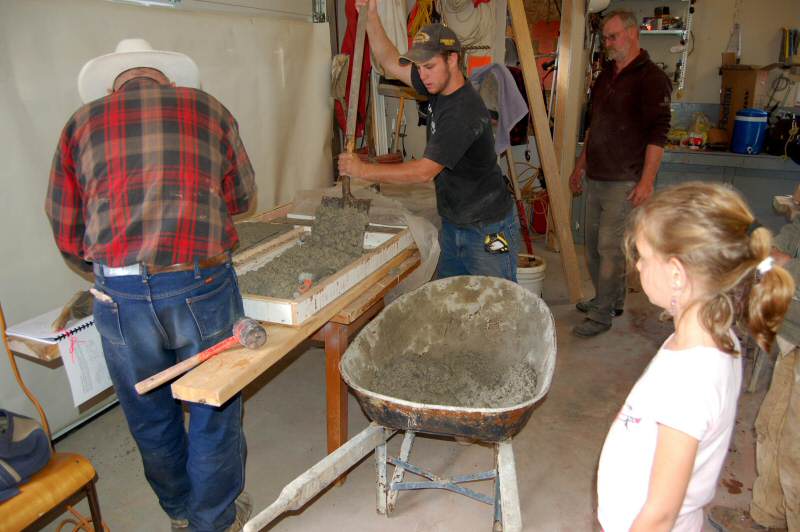
Castable was consolidated by pounding, and with a stinger type vibrator. It was then covered in plastic to cure.
Stripping the molds. Castable achieves 90% strength after 24 hrs. The slabs will warm up due to
the exothermic reaction of the castable.
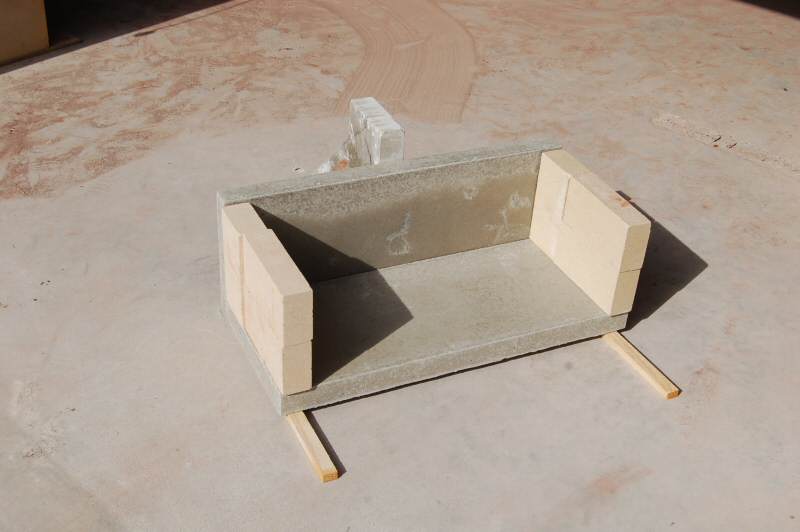
Bake oven floor and rear wall, with firebrick sidewalls. Interior dimensions are 27" x 13" x 9"
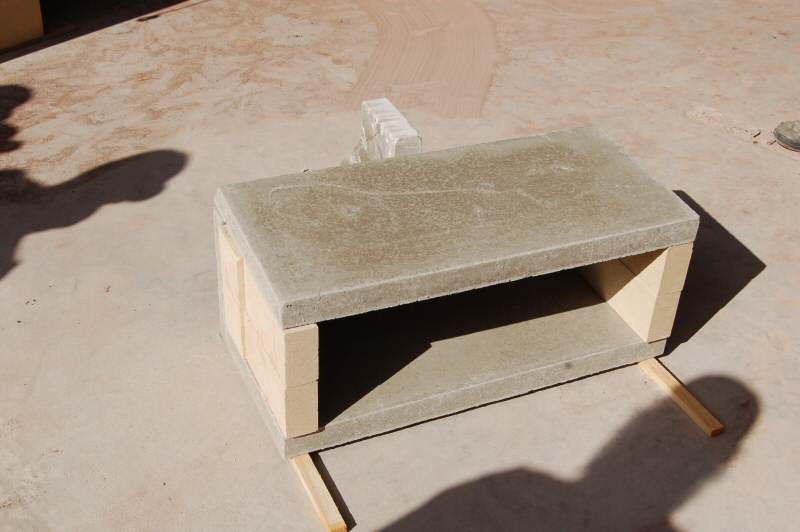
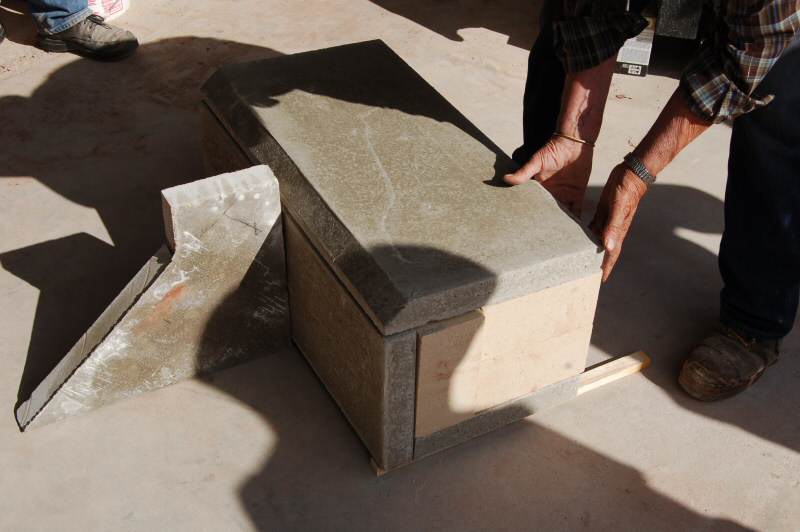
Ceiling slab in place.
Door Mounting Seminar
Door mounting seminar
Certification Hands On
Daniel Savino took the opportunity to take the hands-on test for the MHA Heater Mason
Certification program.
Evaluating the completed test. Daniel is a very experienced mason and passed easily.
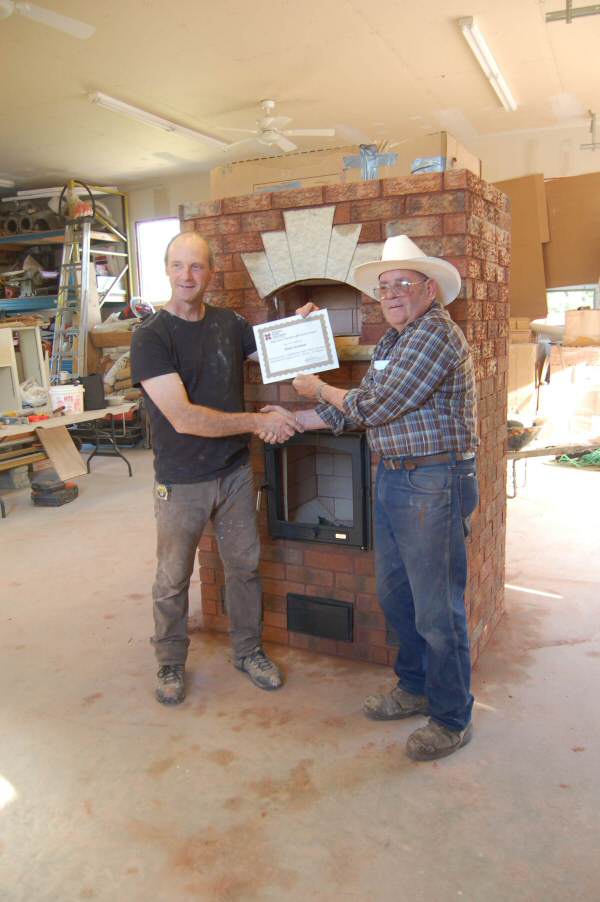
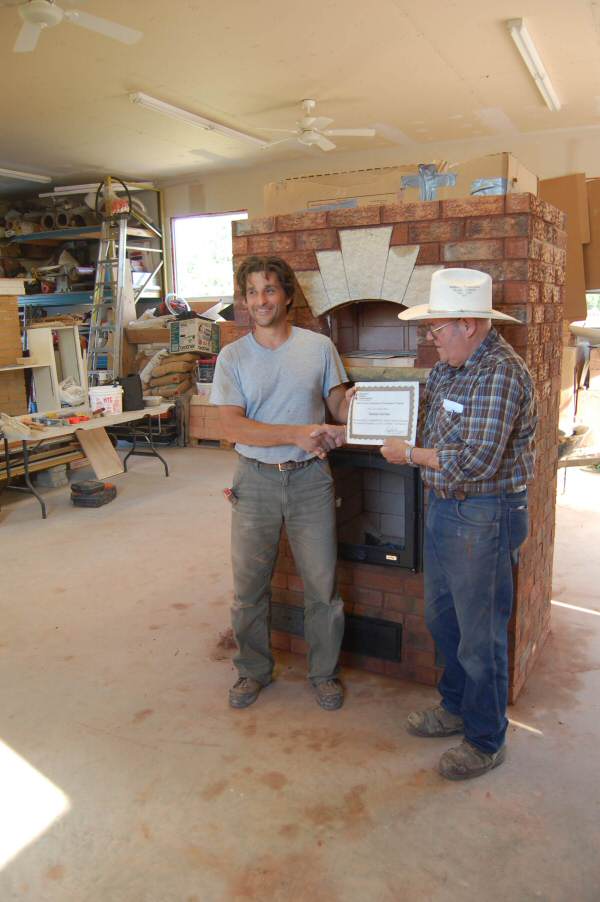
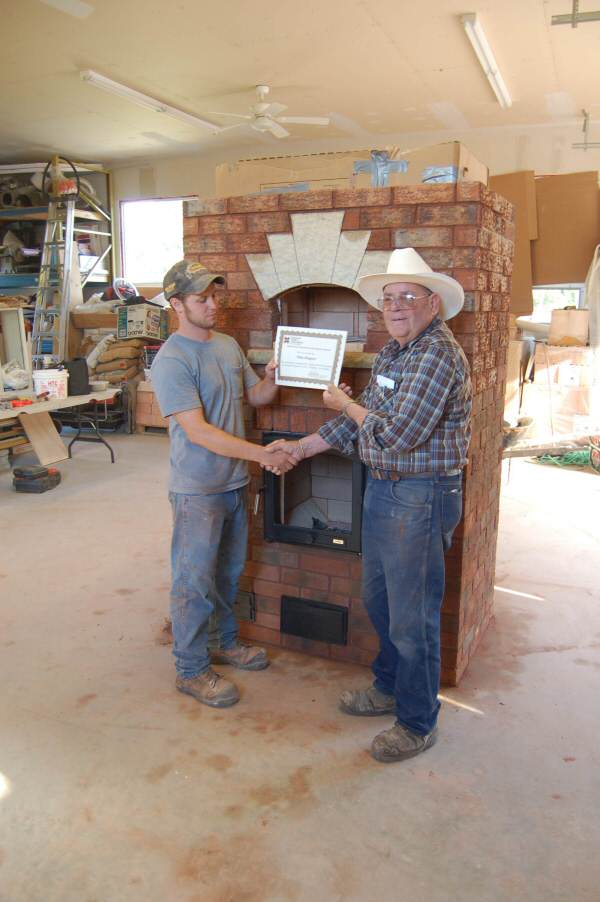
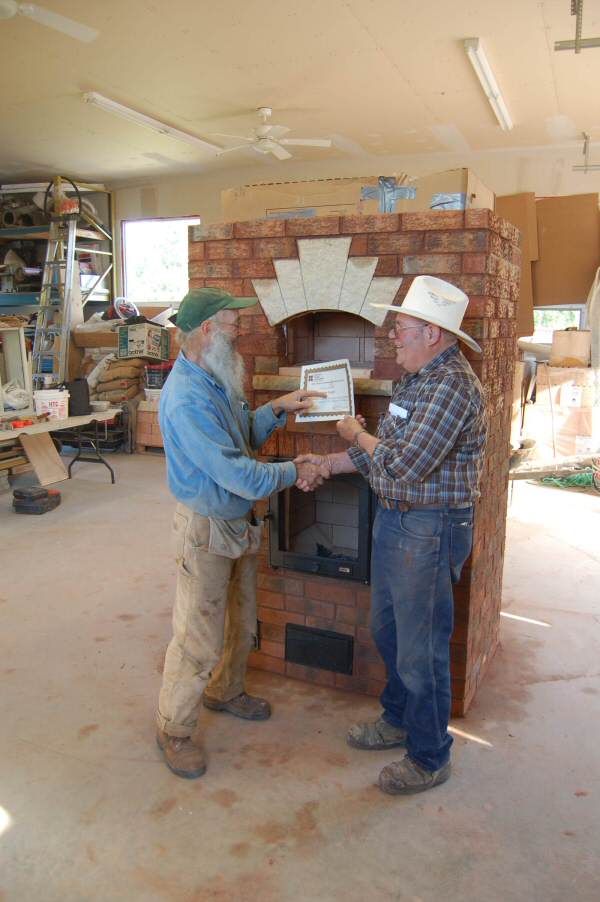
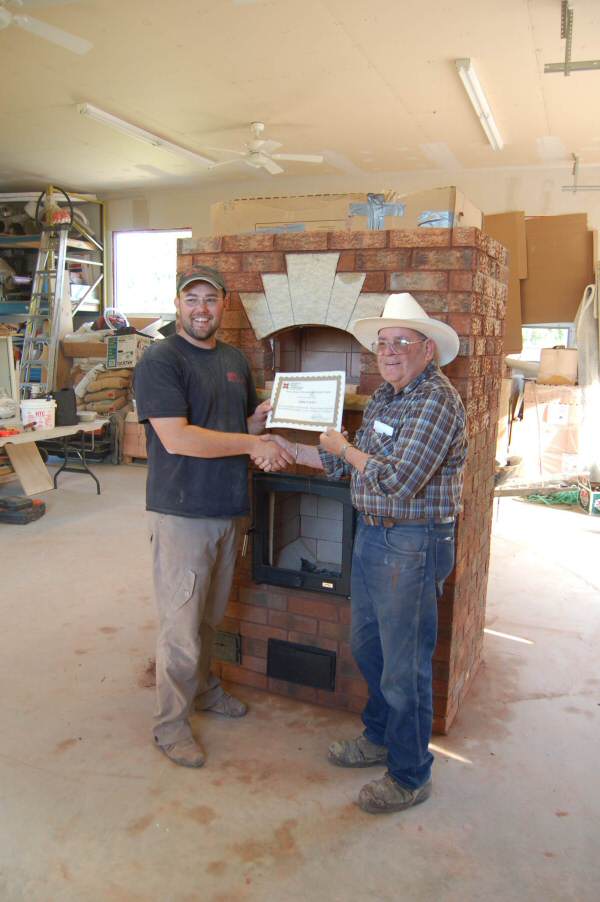
Jerry Frisch awards Certificates of Completion to the 5 participants.
All 5 participants worked full time on the heater over the course of 4 days. Because they worked
under a Certified Heater Mason (3, actually), their hours qualify for future credit under the certification
program.
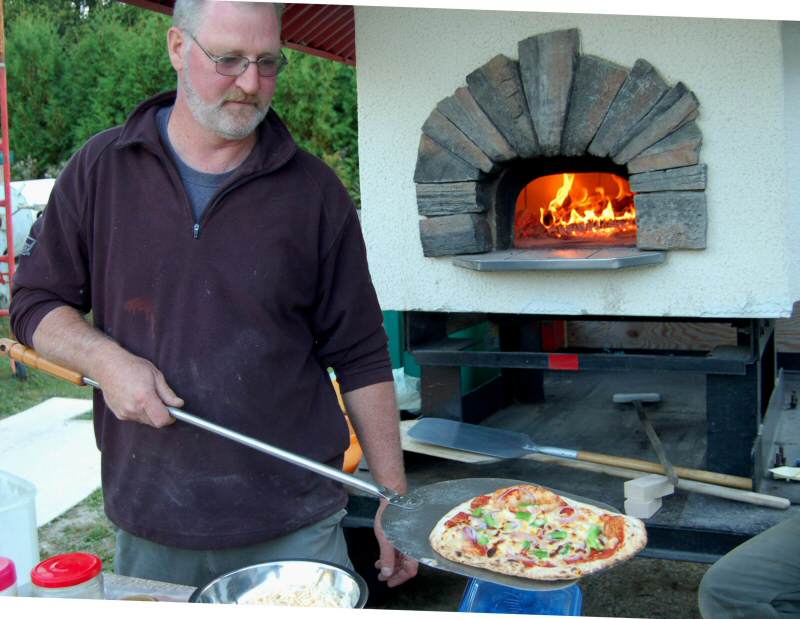
John fired up his portable Le Panyol oven, and hosted an excellent pizza party.
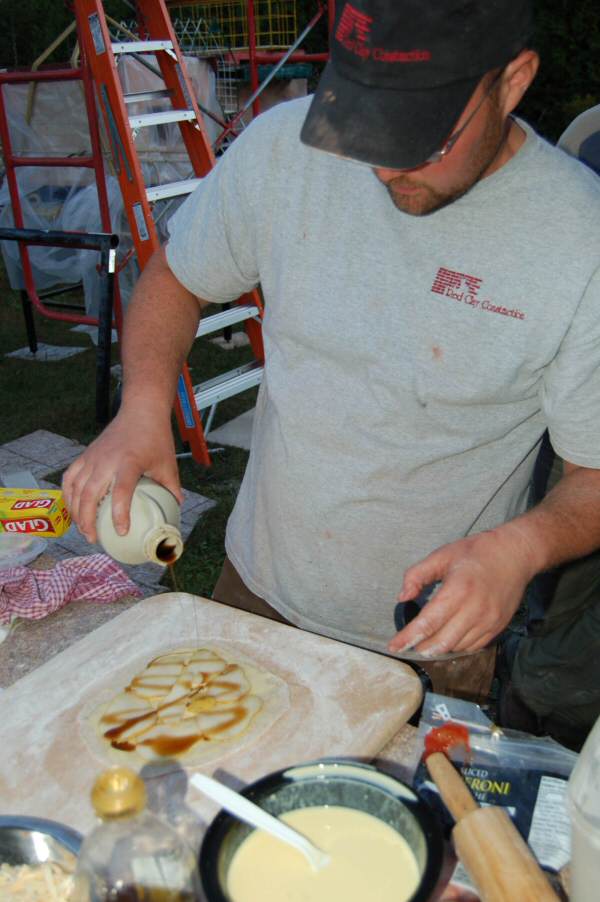
Shane MacDonald is a pizza pro. He finished the evening with some tasty dessert pizzas.
This
page was last updated on September 25, 2011
This page was created on September 23, 2011
Back
to: