
2014 MHA Annual Meeting
4' x 3'-6" Pat Manley Pizza Oven
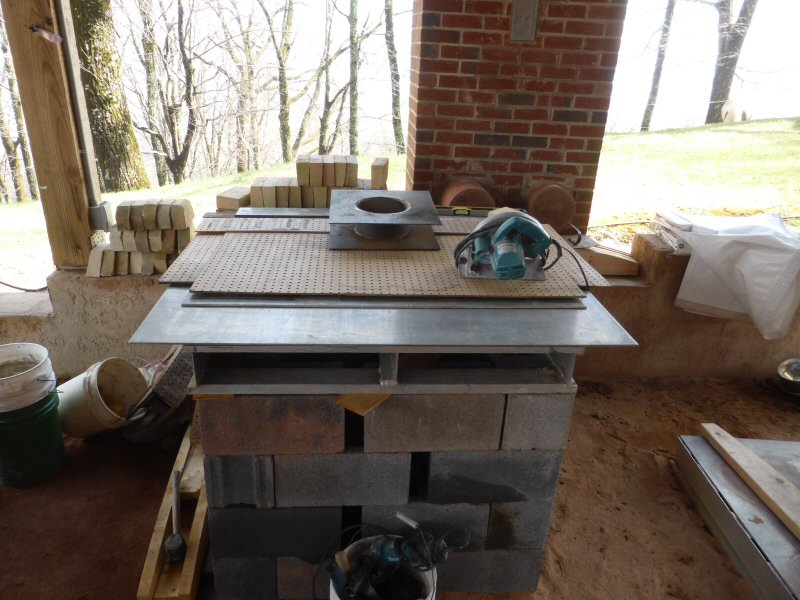
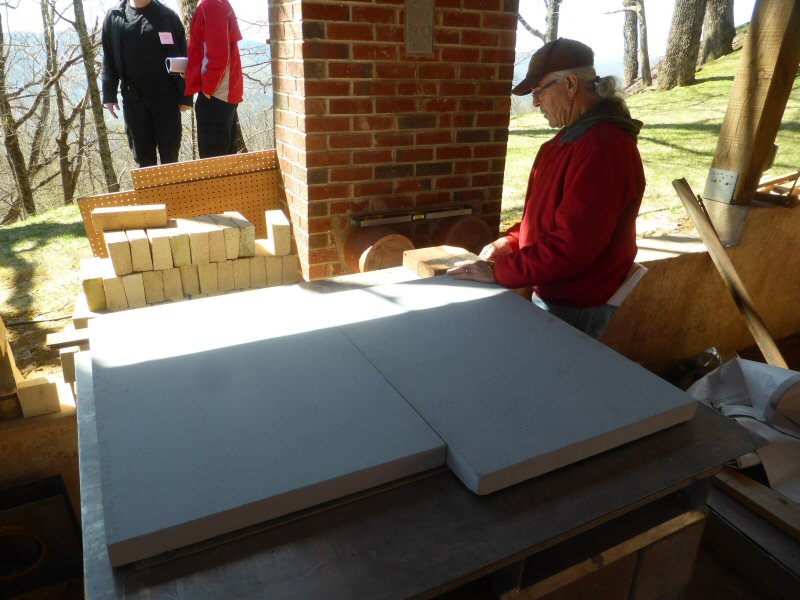
Floor is insulated with 2" of calcium silicate board.
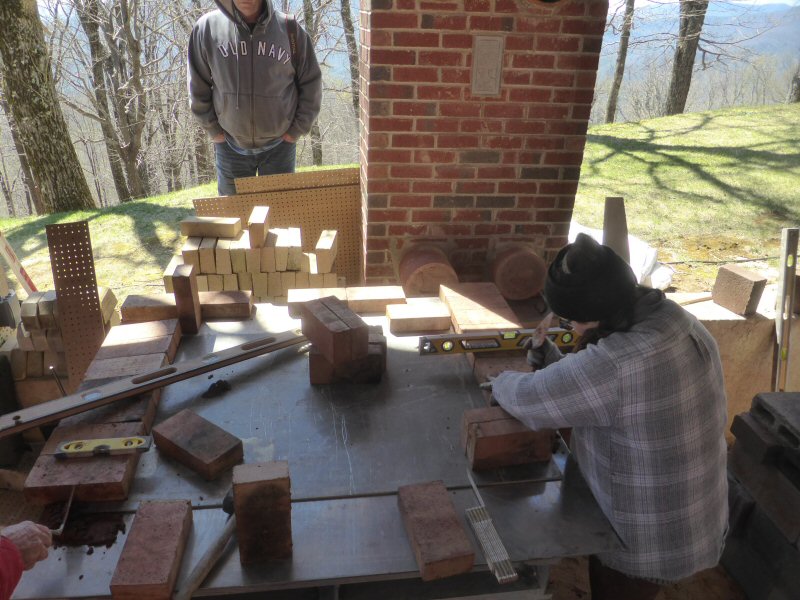
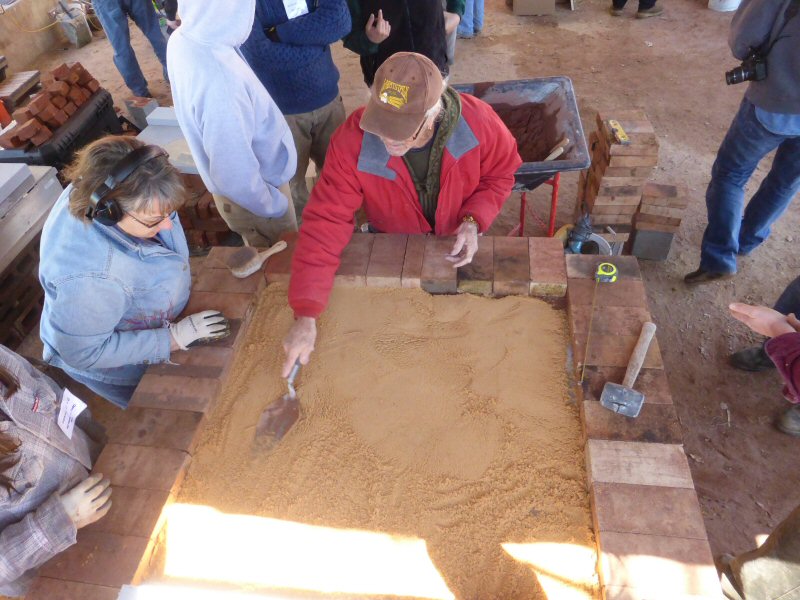
Sand bed for firebrick hearth.
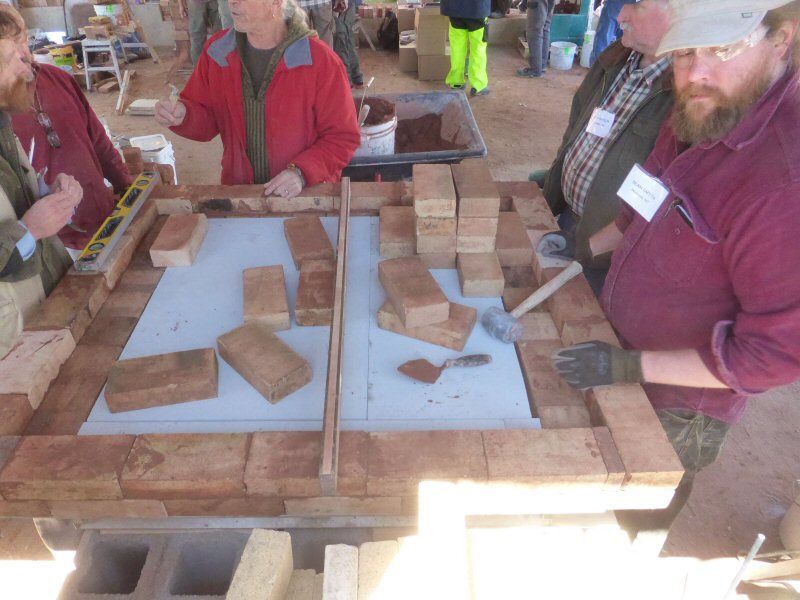
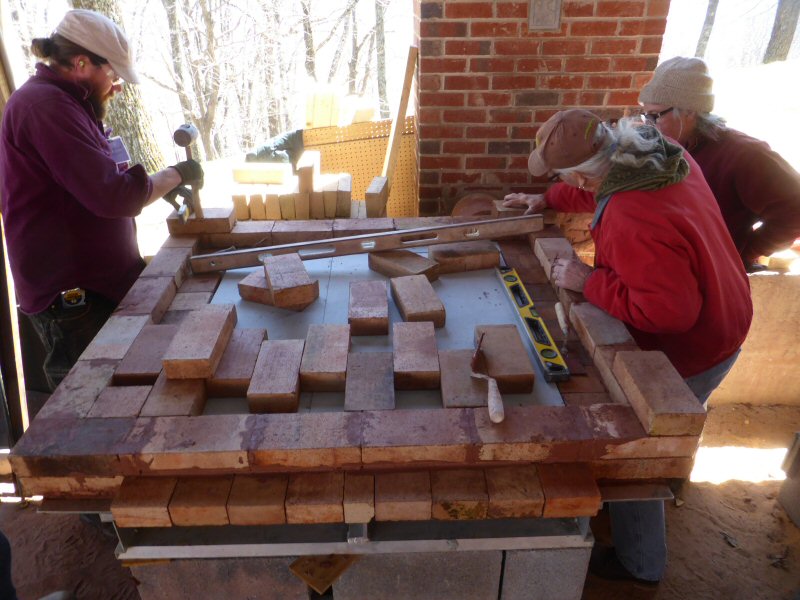
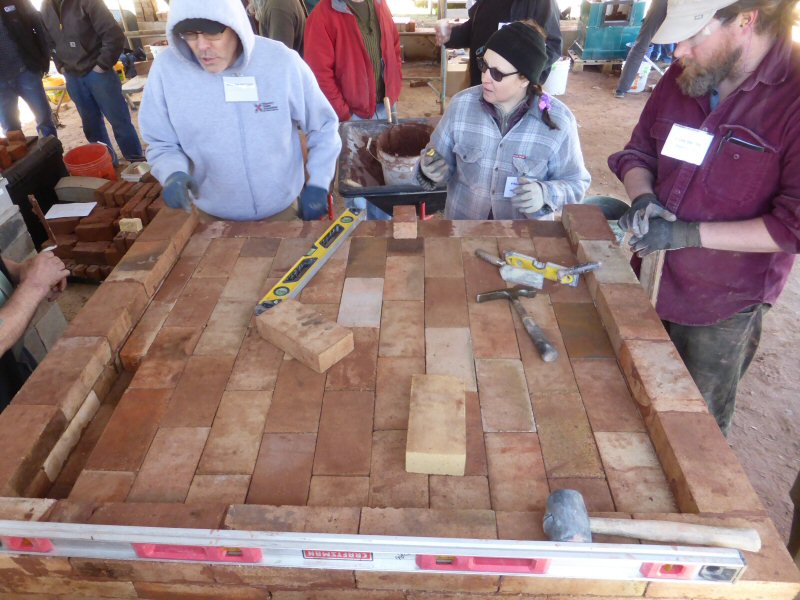
Floor is in place.
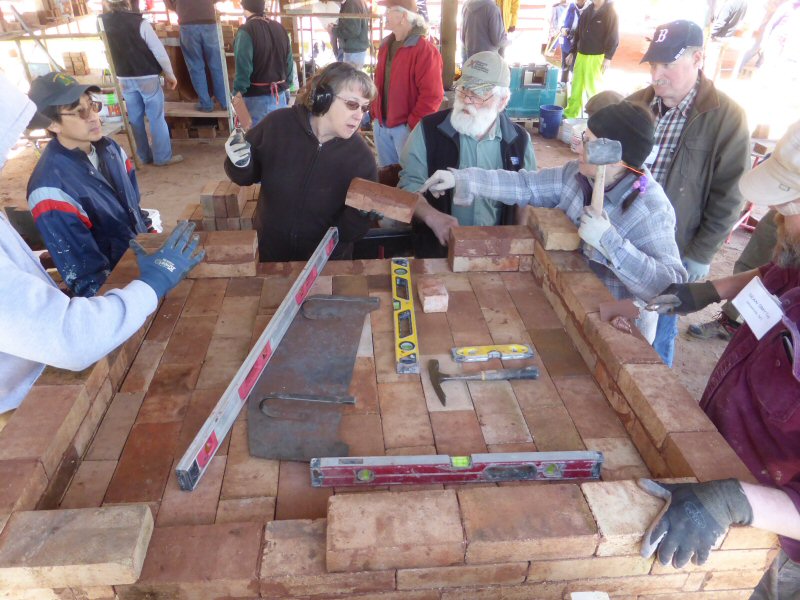
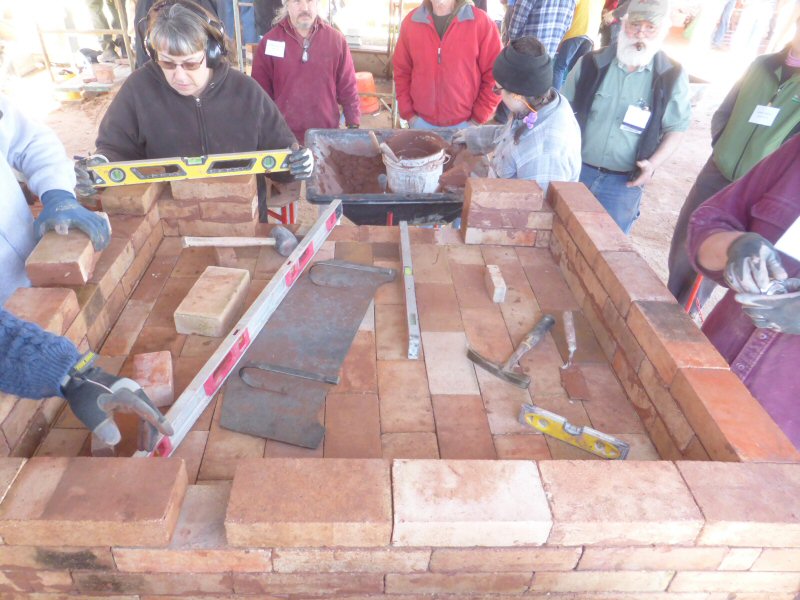
Metal door plug lying on the hearth.
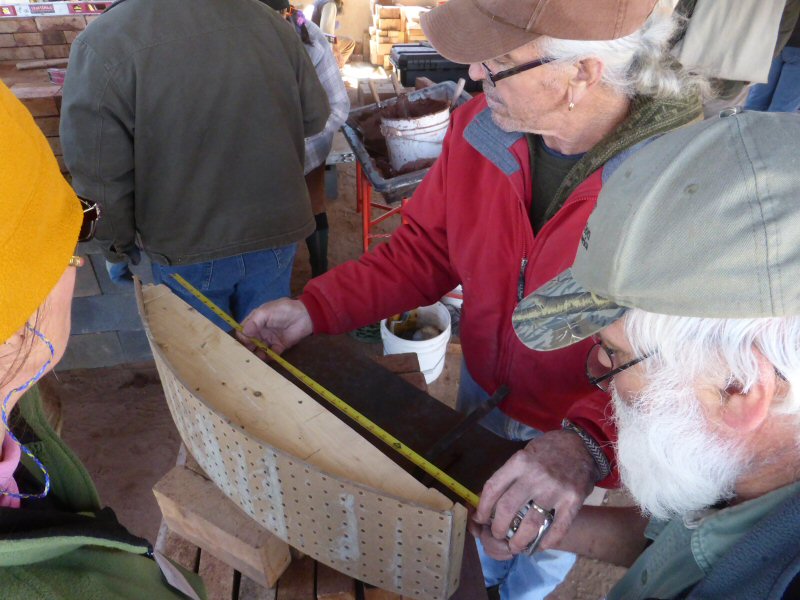
Checking the arch form for the door opening.
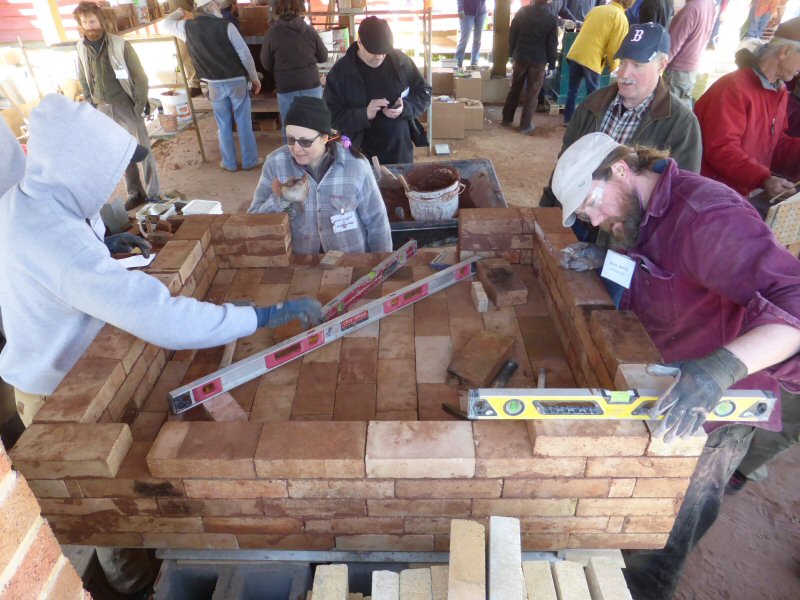
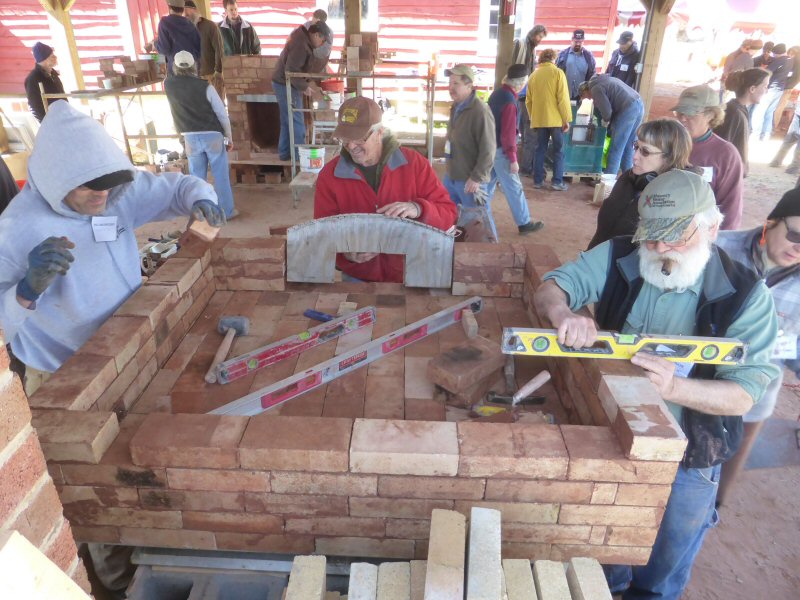
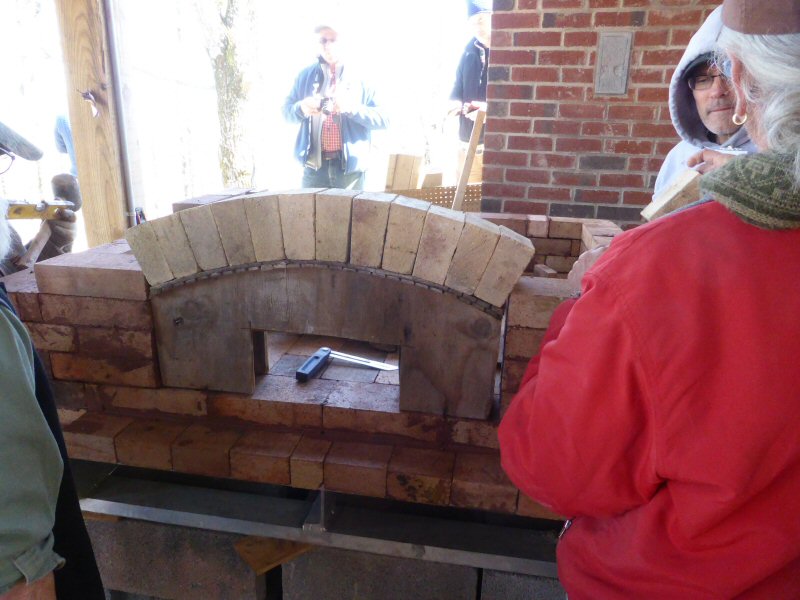
Laying out the arch bricks for the door.
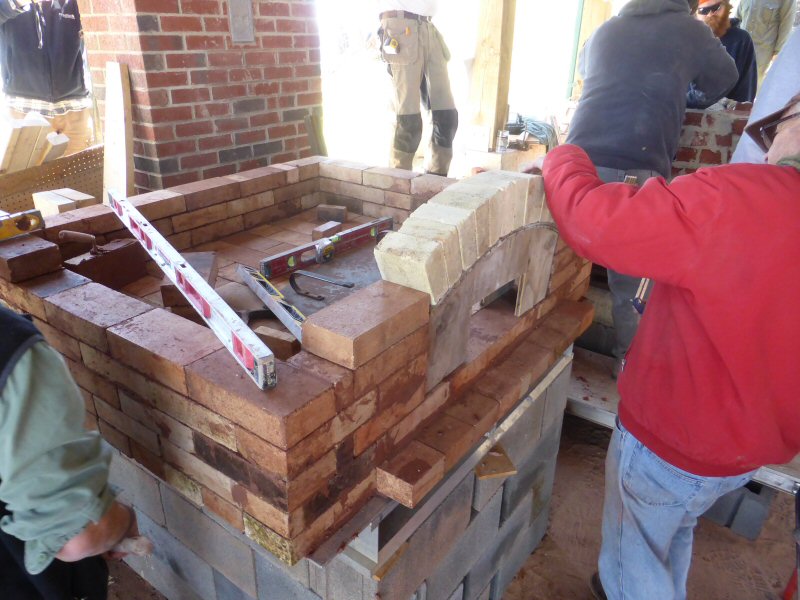
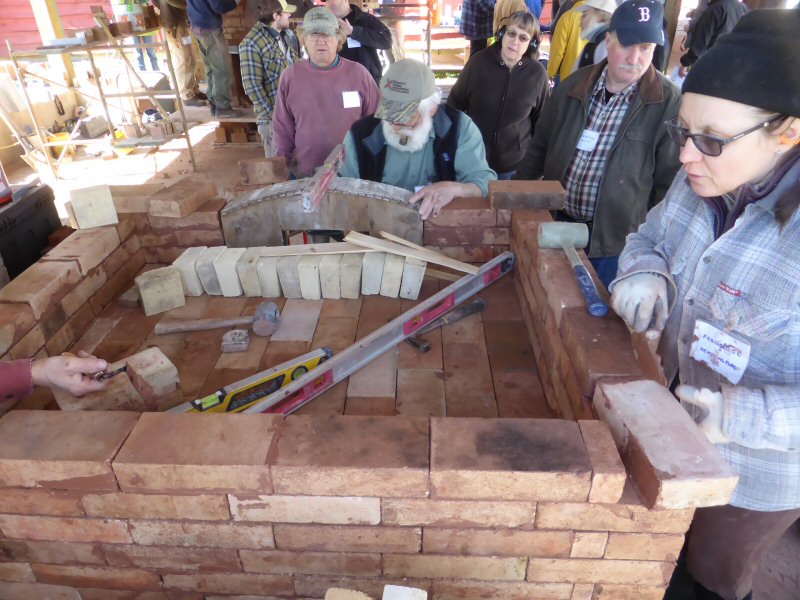
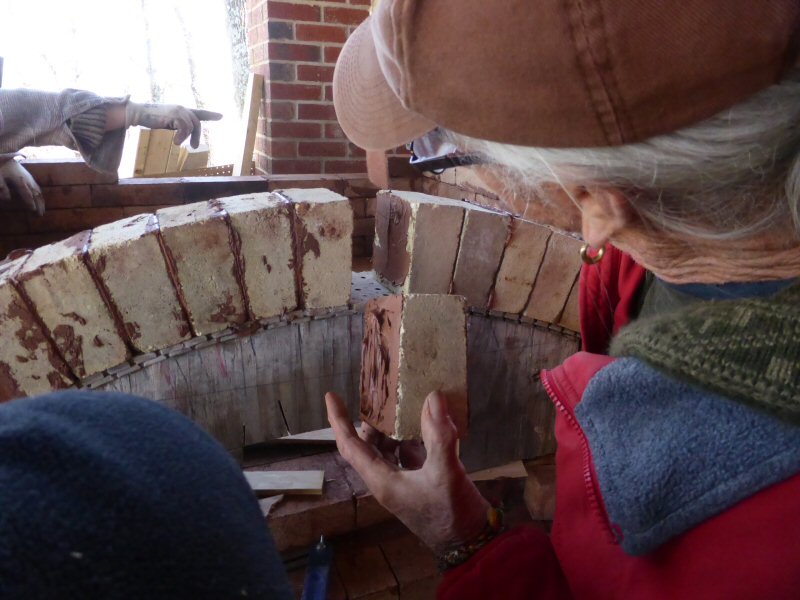
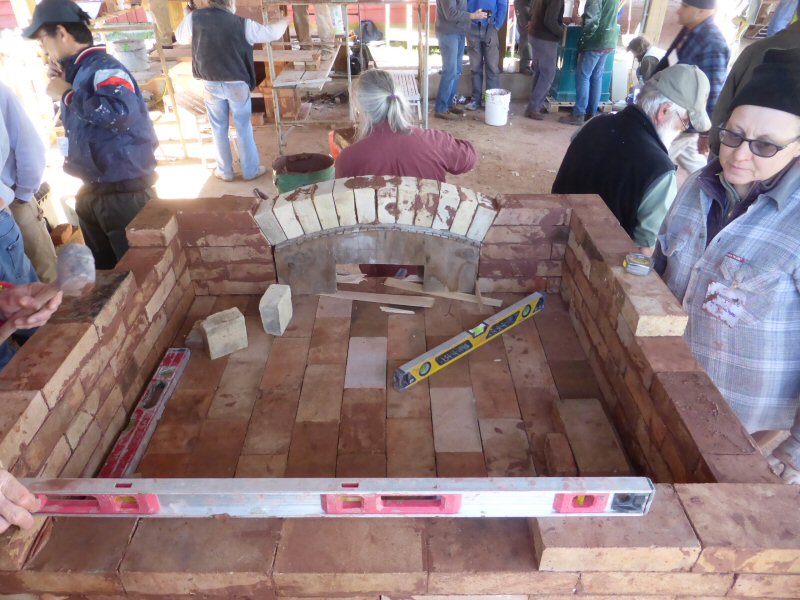
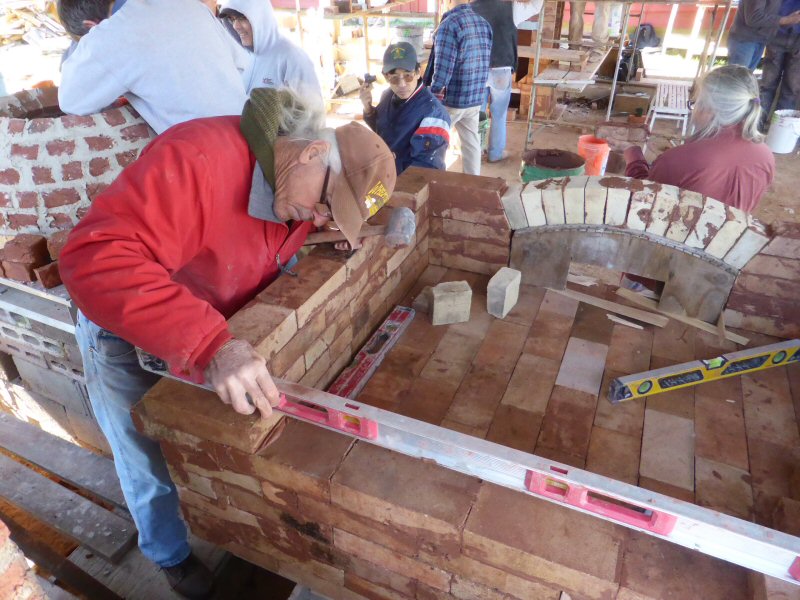
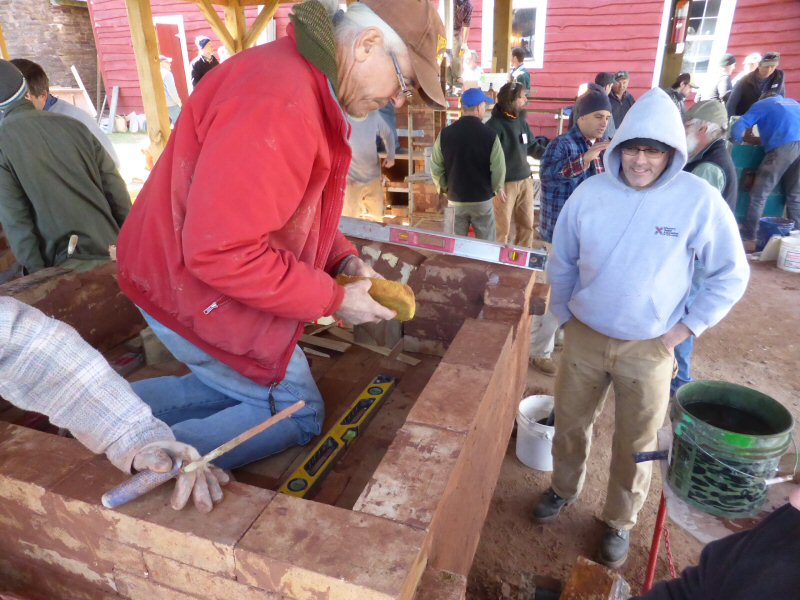
Cleaning up the inside side walls before starting the vault.
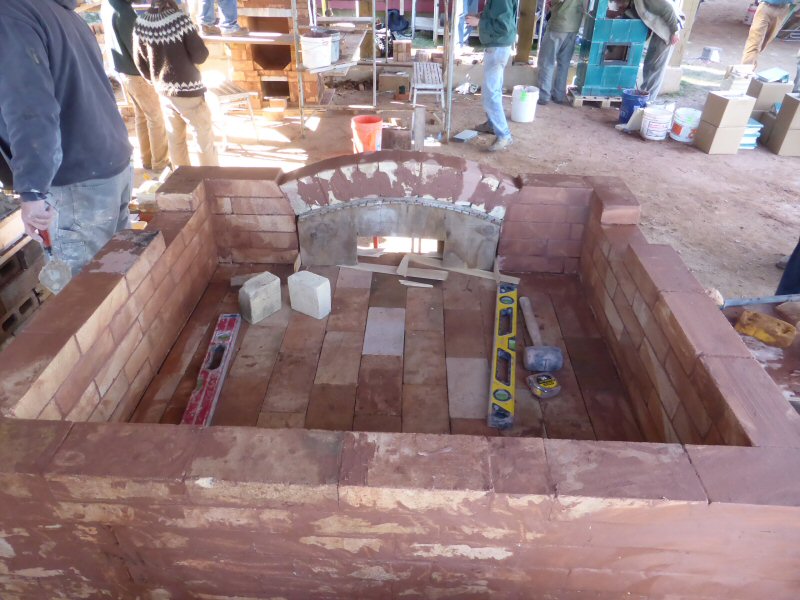
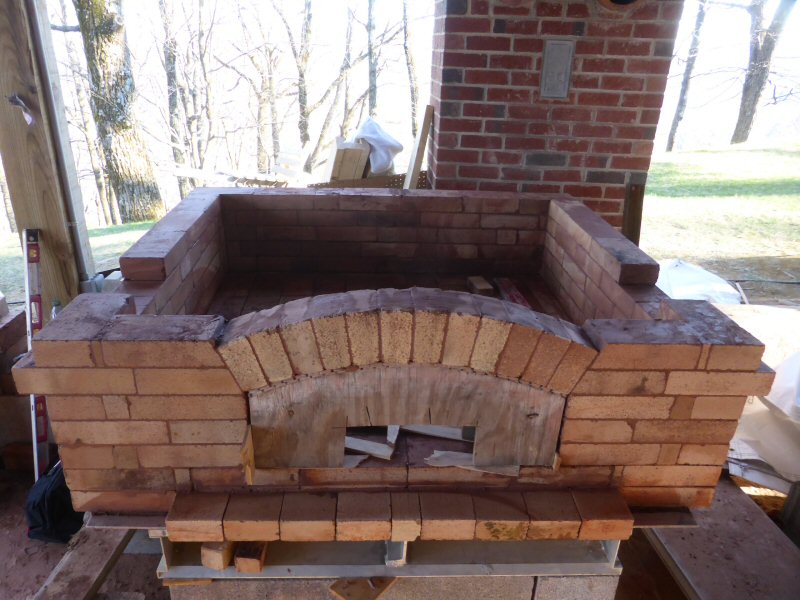
Notches on the side walls, near the front, are to receive the skew bricks that will receive the dropped front arch.
The projecting bricks from the side walls act as ledges to carry the steel reinforcing harness.
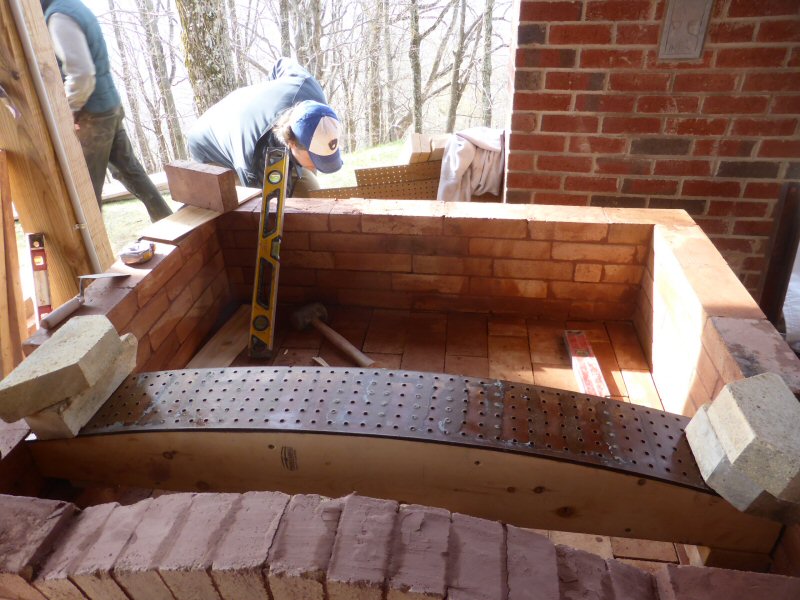
Form for dropped front arch.
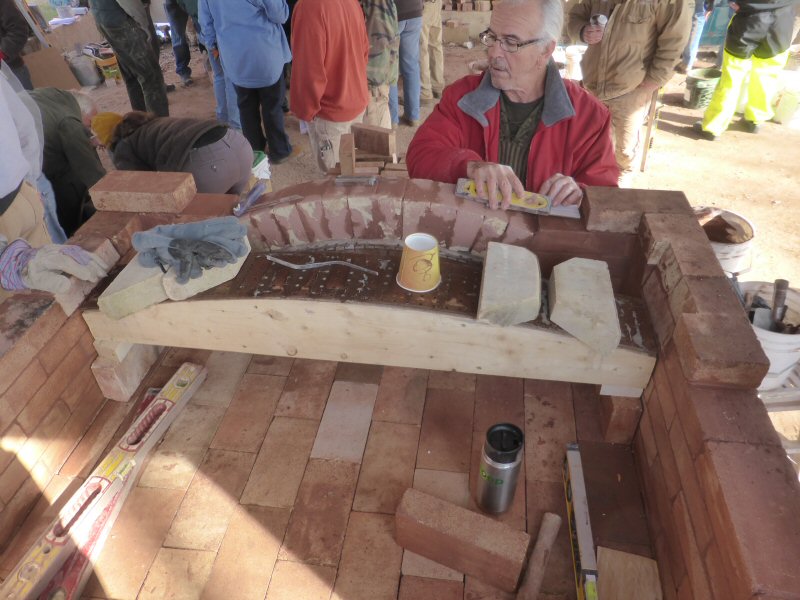
Skew bricks in place.
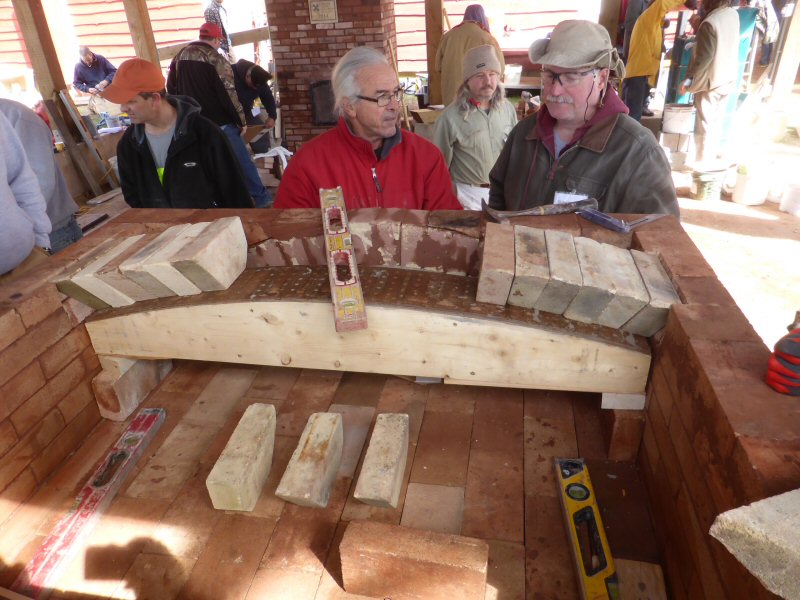
Dropped front vault directs gases down towards exit, which is just on the oven side of the door.
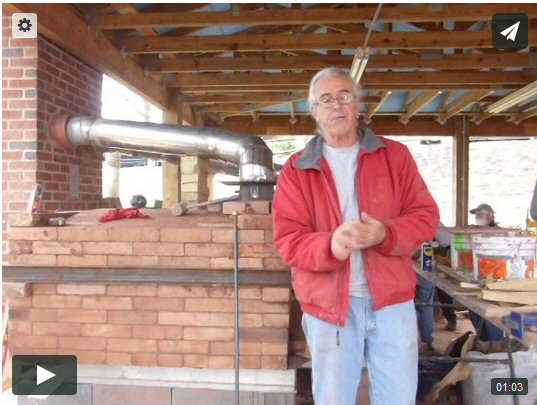
Pat Manley explains the use of tapered arch bricks for the vault.
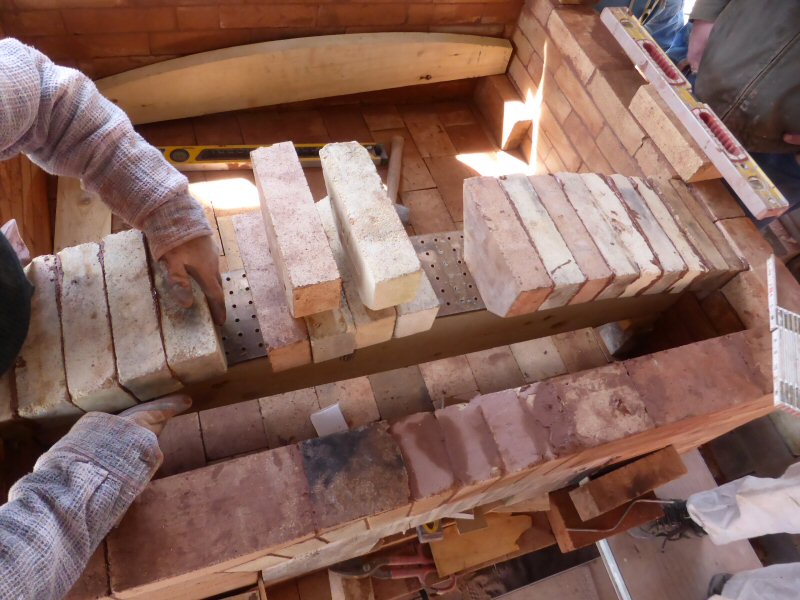
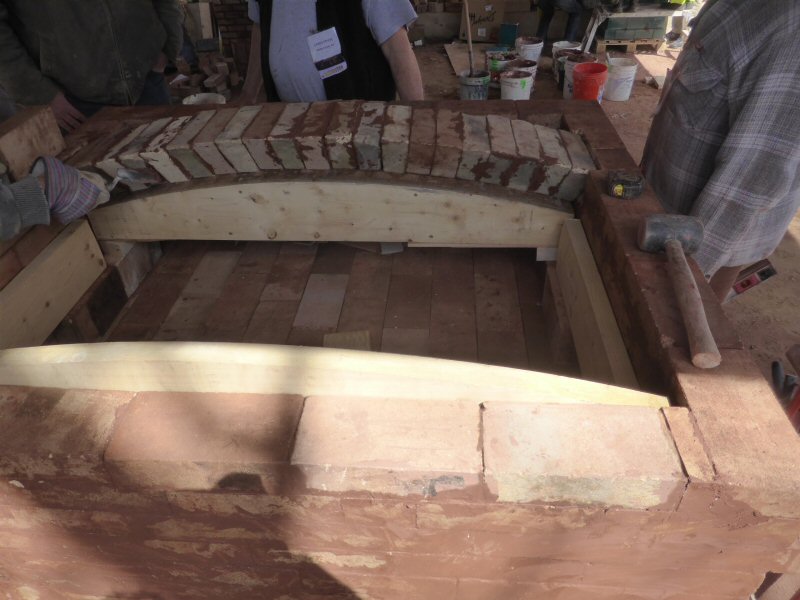
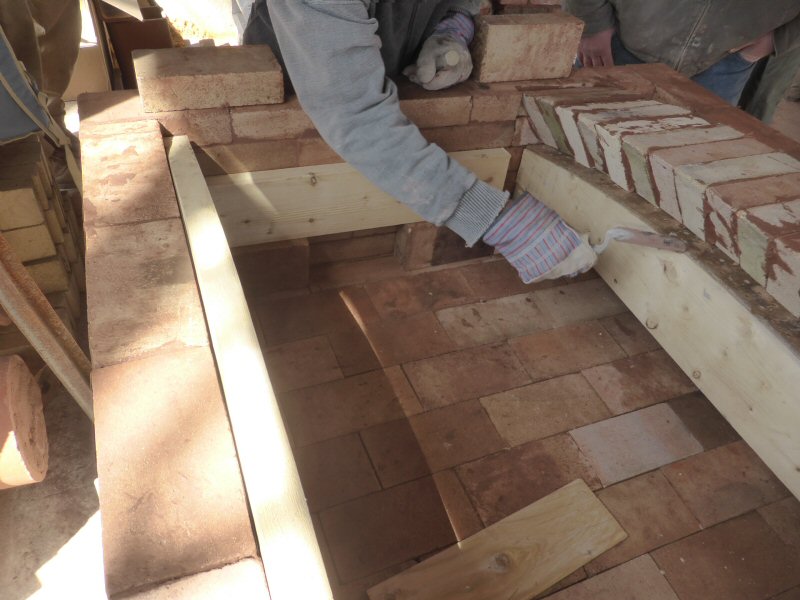
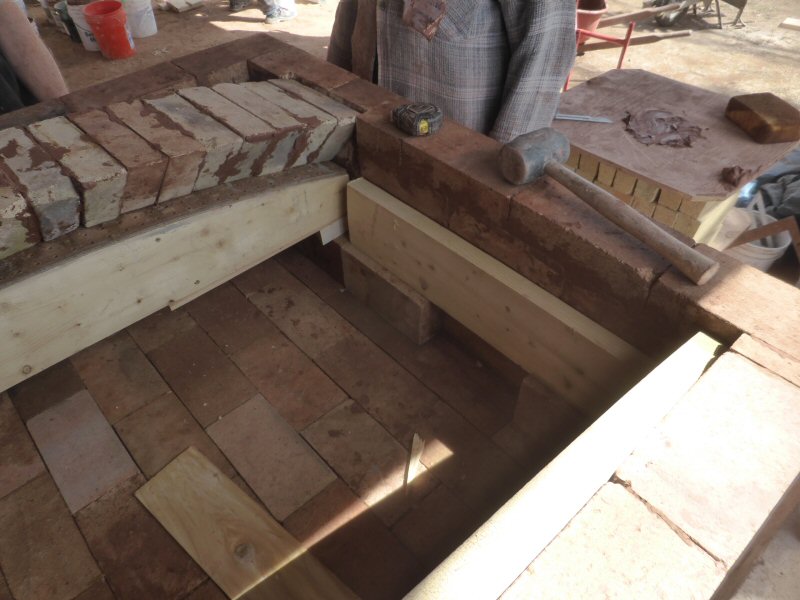
Ledge for main vault form.
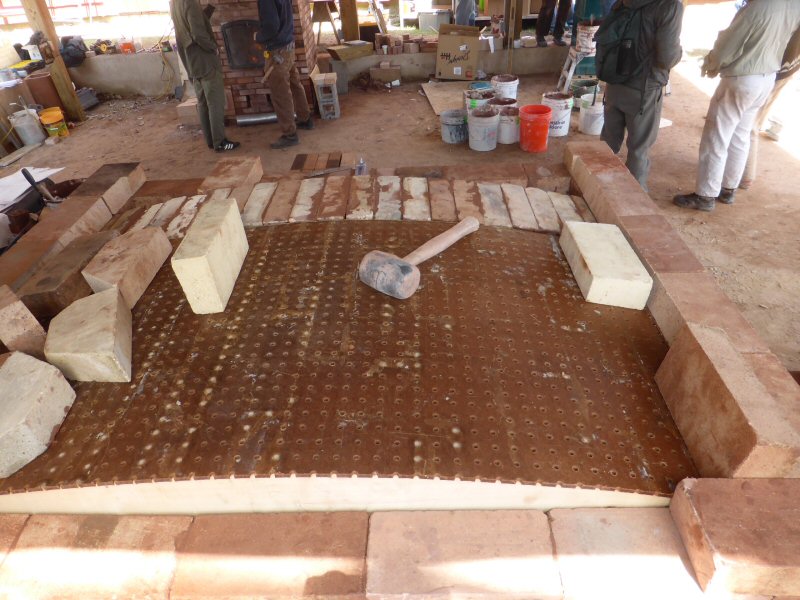
Main vault form in place.
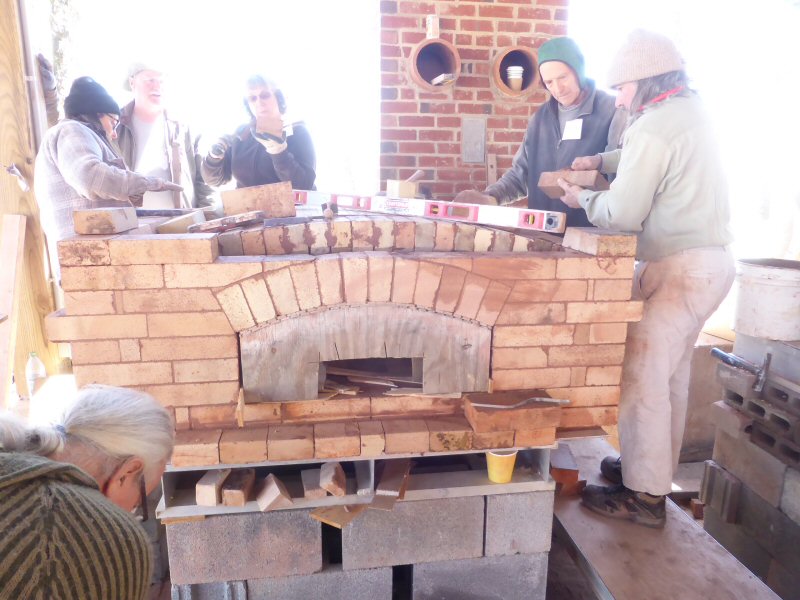
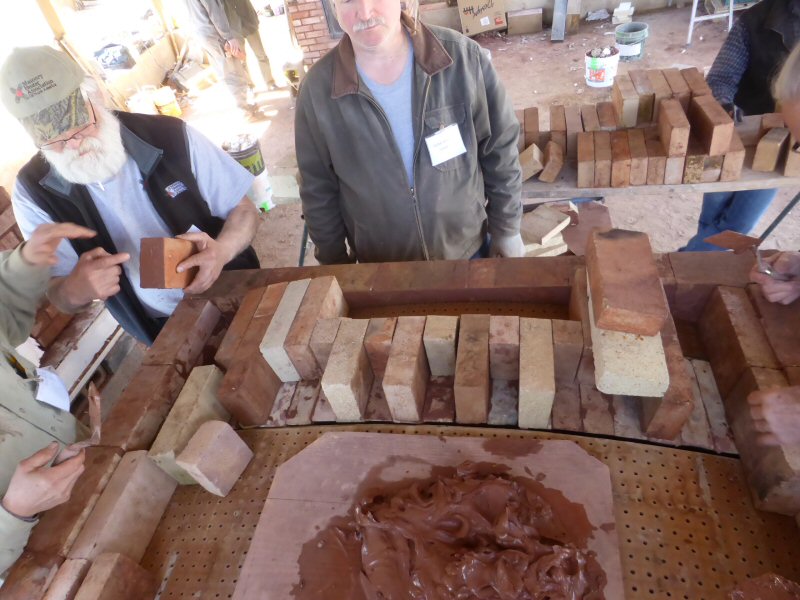
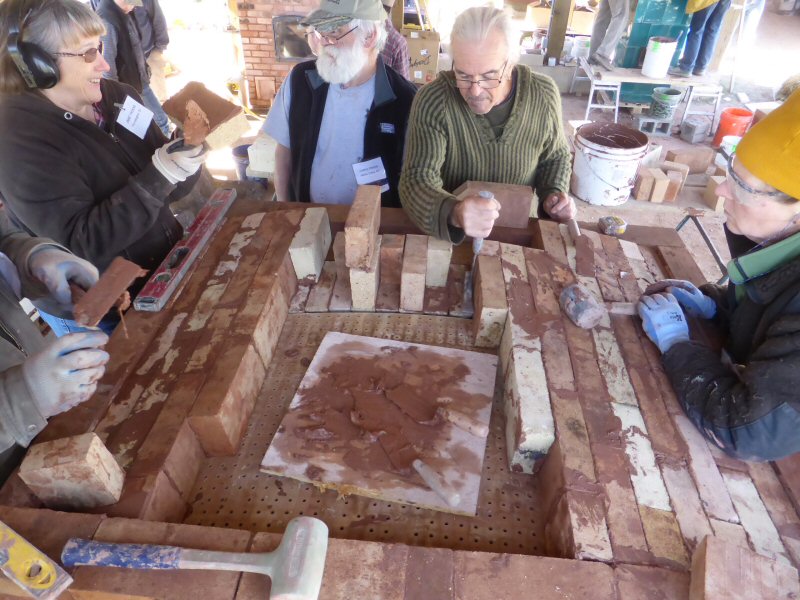
Laying up the main vault, using a running brick bond.
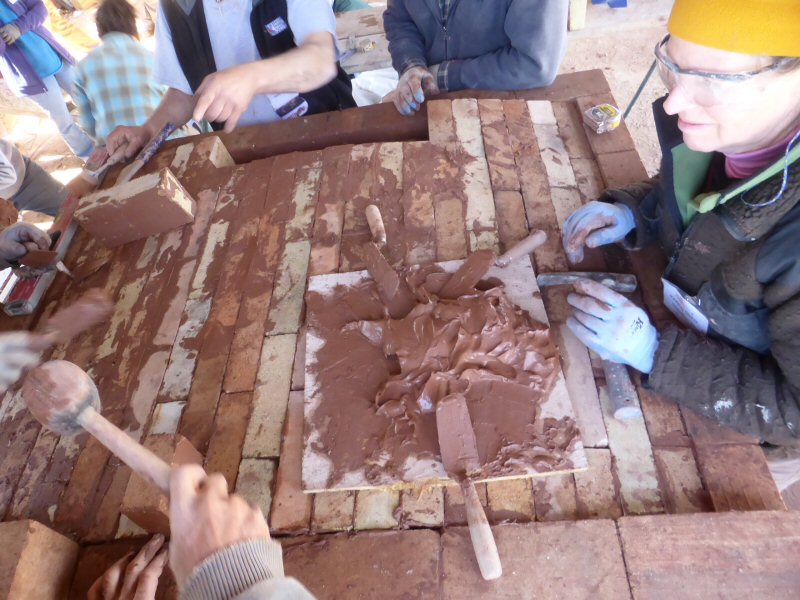
Gas exit slot visible at front.
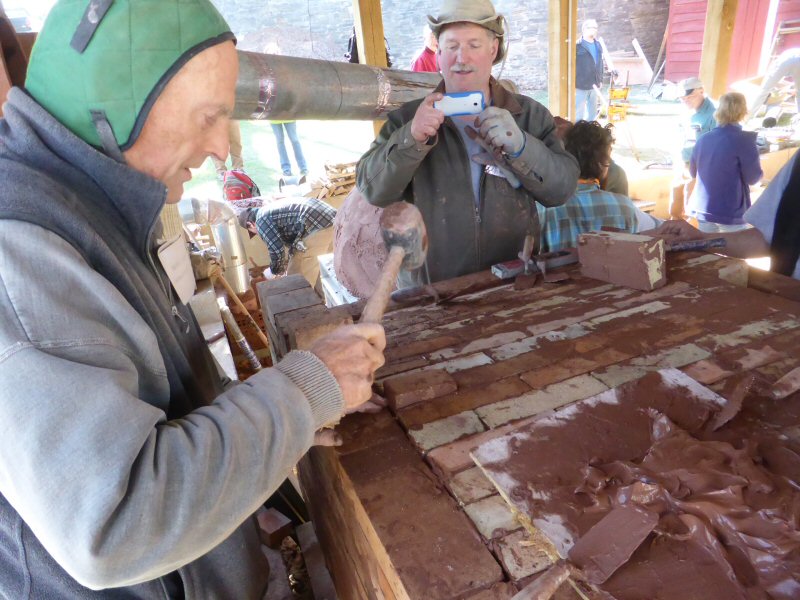
Tapping the last vault brick into place.
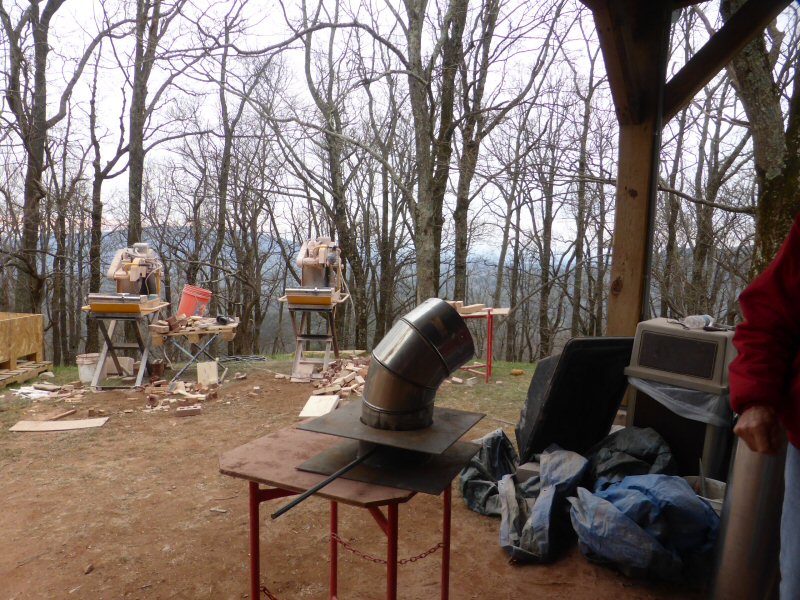
Custom made pivoting damper section.
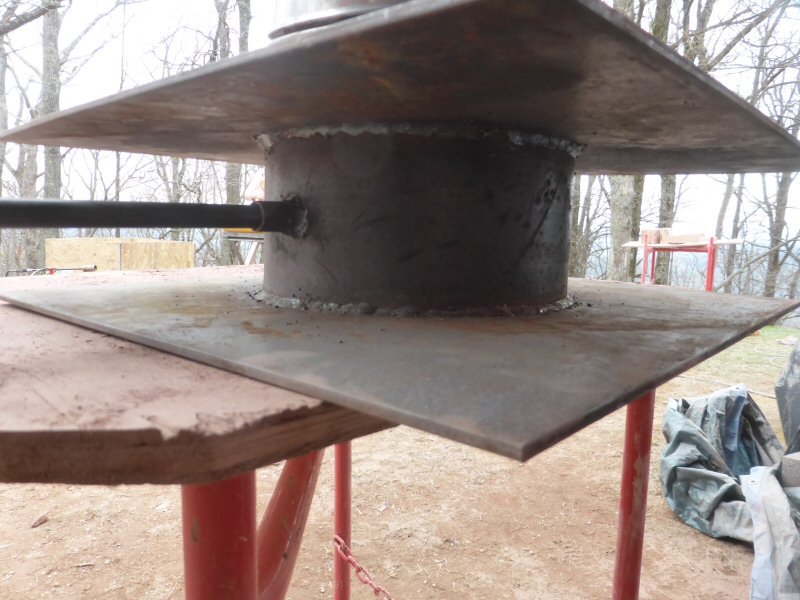
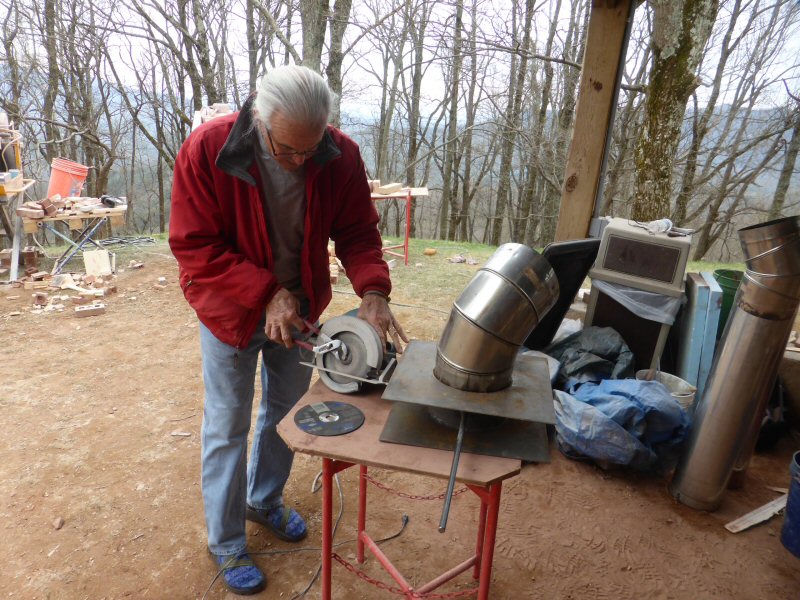
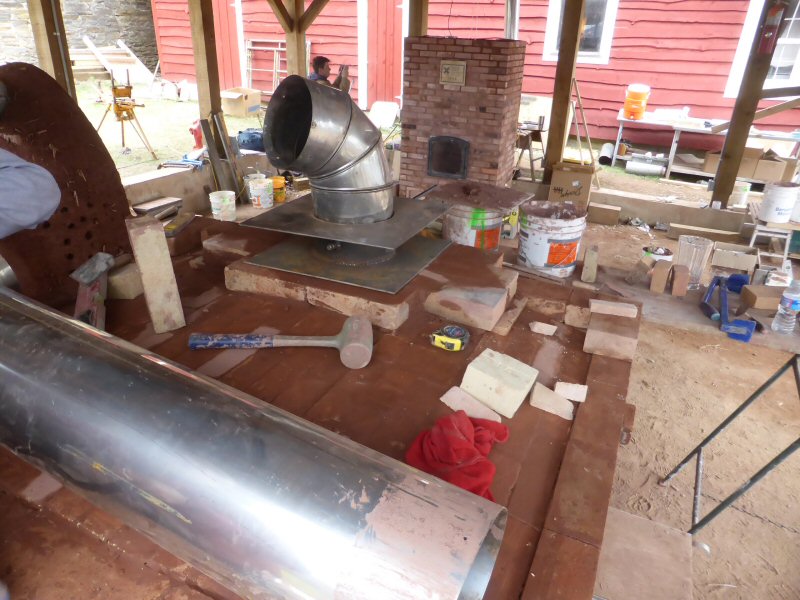
Gas exit in place, ready for hookup to the chimney.
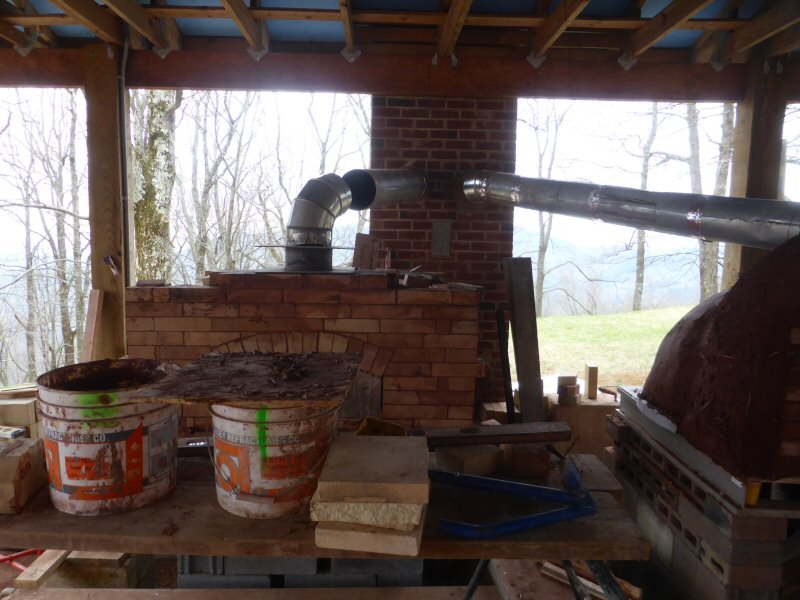
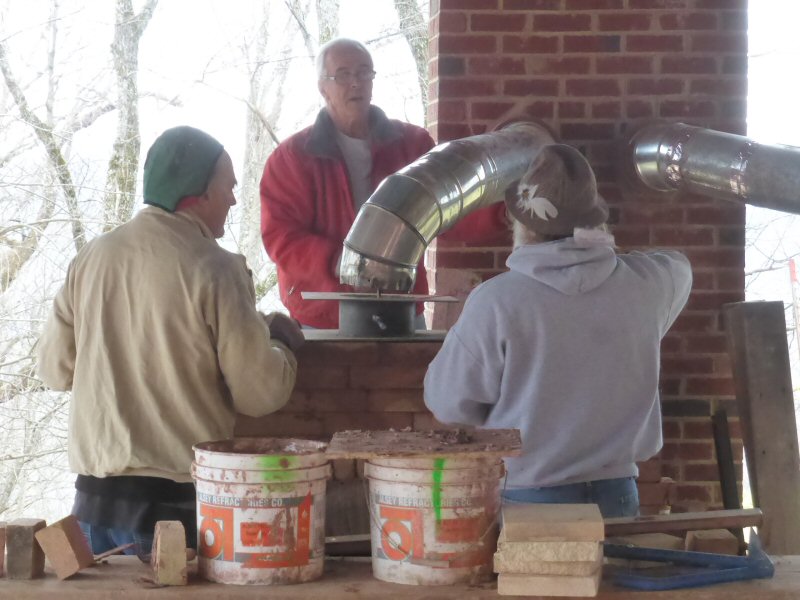
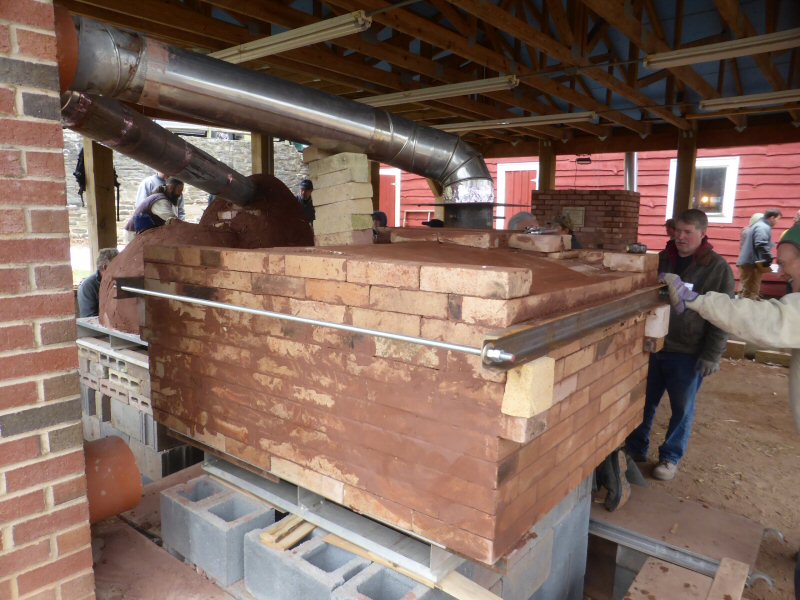
Steel harness in place to contain the side thrust from the vault.
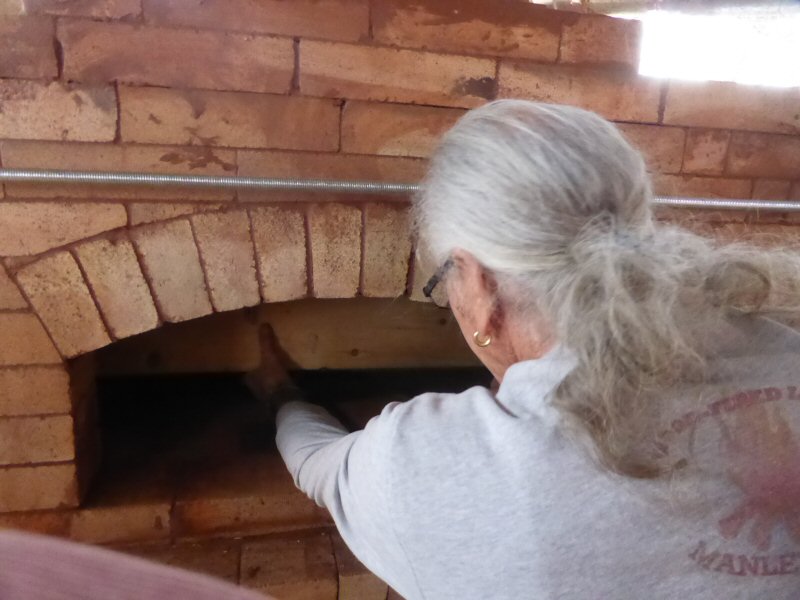
Starting to remove the formwork.
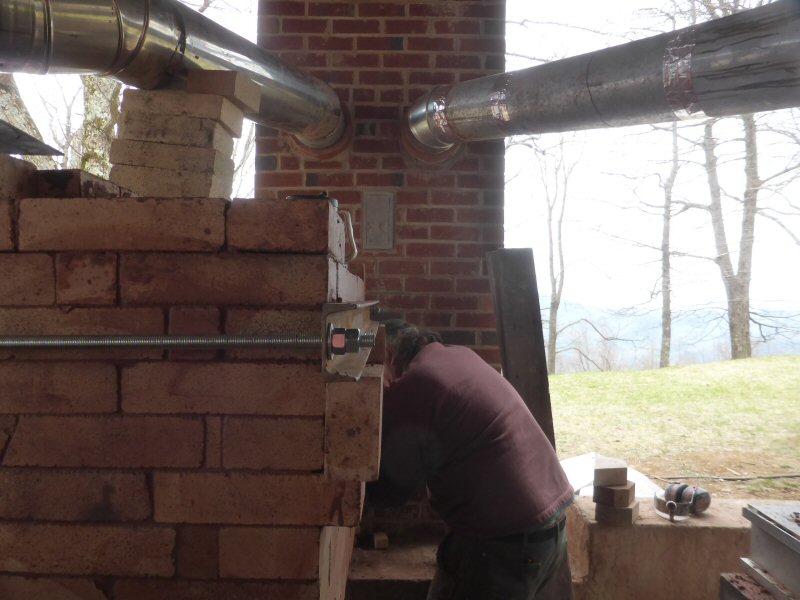
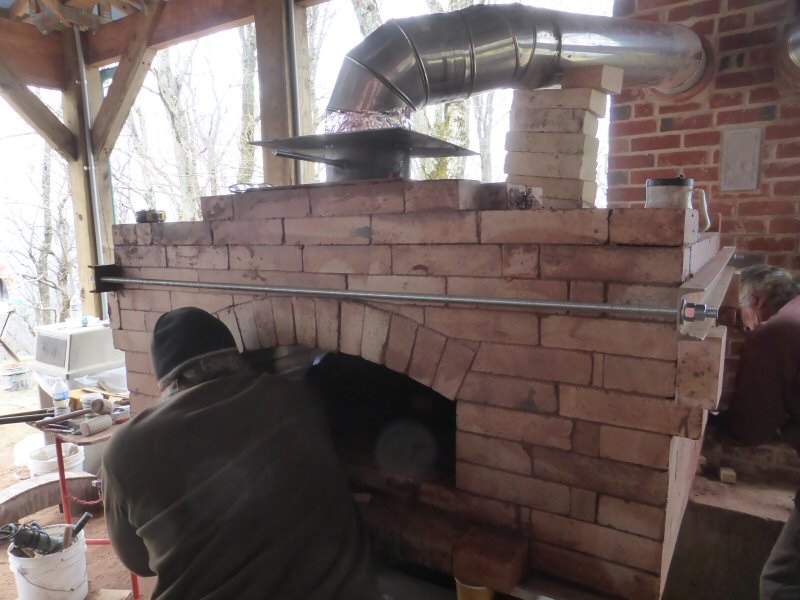
Note
the flex in the middle of the channel iron. Normally the vault forms
are not removed until the mortar has set and cured.
In this case, it was fresh and exterted more pressure than normal.
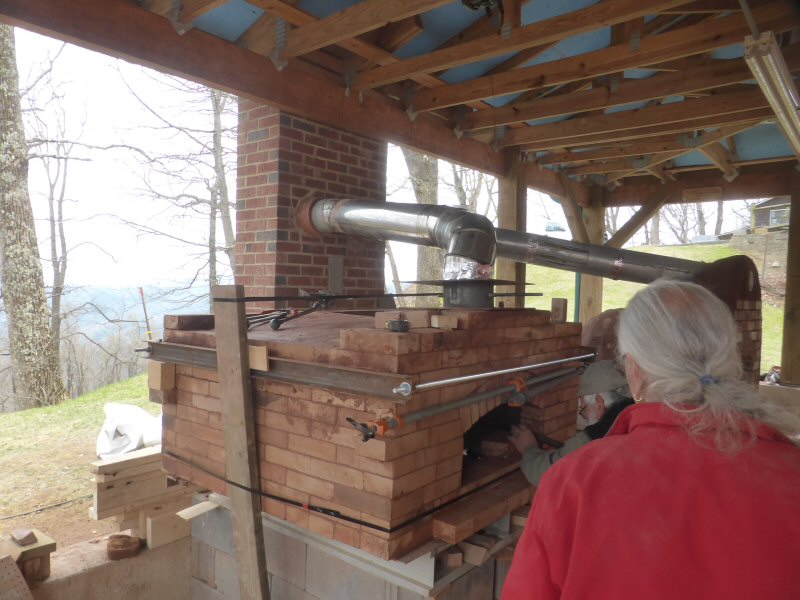
We jury-rigged additional support for the vault.
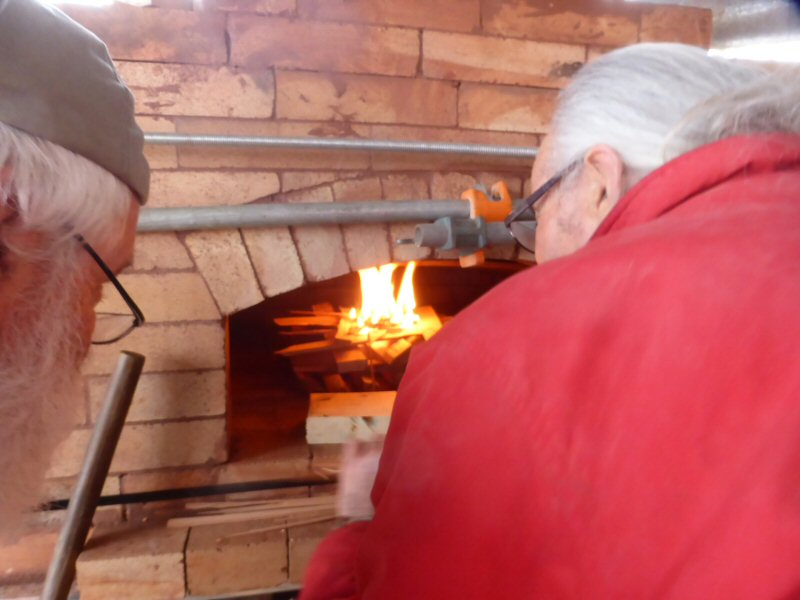
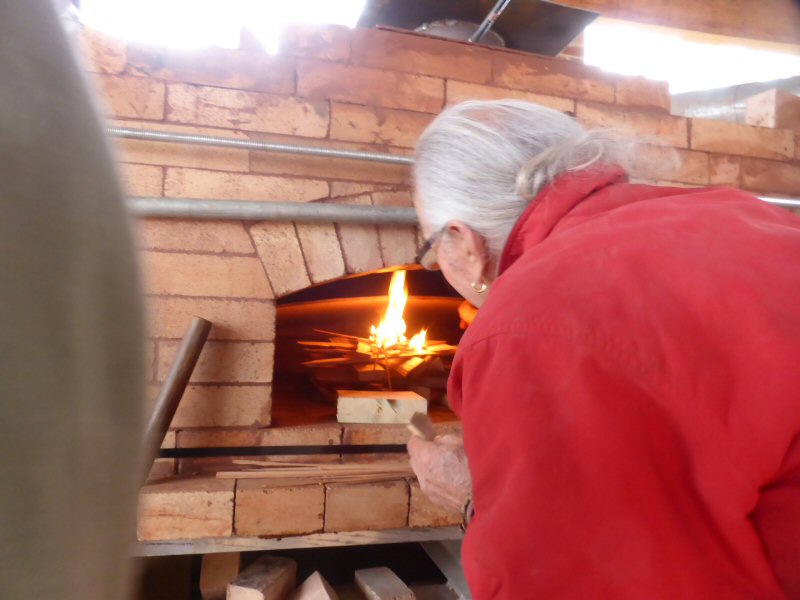
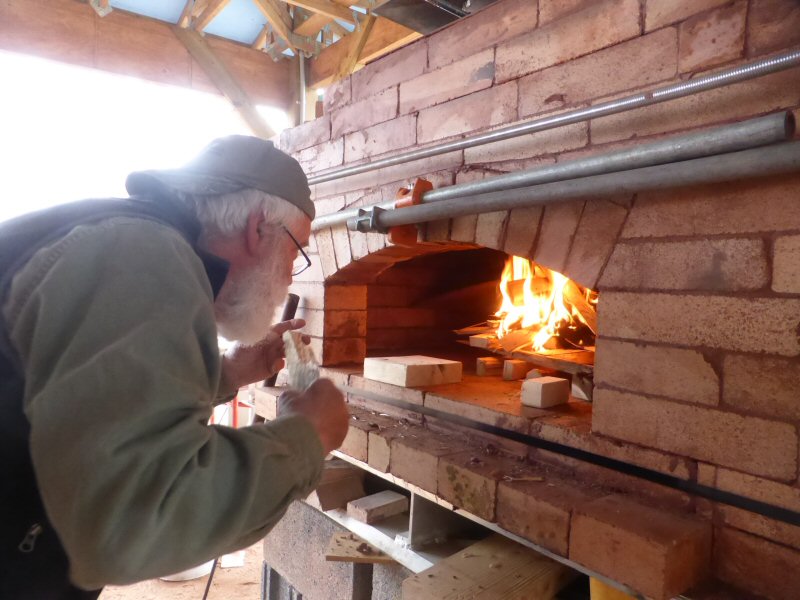
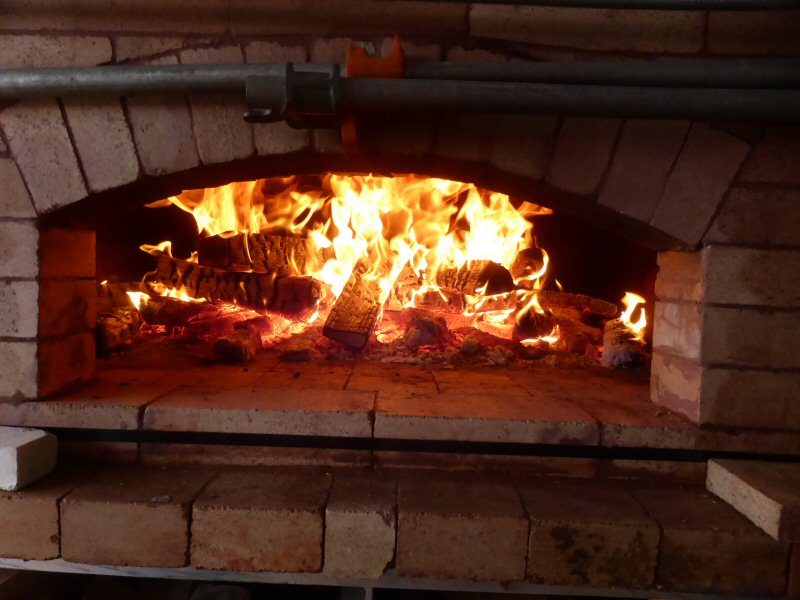
Starting
the curing fire. In fact, we had to burn out the last remaining pieces
of the forms to avoid putting
additional stress on the vault by rough handling during removal of the forms.
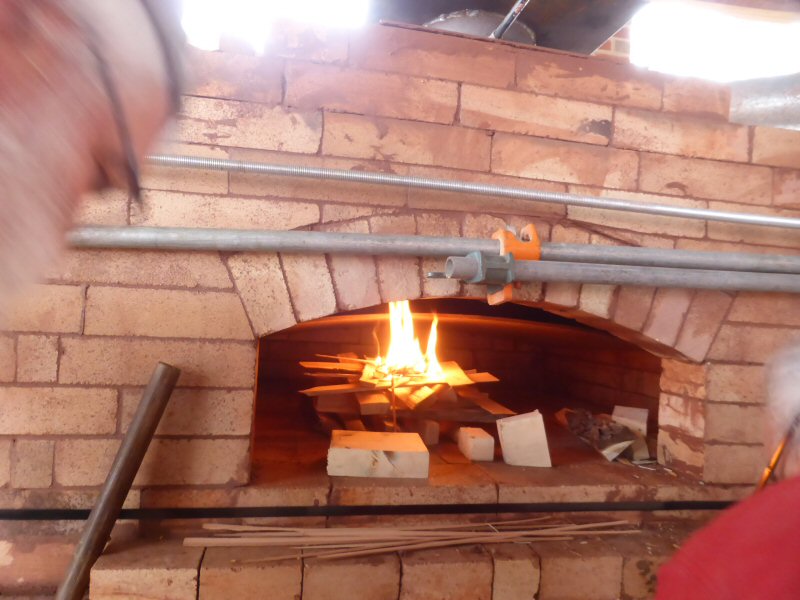
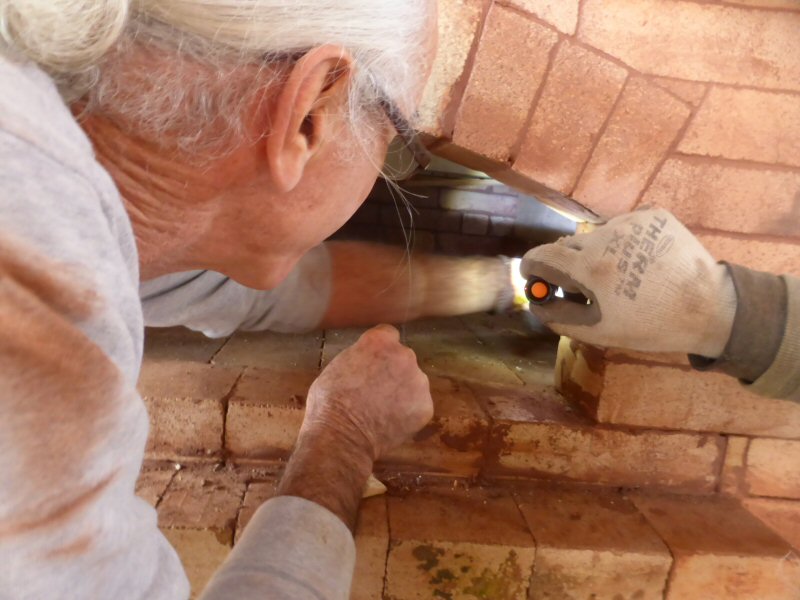
Pegboard vault form is visible.
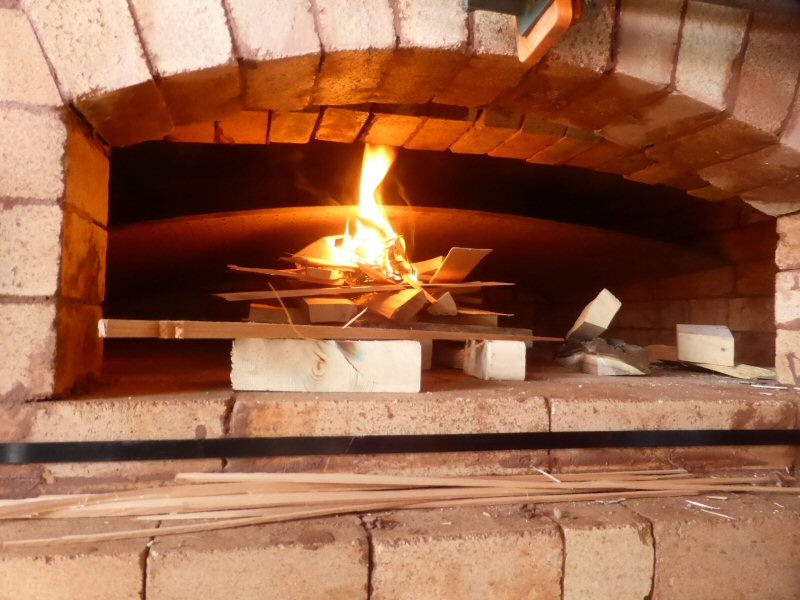
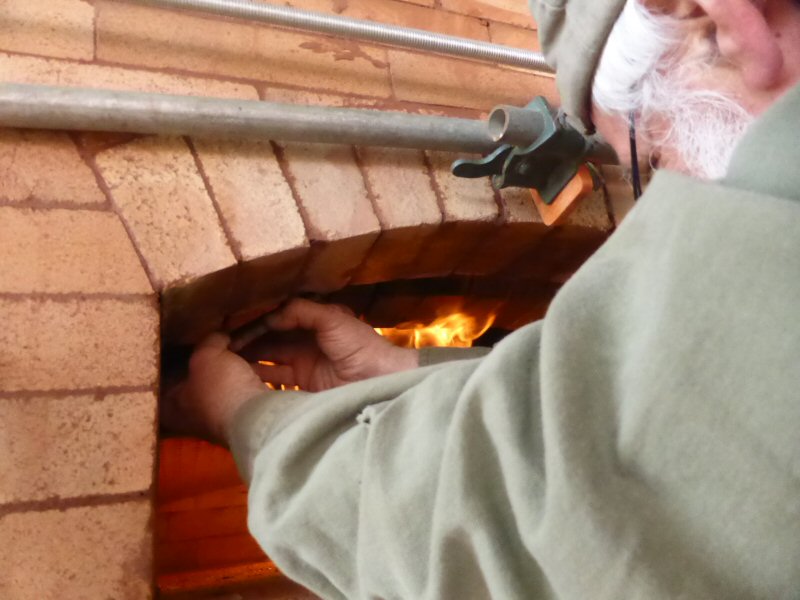
Note the shifted bricks on the dropped arch. They had started to drop, and were jacked back into place as the reinforcing
was added to the steel harness.
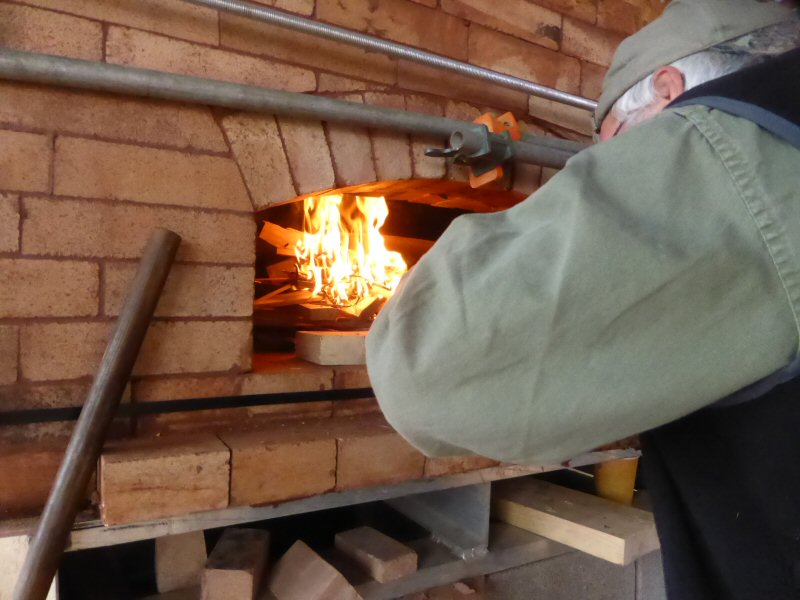
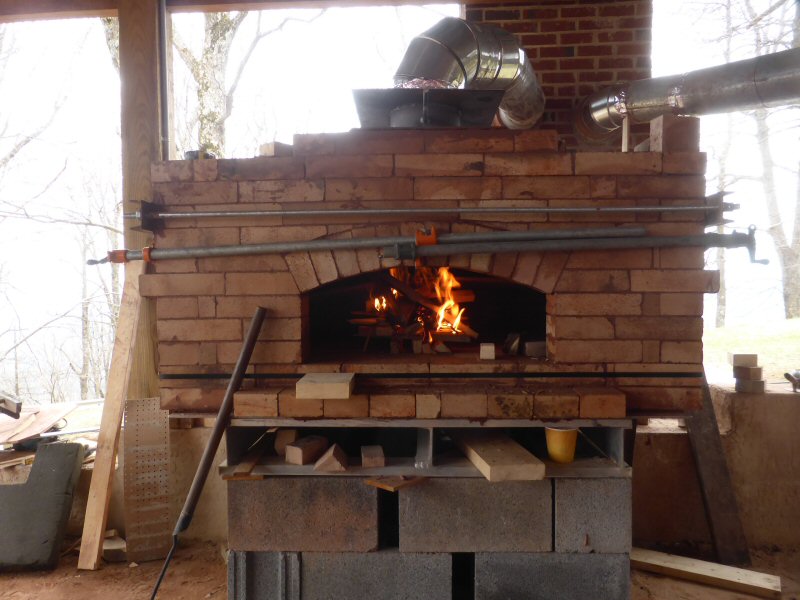
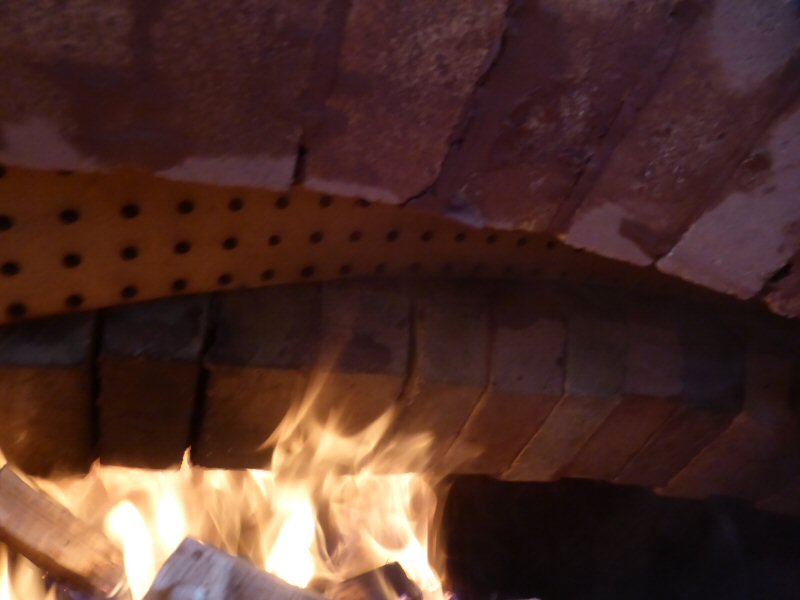
The oven is venting properly, even though the pegboard form in the
exit throat is still in place. It is venting largely through
the pegboard holes.
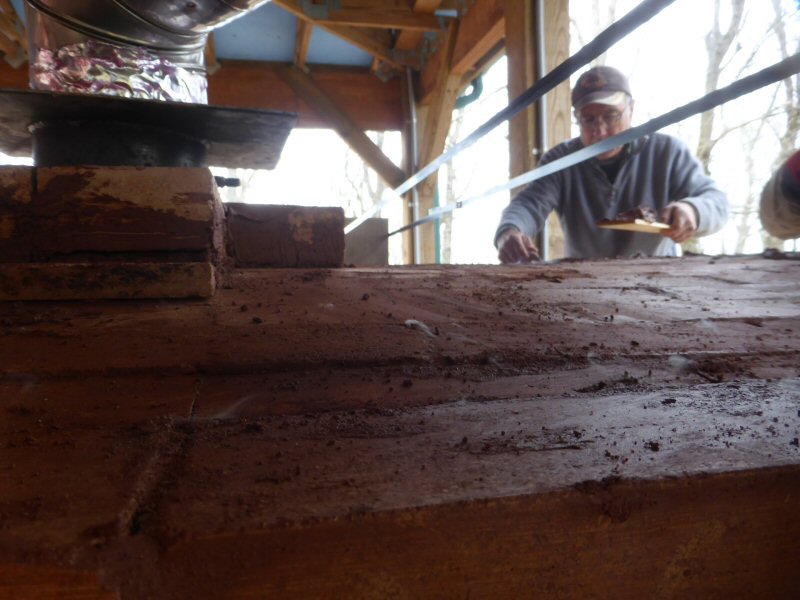
Small wisps of smoke through leaks, possibly from the vault shifting.
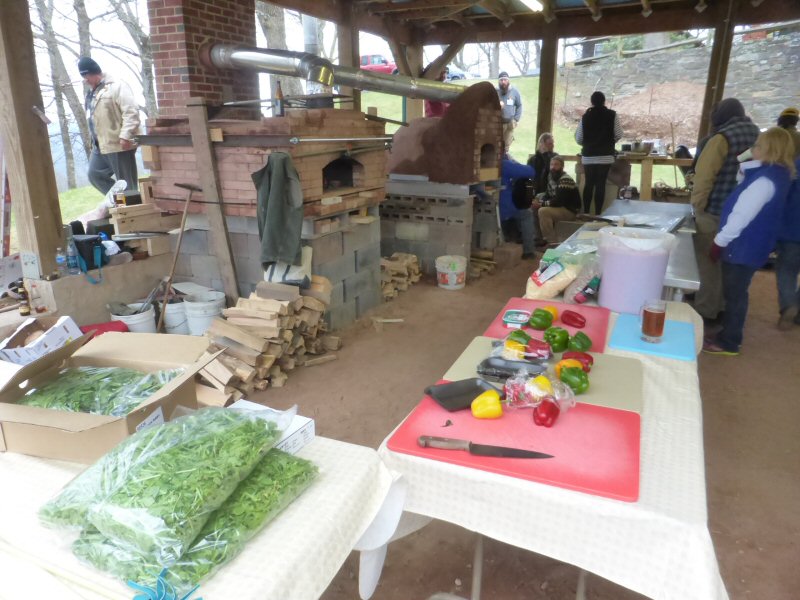
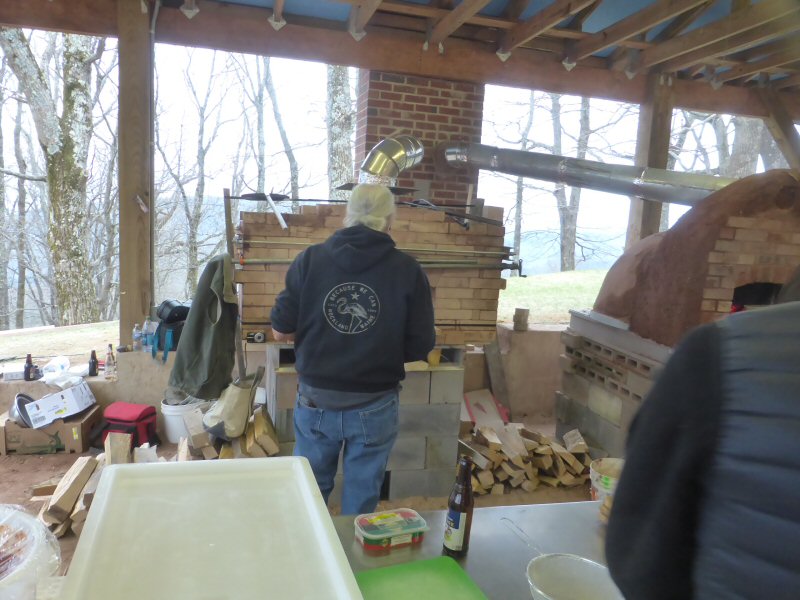
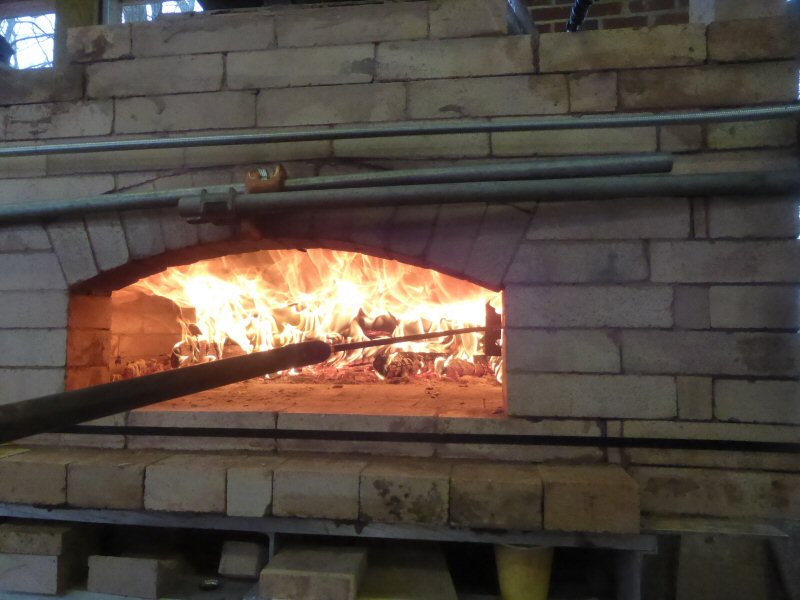
Getting ready to cook some pizza.
Go to the Pizza Party.
Back to Wildacres 2014 Photo Report
See also,
2013 Photo
Report
2012 Photo
Report
2011 Photo
Report
2010 Photo
Report
2009 Photo
Report
2008 Photo
Report
2007 Photo
Report
2006 Photo Report
2004 Photo Report
2003 Photo Report
2002 Photo Report
2001 Photo Report
2000 Photo Report
1999 Photo Report
1998 Photo Report
1997 Photo Report
This
page was last updated on May 16, 2014
This page was created on May 13, 2014
Back
to:


