
| Gallery | The Mall | Member Directory | MHA News | Library | Links |
Instructors:
Norbert Senf
Jerry Frisch
Workshop description and assembly diagrams.
The object of the workshop was to build and test a heater to demonstrate several important aspects of heater performance:
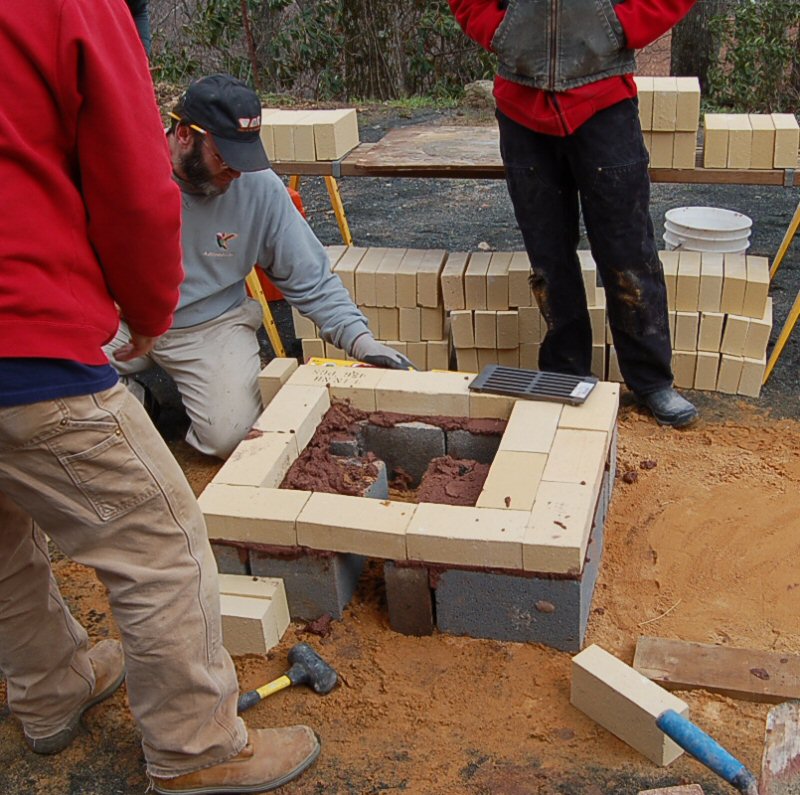
Firebrick floor.
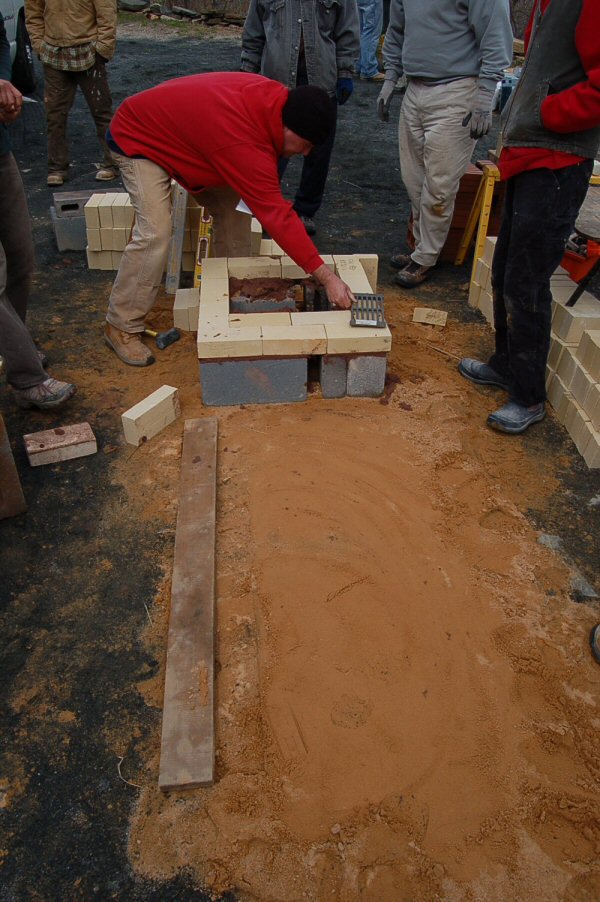
Heat exchanger footing layout. Footing is compacted sand, levelled.
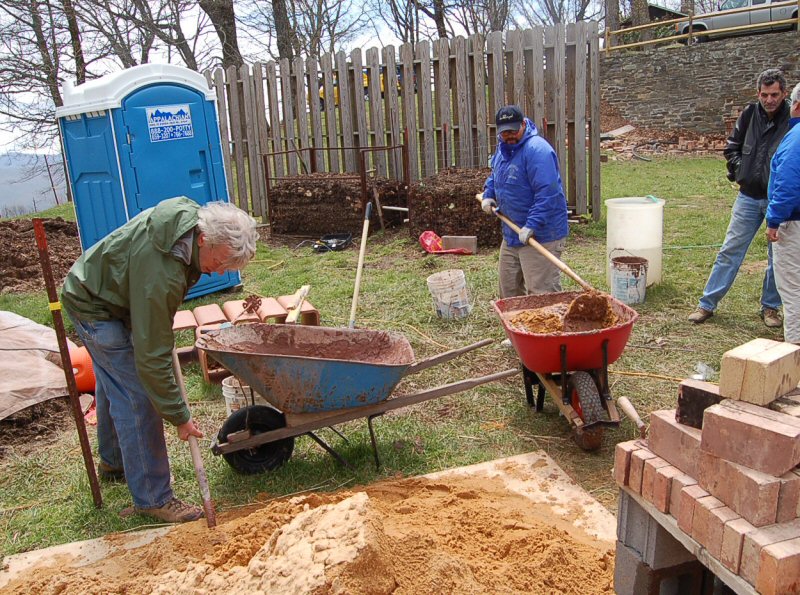
Mixing mud. The mortar was 1 part Redart clay (powdered) to 3 parts sand. Redart can carry a lot more sand, so 1:3 makes for a
sticky mortar, perfect for general heater construction, including temporary fireboxes.
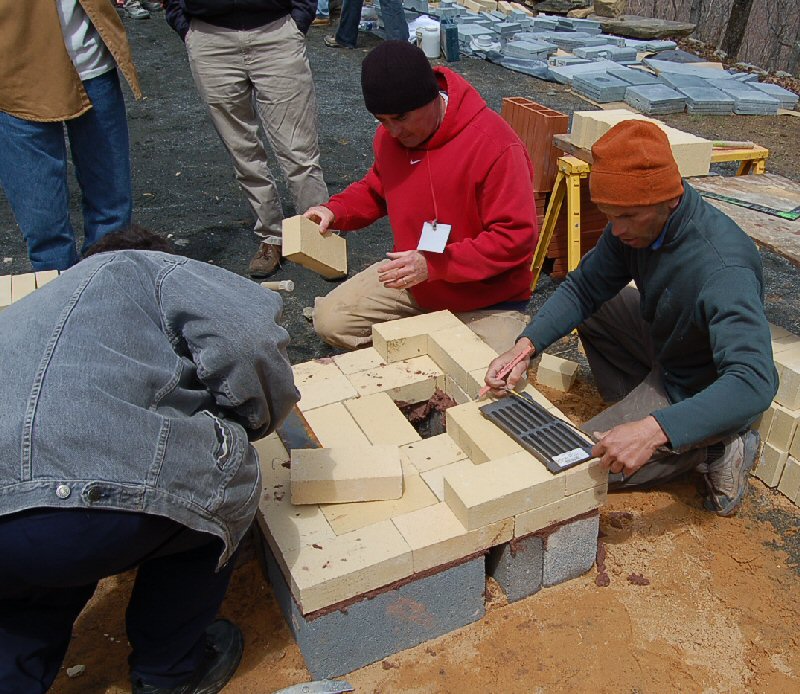
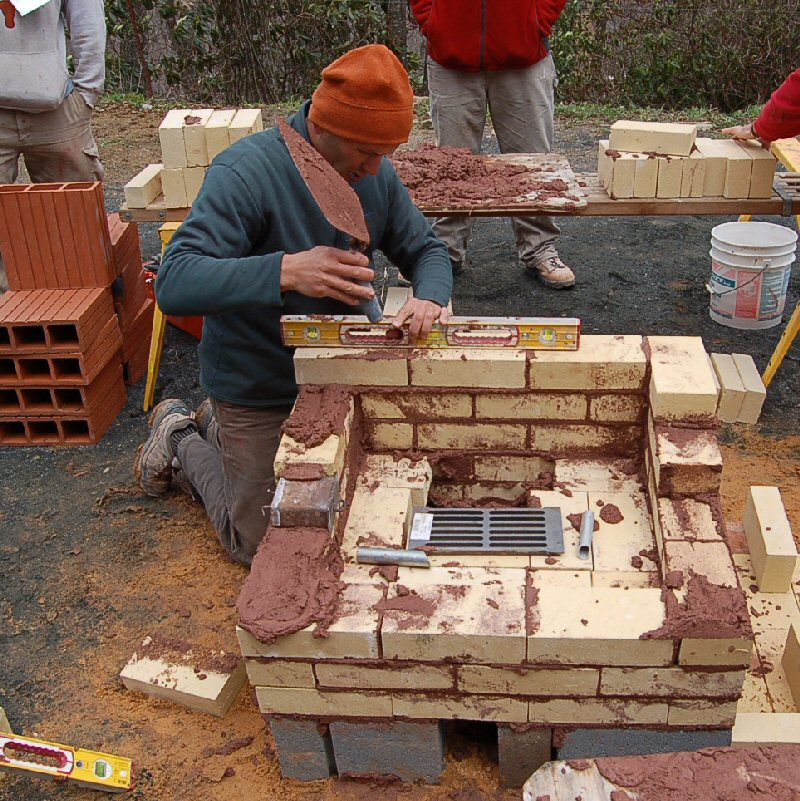
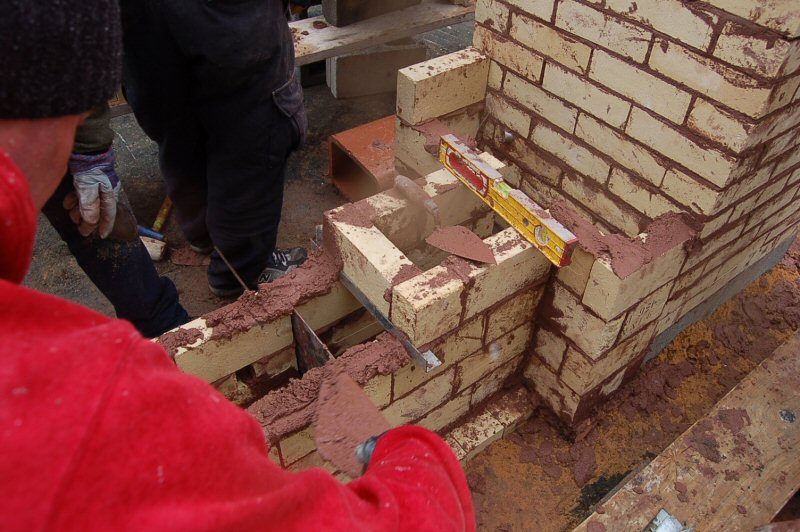
Laying out the firebox and the air supply.
Note the soapstone laid out in the background. Glenn Overk brought a soapstone heater down, and did a dry stack assembly.
Regretably, I didn't get enough photos to show a coherent sequence.
Joe Prinzivalli goes to town.
The Frisch-Rosin air supply, used on Washington state certified fireplaces with an airtight door.
We ran a heater test recently on a similar setup at Lopez, and it did not work (flue temp too low,
compared to an airtight fireplace).
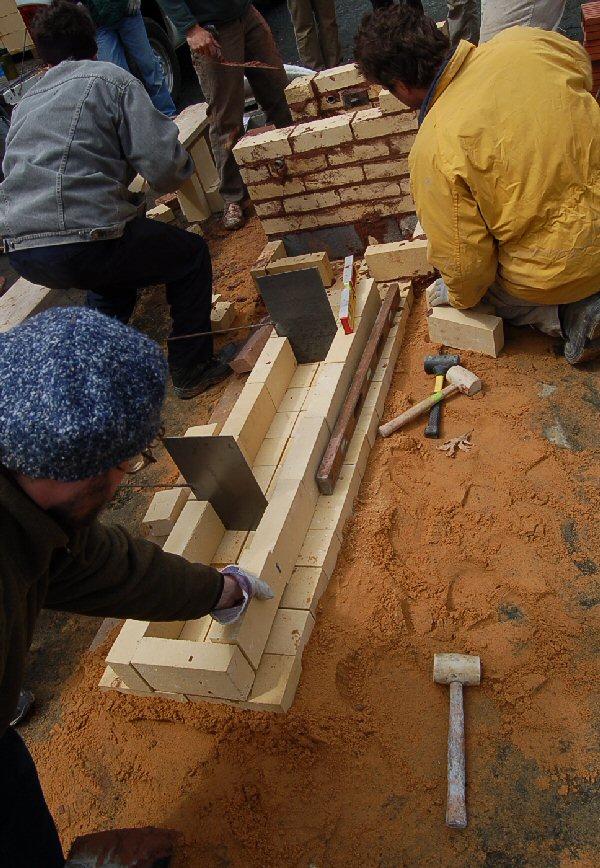
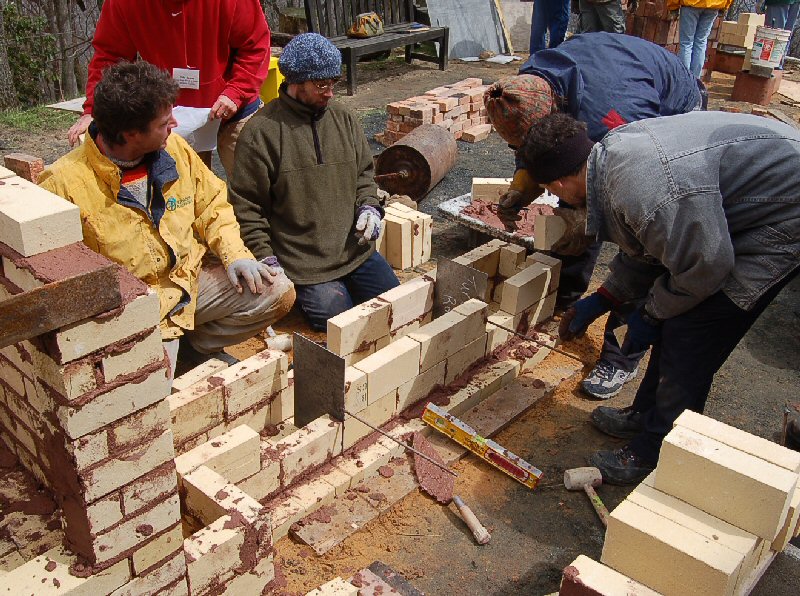
Heat exchanger base run layout.
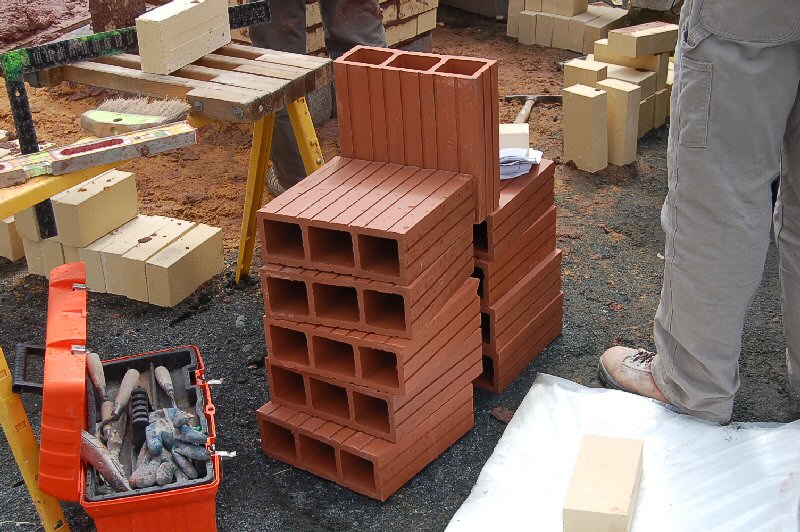
Dale Demary arranged for some partition to try out for facing.
Firebox lintel.
Installing sliding dampers.
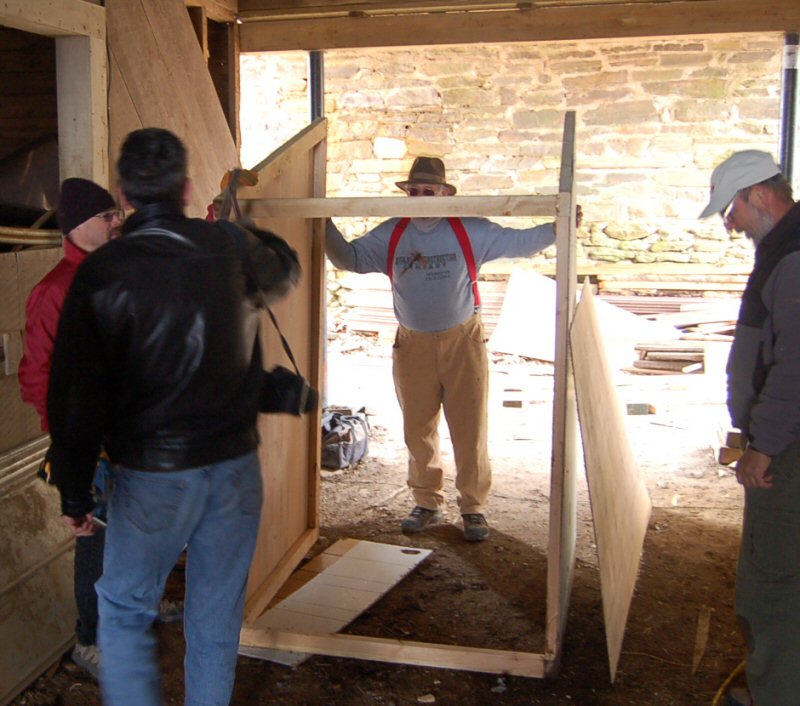
John Rousseau took charge of building a small testing booth, to keep the computer out of the weather. Helping him are
Buck Beckett, John Lagamba, and Gary Hart. As it turned out, extreme winds resulted in the booth being used as a windbreak
and counter surface for the pizza oven, and the testing getting scaled back to a demo only.
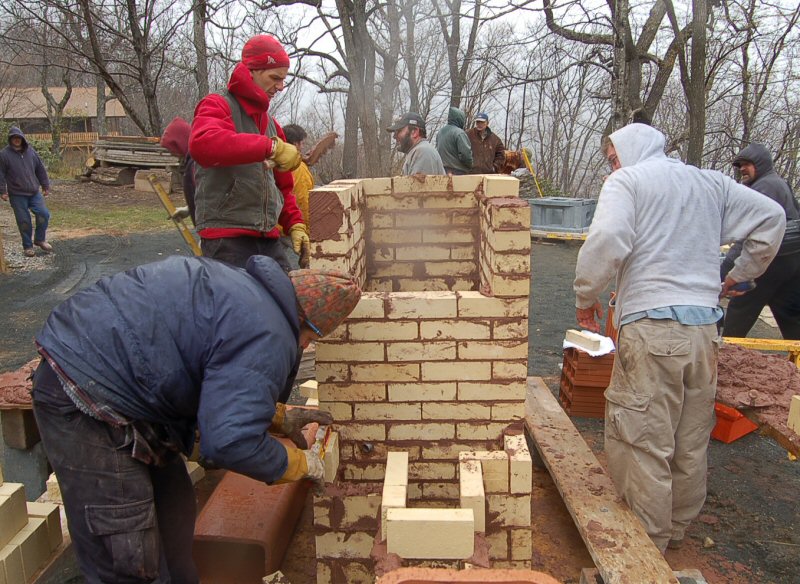
Continuing the base run. The weather on the mountain has turned bad, with high winds and showers.
There's a keg of beer and shelter, so all is not lost yet.
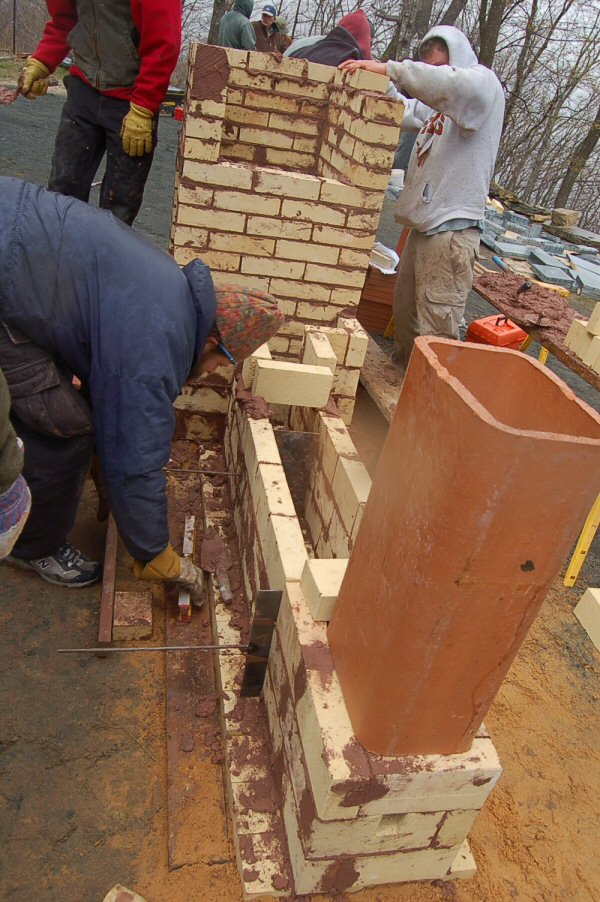
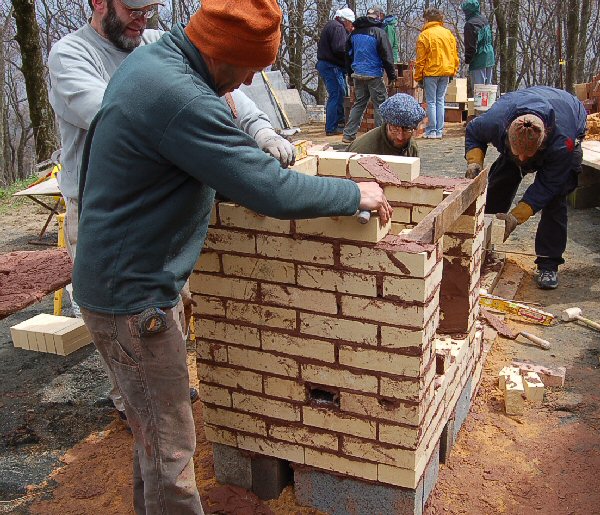
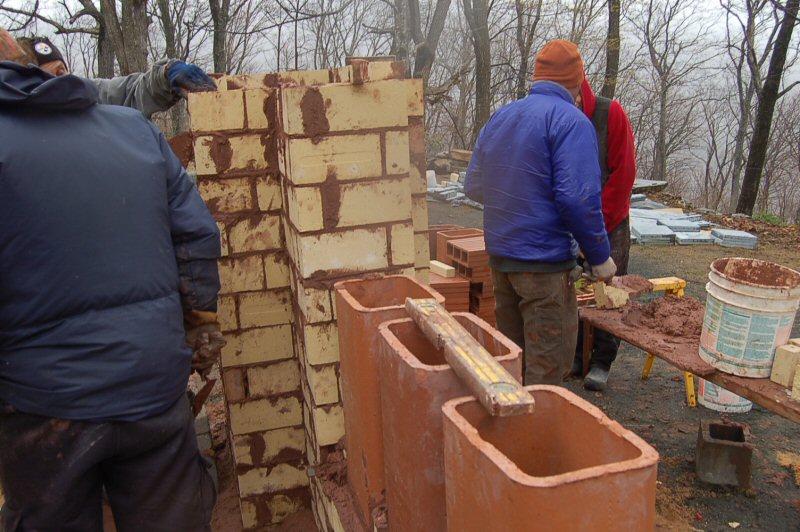
Dampers installed, first chimney flue installed.
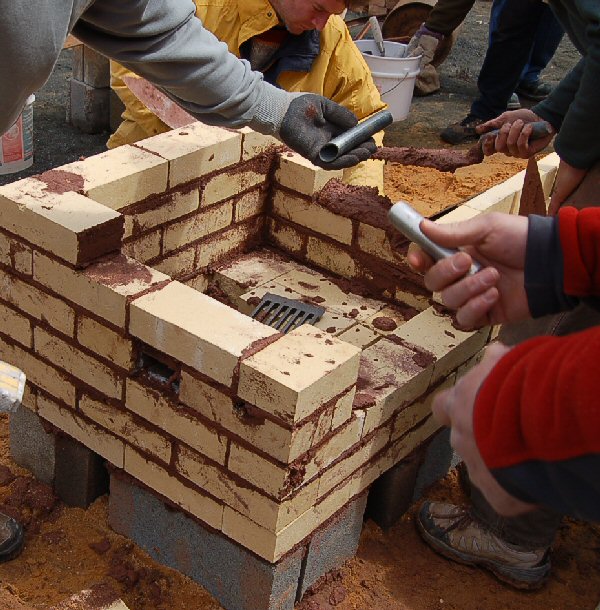
Building the "Sturzzug", the downdrafting channel after the firebox that is characteristic of the old Austrian system.
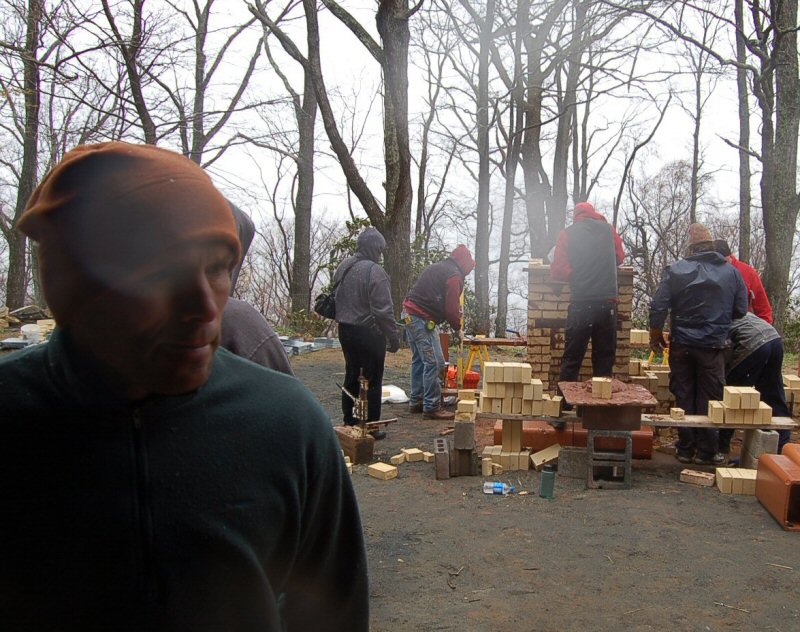
Joe takes a break.
Hanging in there.
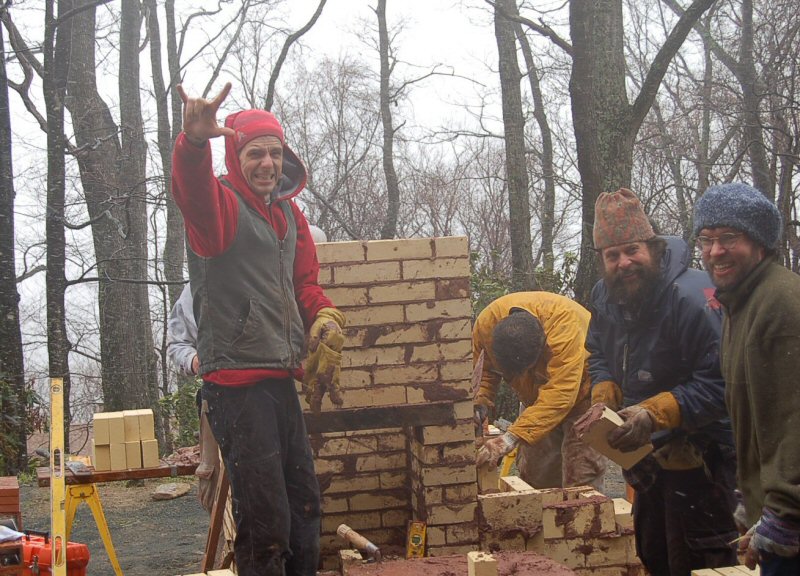
Horizontal snow.
Time to cap off the firebox. Rather than the vault in the plans, we used two 12" x 24" plates of ceramic glass that Jerry shipped in.
We're in decent shape for tomorrow morning, in case the predicted 6" of snow materialize.

The right side of the firebox is capped off with an angle iron and firebrick, because there is not enough cermic glass to do it all.
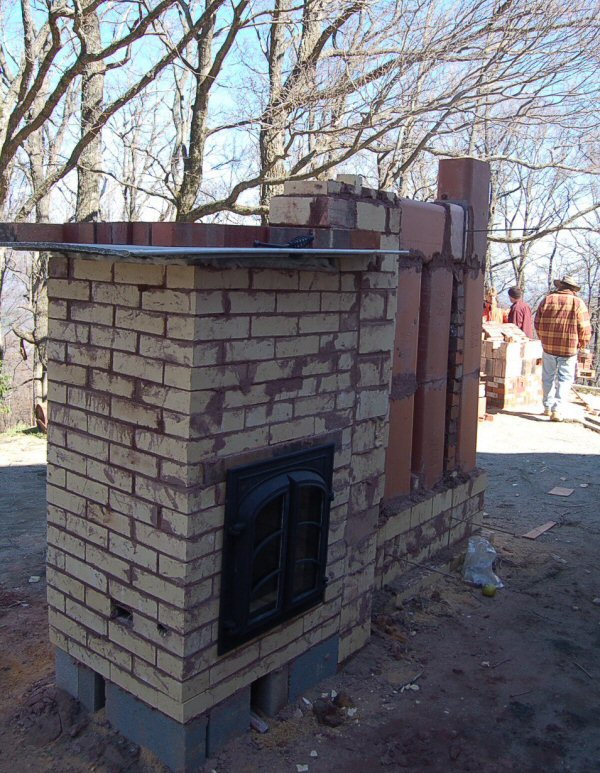
There were meetings in the morning, so the heater was finished Monday afternoon. Weather was
better than expected, although still too windy for testing.
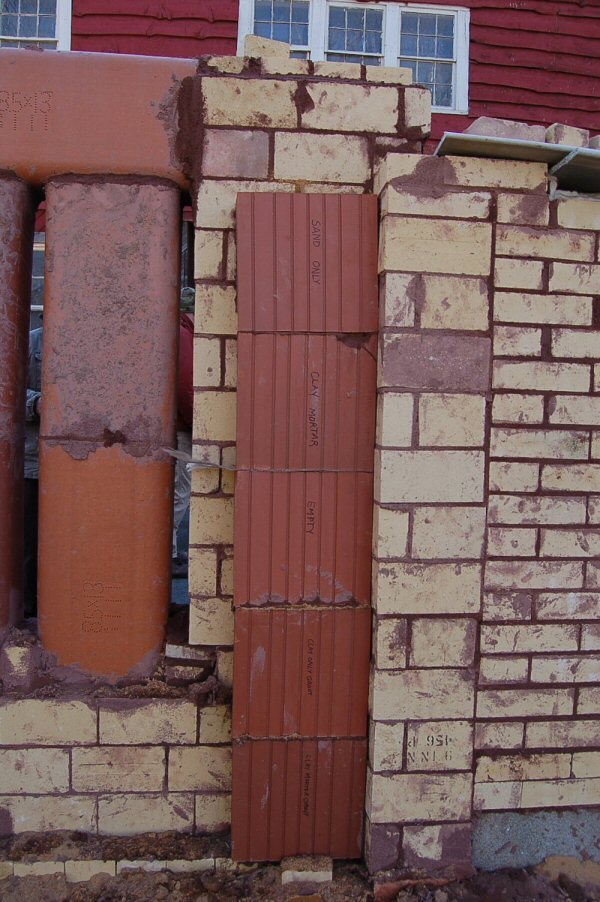
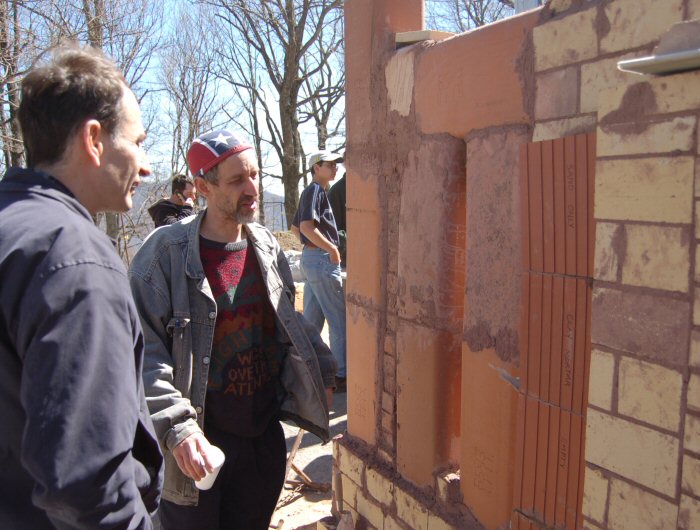
Partition tiles with different fills, to check for heat transfer.
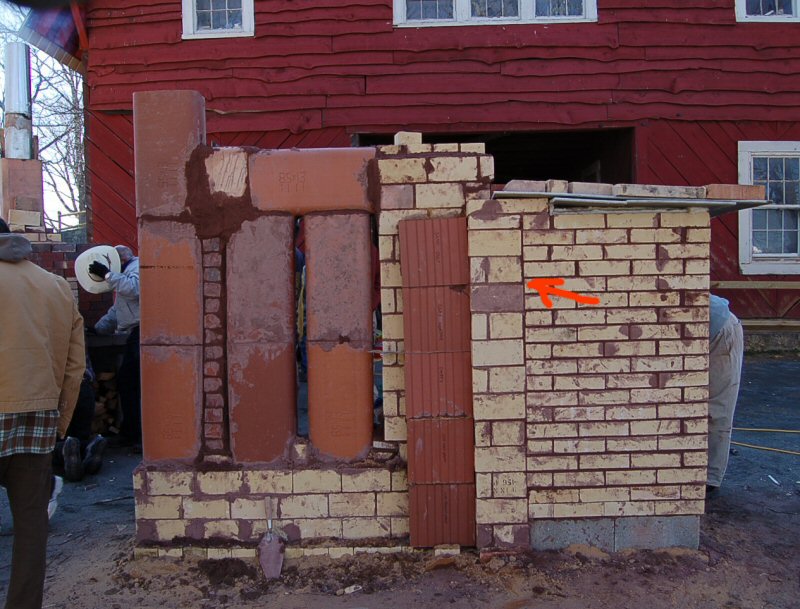
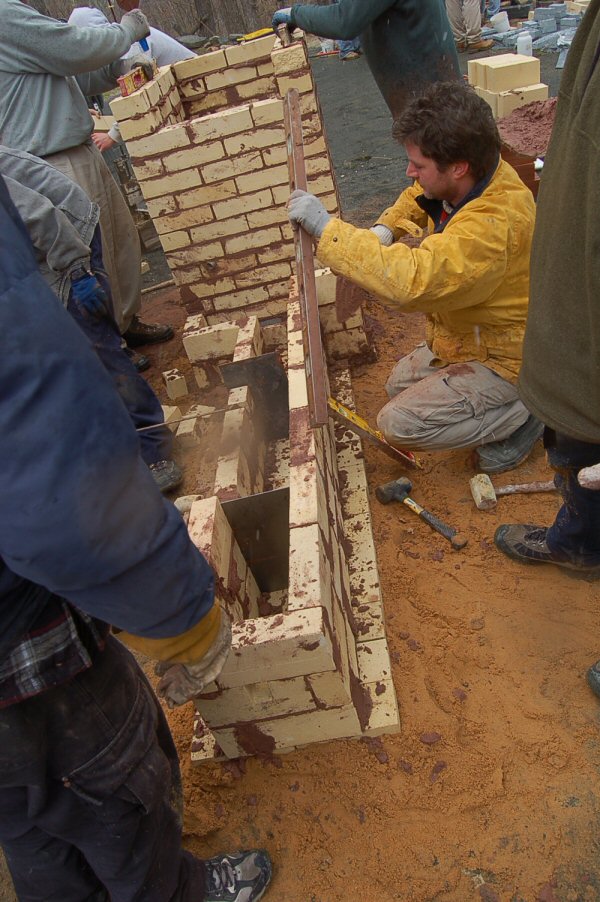
As expected, a vertical hairline crack developed at the stacked joint between the main firebox and the "Sturzzug" (downdraft channel).
The hairline was wider at the top than at the bottom.
In a permanent version of this heater, a ceramic fiber expansion joint would replace the mortar joint
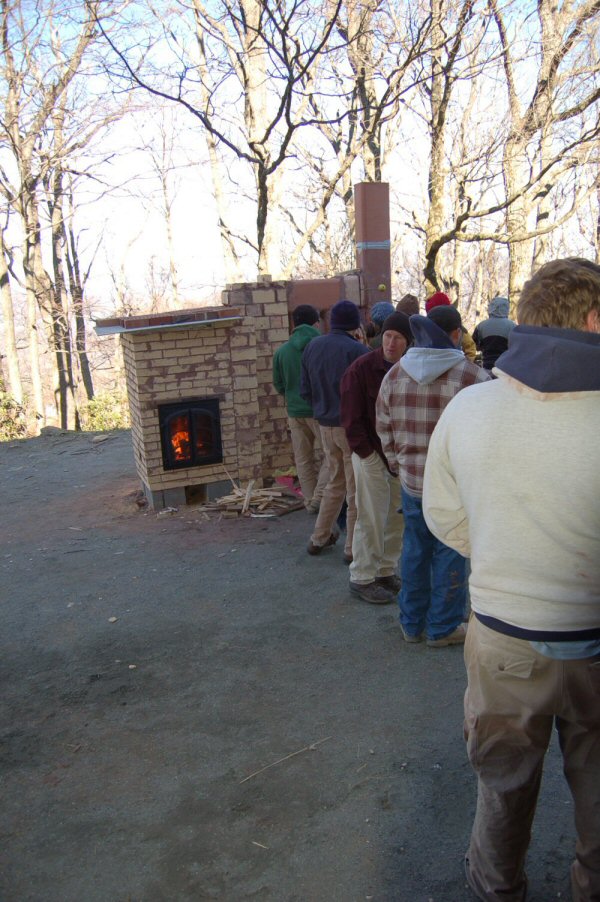
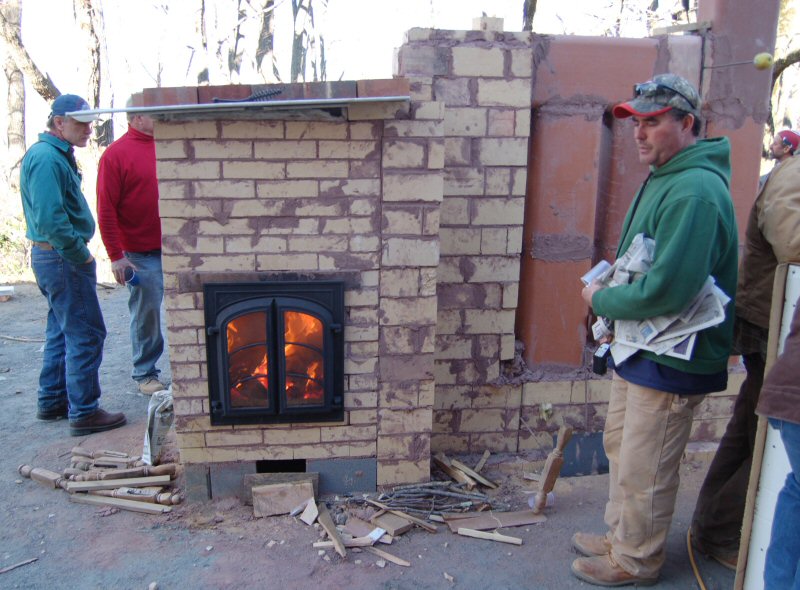
Curing fire. The dry firewood had not arrived yet, so we used wood with 26% moisture - burnable
but not that easy to light with our new "sideburn" ignition method, which is a modified top down.
Even with a wet and cold heater, the start was smokeless. Quite a bit of kindling had to be added to
get the main pile to catch from the side.
There were periodic smoking episodes, but nothing like the heavy smoke we saw in earlier years.
Wind was high, so air supply sometimes was under a vaccum, causing smoke spillage from the air
inlet.
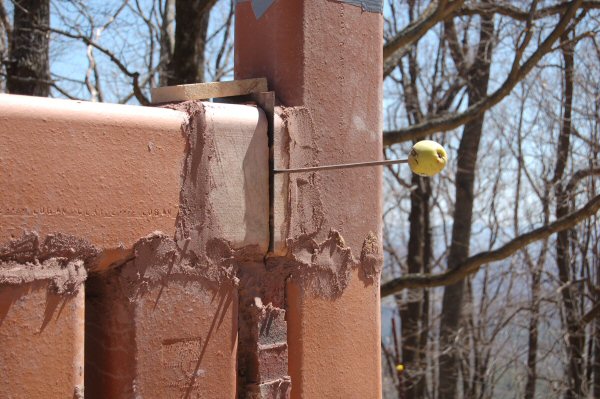
Damper detail, featuring the new "soft touch" safety handle.
Checking surface temperatures during the burn. The top horizontal flue liner got a horizontal crack about 1.5" down
from the top. Closer inspection revealed a pre-existing crack, so the jury is out. The rest of the liners were fine and
suffered no damage.
The burn was quite clean, with no smoke from startup. A few small smoke episodes occured, whose causes were readily evident.
The heater was fired from a cold start, with everything still wet. The fire was reloaded several time. I'd estimate that perhaps 100
lbs of wood were burned on the initial burn. With a very hot firebox, reloading caused smoke, which could be cured by increasing
the air supply.
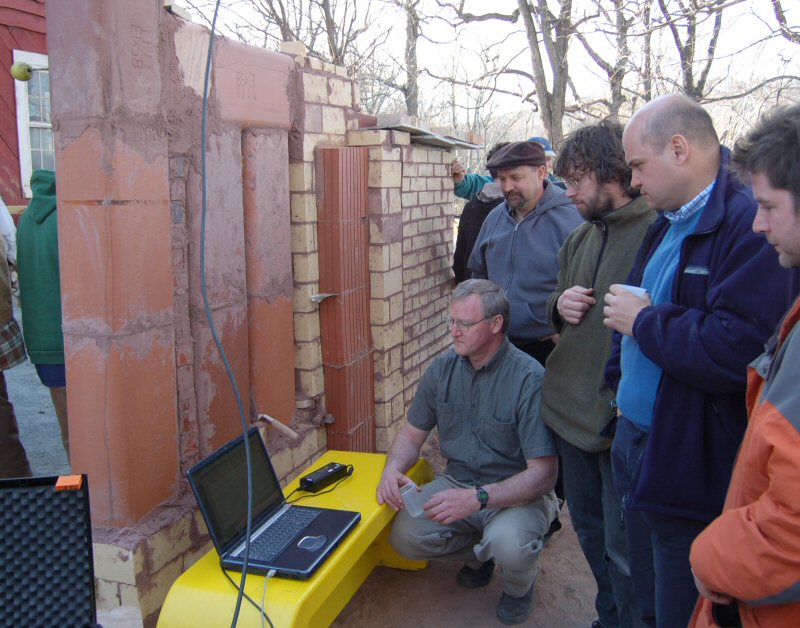
Gas analysis setup. Due to the severe weather immediately prior, the testing had to be reduced to a demo of the equipment. I also
brought my real-time PM measuring setup to show, but did not set it up.
In this photo, a Testo
330-2 Flue Gas Analyzer is drawing flue gas through a sample probe inserted into the chimney at approx 8 ft.
A replaceable ceramic filter disc on the probe filters out particulates, and there is a condensate trap built into the handheld analyzer
itself. There is also a backup PM filter inside the analyzer. A thermocouple in the probe tip measures stack temperature, and a
thermistor outside the analyzer body measures ambient temperature. A pressure sensor measures chimney draft. Chemical cells
are used to measure 02 and CO. The pump runs continuously, and at selected intervals (anywhere from 1 second to 10 minutes),
a data point is sent to a software interface on the laptop, via a USB connection.
The analyzer performs what is known as a stack loss efficiency calculation. It measures the energy leaving the stack, and the
concept is that the rest of the energy that we can calculate to be in the wood, stays in the room. In other words, we know that
burning a pound of wood at, say, 20% moisture content releases a known amount of heat. If we measure the amount of heat
and unburned CO leaving the chimney, we know that the rest remains in the house.
You can find more information on this type of heater testing at the Lopez Labs site.
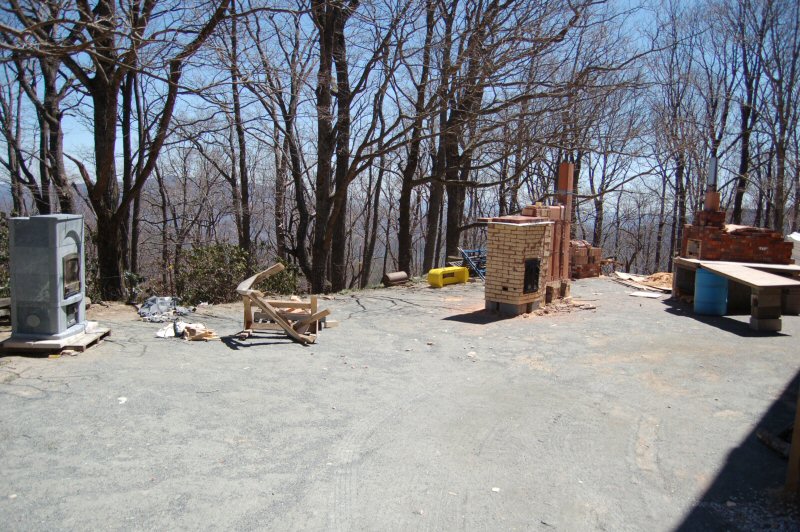
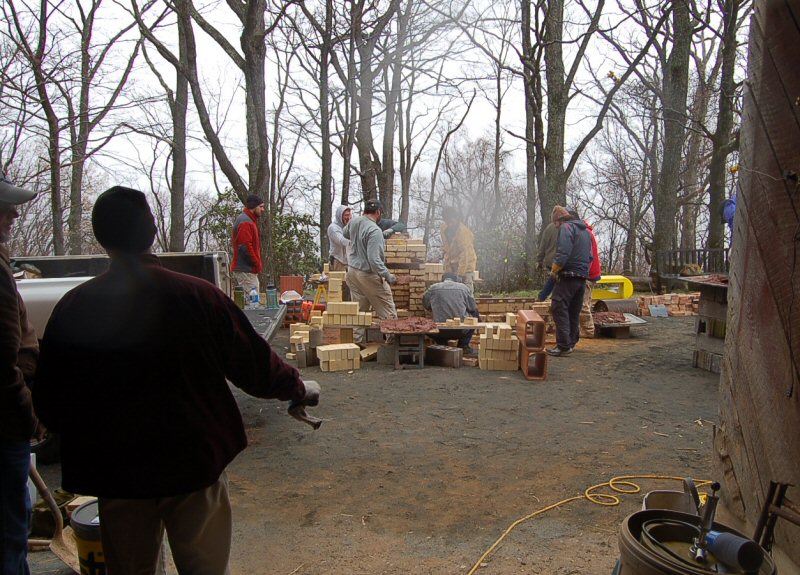
View of workshop area.
See also,
2006 Photo Report
2004 Photo Report
2003 Photo Report
2002 Photo Report
2001 Photo Report
2000 Photo Report
1999 Photo Report
1998 Photo Report
1997 Photo Report
This page was last updated on
September 16, 2007
This page was created on April 22, 2007
Back to: